How to Install WordPress on Ubuntu 22.04
“When it comes to creating websites, using content management systems has taken the lead. One popular CMS is WordPress which supports multiple platforms and gives you an easy means of creating a website thanks to its various plugins and themes. To use WordPress, you first need to install it on your system, and in this guide, we will install WordPress on Ubuntu 22.04.”
Installing WordPress on Ubuntu 22.04
To install WordPress, we first need to have Apache and PHP installed. So, let’s first update and upgrade our packages.

The next thing is to install the Apache Web server. Use the below command.

Check the status of the Apache server to ensure it is installed and running

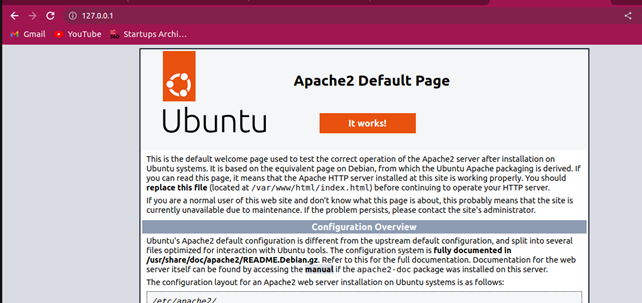
Also, you can open your browser and access the local host address to verify that Apache is running on your system.
With Apache installed and running, let’s check if we have PHP installed by checking its version. If not installed, install it alongside the needed dependencies using the below command.

You can recheck the PHP version to verify that we successfully installed it, as in the output below.

In the case above, we have PHP 8.1.2 installed.
Next, let’s install MariaDB. For that, we need to run the below command, which will install the MariaDB server and client on your Ubuntu 22.04

Once installed, start by enabling the database server.

Once enabled, proceed to start MariaDB and check its status to ensure it’s running as in the image below.
$ systemctl status mariadb

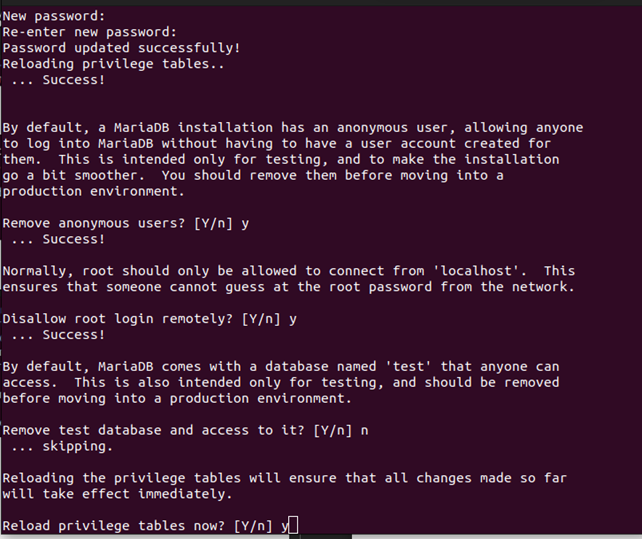
With MariaDB running, we need to secure its installation by creating a new password, disabling remote login, and removing anonymous users. So, start the secure installation using the command below. Once you do, enter your root password, which should be a blank space, then set a new password. Follow the other instructions and press Y in all options.
Once you’ve secured the installation, it is time to create a WordPress database to store the details of the users and WordPress. Run the below command and use the password you created earlier to log in to your database server.
Once you’ve logged in, copy the below commands.
$ CREATE DATABASE linuxhint_wp;
$ GRANT ALL PRIVILEGES ON linuxhint_wp.* TO ‘linuxhint’@‘localhost’;
$ FLUSH PRIVILEGES;
$ exit;
Note that we are creating a user to access the database and setting the password for the user. Replace the linuxhint with your new user and replace the kyletech with your password.
Next, create a database. In our case, we’ve created the linuxhint_wp database. Grant it all privileges, flush the privileges, and exit.
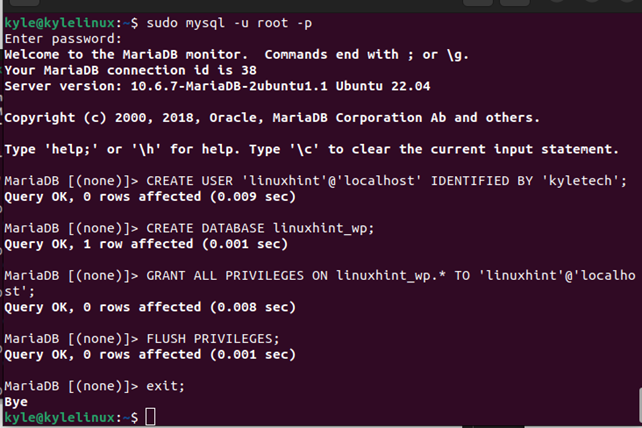
You should have an output like in the image above. Replace the names where required.
We now have our WordPress database ready. We can now download the latest WordPress package, in this case, using wget.

The downloaded file is zipped. So, let’s extract it using unzip

We will get a new folder, wordpress, created after extracting the zip file. Move the extracted folder to the /var/www/html

Use the below commands to change the permissions for the WordPress folder.
$ sudo chmod -R 755 /var/www/html/wordpress/

Optionally, you can create a configuration for WordPress to help in processing any files relating to WordPress and logging any errors that arise. For that, create a configuration file and paste the below content, editing where necessary.
ServerAdmin admin@linuxhint.com
DocumentRoot /var/www/html/wordpress
ServerName linuxhint.com
ServerAlias www.linuxhint.com
<Directory /var/www/html/wordpress/>
Options FollowSymLinks
AllowOverride All
Require all granted
</Directory>
ErrorLog ${APACHE_LOG_DIR}/error.log
CustomLog ${APACHE_LOG_DIR}/access.log combined
</VirtualHost>

Next, enable the virtual host and the rewrite module we created in the WordPress configuration file and restart your Apache web server to implement the changes.
$ sudo a2enmod rewrite
$ sudo systemctl restart apache2

Open your loopback address on a browser and check if WordPress will open.
If you get the Apache default page like the one below, use the next command to disable the loading of the default Apache test page.

Use the below command to disable the Apache test page, restart Apache, and open the address again.
$ sudo systemctl restart apache2

You should get the WordPress setup page loading like in the below image. Click on Continue at the bottom.

Click the Let’s Go button.

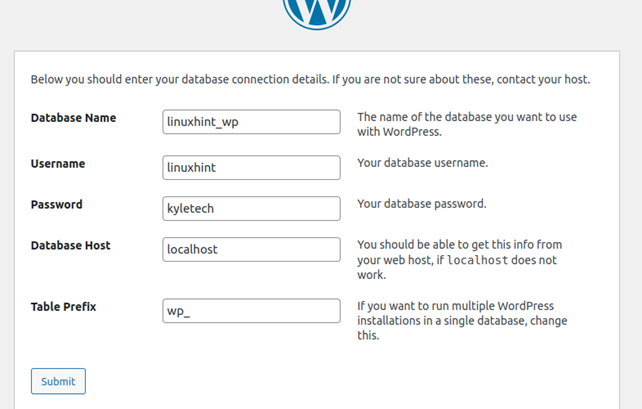
Enter the database details you created earlier and leave the other fields as default. Click on Submit.
Tap the Run the Installation button.

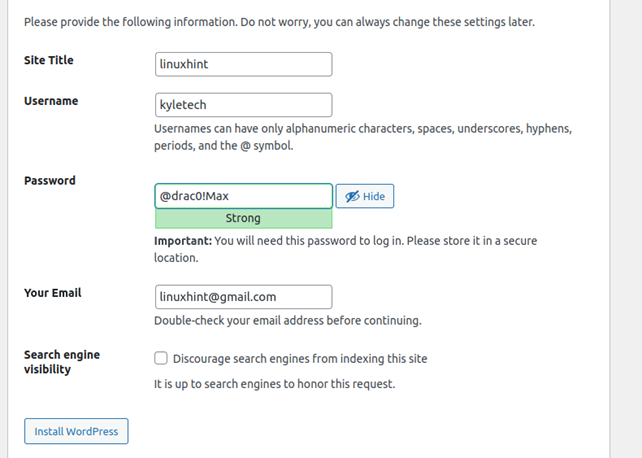
Fill in the required fields and click the Install WordPress button.
Go through the installation prompts until you have the WordPress dashboard loading to confirm that your WordPress installation on Ubuntu 22.04 was successful.

Here’s the WordPress dashboard from where you can now start installing themes and plugins to build your website.

Conclusion
This guide has taught you everything you need to know regarding the installation of WordPress on Ubuntu 22.04. With the steps presented, you should comfortably follow along and manage to install WordPress on your end. Try it out!
Source: linuxhint.com