How to Install VirtIO Drivers and QEMU Guest Agent on Windows 10/11 Proxmox VE Virtual Machines
For optimal performance and the best Proxmox VE integration, installing the VirtIO drivers and QEMU Guest Agent on your Windows 10/11 Proxmox VE virtual machine is very important.
In this article, I am going to show you how to download the latest stable version of the VirtIO drivers ISO image for Windows and install the VirtIO drivers and QEMU Guest Agent on your Windows 10/11 Proxmox VE virtual machine.
Table of Contents
- Downloading the VirtIO Drivers ISO Image for Windows
- Mounting the VirtIO Drivers ISO Image on Windows 10/11
- Installing VirtIO Drivers and QEMU Guest Agent on Windows 10/11
- Conclusion
- References
Downloading the VirtIO Drivers ISO Image for Windows
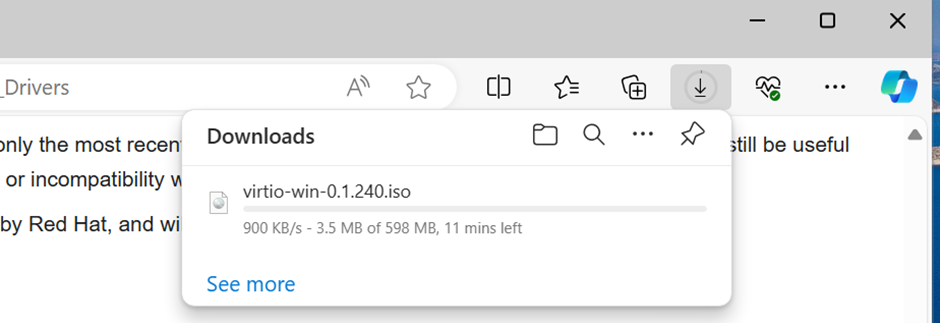
To download the latest stable version of the VirtIO drivers ISO image for Windows operating systems, click on the VirtIO drivers ISO image download link from your favorite web browser.
Your browser should start downloading the latest stable version of the VirtIO drivers ISO image for Windows. It will take a while to complete.
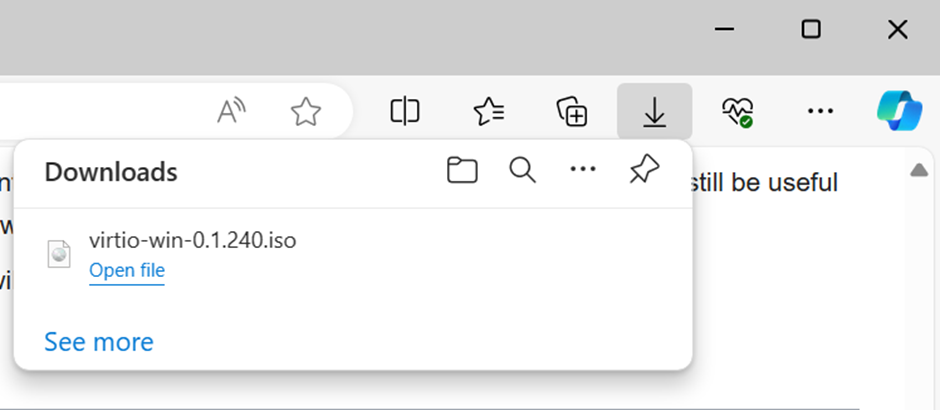
At this point, the VirtIO drivers ISO image should be downloaded.
Mounting the VirtIO Drivers ISO Image on Windows 10/11
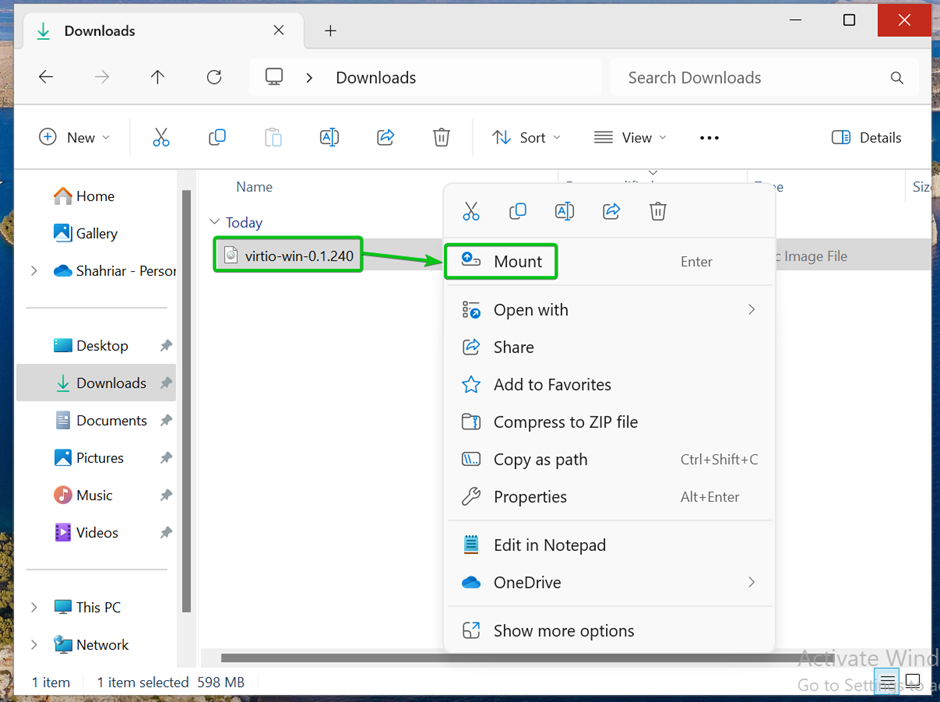
To mount the VirtIO drivers ISO image on Windows 10/11, right-click (RMB) on the VirtIO drivers ISO image file and click on Mount.
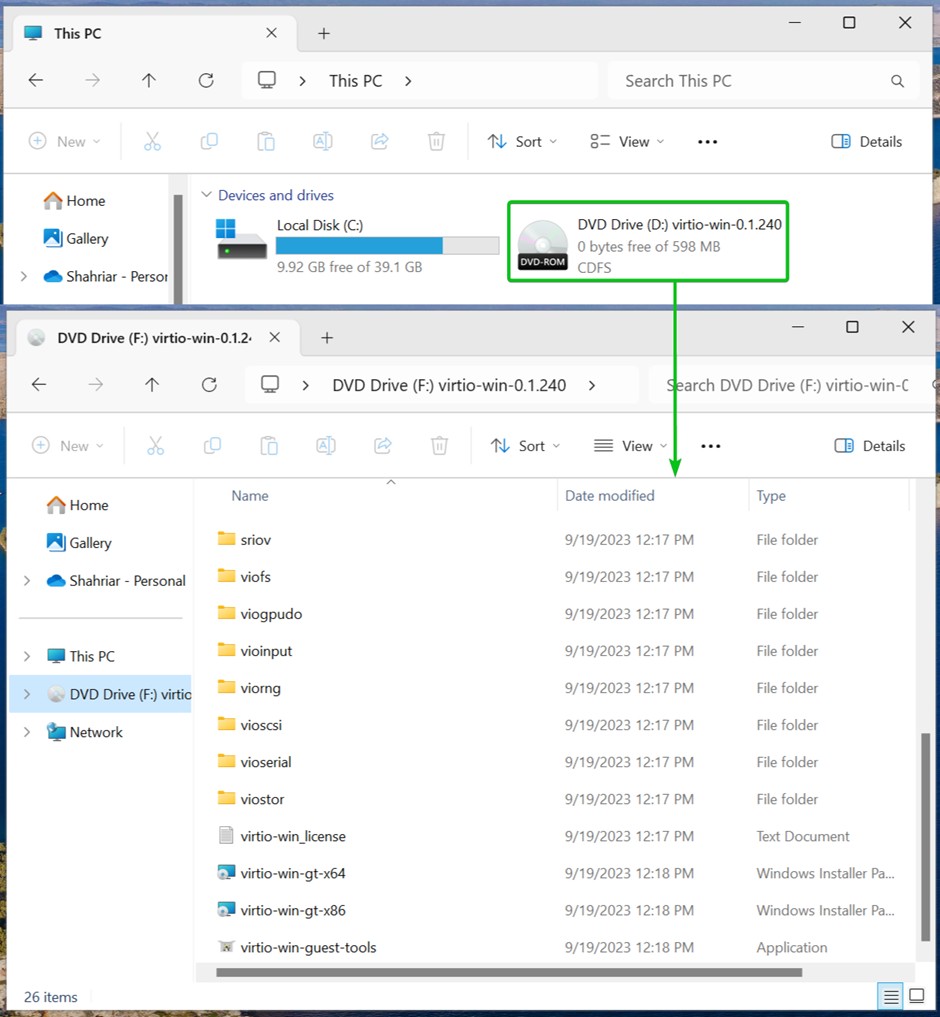
The VirtIO drivers ISO image should be mounted and you should be able to access all the files.
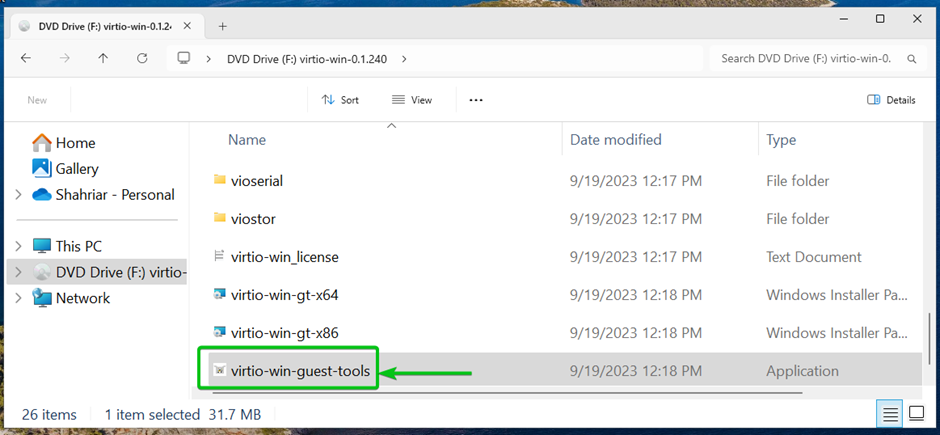
Installing VirtIO Drivers and QEMU Guest Agent on Windows 10/11
To install the VirtIO drivers and QEMU guest agent on your Proxmox VE Windows 10/11 virtual machine, double-click (LMB) on the virtio-win-guest-tools installer file from the mounted VirtIO drivers ISO image.
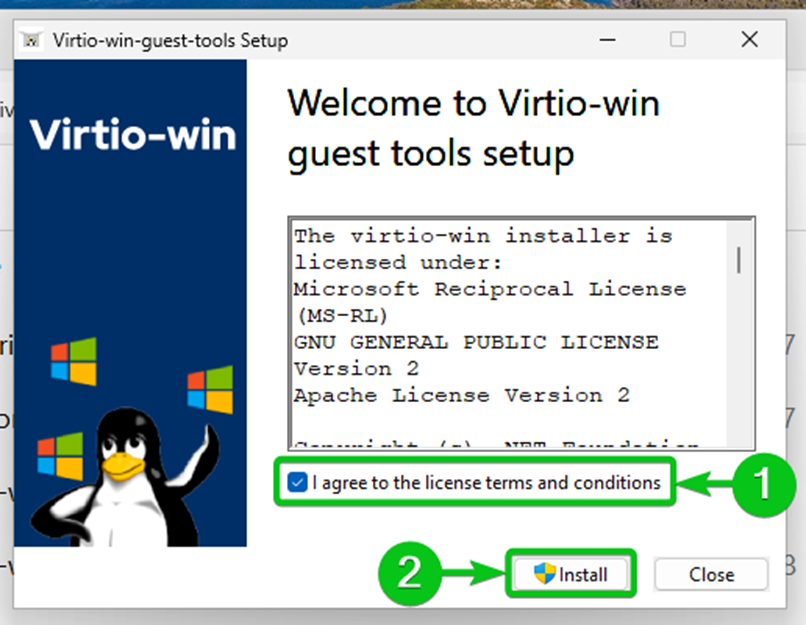
The VirtIO Guest Tools installer window should be displayed.
Select I agree to the license terms and conditions[1] and click on Install[2].
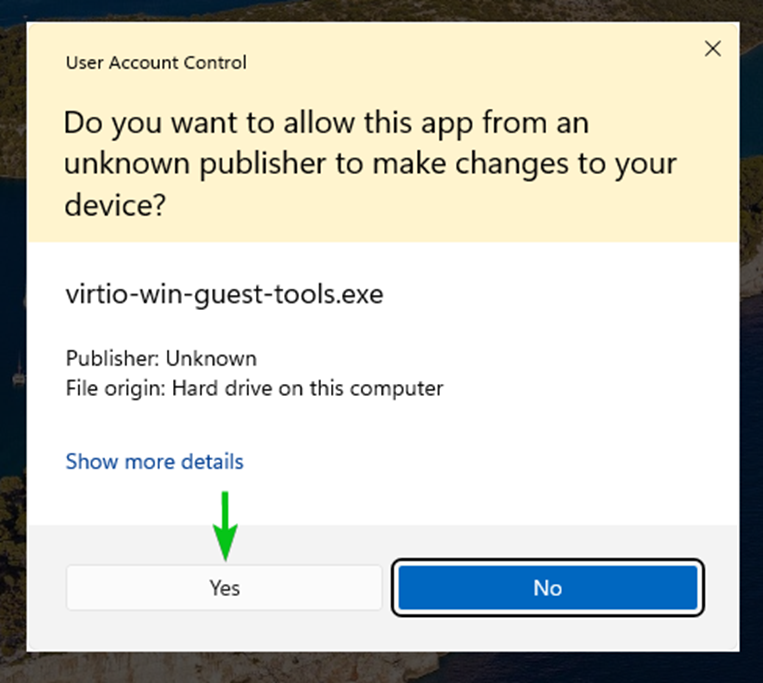
Click on Yes.
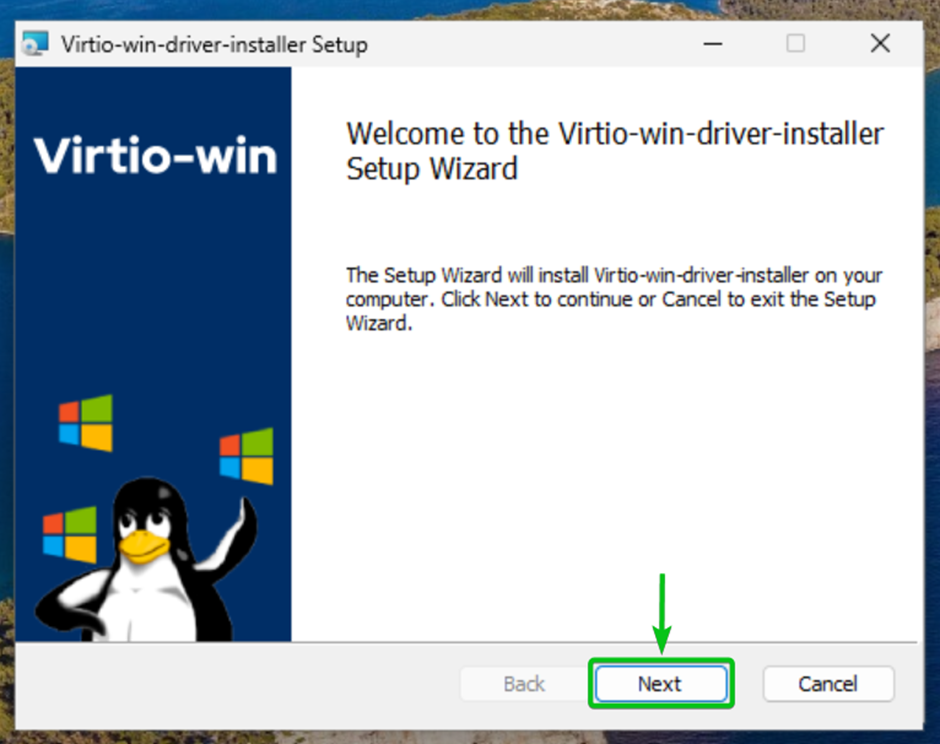
Click on Next.
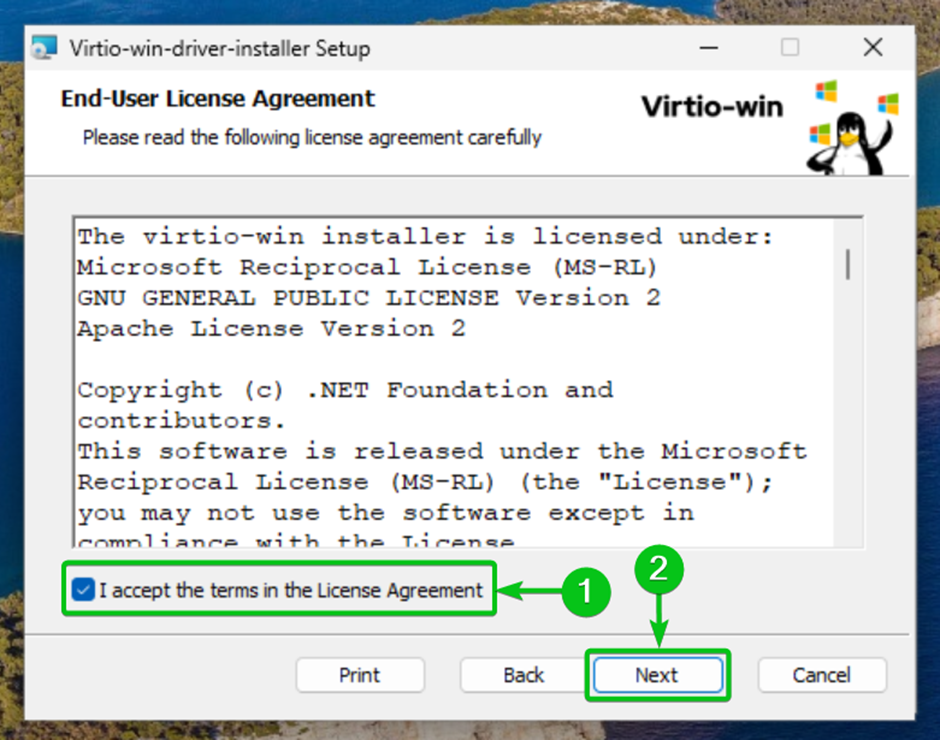
Select I accept the terms in the License Agreement[1] and click on Next[2].
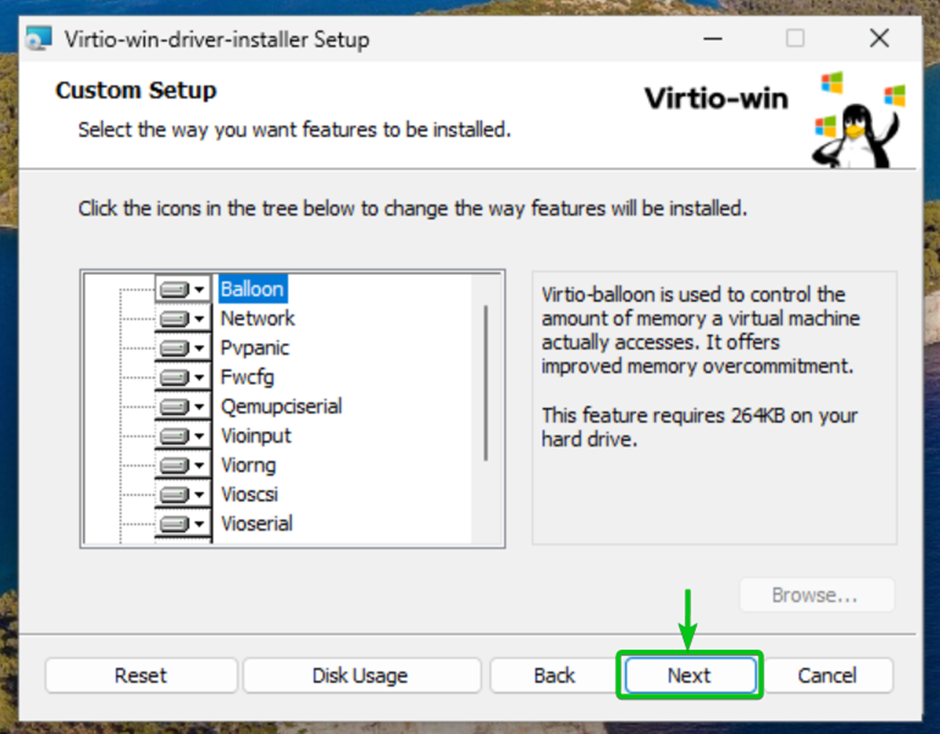
Click on Next.
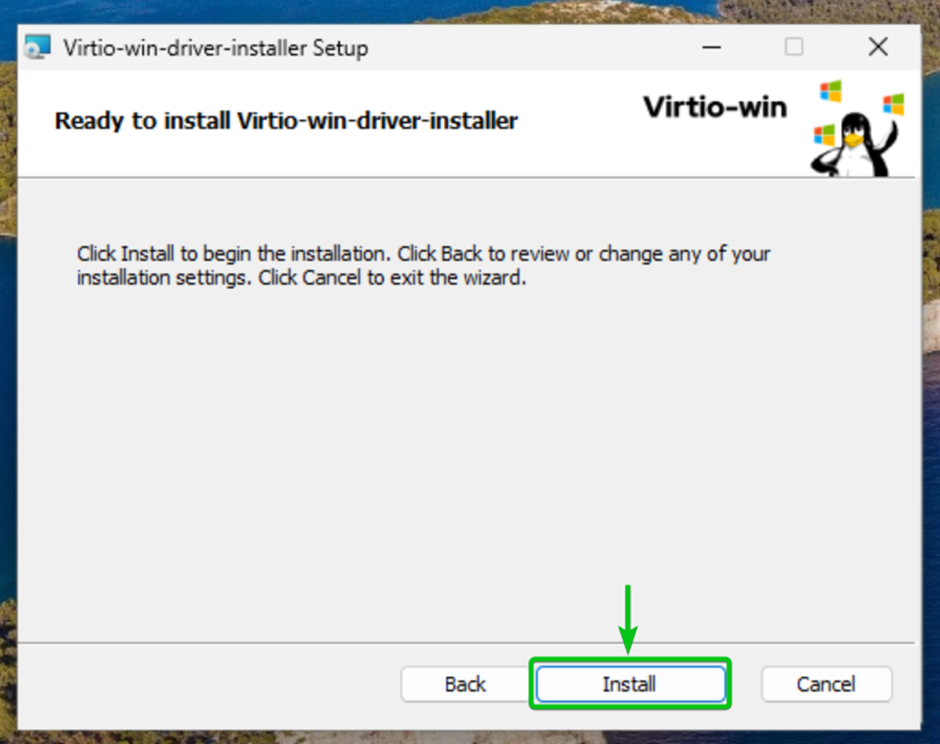
Click on Install.
VirtIO drivers are being installed. It will take a while to complete.

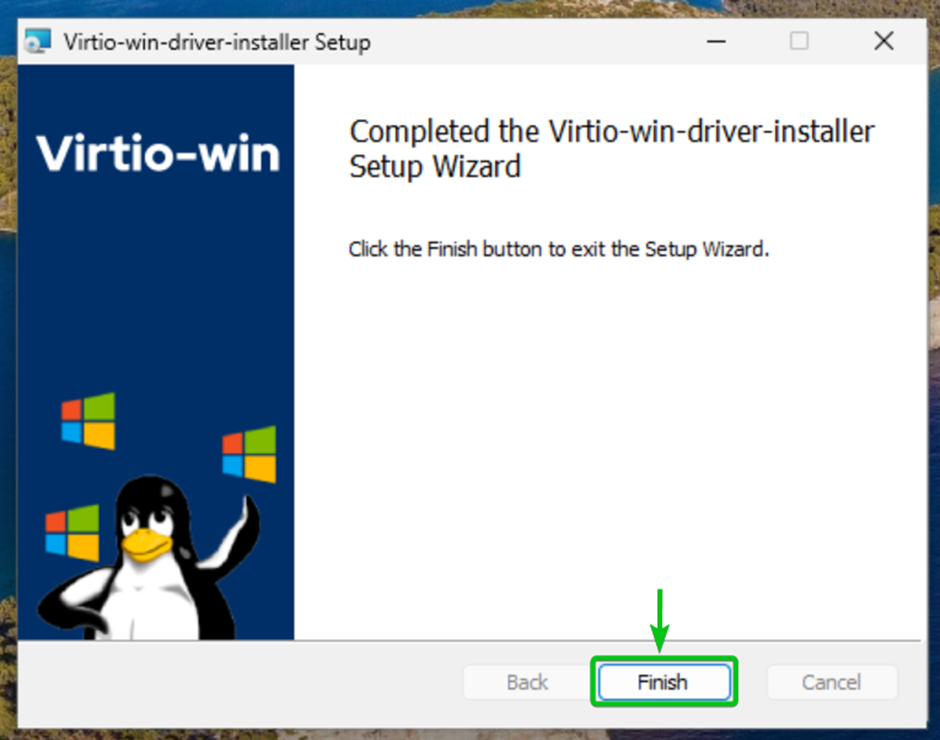
Once the VirtIO drivers are installed, click on Finish.
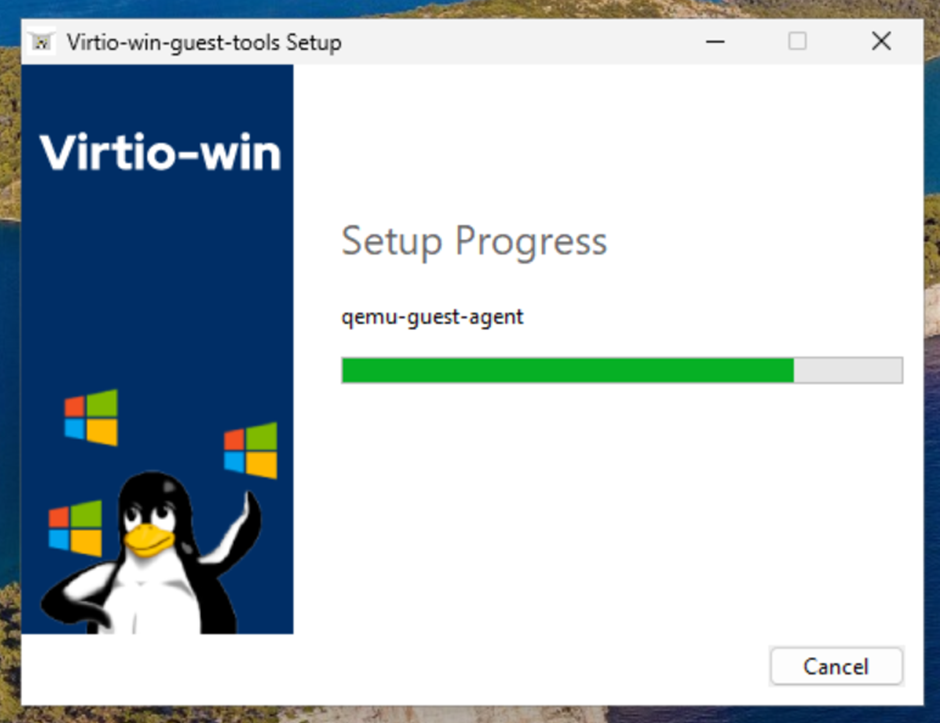
The QEMU Guest Agent installation should start right away. It will take a few seconds to complete.
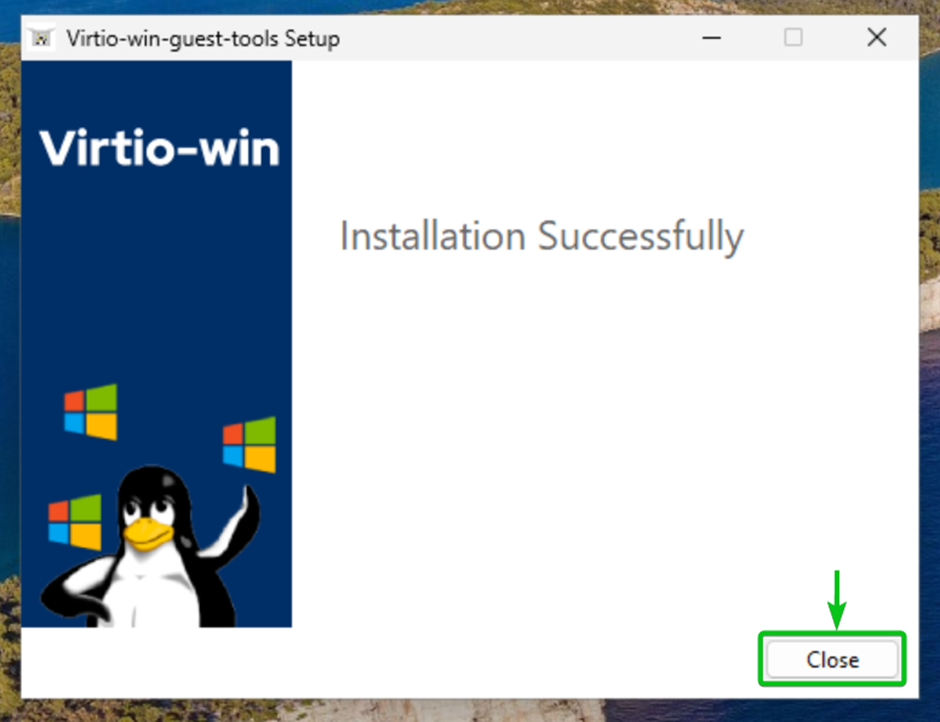
Once the installation is complete, click on Close.
At this point, the VirtIO drivers and QEMU Guest Agent should be installed on your Windows 10/11 Proxmox VE virtual machine.
Conclusion
In this article, I have shown you how to download the latest stable version of the VirtIO drivers ISO image for Windows. I have also shown you how to mount the VirtIO drivers ISO image and install the VirtIO drivers and the QEMU Guest Agent on a Windows 10/11 Proxmox VE virtual machine.
References
Source: linuxhint.com