How To Install Ubuntu 22.04 LTS with Dualboot, UEFI, and External Drive Methods
This tutorial explains in step by step how you can install Ubuntu 22.04 LTS “Jammy Jellyfish” into your computer or laptop. We will use a USB flash disk drive storage instead of hard disk. By practicing, you will be able to adapt this tutorial to install Ubuntu into hard disk, external HDD, and also SSD. Please note that this will help you making dualboot with Windows, no matter if your computer features BIOS Legacy or UEFI. Start everything with the preparations below and now let’s go. Happy installing!
Subscribe to UbuntuBuzz Telegram Channel to get article updates.
About This Tutorial
Practicing this tutorial will help you
- install Ubuntu into a blank USB flash disk drive, then as a consequence:
- it is safer, less risky to your existing Windows and data if any, and
- dualboot made automatically with Windows if any, and
- give you ability to be nomaden or portable, that is, the Ubuntu flash drive can run on different computers and laptops while all data stored inside it, and
- you can adapt this to install Ubuntu normally into HDD, or
- into external HDD, or
- into SSD.
Requirements
– 1 x PC or laptop.
– Either BIOS Legacy or UEFI system in the computer.
– 1 x USB flash drive >= 4GB (we call this “bootable”).
– 1 x new empty USB flash drive >= 16GB (we call this “target”). (*)
– 1 x Ubuntu Desktop 22.04 LTS image file.
For example, to write this tutorial we actually install Ubuntu 22.04 into Lenovo ThinkPad T430 (laptop), a 16GB flash drive (as bootable), a 32GB flash drive (as target), and Ubuntu 22.04 (as the operating system). Internet access is not required.
(*) We strongly suggest you to get a new USB flash drive and not using a used one. It is still cheaper than hard disk drive.
Ubuntu Preinstalled Laptops
We always want to share that today we saw many computer vendors who sell PCs and laptops with Ubuntu preinstalled so now you can buy a branded one with Ubuntu and not Windows. Today we know the vendors who already offer Jammy Jellyfish are StarLabs, LaptopWithLinux, and TUXEDO from Europe you can order worldwide. Aside from it, to install Ubuntu by yourself, please follow the rest of this tutorial.
Preparations
Preparation i. Get Ubuntu 22.04
Visit Jammy Jellyfish Download Links to grab it.
If you are a beginner and need help, visit How To Download Ubuntu.
Preparation ii. Make Ubuntu Bootable
Visit How To Make Ubuntu Bootable Medium to practice it to your bootable flash drive.
Preparation iii. Boot Up
Once you made a bootable medium,
Step i. Turn off your computer.
Step ii. Plug the bootable medium into the USB port.
Step iii. Turn on your computer.
Step iv. Your computer should boot into Ubuntu 22.04 installation screen.
Preparation iv. Hardware Check Up
Once you are able to boot up, you saw a choice of either TRY or INSTALL, you should do a hardware checkup to see if all devices work normally.
Step i. Click TRY UBUNTU and see Ubuntu Desktop.
Step ii. Enable wifi and connect to a nearby internet access.
Step iii. Open Firefox.
Step iv. Play online videos you usually watch.
Step vi. Open Files.
Step vii. Access your hard disk drives.
Step viii. Fill this checklist out:
- Wifi = OK | NOT
- GPU = OK | NOT
- Sound = OK | NOT
- Touchpad (for laptop) = OK | NOT
- Keyboard = OK | NOT
- Battery (for laptop) = OK | NOT
- HDD = OK | NOT
- Bluetooth (if any) = OK | NOT
Step ix. Continue next preparation whatever the checklist result is.
Preparation v. Start Ubuntu Installer
Once hardware check up is finished, click Install Ubuntu 22.04 on desktop. The installer will be displayed. Continue to Ubuntu Installation.
Ubuntu Installation
Once all preparations completed, do the following steps one by one carefully.
Step 1. Start
Select English from the language selection and click Continue.

Step 2. Select Keyboard Layout
Select English (US) and click Continue.

Step 3. Select Networking
Select I don’t want to connect or similar option and click Continue.

Step 4. Select Installation Type
Select Normal Installation and click Continue.

Step 5. Select Partitioning Mode
Select Something Else or Manual, that is, not automatic ones, and click Continue.

Step 6. Partitioning
You will create three (3) disk partitions inside the TARGET USB FLASH DRIVE as the followings:
- EFI partition, size=200MB, Use as=EFI System Partition, click OK.
- SWAP partition, size=1000MB, Use as=SWAP, click OK.
- ROOT partition, size=don’t change, Use as=EXT2 Filesystem, Format=checkmark if asked, Mount point = slash ( / ), click OK.
Firstly, create an EFI partition:

Secondly, create a SWAP partition:

Thirdly, create a ROOT partition:

Finally, now your partitions should look like this one:

Once you created three (3) partitions above, continue next step.
Step 7. Setup Bootloader and Install Now
1. Setup the bootloader as the following:
- For UEFI: select /dev/sdb1, given that /dev/sdb1 is the EFI System Partition inside the target USB flash drive. Please notice the number!
- For BIOS Legacy: select /dev/sdb, given that /dev/sdb is the target USB flash drive.

2. Click INSTALL NOW.
3. Read carefully the summary displayed on screen.
4. Click continue if you are sure everything is correct, otherwise CANCEL and carefully redo your partitionings first.

Step 8. Setup Timezone and Create Username
1. A world map page will open, then Select Asia/Jakarta, for example, otherwise select another timezone you belong to.
2. Continue.

3. A username creation page will open, so create your own username and password.
4. Continue.

Step 9. Wait for the Process
Once username creation finished, you will need to wait for a while. You can have a cup of coffee or play with kids while waiting.
Step 10. Finish
Once finished, Ubuntu will say “Installation Complete” on screen:

1. Click Restart Now.
2. Screen will go black saying “Please remove medium then press Enter”.
3. Plug your bootable medium off.
4. Press Enter.
5. Computer will boot into your target flash drive.
6. Ubuntu installed and is ready to use.
The Result
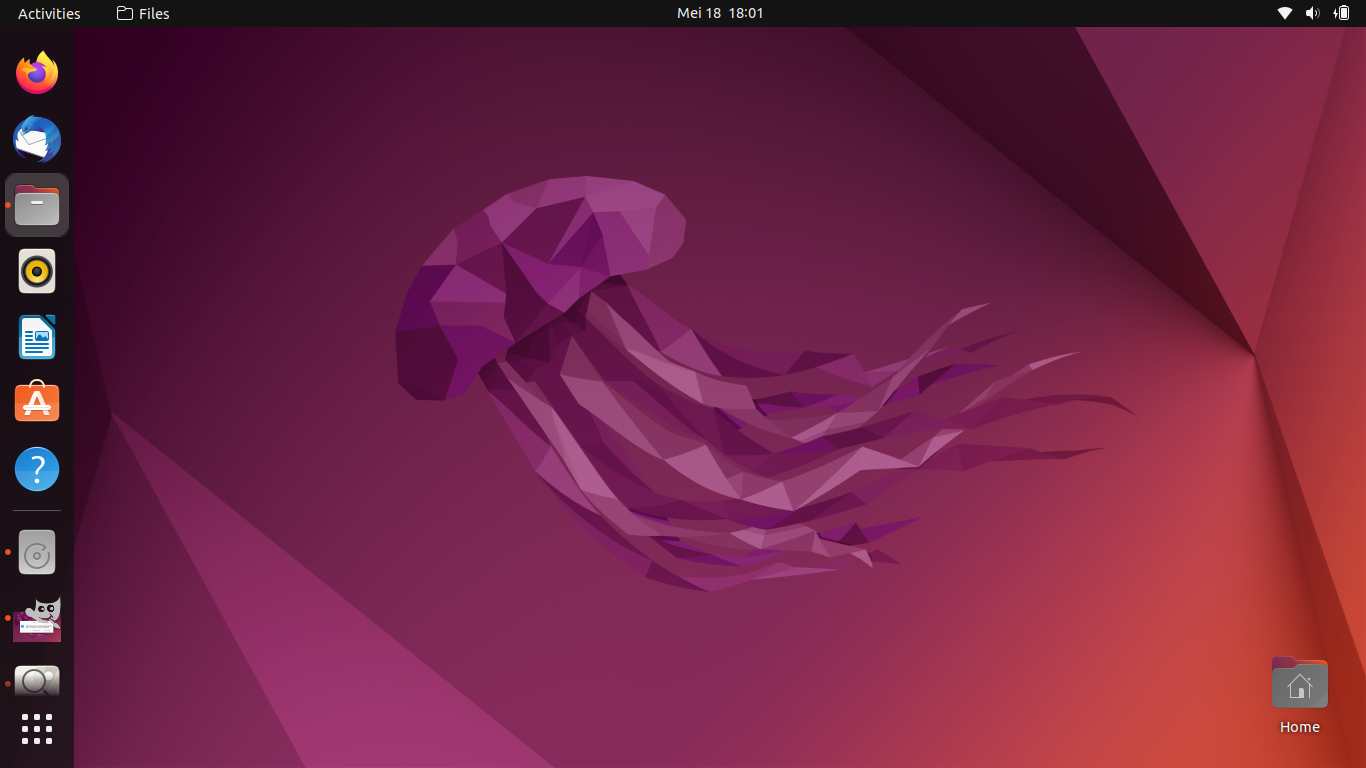
Ubuntu 22.04 LTS “Jammy Jellyfish” is ready for you.
This article is licensed under CC BY-SA 3.0.
Source: Ubuntu Buzz !