How to Install TimeShift on Raspberry Pi
TimeShift is one of the free tools that can create a backup for your Linux operating system and in case of something goes wrong, you can restore your system. So read this guide to go through the procedure of installing TimeShift on Raspberry Pi.
Installing TimeShift on Raspberry Pi
Creating backup for your system has become necessary because any malware or virus can corrupt your system. The whole process of installing TimeShift is based on a few steps that are given below:
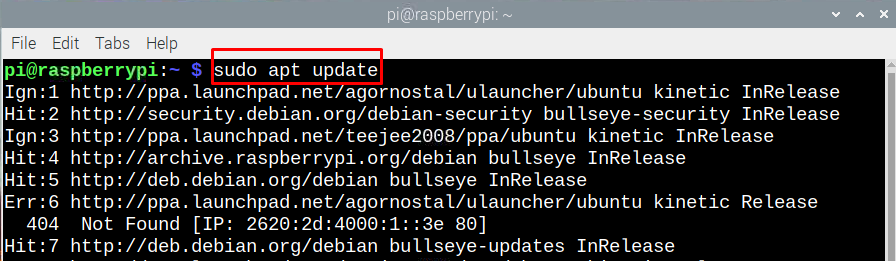
Step 1: Update the packages list of apt package manager using:
Step 2: Now, install the TimeShift using the apt package manager:

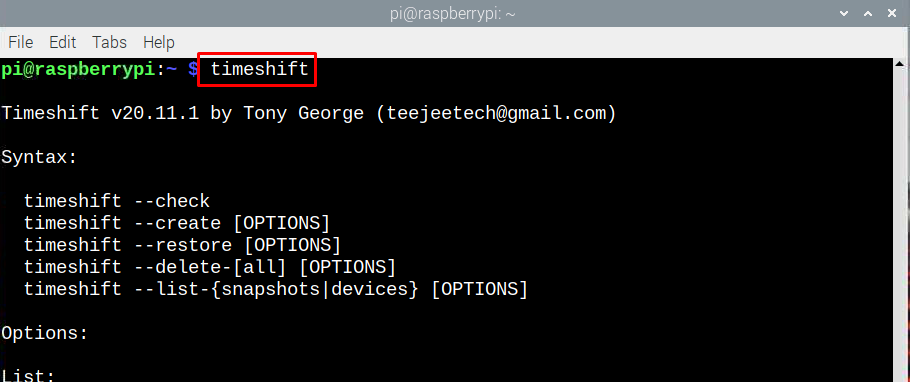
Step 3: Next, to check the TimeShift version use the following command:
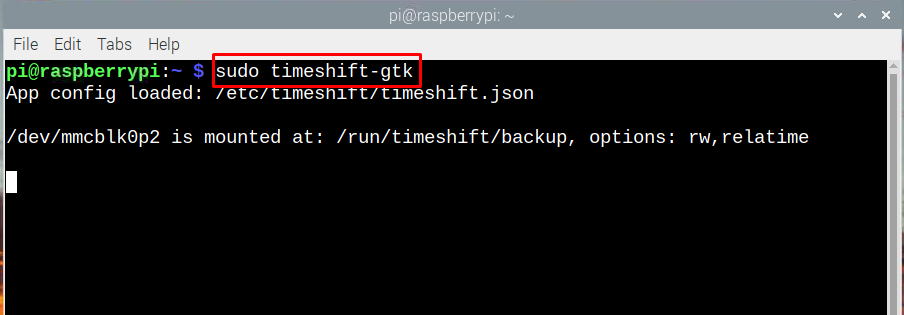
Step 4: Open the TimeShift application by executing the below given command:
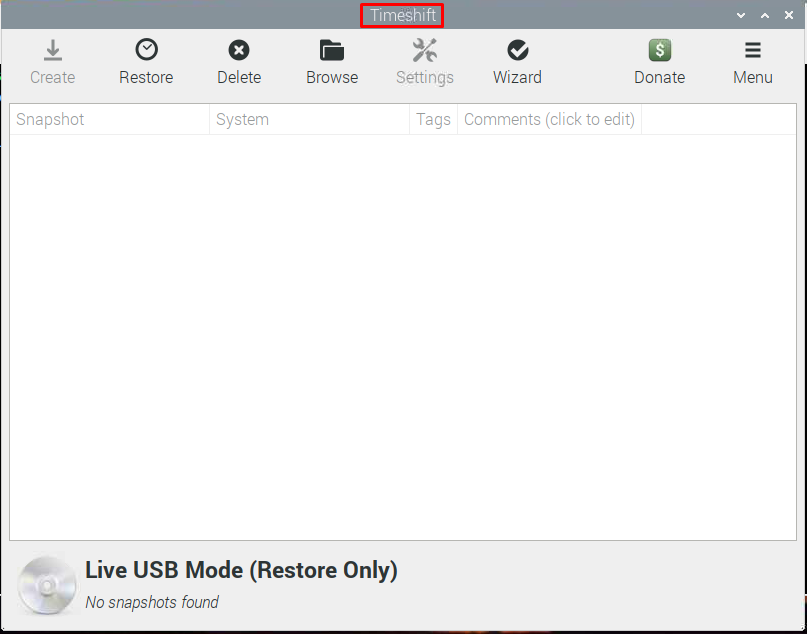
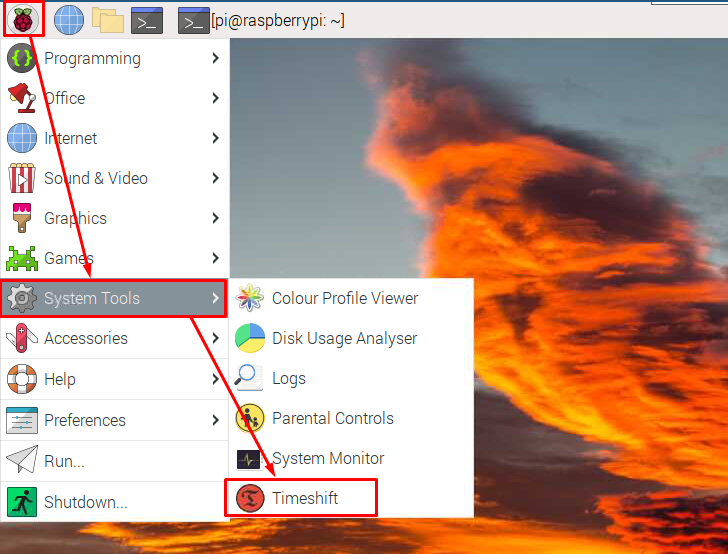
You can also open the TimeShift from desktop mode from the System Tools menu:
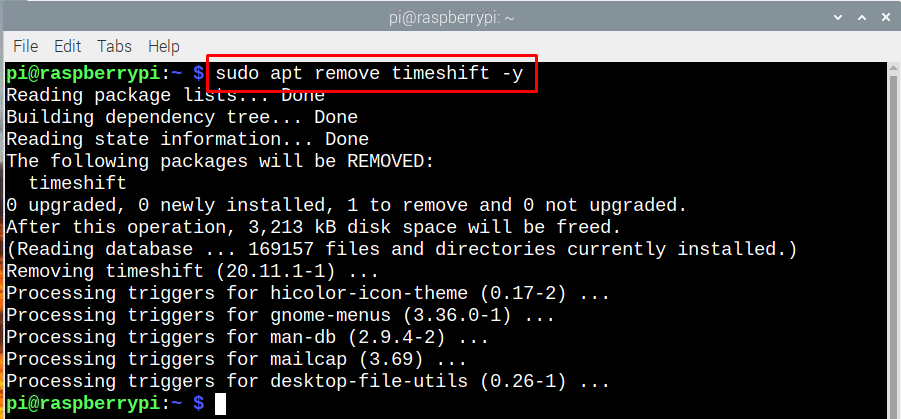
Uninstalling the TimeShift from Raspberry Pi
To uninstall the TimeShift just execute the following command:
Conclusion
Creating a restore point for your system is necessary as it comes in handy when the system is not functioning properly due to some recent changes or may be due to any application installed. In that case without losing your settings and data you can restore the system to its previous settings. This will not only save time but also will keep your data and settings saved. TimeShift proves to be one of the best tools for creating a backup for the Raspberry Pi as it is easy to install and work with. To install it on Raspberry Pi, use the apt packet manager.
Source: linuxhint.com