How to Install the Latest Version of JupyterHub on Ubuntu 22.04 LTS/Debian 12/Linux Mint 21
In this article, we will show you how to install the latest version of JupyterHub on the following Linux distributions:
- Ubuntu 22.04 LTS
- Debian 12
- Linux Mint 21
You can install JupyterHub on other Ubuntu/Debian-based Linux distributions as well. The same procedures should work with little to no changes.
Topic of Contents:
- Installing the Required Dependency Packages
- Upgrading Python PIP to the Latest Version
- Creating a Python Virtual Environment for JupyterHub
- Installing Configurable HTTP Proxy
- Installing JupyterHub
- Creating a JupyterHub Configuration File and Systemd Service
- Accessing JupyterHub
- Creating New JupyterHub Users
- Configuring FirstUseAuthenticator on JupyterHub
- Configuring IDLE Culler on JupyterHub
- Adding a New Programming Language Support on JupyterHub
- Conclusion
Installing the Required Dependency Packages
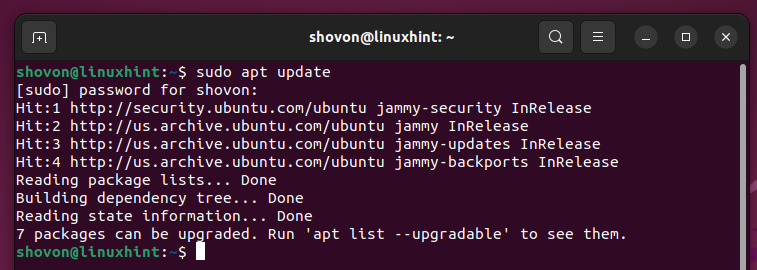
First, update the APT package database cache with the following command:
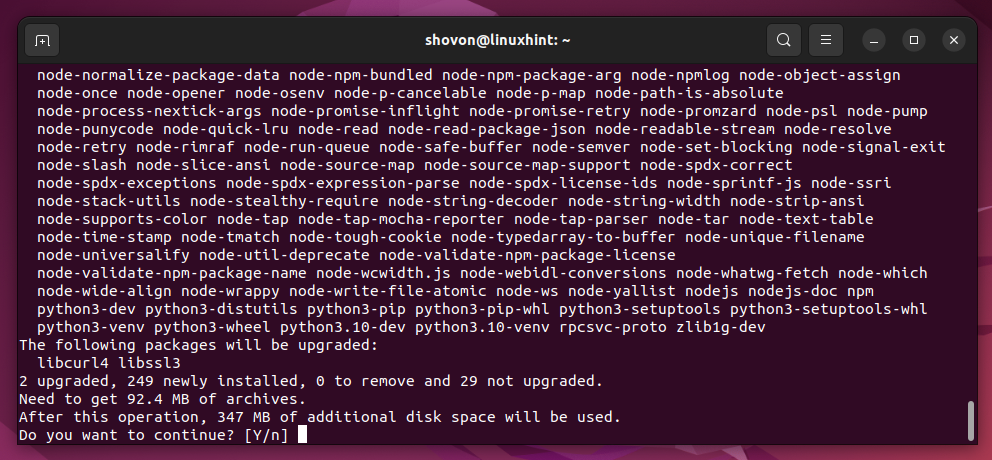
To install all the required dependency packages for JupyterHub, run the following command:
To confirm the installation, press “Y” and then press <Enter>.
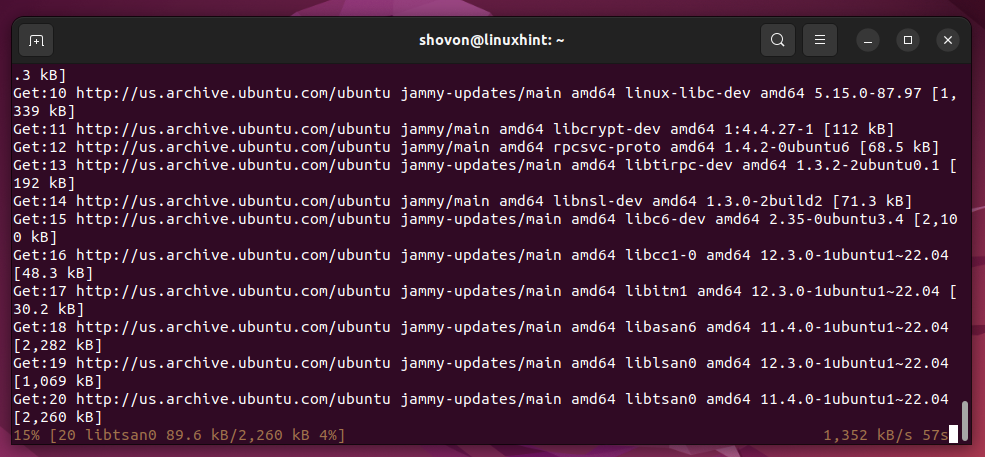
The required dependency packages are being downloaded from the internet. It takes a while to complete.
The required dependency packages are being installed. It takes a while to complete.

At this point, the required dependency packages for JupyterHub should be installed.

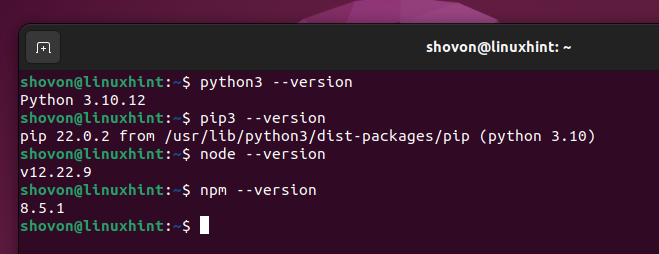
To confirm that you have Python 3, Python 3 PIP, Node.js, and NPM installed on your computer, run the following command:
$ pip3 --version
$ node --version
$ npm --version
As you can see, we have Python 3.10.12, Python PIP 22.0.2, Node.js 12.22.9, and NPM 8.5.1 installed on our computer.
Upgrading Python PIP to the Latest Version
Before you install JupyterHub on your computer, you should upgrade the Python PIP of your computer to the latest version.
To upgrade Python PIP, run the following command:
The latest version of Python PIP should be installed on your computer.
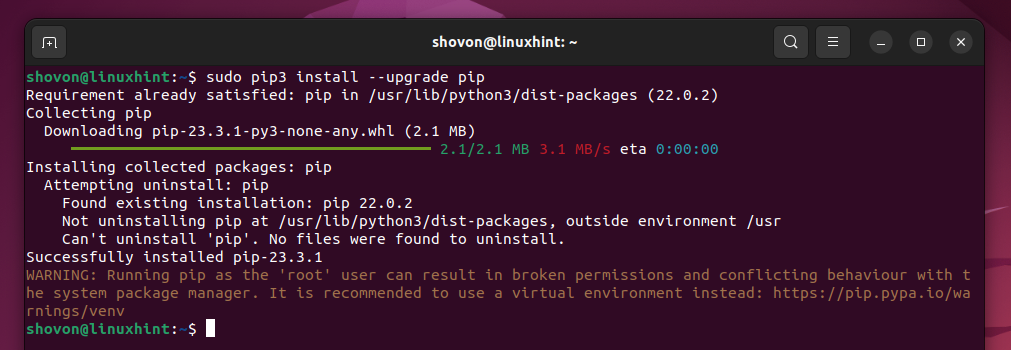
As you can see, Python PIP is upgraded from version 22.0.2 to 23.3.1 in our case.

Creating a Python Virtual Environment for JupyterHub
It’s recommended to install JupyterHub in a Python virtual environment so it does not interfere with other Python packages that you installed from the official package repository of your Linux distribution.
To create a new Python virtual environment for JupyterHub in the “/opt/jupyterhub” directory path, run the following command:
Installing Configurable HTTP Proxy
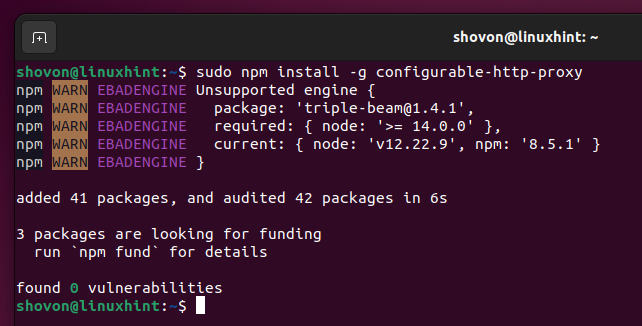
JupyterHub requires the Configurable HTTP Proxy to work. You can install the Node.js package Configurable HTTP Proxy with the following command:
The Configurable HTTP Proxy is being installed. It takes a few seconds to complete.

The Configurable HTTP Proxy should be installed at this point.
Installing JupyterHub
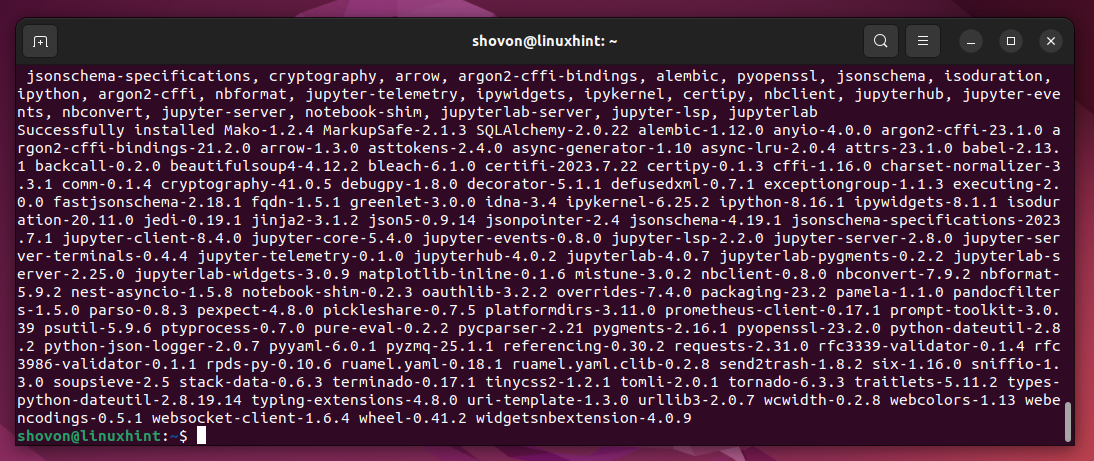
To install JupyterHub and the required dependencies on the newly created “/opt/jupyterhub” Python virtual environment, run the following command:
JupyterHub is being installed. It takes a while to complete.
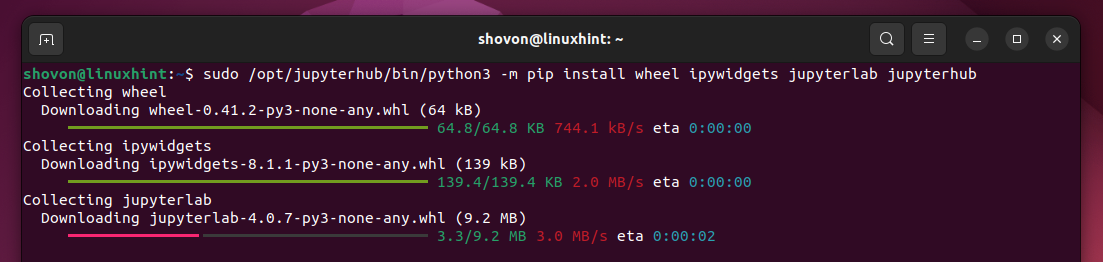
JupyterHub should be installed at this point.
Creating a JupyterHub Configuration File and Systemd Service
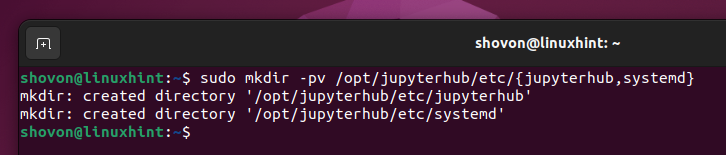
To create the required directories to store the JupyterHub configuration file and systmed service file, run the following command:
The “/opt/jupyterhub/etc/jupyterhub” and “/opt/jupyterhub/etc/systemd” directories should be created.
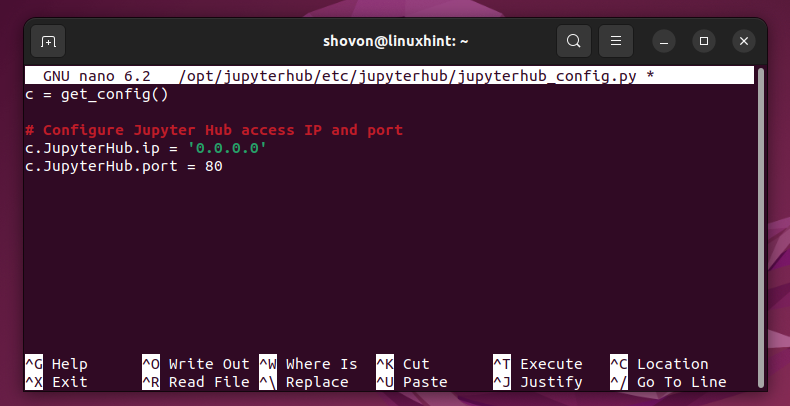
To create a new JupyterHub configuration file which is “jupyterhub_config.py” in the “/opt/jupyterhub/etc/jupyterhub” directory and open it with the nano text editor, run the following command:
To access JupyterHub from your network, you have to write the following lines in your “jupyterhub_config.py” file:
# Configure Jupyter Hub access IP and port
c.JupyterHub.ip = '0.0.0.0'
c.JupyterHub.port = 80
Once you’re done, press <Ctrl> + X followed by “Y” and <Enter> to save the JupyterHub configuration file.
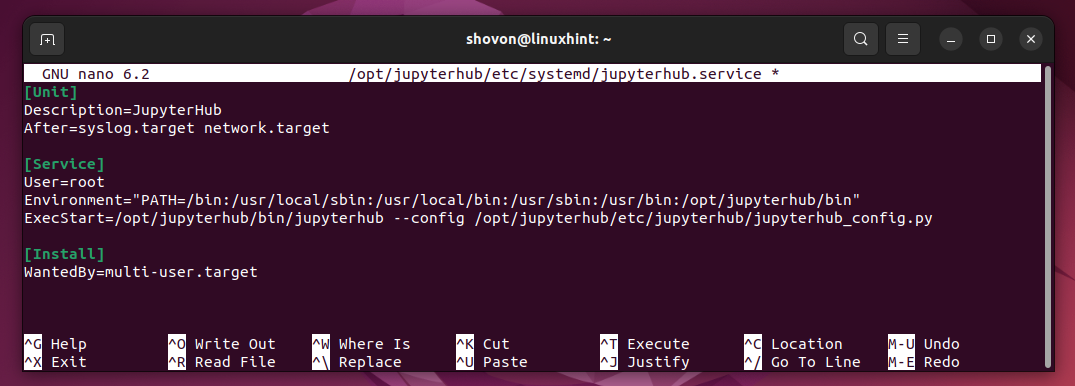
To create a new JupyterHub “systemd” service file which is “jupyterhub.service” (so that JupyterHub can be automatically started on system boot) in the “/opt/jupyterhub/etc/systemd” directory and open it with the nano text editor, run the following command:
Type in the following lines in the “jupyterhub.service” file:
Description=JupyterHub
After=syslog.target network.target
[Service]
User=root
Environment="PATH=/bin:/usr/local/sbin:/usr/local/bin:/usr/sbin:/usr/bin:/opt/jupyterhub/bin"
ExecStart=/opt/jupyterhub/bin/jupyterhub --config /opt/jupyterhub/etc/jupyterhub/jupyterhub_config.py
[Install]
WantedBy=multi-user.target
Once you’re done, press <Ctrl> + X followed by “Y” and <Enter> to save the JupyterHub “systemd” service file.
Systemd reads the service files from the “/etc/systemd/system” directory. So, create a symbolic link of the JupyterHub “systemd” service file in the “/etc/systemd/system” directory with the following command:
To reload the “systemd” service database, run the following command:
Now, add the JupyterHub “systemd” service to the system startup of your computer (so that it automatically starts on system boot) with the following command:

To start the JupyterHub service, run the following command:
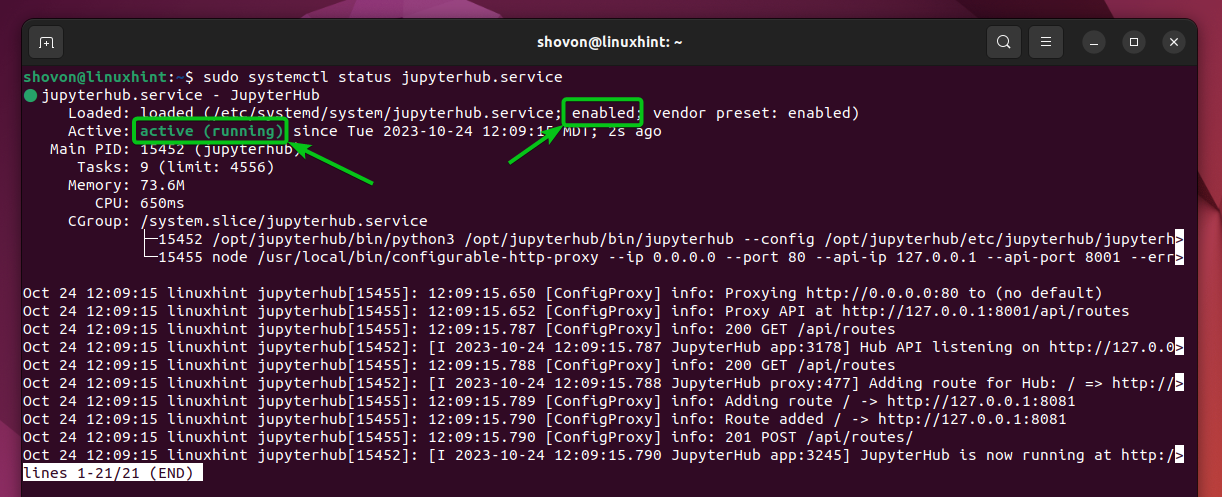
To check if the JupyterHub service is running, run the following command:
As you can see, the JupyterHub service is running[1] and it’s added to the system startup of my computer[2].
Accessing JupyterHub
To access JupyterHub from a web browser, you need to know the IP address of your computer where you installed JupyterHub.
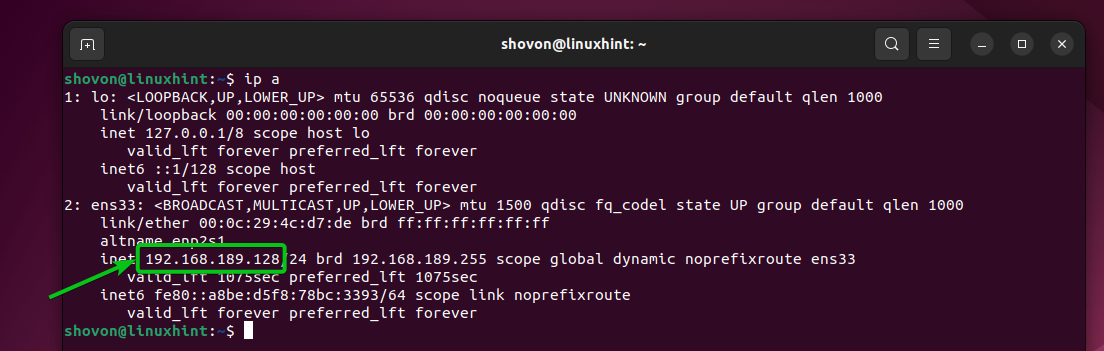
To find the IP address of your computer, run the following command:
The IP address of my computer is 192.168.189.128. It will be different for you. So, make sure to replace it with yours from now on.
To access JupyterHub from a web browser, visit http://192.168.189.128.
You will see the JupyterHub login page shortly. By default, JupyterHub is configured to work with the users of your Linux system. So, you can log in to JupyterHub with the login username and password of any one of your Linux system users.
To log in to JupyterHub, type in the username and password of the Linux system user that you want to log in as and click on “Sign in”.
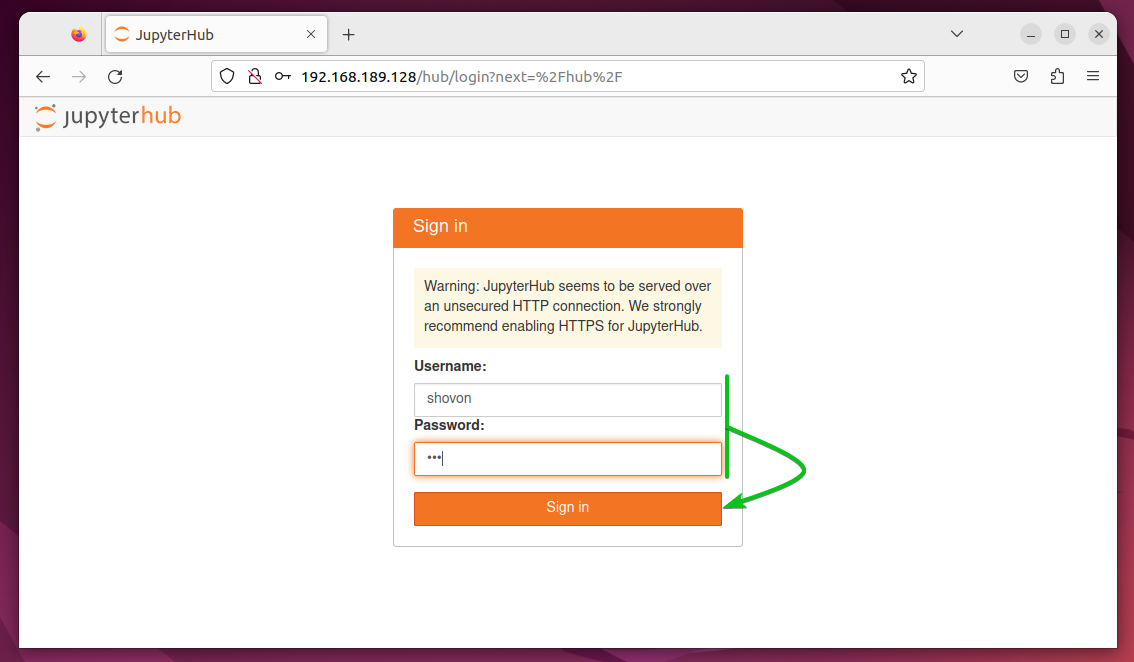
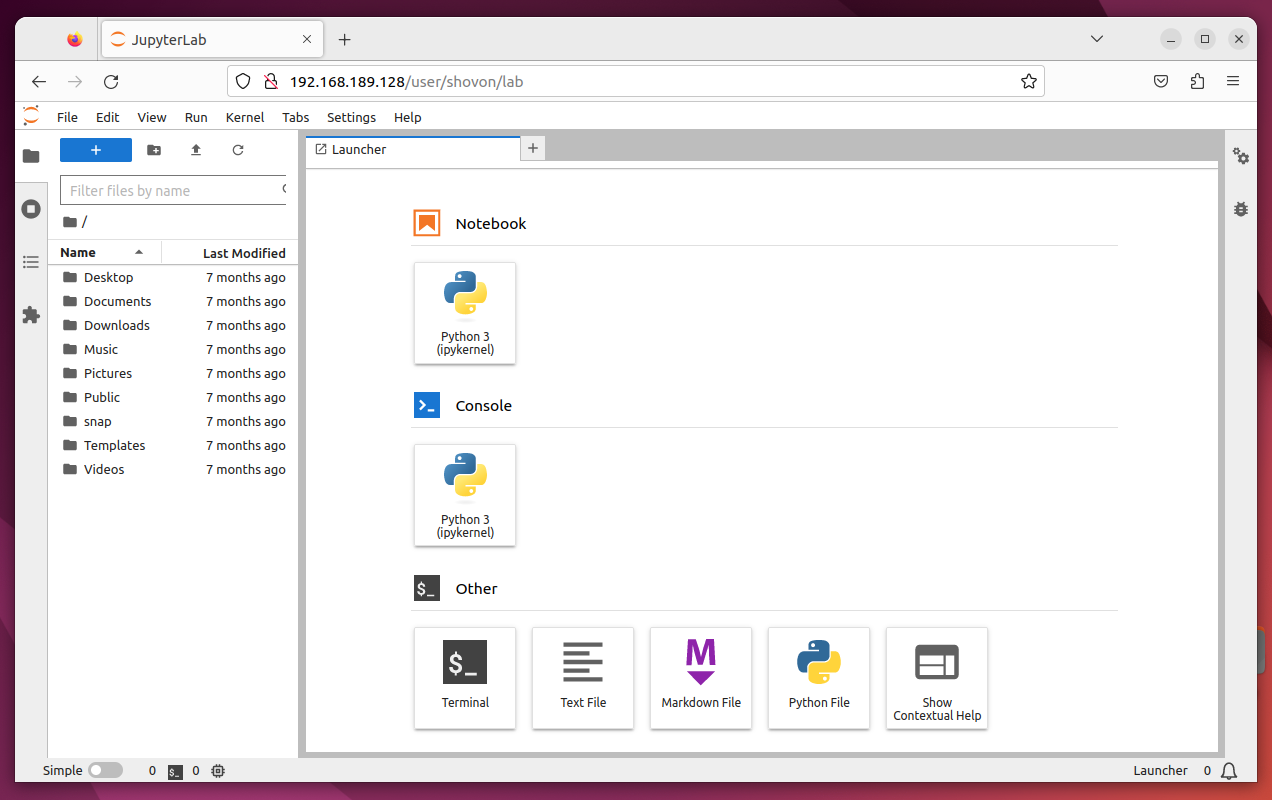
You should be logged in to your JupyterHub account.
Creating New JupyterHub Users
Since JupyterHub works with Linux system users by default, if you want to create a new JupyterHub user, you have to create a new Linux user.
If you need any assistance in creating a new JupyterHub user, read this article.
Configuring FirstUseAuthenticator on JupyterHub
JupyterHub supports the other Authentication mechanisms as well. If you want to create JupyterHub users on the fly and set a login password for the JupyterHub users while you log in to JupyterHub for the first time, you can configure the FirstUseAuthenticator on JupyterHub. FirstUseAuthenticator lets you create JupyterHub users when you log in to JupyterHub for the first time as the name says.
Configuring IDLE Culler on JupyterHub
If you plan to allow a lot of users to use JupyterHub, we recommend you to configure the JupyterHub IDLE culler on JupyterHub. The JupyterHub IDLE culler detects the user sessions that are idle for a long time and stops them to save the system resources so that the other active users can utilize those resources.
Adding a New Programming Language Support for JupyterHub
Other than Python, you can add support for the new programming languages on JupyterHub notebooks. All you have to do is install the JupyterHub kernel for the programming language that you want to add to JupyterHub.
If you need any assistance on adding new programming languages support for JupyterHub, read one of the following articles:
- Bash
- JavaScript/Node.js
Conclusion
In this article, we showed you how to install JupyterHub on Ubuntu 22.04 LTS, Debian 12, Linux Mint 21, and other Ubuntu/Debian-based Linux distributions. We also showed you how to access JupyterHub from a web browser.
Source: linuxhint.com