How to Install the IIS and ASP.NET Modules?
This write-up will provide the complete procedure to install IIS and ASP.NET modules on Windows.
How Do I Install the ASP.NET and IIS Modules on Windows?
Internet Information Services, also known as IIS, and the ASP.NET modules can be installed either by using the UI (User Interface) or by using the CLI (Command Line Interface). Follow the steps exhibited below to install IIS and ASP.NET modules using both these methods.
Method 1: Installing ASP.NET and IIS Using UI
To install ASP.NET and IIS using UI, follow the steps demonstrated below.
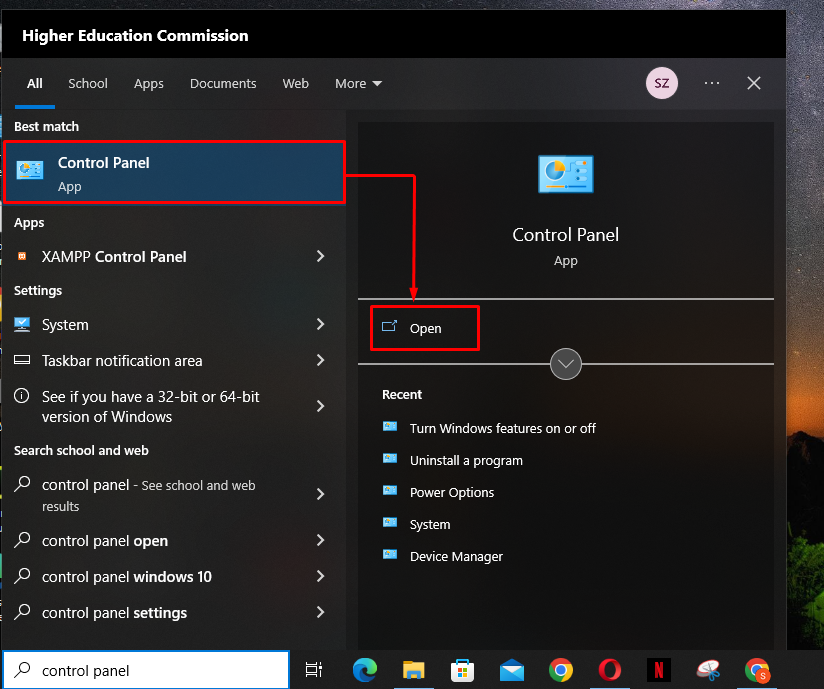
Step 1: Open Control Panel
From the start menu, search, and open the Control Panel:
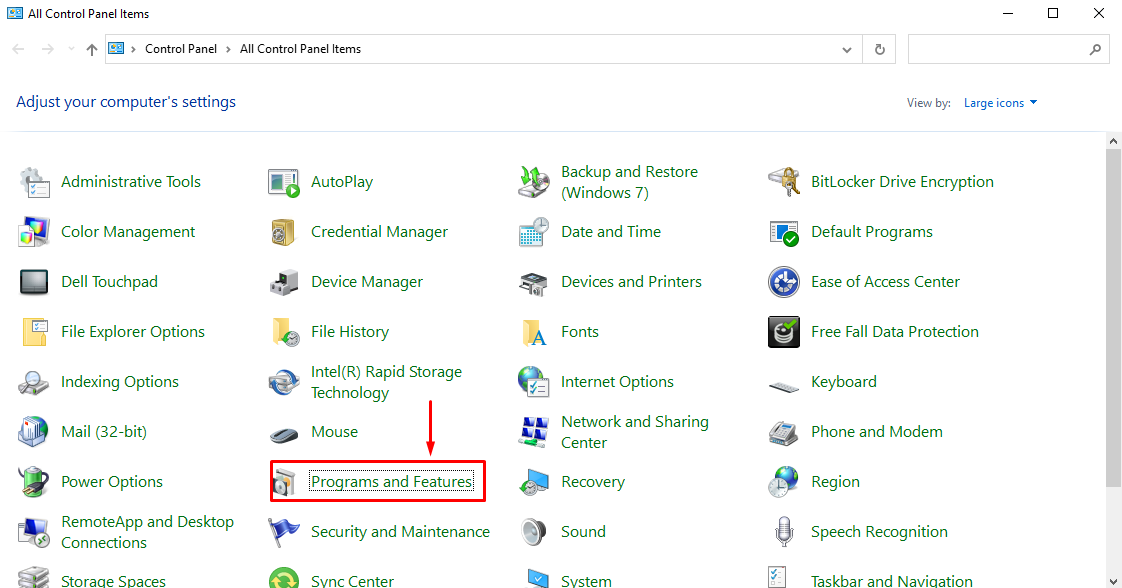
Step 2: Go to Program and Features
Select the “Program and Features” option from the list:
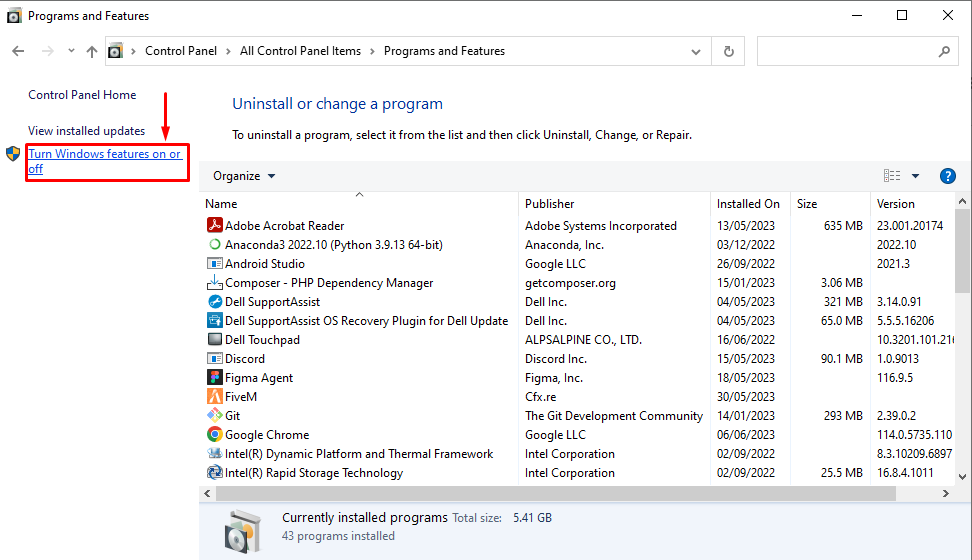
Next, click on the “Turn Windows features on or off” option:
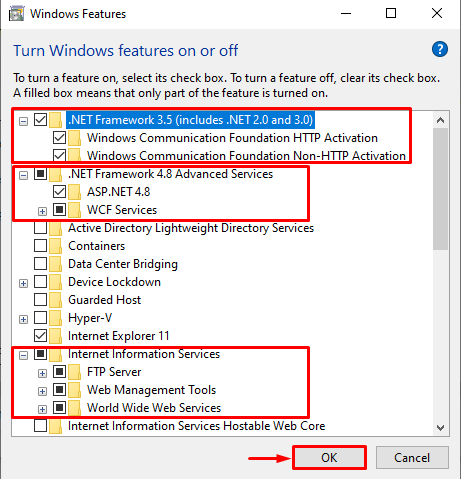
Step 3: Install IIS and ASP.NET Modules
From the appeared “Windows Feature” section, check the below-highlighted boxes and click on the “OK” button:
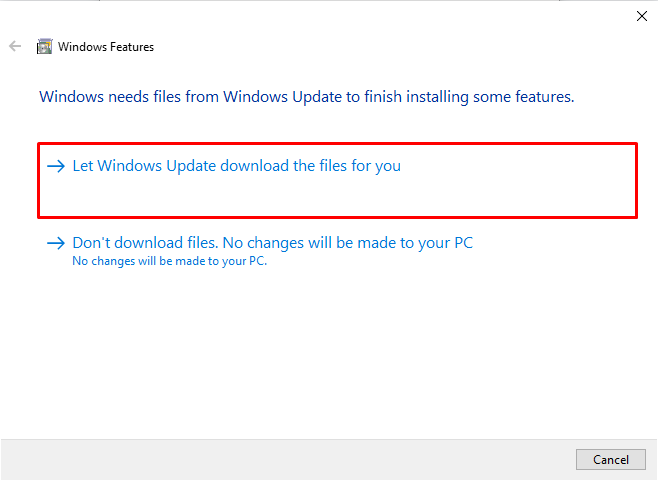
Next, select the highlighted-below option from the appeared window:
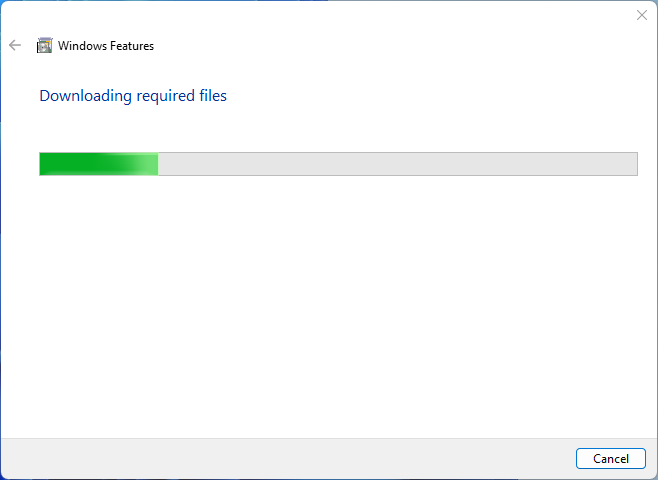
After that, Windows will start downloading the required files:
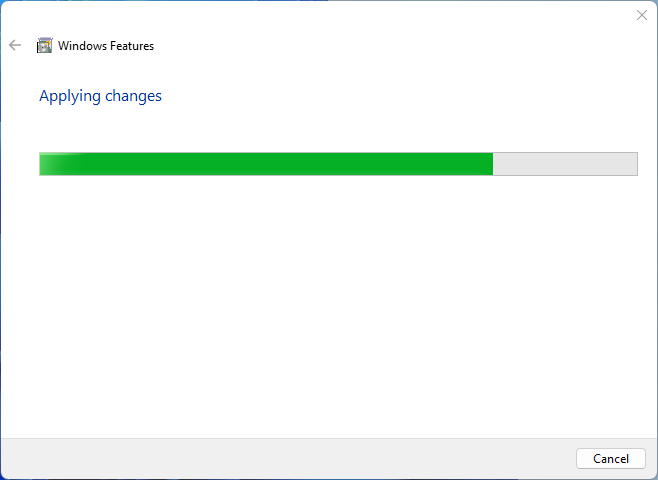
Once the required files are successfully downloaded, Windows will start applying the new changes:
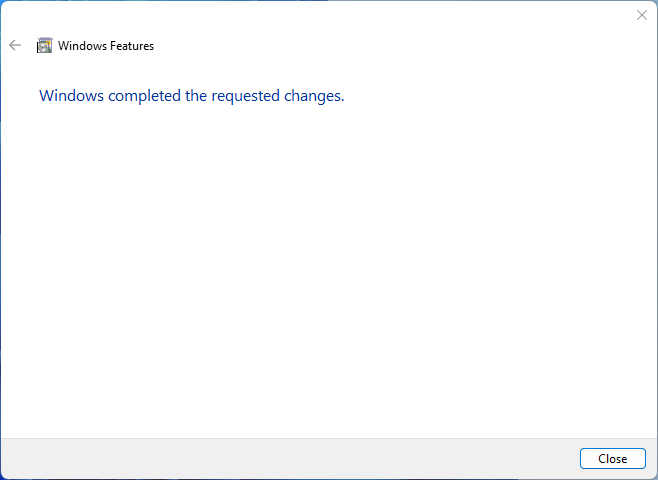
The following snippet demonstrates that Windows has completed the requested changes:
Method 2: Installing IIS and ASP.NET Using Command Line Interface
Follow the steps exhibited below to install IIS and ASP.NET using CLI.
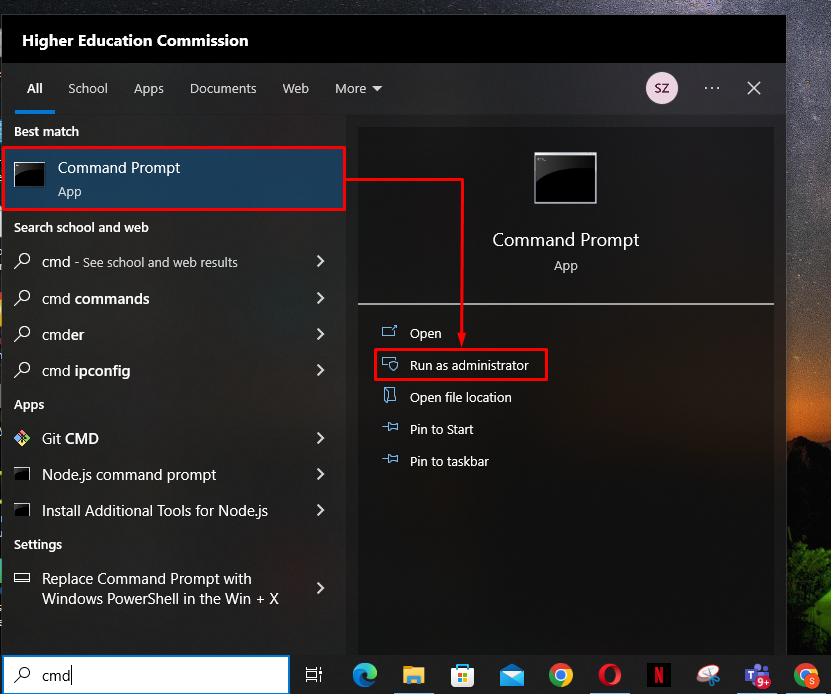
Step 1: Open Command Prompt
To install IIS and ASP.NET using the command line, search for “cmd” in the start menu and click on the “Run as Administrator” option:
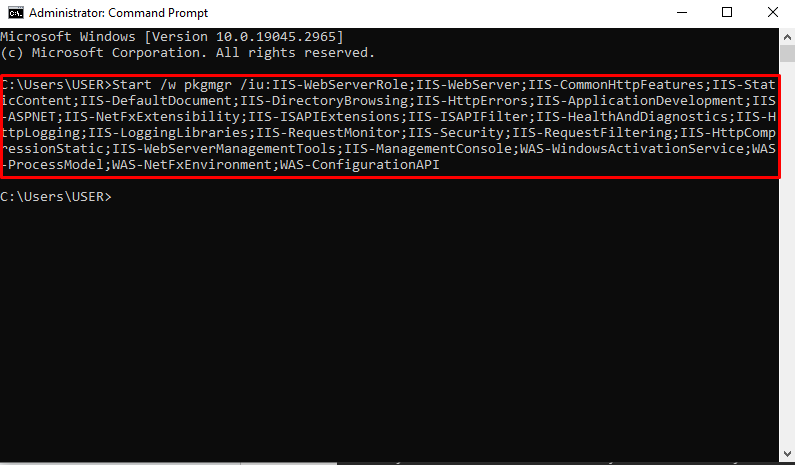
Step 2: Insert the Command
Insert the command given below and press Enter on the keyboard:
Once the above-given command is executed, the Command Prompt cursor will move to the next line without showing any error message. This signifies the successful installation of the IIS and ASP.NET modules:
That is all about installing ASP.NET and IIS modules on Windows.
Conclusion
To Install the ASP.NET and IIS modules on Windows, first, open the “Control Panel” and navigate to the “Program and Features” option. Next, click on “Turn Features on or off” and check the relevant boxes for IIS and ASP.NET installation. After that, Windows will download the required files and apply the new changes. This write-up has presented a couple of methods for installing IIS and ASP.NET modules on Windows.
Source: linuxhint.com