How to Install Terraform in EC2
Terraform is an open-source tool mostly used by DevOps, as it provides the facility to build, manage, and update resources on cloud platforms by coding, AWS is an advanced network partner of Terraform. Terraform’s state allows its users to track the changes in their resources through the development process.
This post will provide a procedural guide to install Terraform in the EC2 instance, even including the steps to create an EC2 instance first.
Install Terraform in EC2 Instance
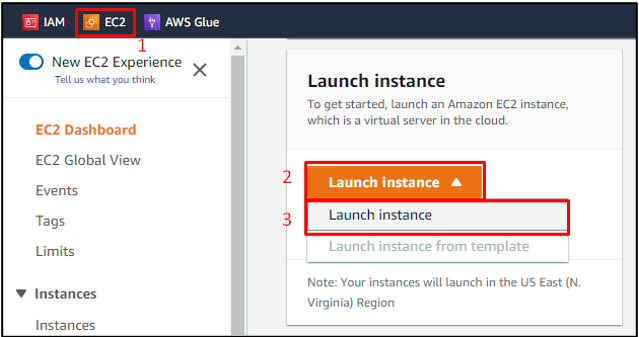
In the Amazon management console, search EC2 and open EC2 Dashboard, open the Launch instance drop-down list, and click on Launch instance:
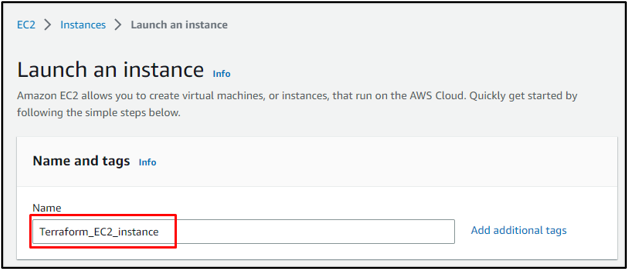
In Launch an instance wizard, provide a name for this EC2 instance:
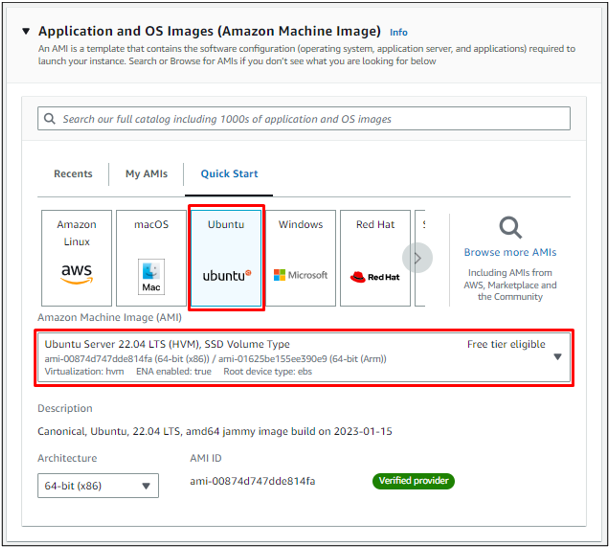
Select the Amazon Machine Image as per your preference, let’s select Ubuntu for this post:
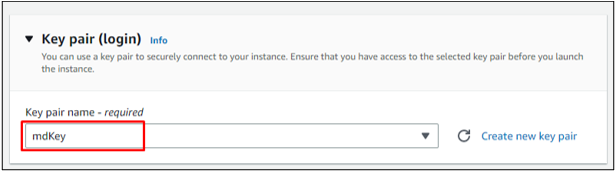
Select an already existing key pair or create a new key pair:
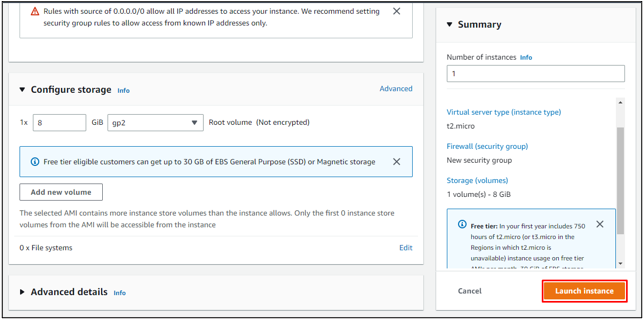
Leave rest of the options as default and click on Launch instance button:
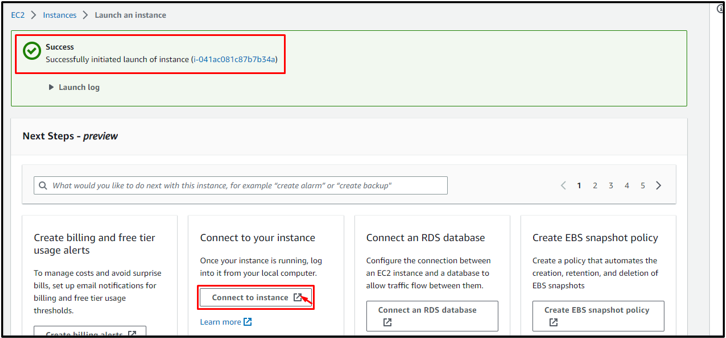
On the screen, a success message will appear after the successful creation of the EC2 instance, click on Connect to instance button:
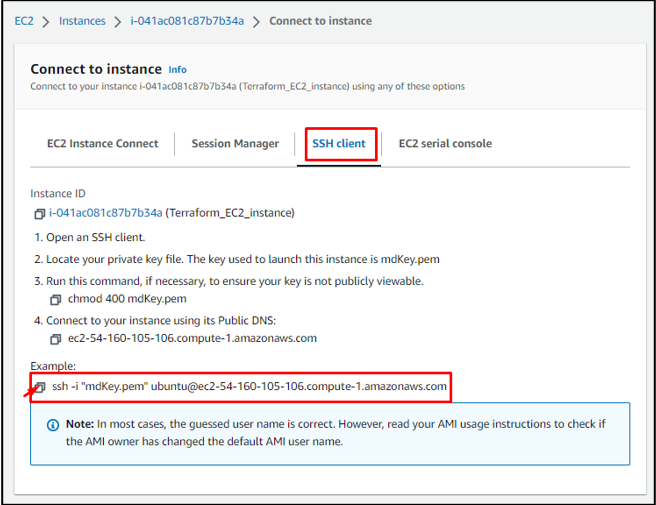
Connect to instance wizard will open, go to SSH client tab and copy the provided SSH command:
Open the Command Prompt or PowerShell and paste the SSH command:
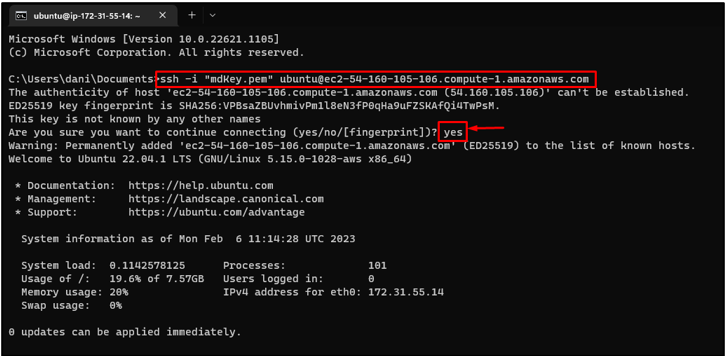
In the output above, it is visible that the EC2 is logged in successfully using the SSH Client.
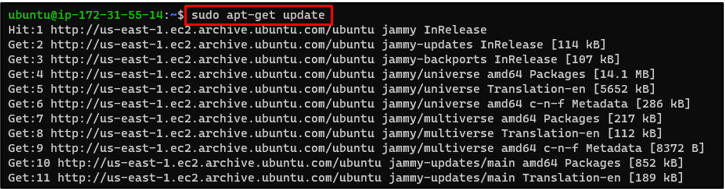
Type this update command:
The next step is to install a package to manage the repositories that are installed from common, install it by typing:

Add the key by typing:

After this, its time to add the repository of Terraform using this command:
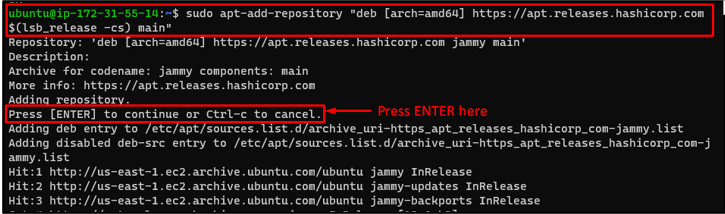
Hit Enter when a command for continuity appears while adding the repository.
Again use the update command to refresh the list of repositories by typing:

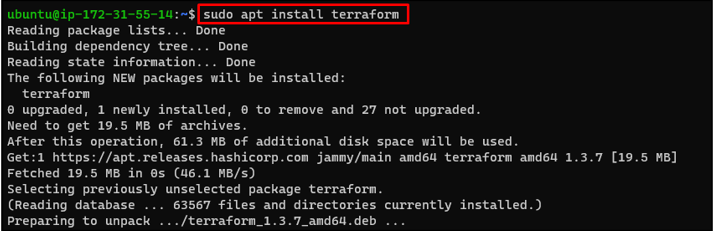
After the updation, the EC2 machine is ready for the installation of Terraform so install it by typing:
Once the installation process completes, check its version using the command:

In the output above, it is clear that installation of terraform was successful as it is showing an installed version.
Type this command to initialize the working directory of terraform:

In the output above, it is visible that the working directory is initialized and does not have any configuration file now, you are ready to use your Terraform for configurations now.
Conclusion
If you are comfortable in the command line interface and coding, then terraform is a great choice to do cloud configuration using code. To install Terraform in EC2c create an EC2 instance and add the key and repository of terraform. Finally, use the install command to install Terraform and the init command to initialize its working directory, and you can start using Terraform for your cloud configurations.
Source: linuxhint.com