How to Install SQLite3 in the Command Prompt?
We will go over how to install SQLite3 on the command prompt in this article. With step-by-step directions, we’ll guide you through the process.
How can SQLite3 be Installed on the Command Prompt?
Before we can install SQLite3, we need to ensure that our computer is running a Windows Operating System. The installation process works differently for different operating systems. After you ensure that you are running a Windows operating system, you can proceed to the next step.
Step 1: Download the SQLite zip file from the SQLite homepage. Installation packages for several operating systems are available on the website. Click on the Windows version and save the file on your computer. After saving the file, we can proceed to the next step.
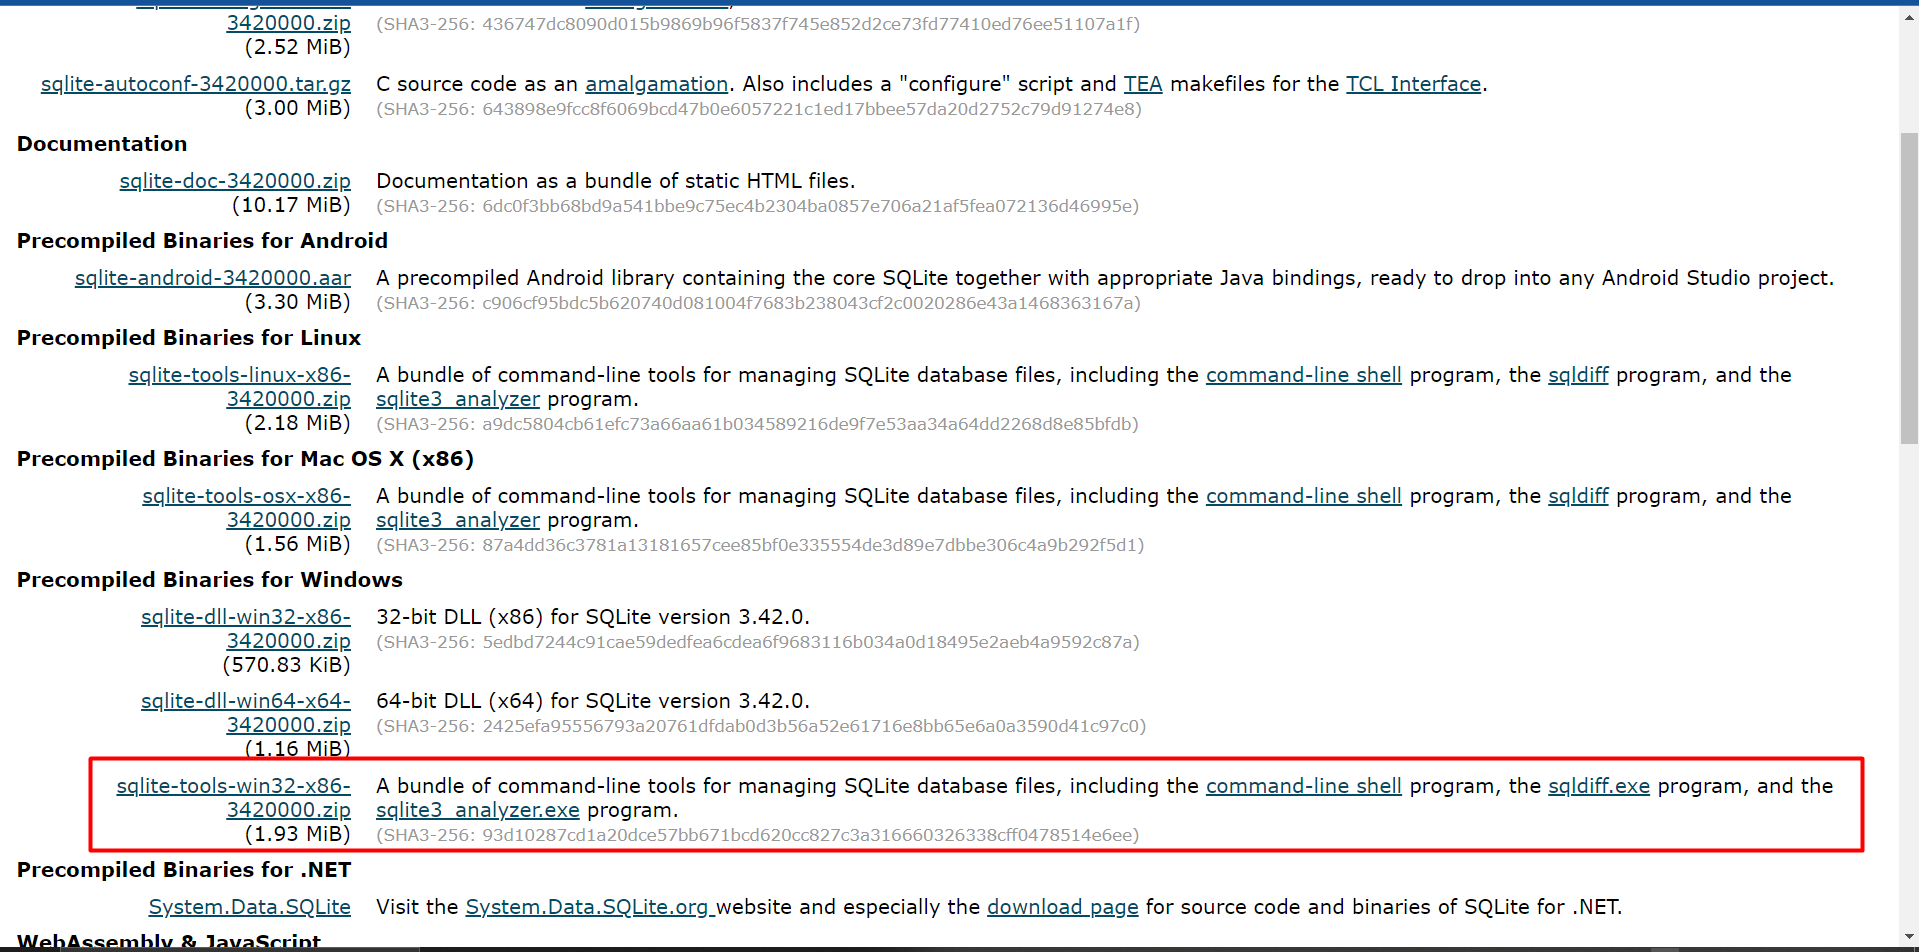
Step 2: Once the file is downloaded, extract it to a folder of your choice, preferably in the C:/ Drive. You should be able to see all the contents of the SQLite package in that folder. Better to rename the folder as sqlite from sqlite-tools-win32-x86-3410200.
Step 3: Now that you have installed it, you can open up the command prompt and check if SQLite is installed correctly. Navigate to the sqlite folder using the cd command followed by the folder name, which is sqlite in my case.
Type in the command sqlite3 and press enter. If everything is installed correctly, you should see a message like SQLite version which indicates that SQLite3 has been installed correctly.

If you see an error message, you may need to restart the command prompt to see the changes you’ve made.
After verifying that SQLite3 has been installed correctly, we can start using it.
How to Create a Database in SQLite?
To create a new database, we can use the command sqlite3 database_name.db (replace database_name with your desired name). By doing this, a new database file will be created in the same location as the command prompt.

We can now start creating tables in our new database. We can use SQL commands to create new tables and define their fields using the CREATE TABLE command. SQLite3 supports various data types, including text, integer, and boolean. To guarantee data consistency, primary keys, and foreign keys can also be constructed.
id INTEGER PRIMARY KEY,
name TEXT,
age INTEGER
);
After creating tables, we can start inserting data into them. We can use the SQL command INSERT INTO table_name (column1, column2…) VALUES (value1, value2…) to insert data.
INSERT INTO customers (name, age) VALUES ('Jane', NULL);
INSERT INTO customers (name, age) VALUES ('Alex', 30);
We can also use the SQL command SELECT command to retrieve all records in a table.

In this example, the count() function returns the number of rows where the age column value is 30.
Conclusion
Installing SQLite3 in the command prompt can help you get started with your database management journey. It is an easy operation that just requires a basic understanding of file extraction and your operating system. By following the steps outlined in this essay, you should be able to install SQLite3 and start creating databases, tables, and records.
Source: linuxhint.com