How to Install Snort on Ubuntu 22.04
Getting Started With Snort on Ubuntu 22.04
One way to keep your system secure is by monitoring the packets, and having reliable intrusion prevention and detection system comes in handy. Snort is an open-source and lightweight intrusion detection system, and there are various ways of installing it on Ubuntu. This guide covers installing snort using apt and apt-get on Ubuntu 22.04. Also, we will see how to install snort from the source code.
Method 1. Install Snort Using apt-get Update
The apt database offers the simplest way to install snort, and you only need two commands to have snort installed on your system.
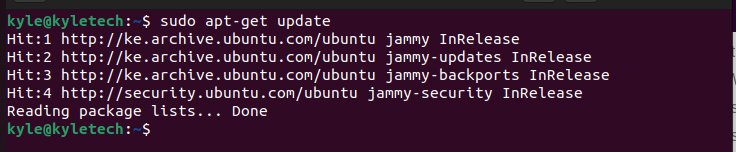
First, start by updating your apt database using the command below.
Updating ensures you get the details of the latest version of snort to be installed using the next command.
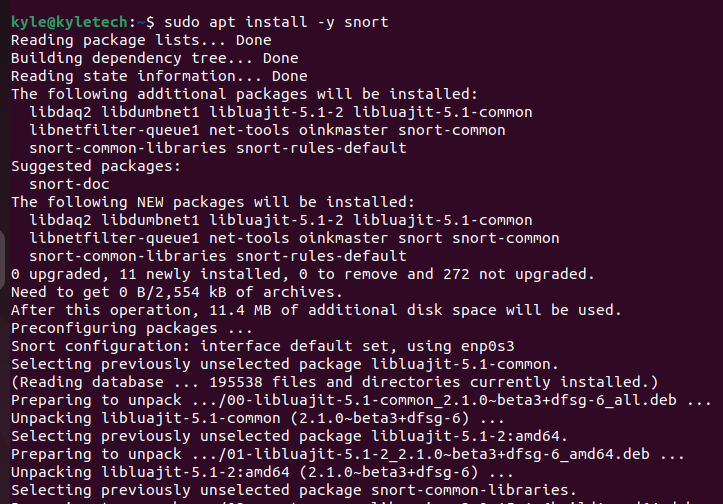
Now that we have the sources list updated, we can run the command below to install snort on Ubuntu 22.04
The -y flag is optional, but we are adding it to skip getting prompted to answer questions when installing the tool.

You can confirm the installation by checking the version of snort on your system.
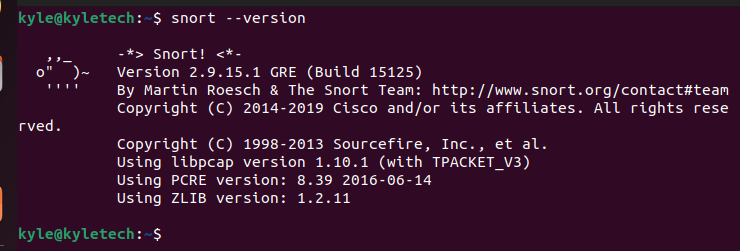
We have installed snort version 2.9.15.1, as evident in the image above.
Method 2. Install Snort Using apt Update
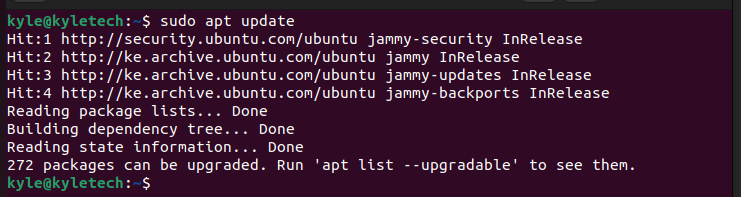
Installing snort using apt is the same as using apt-get. We start by updating the apt database using the command below.
Once updated, use the command below to install snort on your Ubuntu.
That’s it. You’ve installed snort using apt and apt-get commands.
How to Remove Snort on Ubuntu
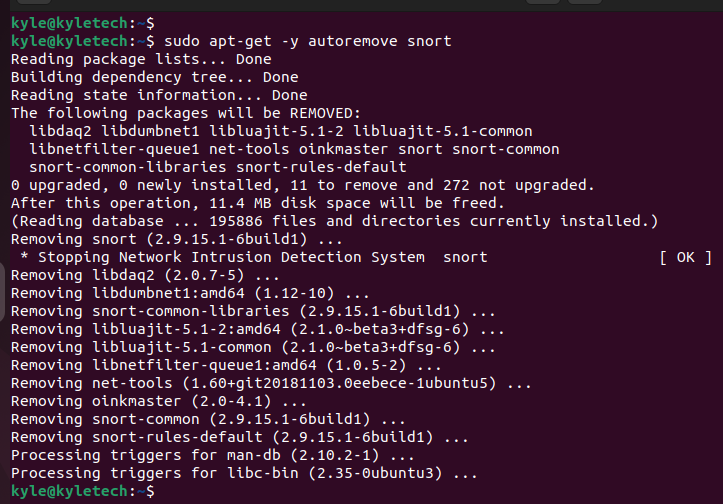
If at any point you feel you must remove snort from your system and all its dependencies, use the command below.
Method 3. Install Snort on Ubuntu 22.04 From Source Code
If you prefer seeing the installation in action and having control over the process, you can install snort from the source code. For this, you must download snort from the release page, extract it, then run the installation commands. Let’s see how that works.
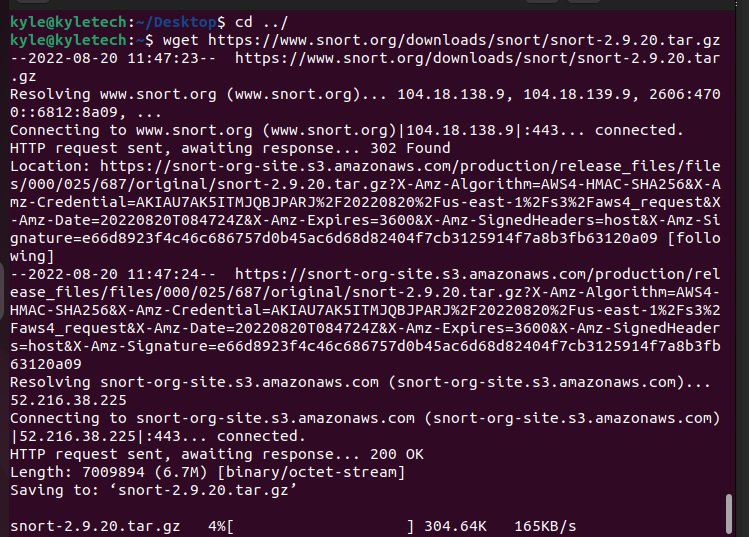
Start by downloading the snort version you want to install from the snort release page using wget and ensure you are in the ../ directory where you want to install snort.
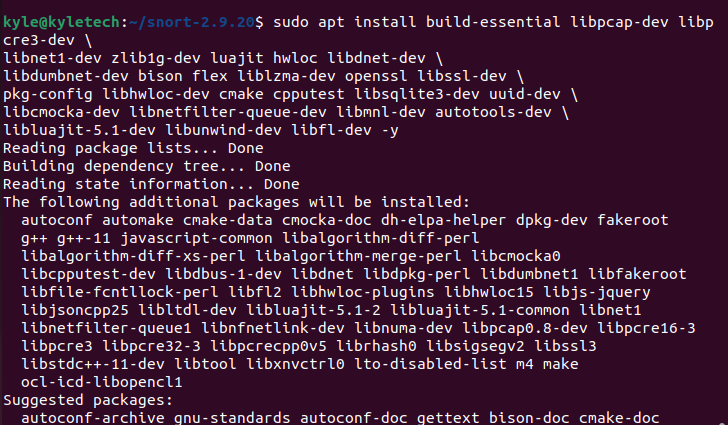
Also, you need to install some key build tools for the installation to be a success. Use the command below.
For this case, we will install snort version 2.9.20. The command would be as follows
$ wget https://www.snort.org/downloads/snort/snort-2.9.20.tar.gz
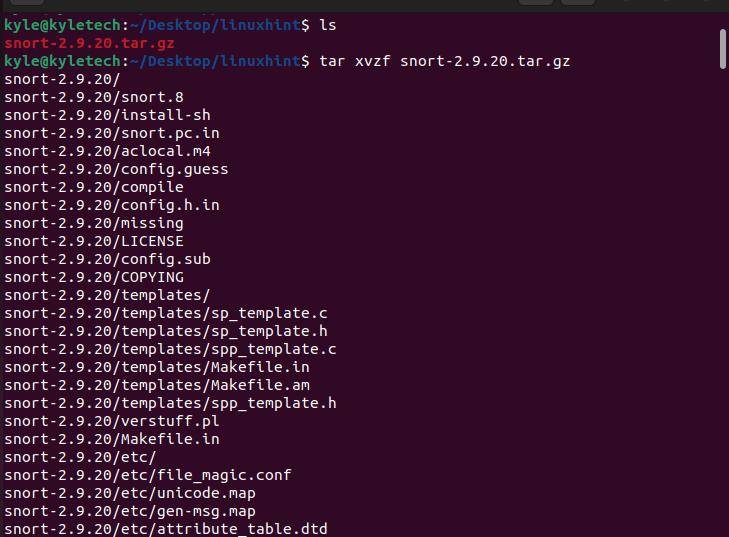
Once you’ve downloaded snort using the above command, extract the tar file.
Navigate the snort directory containing the installation file.

Finally, use the command below to install snort on your Ubuntu 22. Note that we are also using the make command to compile the source code when installing the package.

Hopefully, you now have snort installed and ready for configuration.
Conclusion
This guide covered the various methods of installing snort on your Ubuntu 22.04. For a quick and easy installation, use the apt or apt-get. All the steps for the installation are presented in the guide. Try them out.
Source: linuxhint.com