How to Install Skype on Fedora Linux
Hence, IntelliJ is a versatile IDE that can enhance your productivity and make coding more efficient. However, installing and using IntelliJ IDE may be confusing if you are a Linux beginner. So, in this tutorial, you will get to know about the different ways to install Skype on Fedora Linux.
How to Install Skype on Fedora Linux
Here, we included the installation process of Skype’s Snap and Flatpak packages. It means that you can go for any of the following approaches according to your choice.
The Snap Package
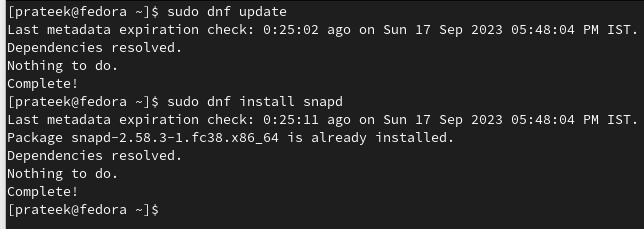
First of all, you need to install the Snap utility in your system, so run the following commands for it:
sudo dnf install snapd
Now, run the following given command to install Skype:

The Flatpak Package
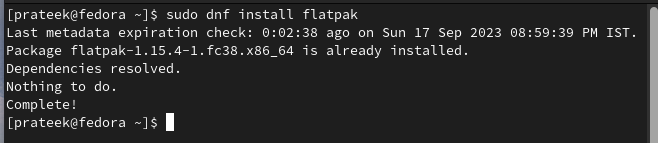
Let’s start the process by checking if Flatpak is available on your system:
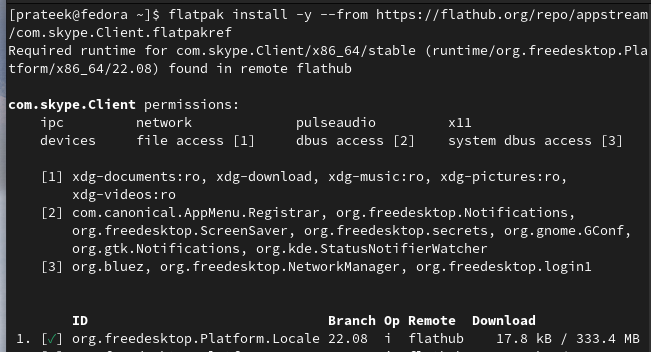
Once you are done, execute the following command to install the Skype utility:
How to Use Skype
Go to the “Application” menu and search for Skype.

You can also run the following command for it:

Conclusion
This is all about the simple ways to install Skype on Fedora Linux. Skype keeps you connected with your loved ones and colleagues regardless of where they are which makes it an essential tool for modern communication. Remember, the installation process differs slightly based on your Fedora version. Hence, make sure that you update your system or go to the specific version of Skype accordingly.
Source: linuxhint.com