How to Install Raspberry Pi OS on SD Card Using Raspberry Pi Imager
This article describes step by step method to install Raspberry Pi operating system on the SD card by utilizing Raspberry Pi Imager.
Prerequisites
A few prerequisites are required before proceeding to the installation of the operating system.
- An SD Card or USB with compatibility of high-speed data rate.
- Plugged in PC or Laptop with installed SD Card.
- Recommended available space of more than 8GB on SD Card or USB.
Installation of Raspberry Pi Operating System on the Installed SD Card by Using Raspberry Pi Imager
To begin installing Raspberry Pi OS on SD using Raspberry Pi Imager, follow the below-given steps:
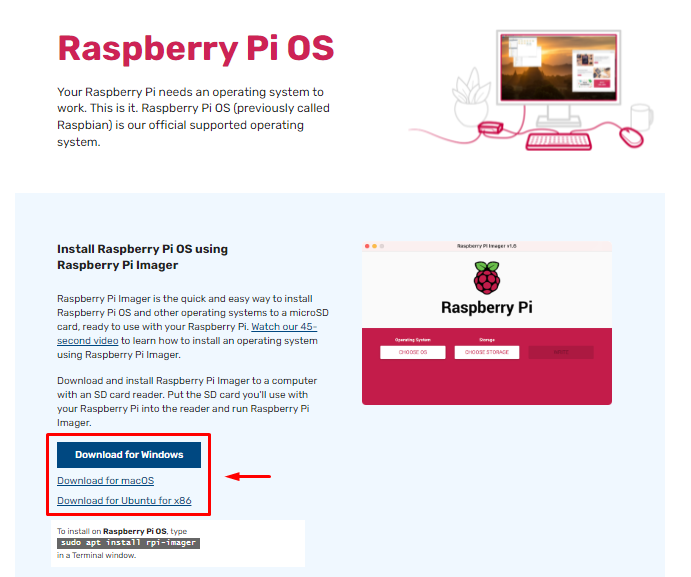
Step 1: Download and Install Raspberry Pi Imager
First step is to download the Raspberry Pi Imager from the official website on Windows or Mac based PC. The download option is available for different versions of operating systems such as MAC, Ubuntu, and Windows. Then download the desired software 32bit or 64bit, and install it on your system.
After installation, open and run Pi Imager utility tool on Windows or MAC operating system. This tool directly helps you to:
- Find the compatible operating system either in 32bit or 64bit.
- Install the operating system through SD Card or USB.
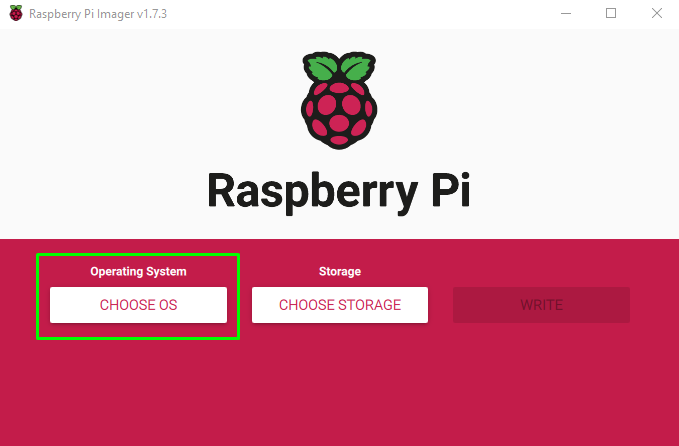
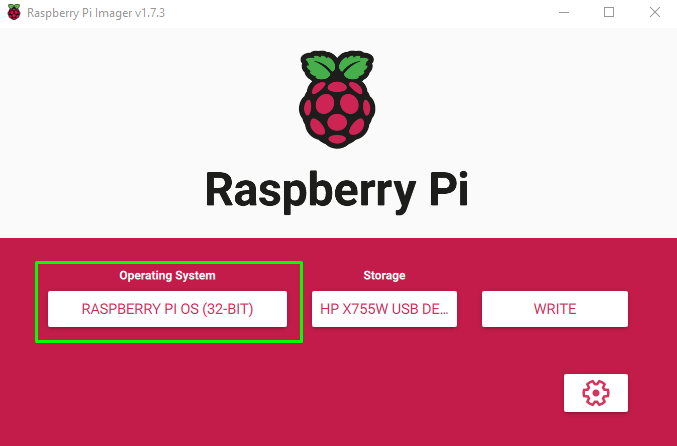
Step 2: Choose Raspberry Pi Operating System
In this step, you have to click on the “CHOOSE OS” button.
After that different operating systems will pop out. At the first go, it will show the recommended operating system.
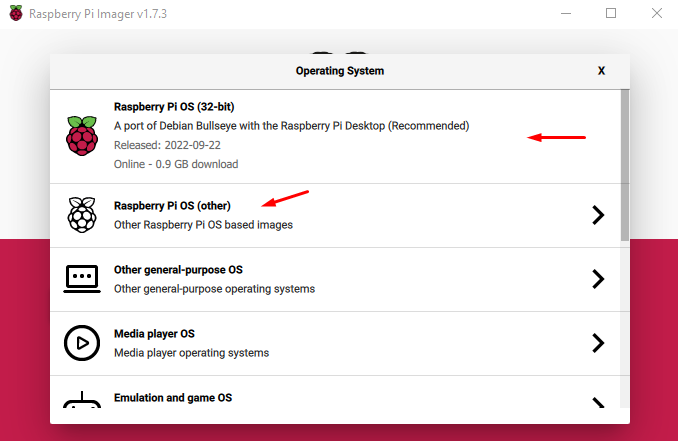
However, you can download the other OS by clicking on the “Raspberry PI OS (other)”. This option prompt multiple Raspberry Pi operating system, where you can choose the OS according to your device specifications.
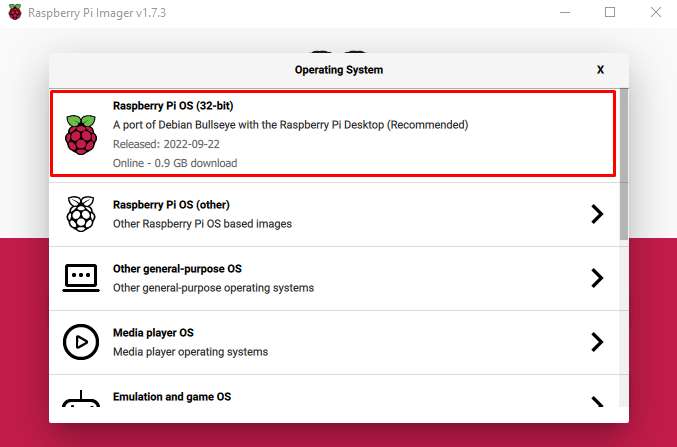
In my case, I am going to select “Raspberry PI OS (32bit)”.
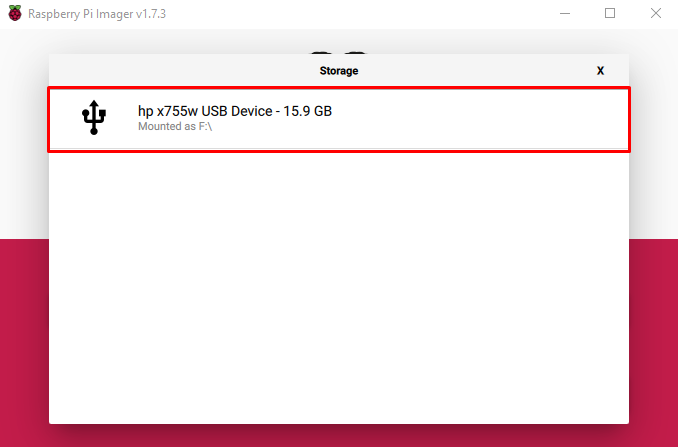
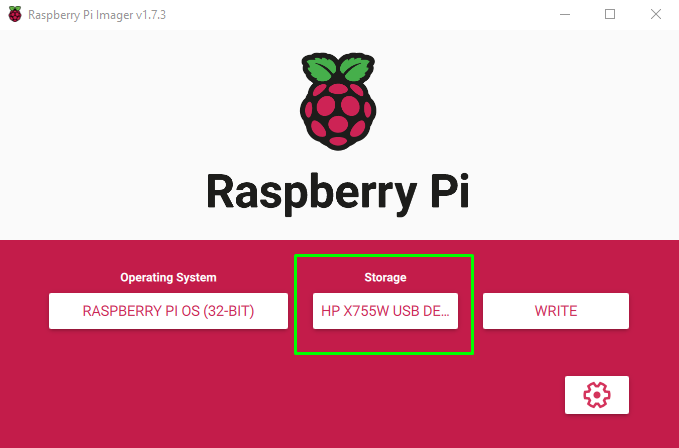
Step 3: Select Storage Option
After choosing an OS, the next step is to pick the storage. Here in my case, a mounted SD Card in the card reader.
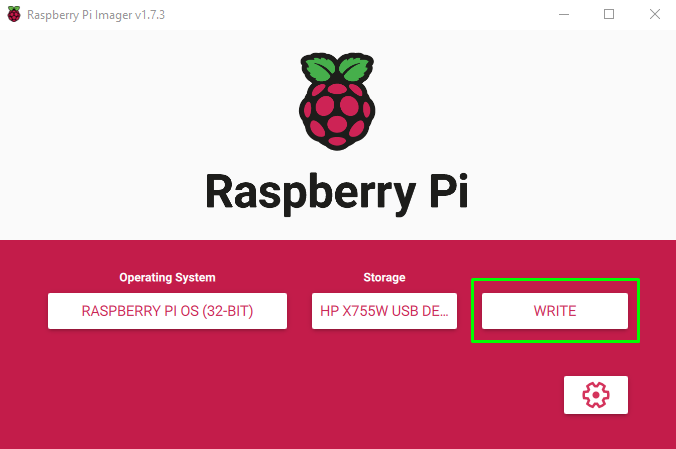
Step 4: Select Write Option
Right after choosing the USB storage, select the “WRITE” which will begin writing the image on the SD card.
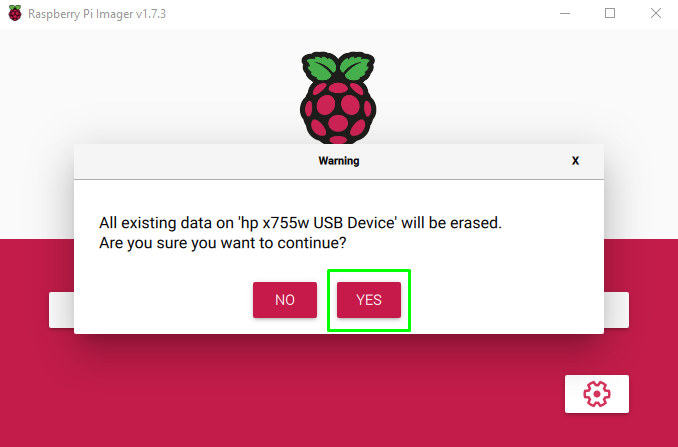
When you press “WRITE”, a warning will appear, which let you know that all data will be erased. Make sure to move all your SD Card data to another storage, before pressing “YES” button.
After pressing “YES”, you will see a message writing message.
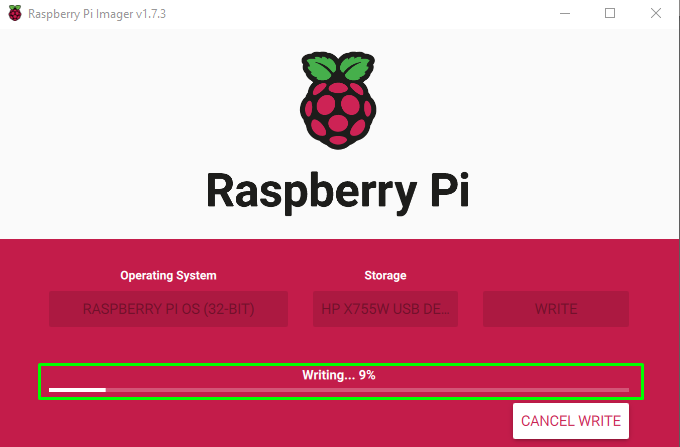
The writing time depends on the internet connection and SD Card data rate speed.
A dialogue box will appear right after the writing on the SD Card. Now you are free to remove safely from your computer or laptop.
Before removing the SD Card, select the “CONTINUE” button.
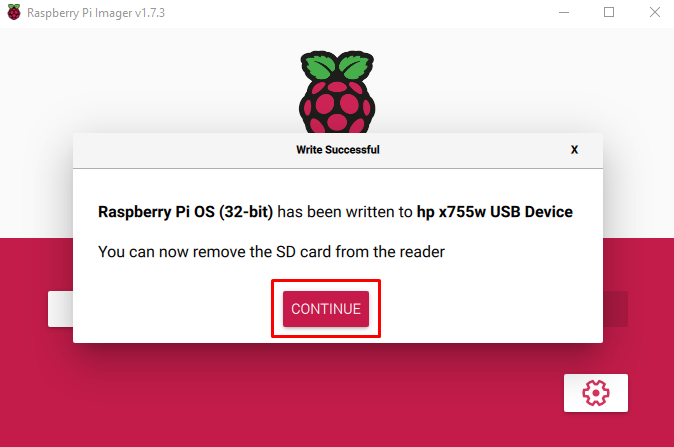
Now your SD card is ready to boot and run the operating system on your Raspberry Pi device.
Step 5: Mount SD Card in the Raspberry Pi
Insert SD Card to Raspberry Pi device. To install operating system after mounting the SD Card, few options need to be considered.
- Portable devices such as Mouse, Keyboard, and Monitor should be connected.
- A strong internet connection.
- A power plug to power the Raspberry Pi device.
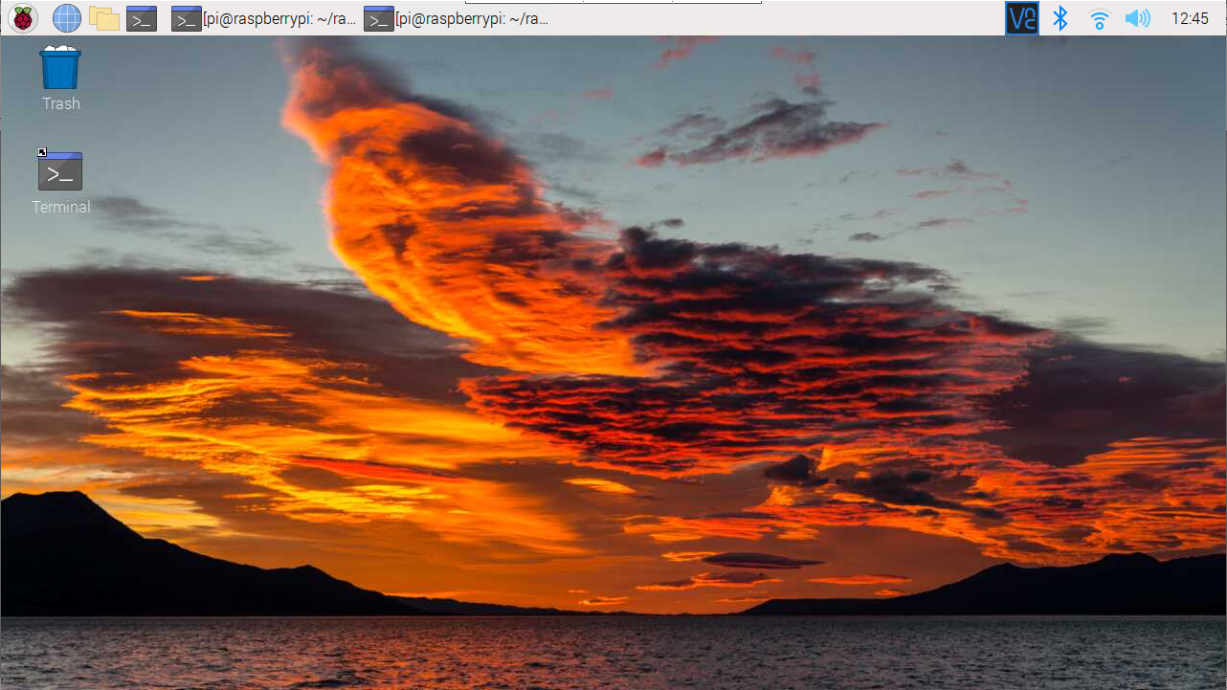
Right after the inserting the SD Card, and powering the Raspberry device, you will be directed through the boot menu with simple steps of installation. Proceed those steps and at the end, you will have operating system installed on your Raspberry Pi device.
Conclusion
The official Raspberry Pi imager support all types of operating systems for easy installation on any portable drive such as SD Card or USB. The only thing the users have to do is to insert the SD card into the laptop or PC and use the Imager tool to directly insert the operating system image into the card/USB. After the process is done, the user can insert the card back to the device and start using the Raspberry Pi OS on the device.
Source: linuxhint.com