How To Install OpenCV in Ubuntu
For developers, OpenCV offers an extensive collection of algorithms, especially for 3D modelling, and things can’t get any better than when using the tool. If you are looking for how to install OpenCV on Ubuntu and spice your support vector projects or enhance algorithms, you are in the right place. This guide covers two easy ways of installing OpenCV.
Installing OpenCV in Ubuntu
The OpenCV platform has two installation methods. Either using the repository or directly from the source. We will cover the steps for each method.
1. Install OpenCV via Repository
It is the easiest of the two methods as only two commands are needed.
First, update your repository.
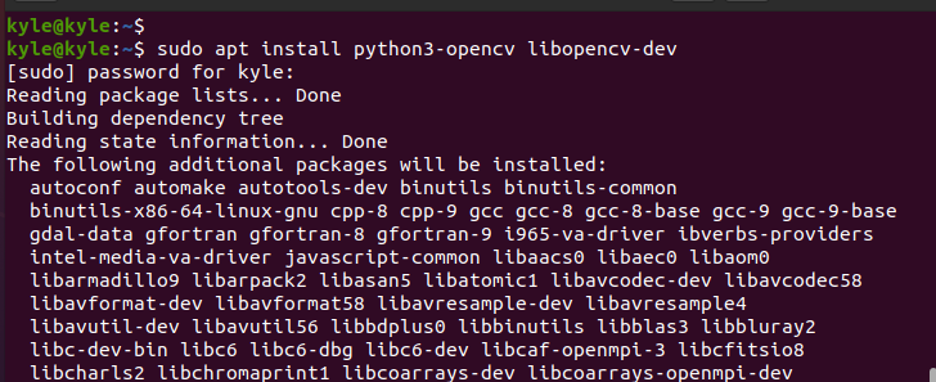
Next, install OpenCV using the following command:
That’s it! OpenCV is successfully installed on your system. You can confirm by checking its version using the C++ binding. Run the following command:
The output should return the current version, as shown in the image below:

2. Install OpenCV via Source Code
One shortcoming of installing OpenCV using the repository is that you may not get the latest version. The solution is to install it directly using its source code. Besides, this method optimizes OpenCV per your system, giving you absolute control over its build options. That said, the following steps will guide you.
Step 1. Install OpenCV Dependencies and Build Tools
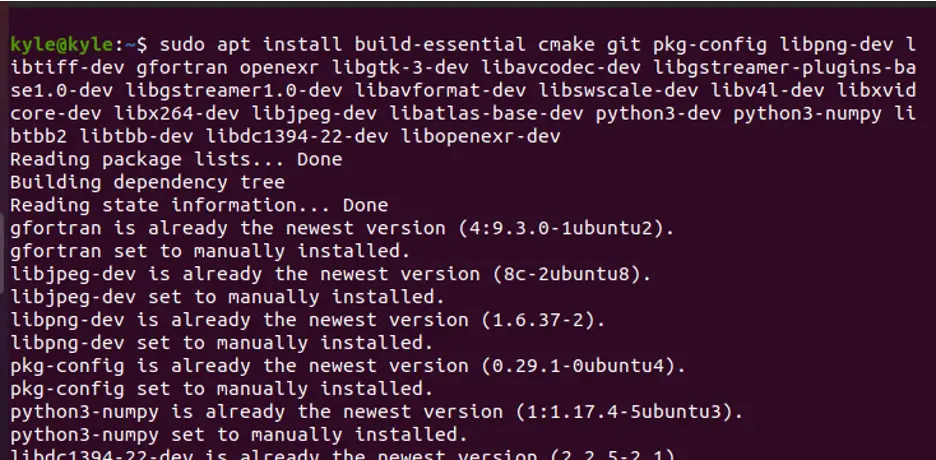
The OpenCV is dependent on some packages for it to run. Therefore, copy the following command to install the necessary dependencies and build tools.
Step 2. Clone OpenCV and Its Repositories
OpenCV can be cloned from its GitHub repository.
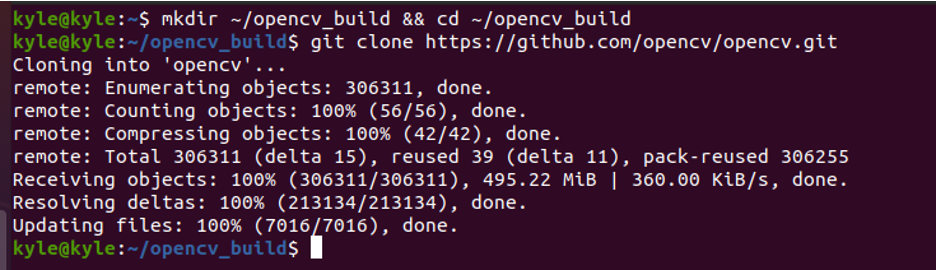
Start by creating a directory on your system.
Next, clone OpenCV using the following command:
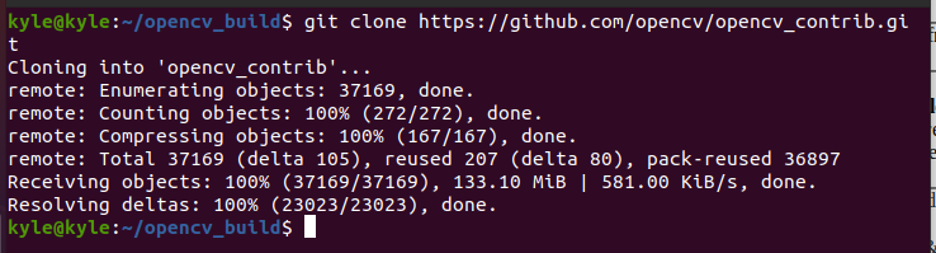
Finally, clone its contrib repositories.
The previous steps installed the current version of OpenCV, but you can also choose to go with an older version. All you need is to navigate into the opencv and opencv_contrib directories, then run the following command:
Step 3: Create a Build Directory
A temporary build directory is required where the OpenCV will get set up using CMake.
To create and navigate into the directory, use the commands shown below.
$ mkdir -p build && cd build
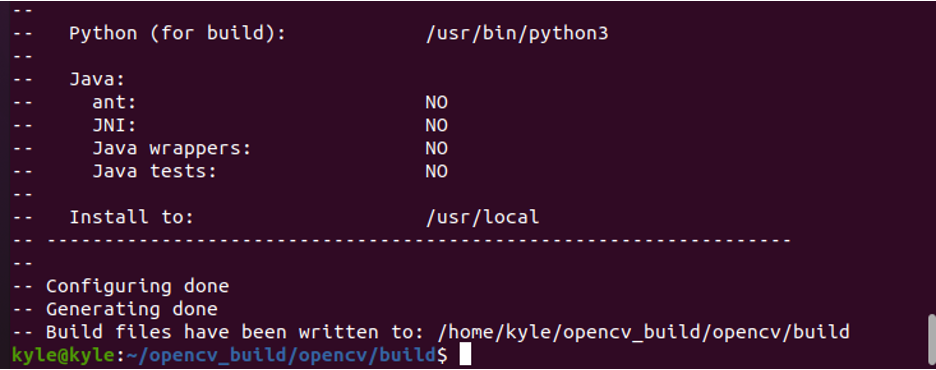
Next, use CMake to set up OpenCV build using the following command:
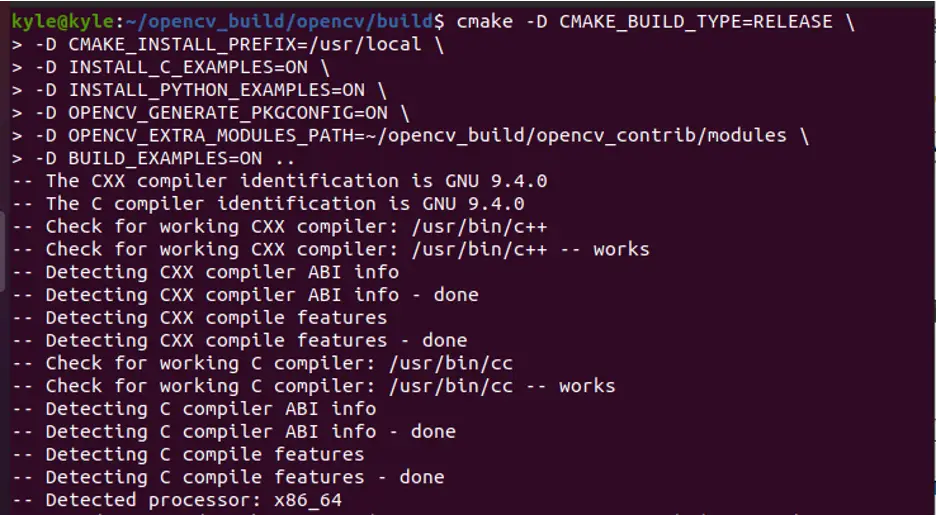
You should note an output showing the configuration and generating is done and the path to the build files.
Step 4: Start Compilation
Once the build is done, it’s time to initiate the compilation. However, first, check the number of processors you have using the nproc Linux command.

Once checked, run the following command and replace the number after j with your processors:
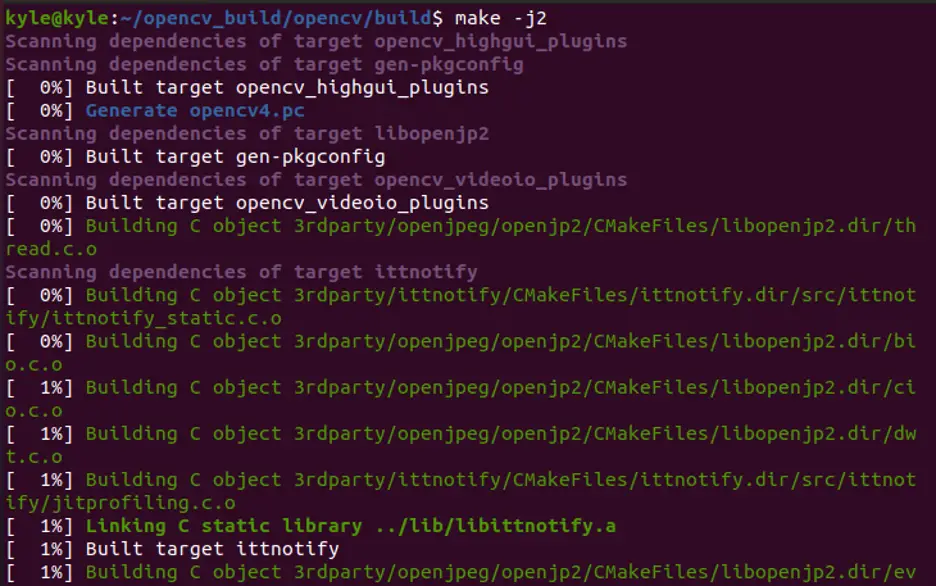
The compilation is time-consuming, so be patient.
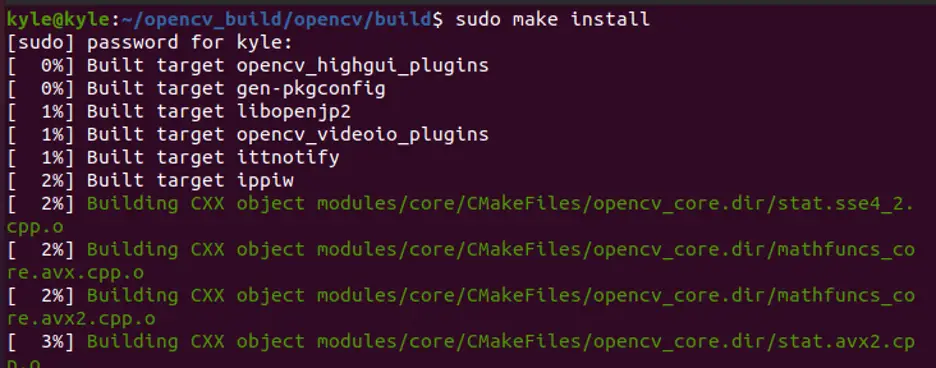
Step 5: Install OpenCV
The final step is to run the following command, which installs OpenCV:
Step 6: Confirm Installation
Check the OpenCV version using bindings for different programming languages to verify the installation. We already checked the C++ bindings in method 1. Let’s use Python in this method. The command is:
Depending on when you are reading this article, your output may be the same or a newer version than the following image provided:

Conclusion
The OpenCV is a tool you can’t ignore if you are a computer vision developer. It has different applications and algorithms at your disposal. If you are stuck installing it on Ubuntu, this guide is your best friend as it offers two ways to go about it. One method should work for you.
Source: linuxhint.com