How to Install Ninja Build System on Raspberry Pi
Ninja is a small and simple build system that allows users to build binaries from source code. It was developed by a Google Employee, Evan Martins and has been quite effective in building binaries faster than the most used “make” command. It is extremely effective in those scenarios where you have to build a large number of input files on the system.
This article will show you how to install the Ninja Build System on Raspberry Pi Linux.
How to Install Ninja Build System on Raspberry Pi
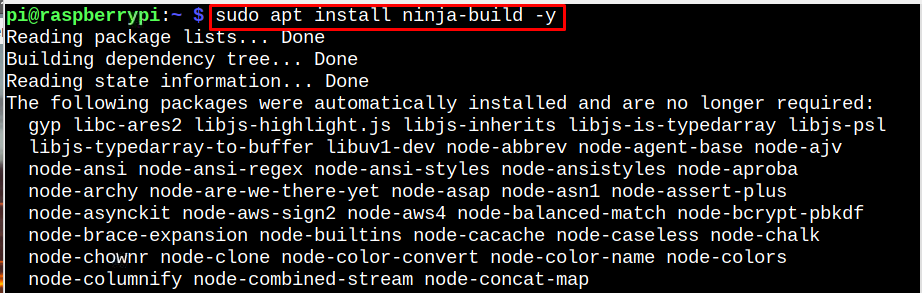
Ninja Build System is already available in the Raspberry Pi official system repository and you can install it through the following command:
Once the Ninja Build System installation is completed, confirm it using the following command:

Test Ninja Build System on Raspberry Pi
To test Ninja Build System, ensure “gcc” compiler is installed on your Raspberry Pi system as this will help run the C code on the system.
The following command will help install the gcc compiler on the Raspberry Pi system if it’s not installed.

After that, you have to write a C code using nano editor:
Add the following C code inside the file:
int main() {
printf(“Type Message Here\n”);
return 0;
}
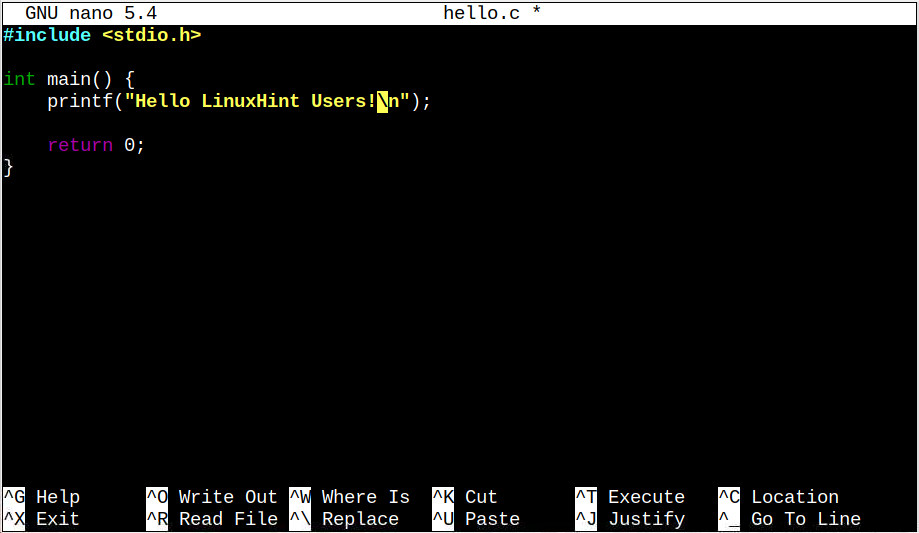
Save the file using “CTRL+C”.
Note: You can write your own code.
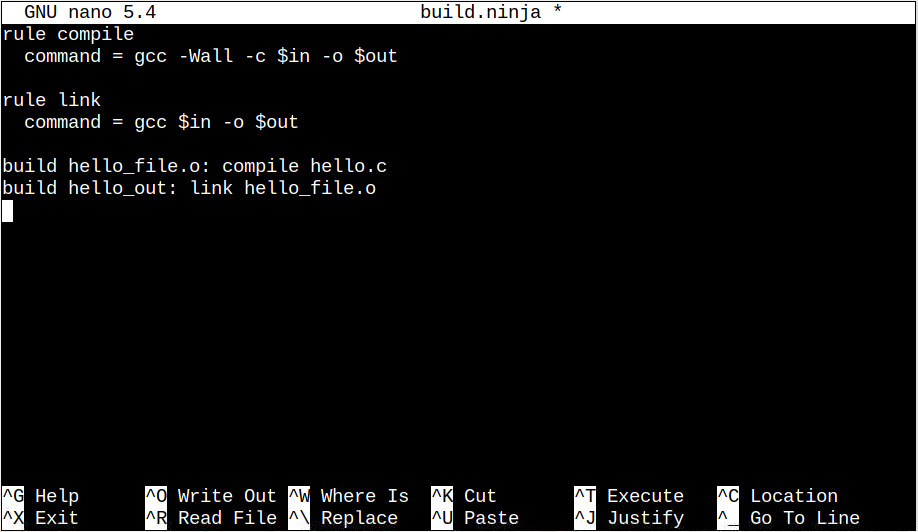
Now create the default build.ninja file through the following command:
And add the following lines inside the build file:
command = gcc -Wall -c $in -o $out
rule link
command = gcc $in -o $out
build <input_file_name_during_build-operation>: compile <source_file_name>
build <output_file_name_after_build-operation>: link <input_file_name_during_build-operation>
input_file_name_during_build-operation: File name to appear during build.ninja process.
source_file_name: The name of the source file the user wants to build.
output_file_name_after_build-operation: Output file name after the build.ninja process. This file will be used as an output file.
Now, you can start building the source file using the ninja command as shown below:

Once the file is built, you can run the output file using the following command:

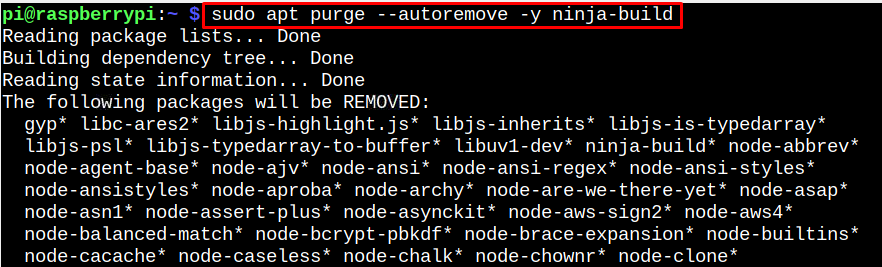
Remove Ninja Build System from Raspberry Pi
To completely remove Ninja build system from Raspberry Pi, follow the below-given command:
Conclusion
Ninja Build System is used to build binaries from source code at a much faster rate compared to the make command. You can install this system directly from the source Raspberry Pi repository and after the installation, you can test it by compiling a simple C code and building it through the Ninja file system as shown in the above guidelines.
Source: linuxhint.com