How to Install MySQL on Windows
This guide will demonstrate the step-by-step method of installing MySQL on Windows.
How to Install MySQL on Windows?
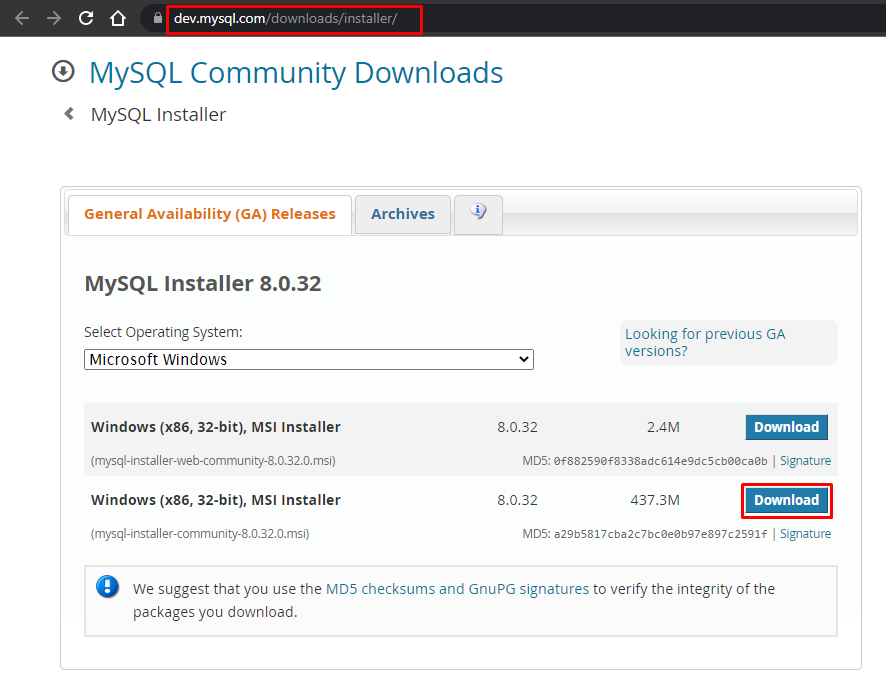
To install MySQL on Windows, Visit the Official website of MySQL, select the “MSI Installer” as per your system architecture and click on the “Download” button:
Click on the “No thanks, just start my download” link, the “MSI Installer” will begin downloading:

Once the download is complete, navigate to the directory where it is downloaded and double-click on it to open:

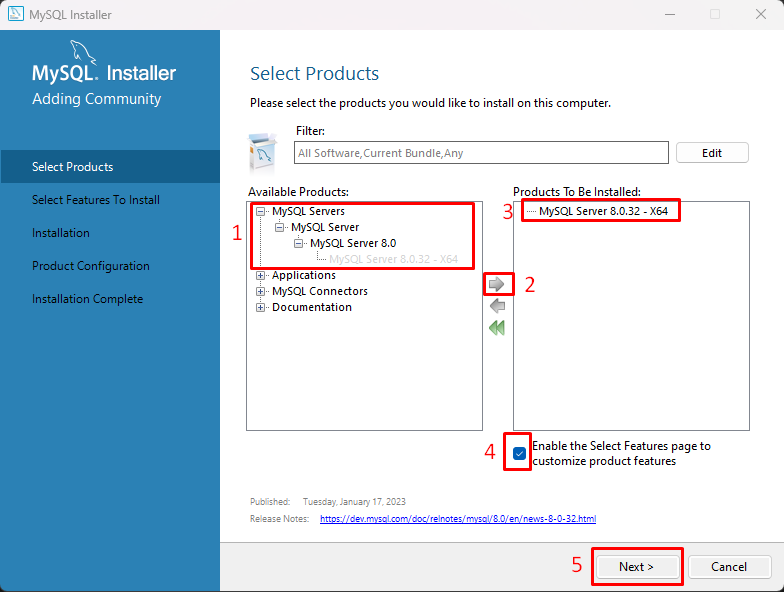
Maximize the “MySQL Server” option and select the available version of MySQL by clicking on the Right “Arrow” icon. Make sure to select the option to enable the selected features and click on the “Next” button:
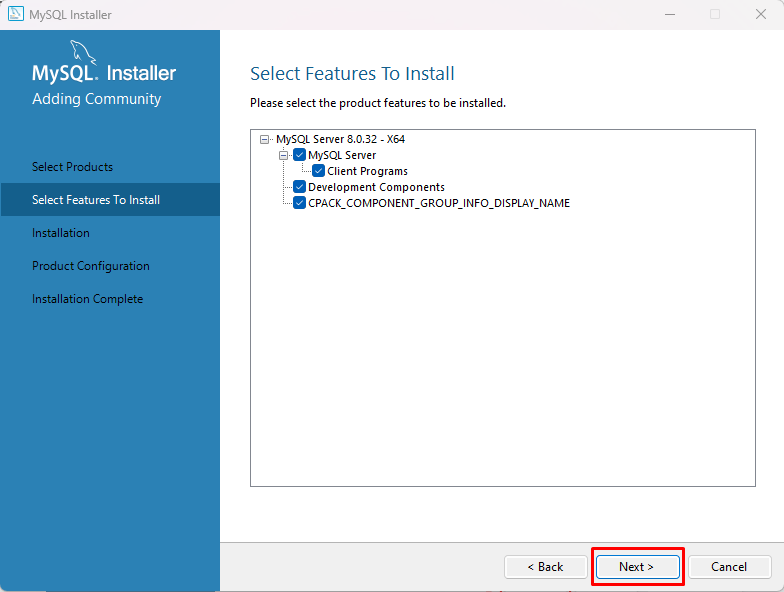
Select all available options and click on “Next”:
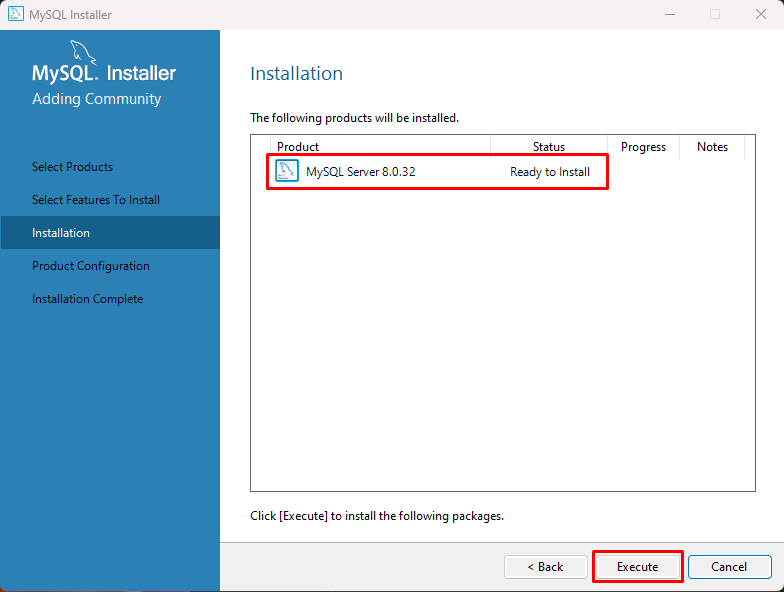
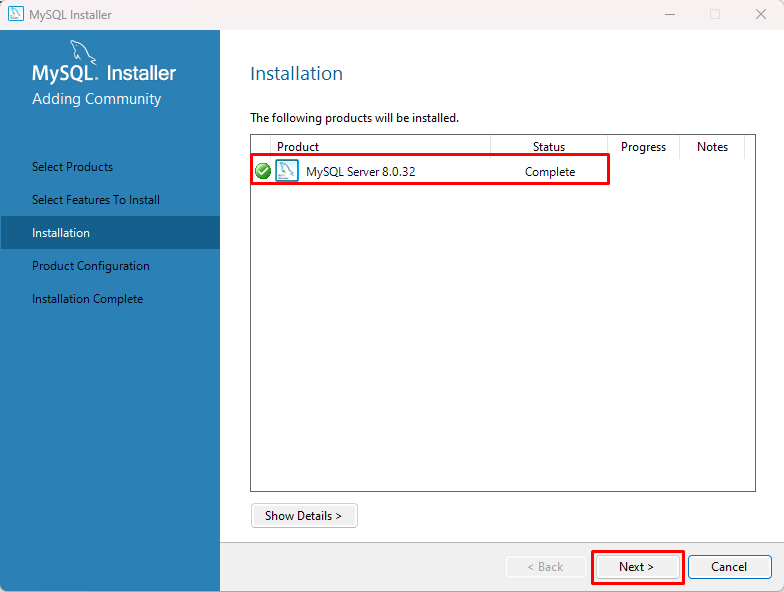
The status for the product will display as “Ready to install”, click on the “Execute” button:
Once the execution is complete and the product is installed, click on the “Next” button:
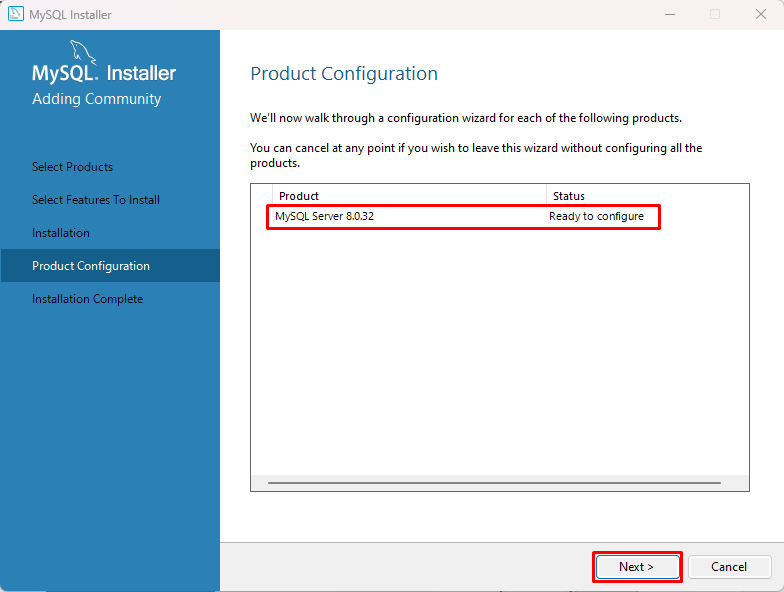
For the product configuration, click on the “Next” button:
Leave the settings as default and click on the “Next” button:

Make sure that option for Legacy Authentication is selected and press the “Next” button:

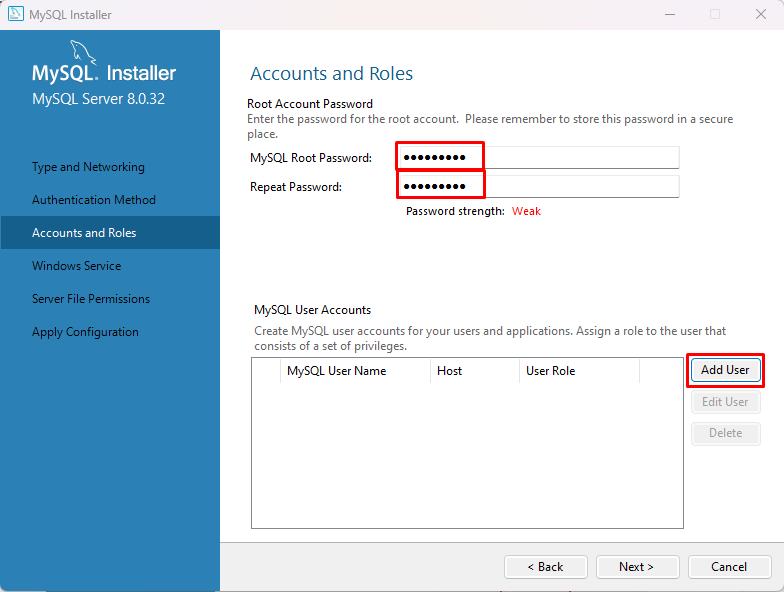
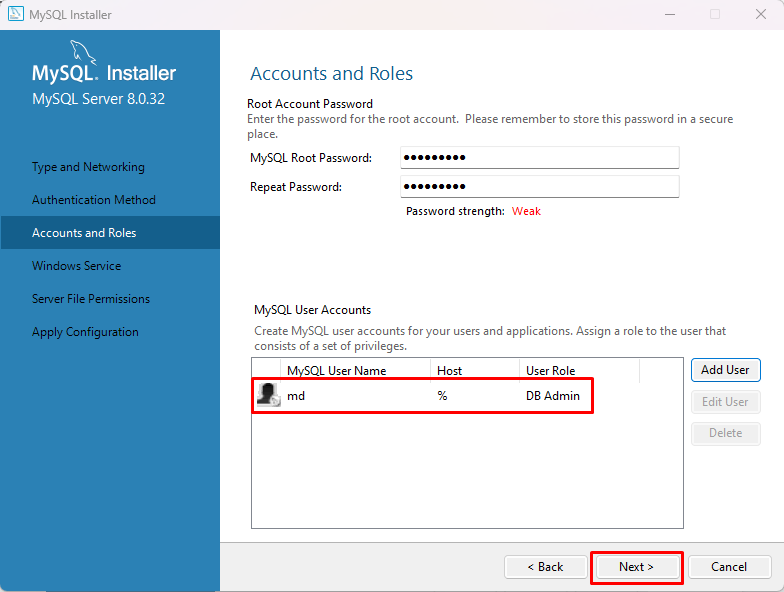
Set the password for the MySQL and click on “Add User”:
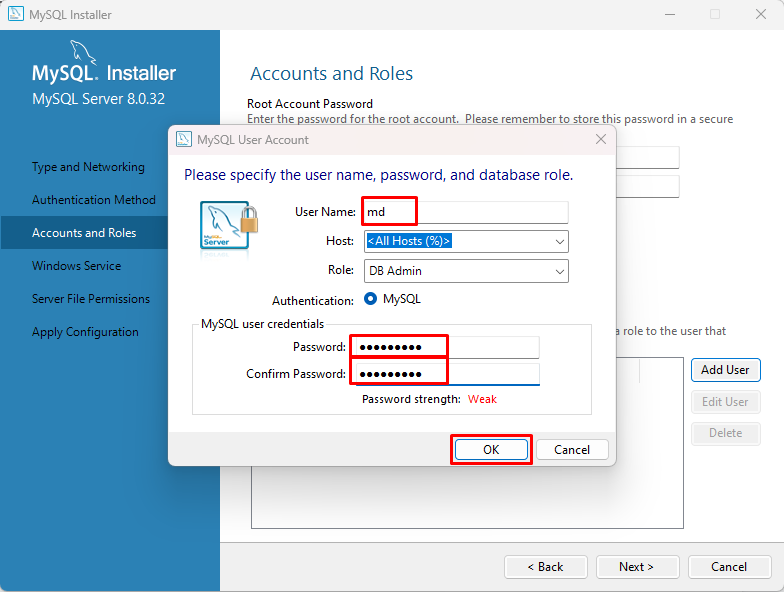
Provide the username and password, and click on the “OK” button:
Once the user is added successfully click on the “Next” button:
Leave the settings of “Windows Services” as default and click on the “Next” button:

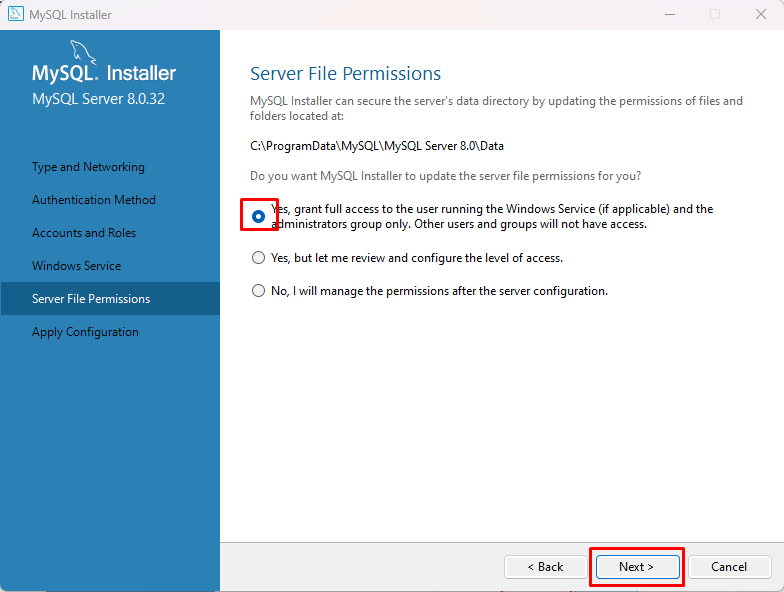
Select the option to grant full access, and click on “Next” button:
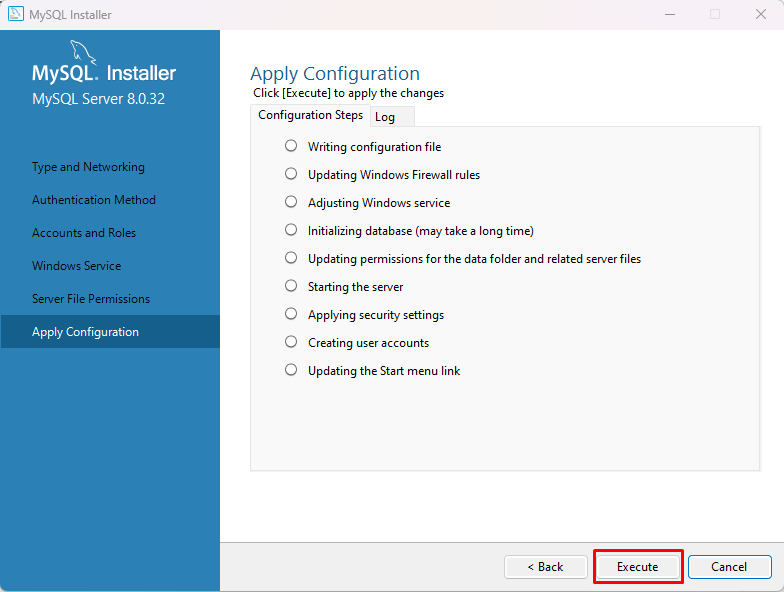
Click on the “Execute” button:
After successful execution, press the “Finish” button:

The status of the product will display as “Configuration complete”, click on the “Next” button:

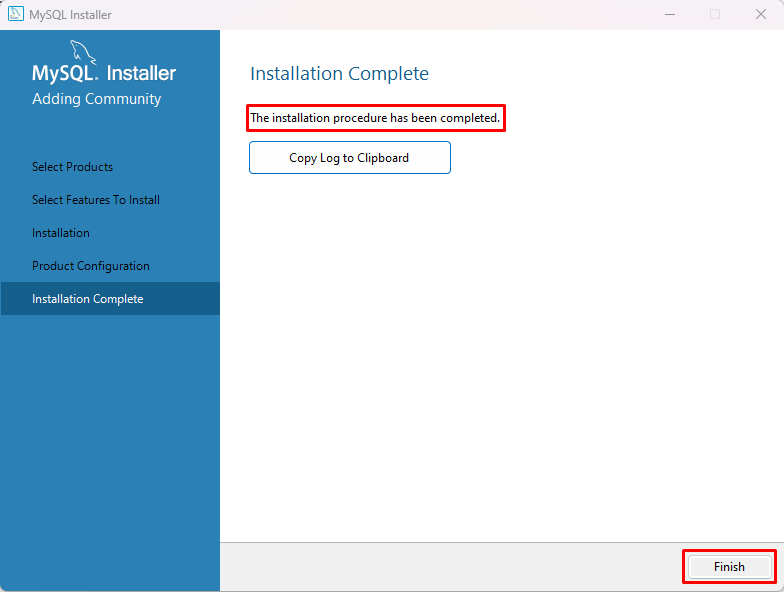
The success message “The Installation procedure has been completed” will display, click on the “Finish” button:
The next step is to navigate to the directory where MySQL is installed, open the bin folder, and copy its location:
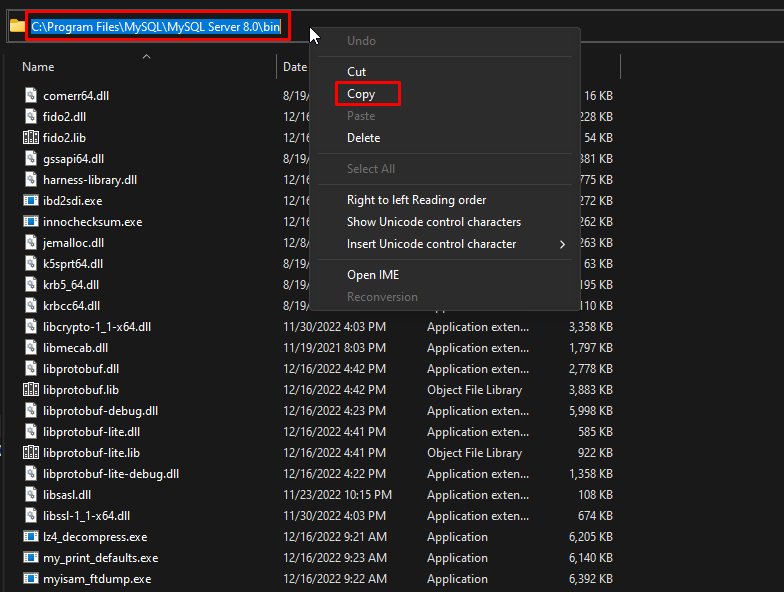
Note: The default location for MySQL is “C:\Program Files\MySQL\MySQL Server 8.0\”.
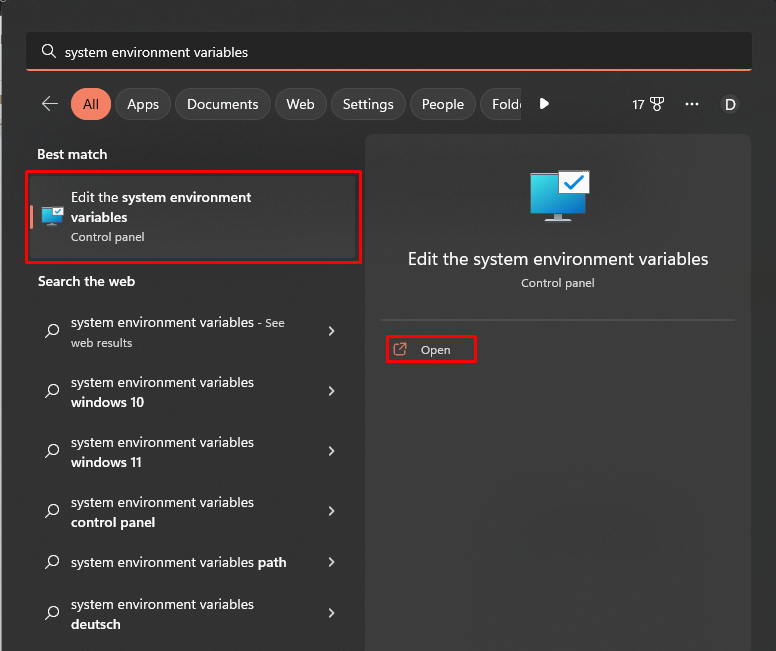
Search and open “Edit the system environment variables” from the start menu:
Click on the “Environment Variables” button:

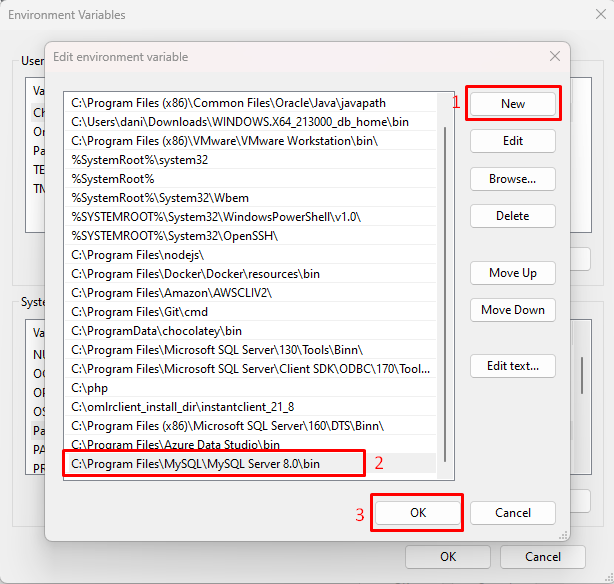
Select the “Path” in the “System variables” and click on the “Edit” button:

Click on the “New” button, paste the copied location, and click on the “OK” button:
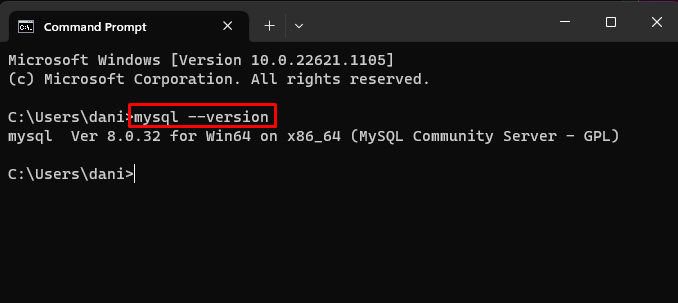
Once the “Environment variable” is added, it means that MySQL is installed successfully on Windows. To confirm that, open the command prompt and type this command:
The output displays a version of MySQL which means the installation is successful:
Conclusion
To install MySQL on Windows, download MSI Installer from the official website of MySQL. Start the installation process and select the MySQL server as the product, during the installation set the password for MySQL and also add a user for the MySQL server. Once the installation is complete, add its “Path” in the “Environment variable”. This guide demonstrated the procedure for installing MySQL on Windows.
Source: linuxhint.com