How to Install MySQL on Windows 11
This post will provide the procedural guide for installing MySQL on Windows 11.
Install MySQL on Windows 11
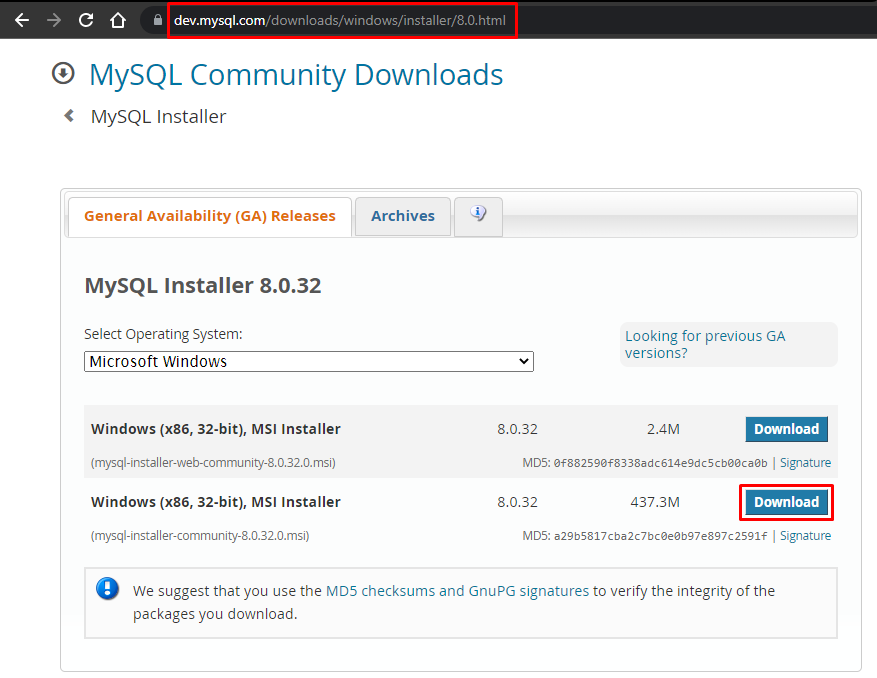
Head to MySQL’s Official website to download “MSI Installer” from the official website of MySQL. Press the “Download” button according to your Windows architecture:
The “MSI Installer” can be downloaded without login, so press the “No thanks, just start my download” link:

Navigate to the directory where it is downloaded after the completion of the download process:

Open the installer by double-clicking it:

Choose the setup type as “Custom” and click on the “Next” button:

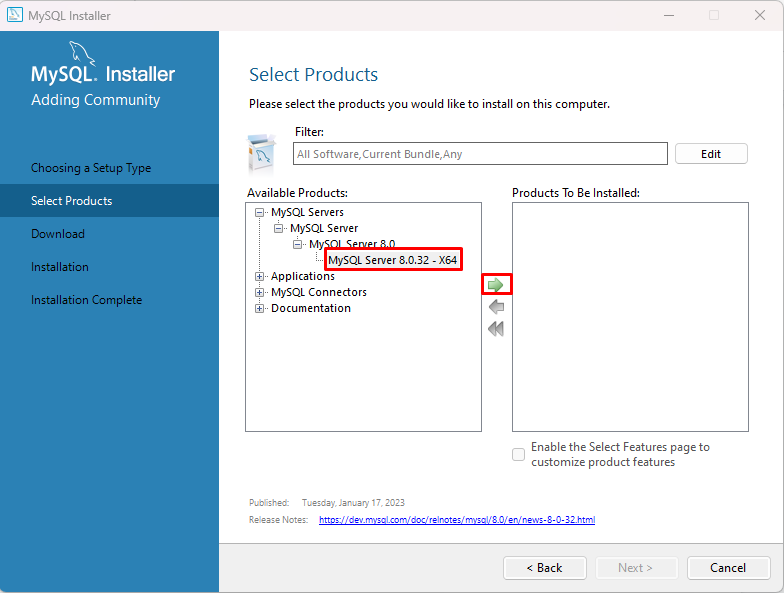
Select the products that you want to install and press the “Right Arrow” icon:
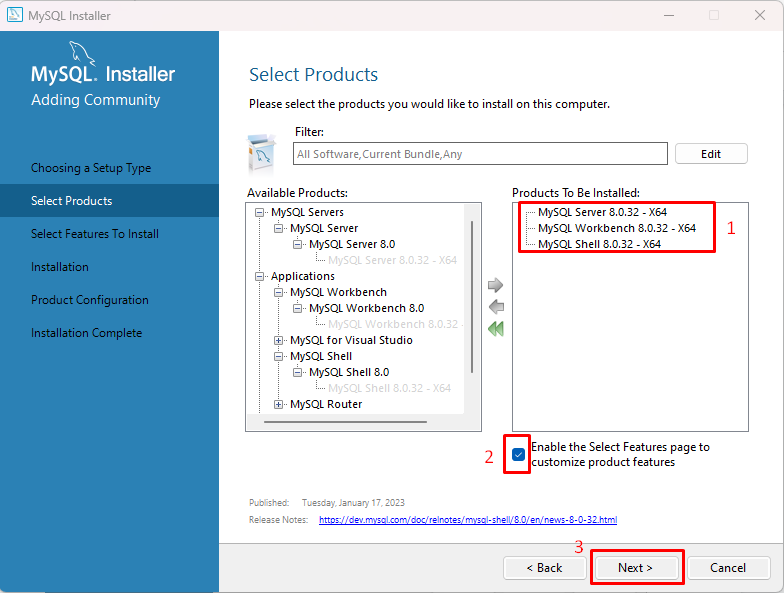
After the selection of the products, make sure that checkbox is checked “Enable the Select Features page to customize product features” and click on the “Next” button:
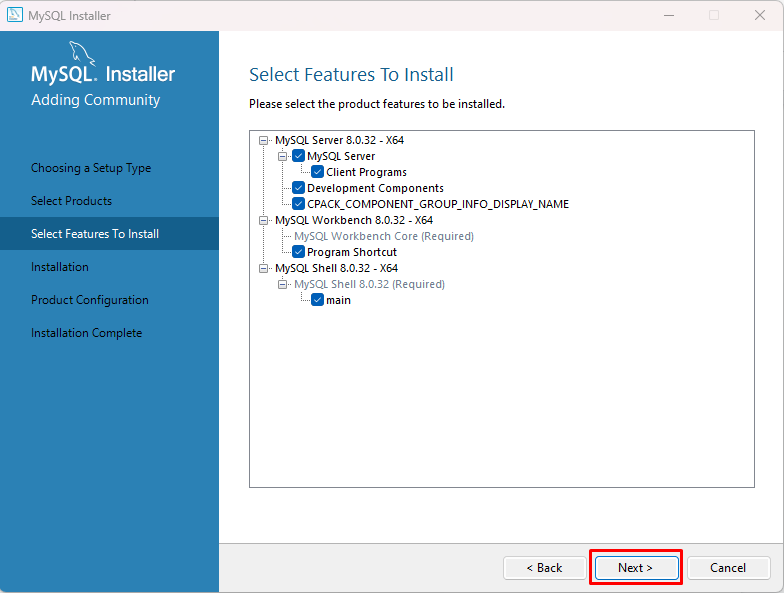
Select the product features that you want to install by clicking on the “Next” button:
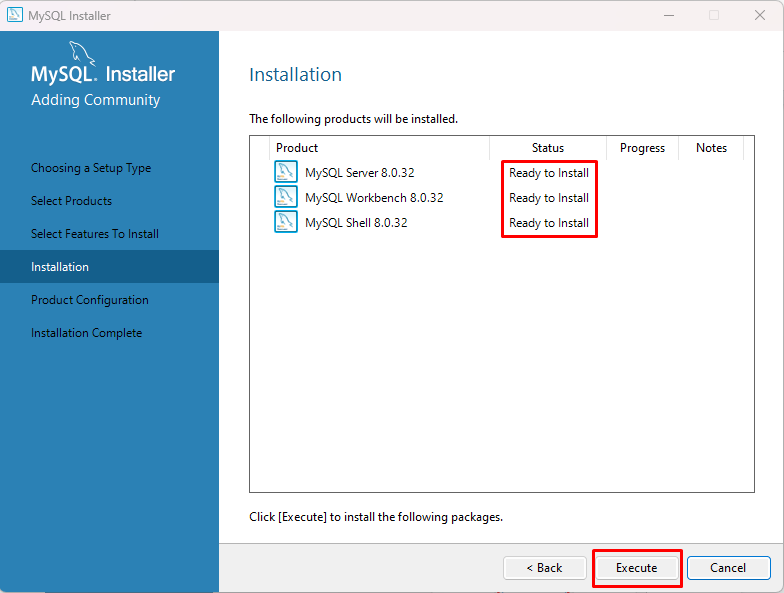
Once the status is changed to ready to execute. Press the “Execute” button:
The status will change to “Complete”, Click on the “Next” button:

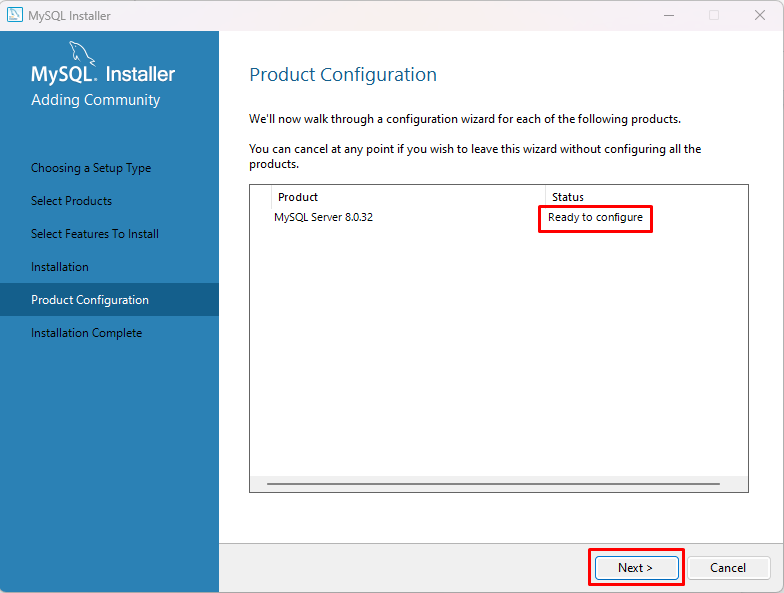
In the “Product Configuration” window, click on the “Next” button, when the status appears as “Ready to configure”:
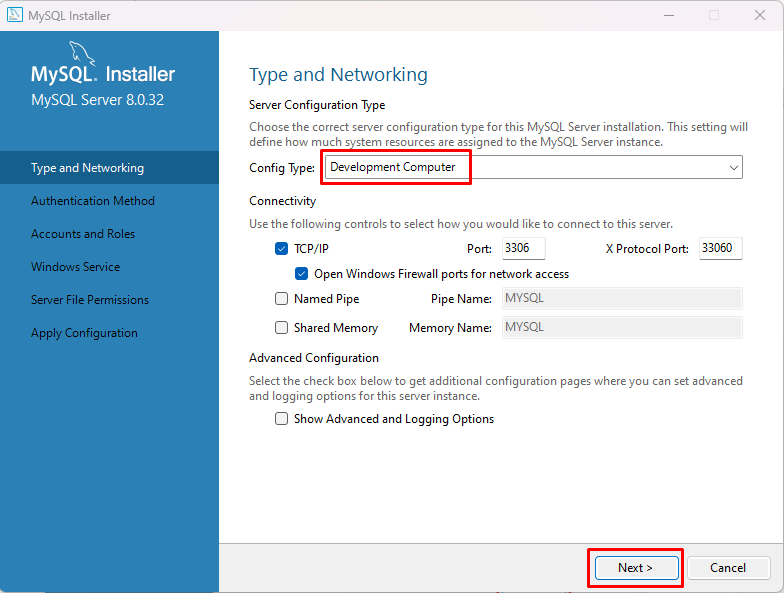
Select the Configuration type as “Development Computer” and click on the “Next” button:
Select the “Authentication Method” as “Use Legacy Authentication Method (Retain MySQL 5x Compatibility)” and click on the “Next” button:

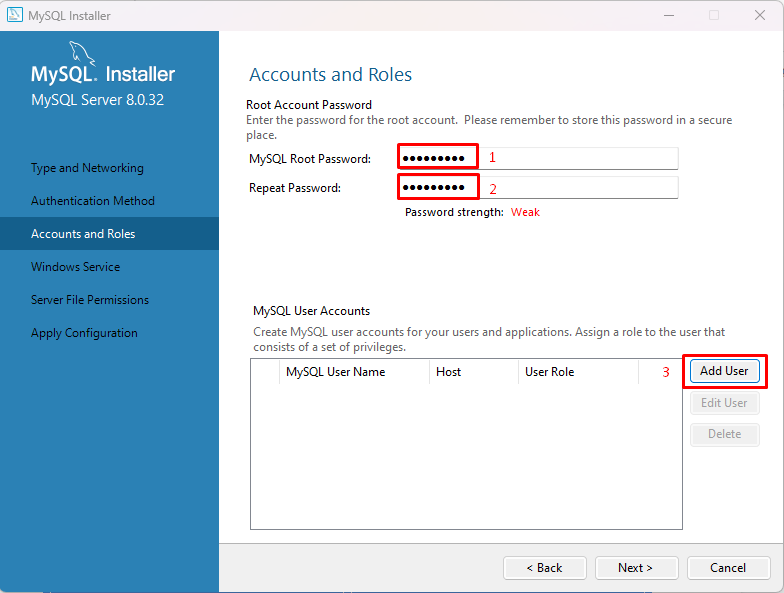
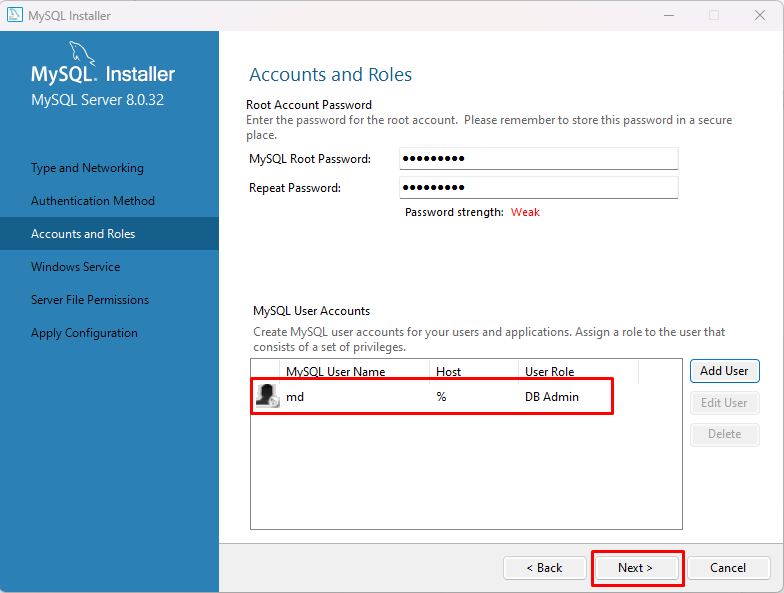
Set the “Root Password” and click on the “Add User”:
Provide the name of the user along with the password and click on the “OK” button:

After adding the user, click on the “Next” button:
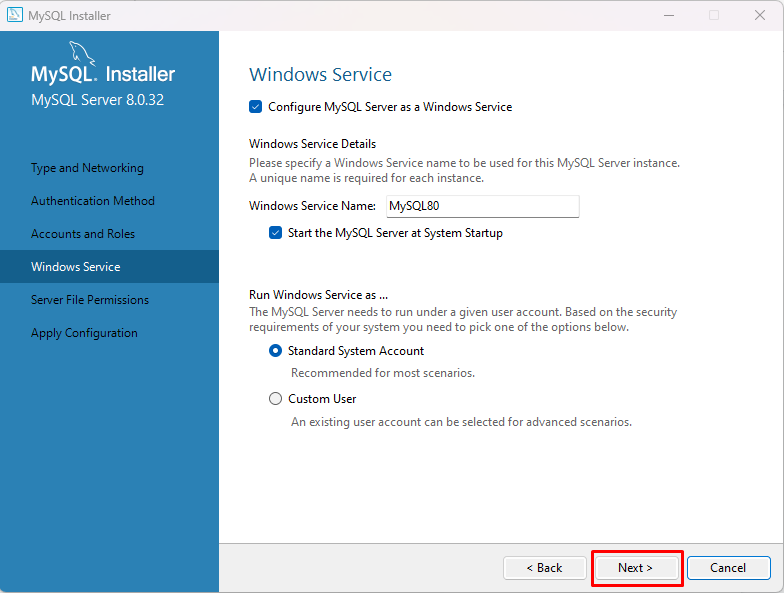
Leave the settings as default and click on the “Next” button:
Set the “Server file permissions” as grant full access and click on the “Next” button:

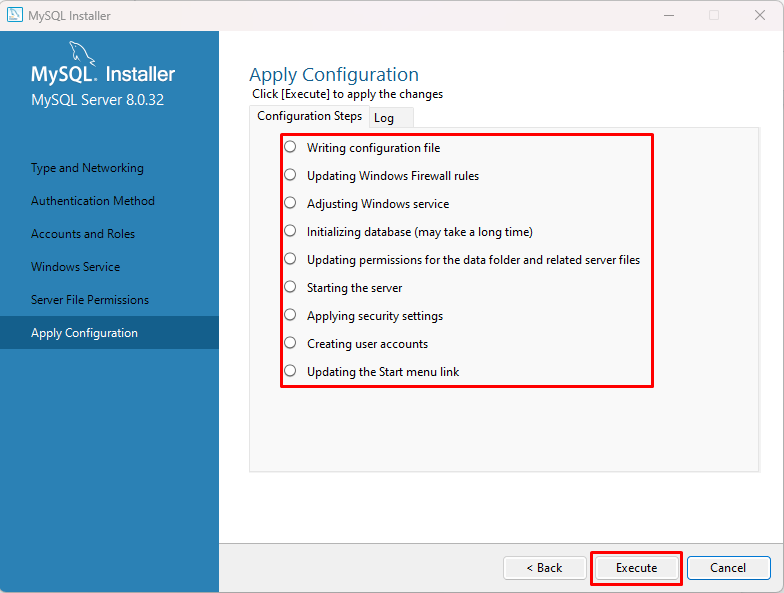
Click on the “Execute” button:
After the execution, a success message will display. Click on the “Finish” button:

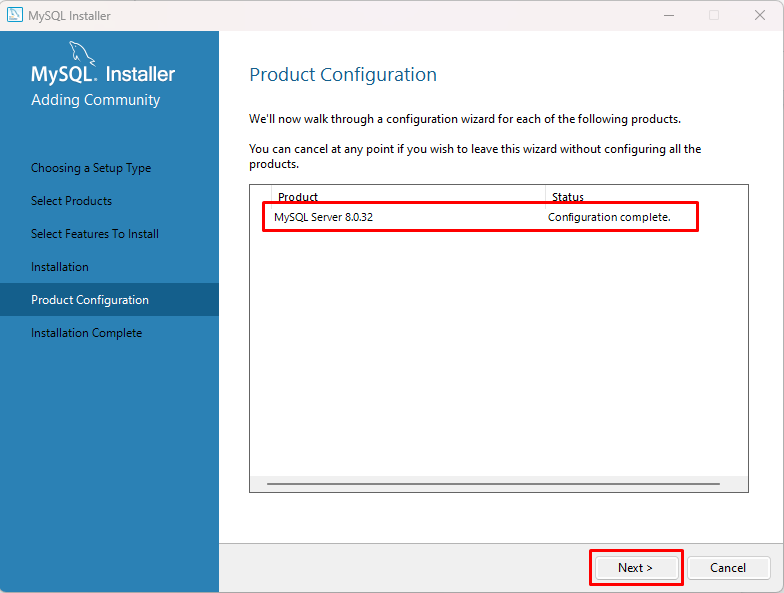
The status of the “Product Configuration” will become “Configuration Complete” click on the “Next” button:
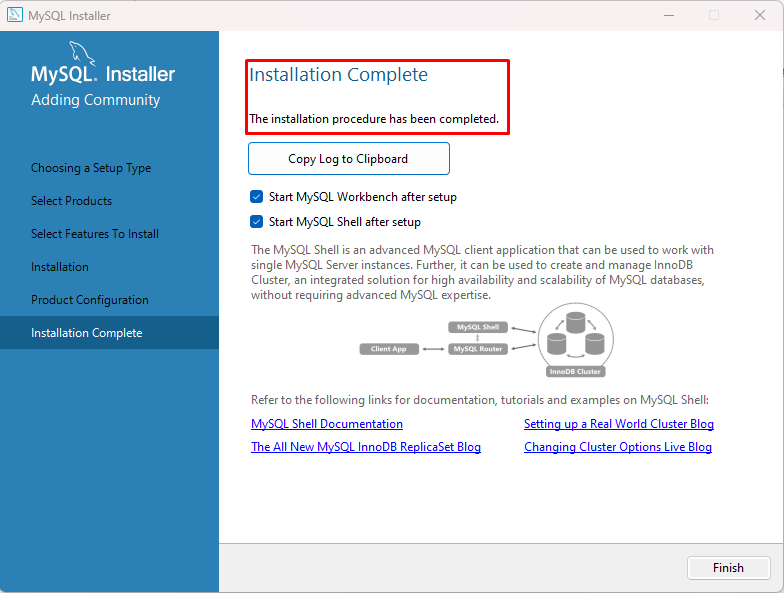
Finally, you will receive an “Installation Complete” window. Click on the “Finish” button:
To confirm that the installation of MySQL was successful, open the command prompt and type:
The output will display the version of the installed MySQL:

Open the MySQL Shell by searching it from the Start menu:

You can also open the “MySQL Workbench” that is installed successfully in your system:
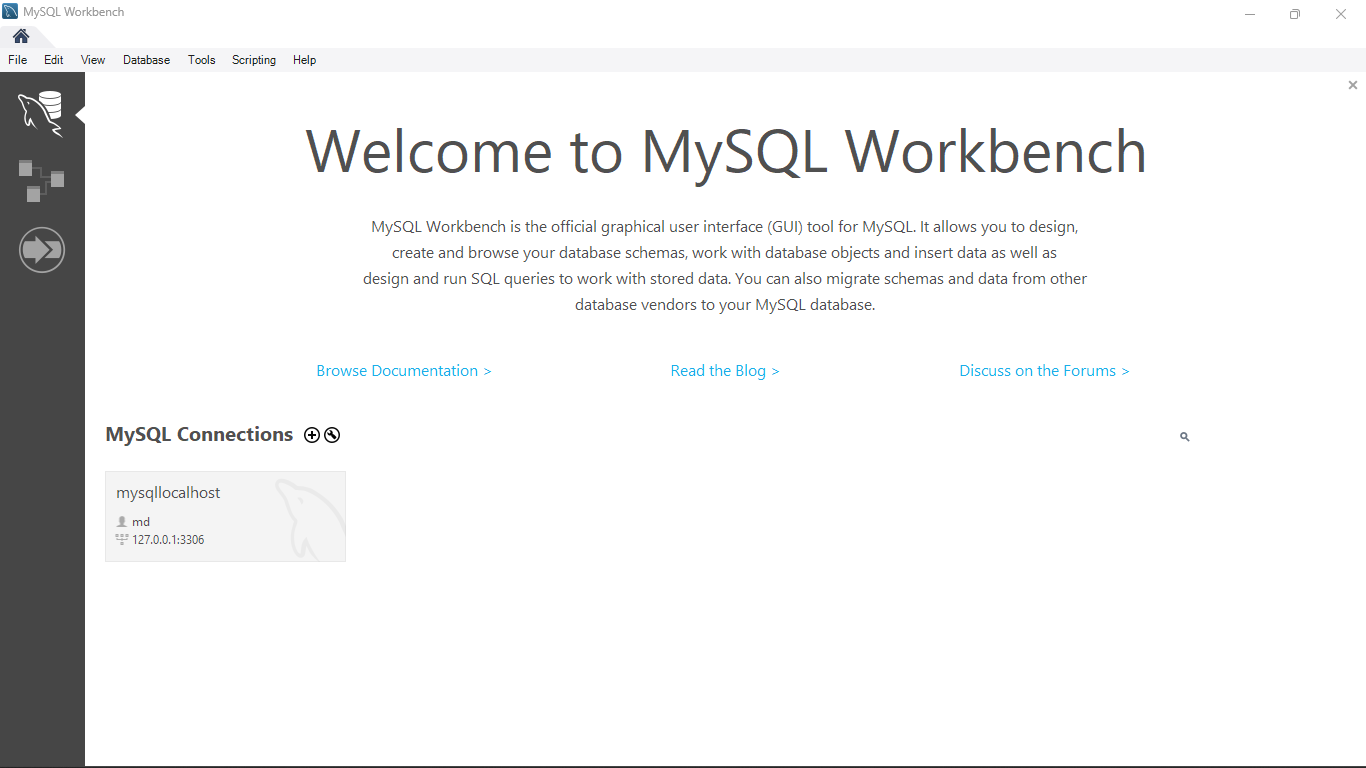
You have installed MySQL on Windows 11 successfully.
Conclusion
Download the “MSI Installer” of MySQL according to your Windows Architecture and execute it. Follow the guide to complete the installation of MySQL. During the installation, you would also have the option to choose MySQL Workbench, MySQL Shell, and MySQL Server. Verify the version using the “mysql –version” command to confirm the installation. This guide demonstrated how to install MySQL on Windows 11.
Source: linuxhint.com