How to Install MySQL in Terminal?
MySQL is a Relational Database Management System, developed by Oracle which has the capability of managing, Storing, and retrieving huge amounts of complex data easily. Many people who are comfortable working with a command line interface more than any GUI, prefer to perform their tasks of MySQL through a Command Line interface (CLI), so MySQL provides MySQL Shell (CLI for MySQL) to manage Local as well as Remote Servers of MySQL.
This post will teach the way to:
Install MySQL on Ubuntu
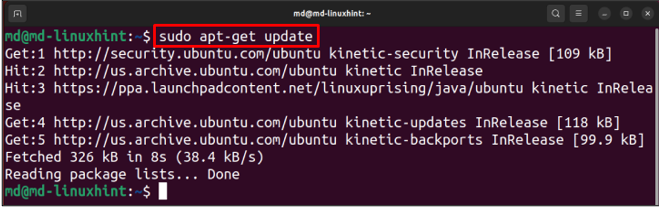
Running this command before any installation is preferable:
Let’s download Snap package manager using this command:
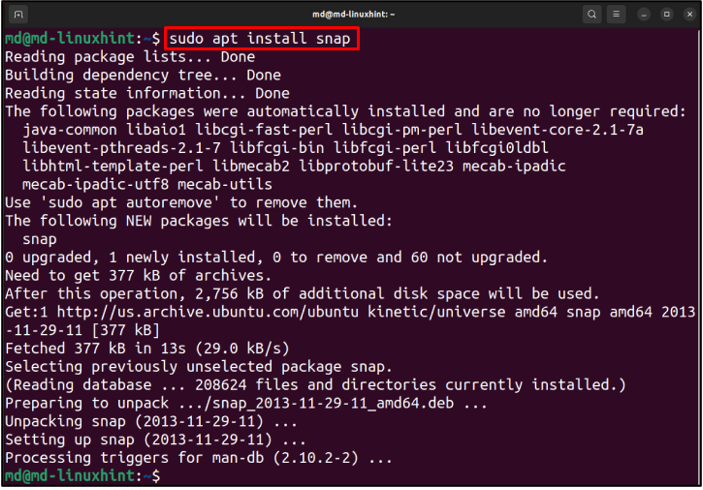
The next step is to install MySQL shell from snap by using this command:

Once the installation will complete, you will get this message:

Type this to see whether MySQL shell is running or not:

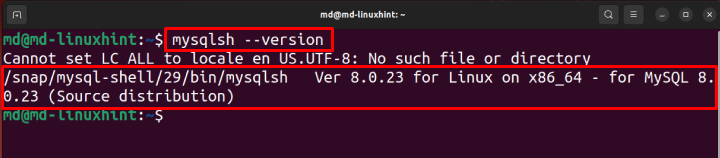
In the output, it is visible that MySQL is running properly.
To see the version of MySQL type:
If you want to remove MySQL from your Ubuntu then type:

You are able to install MySQL in Ubuntu, now use it from your terminal without any worry.
Install MySQL on Windows
If you want to install MySQL Shell on windows, open the Download MySQL Shell webpage.
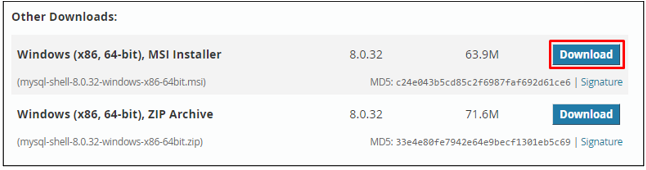
Choose Windows as the operating system:

Select the architecture according to your system and click on the “Download” button:
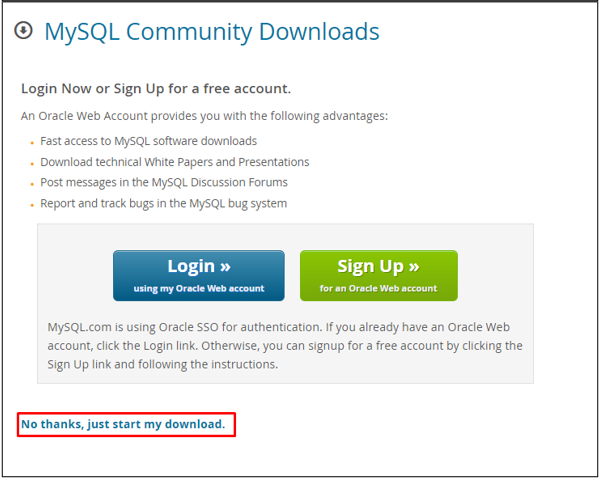
Click on “No thanks, just start my download”:
Wait until the download gets complete.
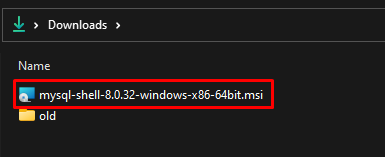
Open the folder where MySQL Shell Installer is downloaded:
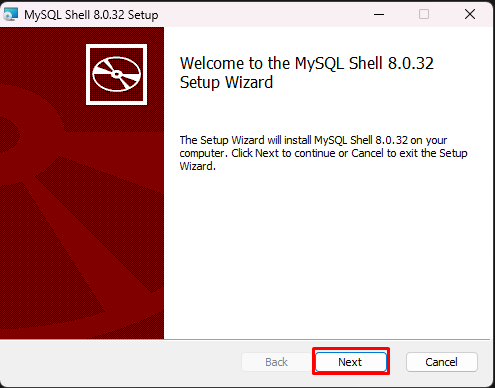
Open the Installer and click on “Next” button:
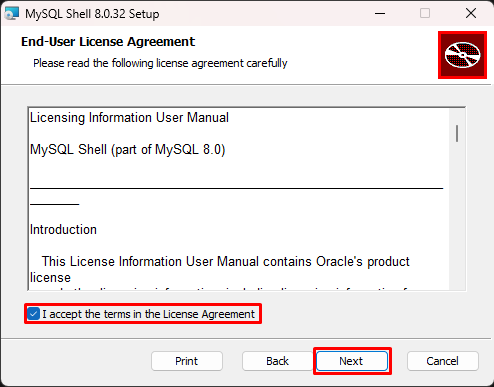
Check the checkbox for licence agreement, click on the “Next” button:
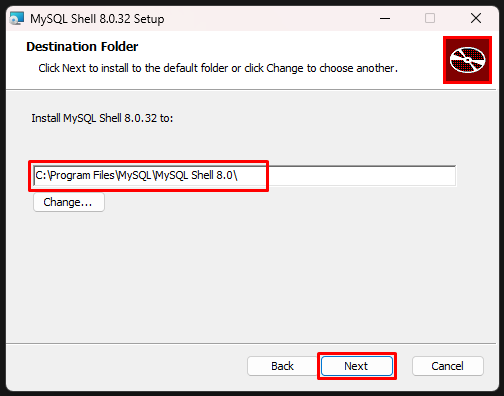
Browser for the directory where you want to install it and click on the “Next” button:
Click the “Install” button:

(Optional): If you get a prompt for allowing admin, click on allow admin.
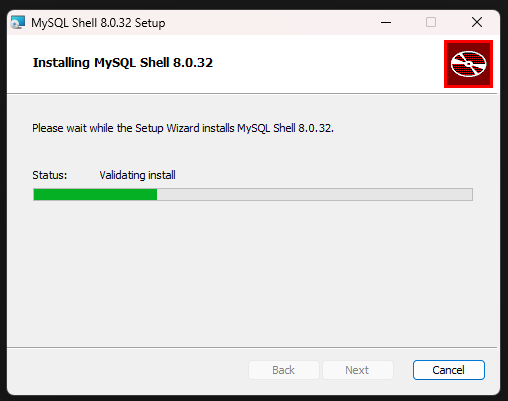
Wait for the installation to complete:
Select the option “Launch MySQL Shell”, Click on the “Finish” button:

MySQL Shell will open on the screen:

It is opened successfully, which means MySQL shell is installed in your system.
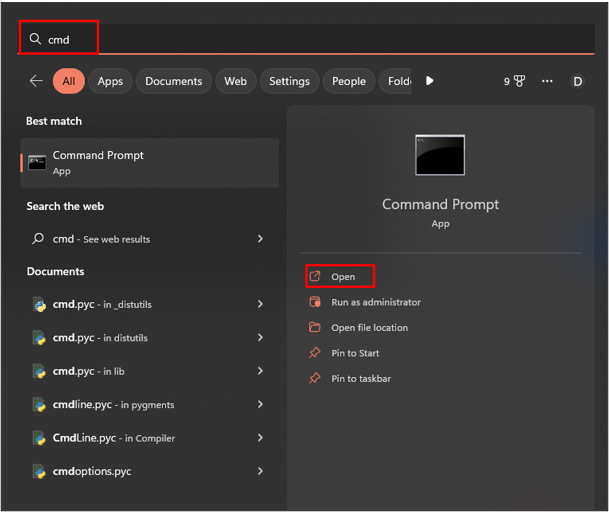
Open Command Prompt, to check the version of MySQL installed on your system:
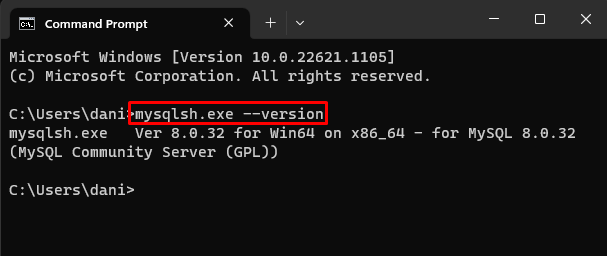
Type this command in the Command Prompt:
To open MySQL Shell type:

You have successfully installed MySQL on windows, feel free to run MySQL commands in the terminal now.
Conclusion
Many people prefer the Command Line Interface rather than GUI, so MySQL has provided a MySQL shell for various operating systems so that users can use MySQL and can connect their local as well as remote servers using a terminal. To install MySQL in Ubuntu, use the snap package manager for installing MySQL Shell by typing “sudo snap install mysql-shell” and in Windows Download MySQL Shell and install it.
Source: linuxhint.com