How to Install Musikcube in Ubuntu 22.04
This guide focuses on the installation of Musikcube in Ubuntu 22.04. Take a look.
Installing Musikcube in Ubuntu 22.04
There are three ways of installing Musikcube in Ubuntu 22.04, and we will cover all the methods in detail. Follow along!
Method 1: Install Musikcube as a DEB Package
Musikcube is available as a deb package that you can download from its GitHub page and install it using the dpkg in Ubuntu.
Start by visiting the Musikcube page and downloading the latest version. The latest version is 0.98.1 when we write this guide.
Alternatively, you can download it using the command line as shown in the following image. Here, we are using wget.
Once you execute the command, Musikcube starts to download.
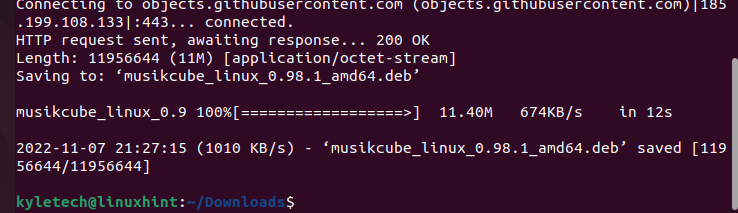
Ensure that the download progress completes to 100%. Once completed, you need to install the deb package using the dpkg by executing the following command:
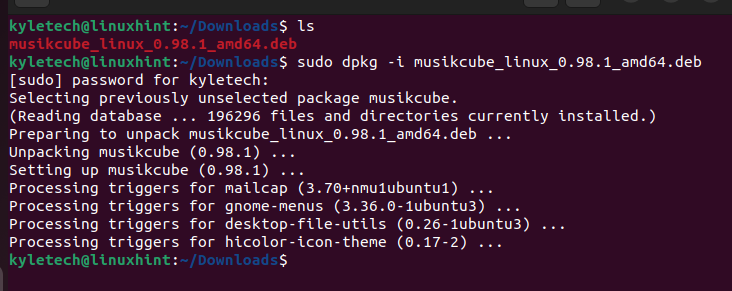
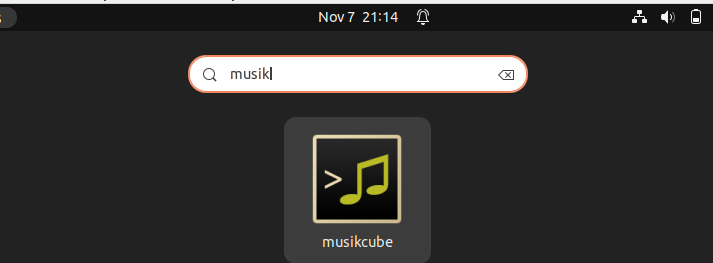
Wait for dpkg to unpack and set up Musikcube on your system. Once it completes, open the Musikcube from your applications or via the terminal.
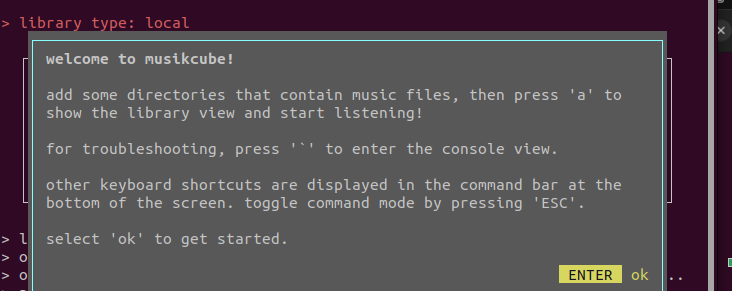
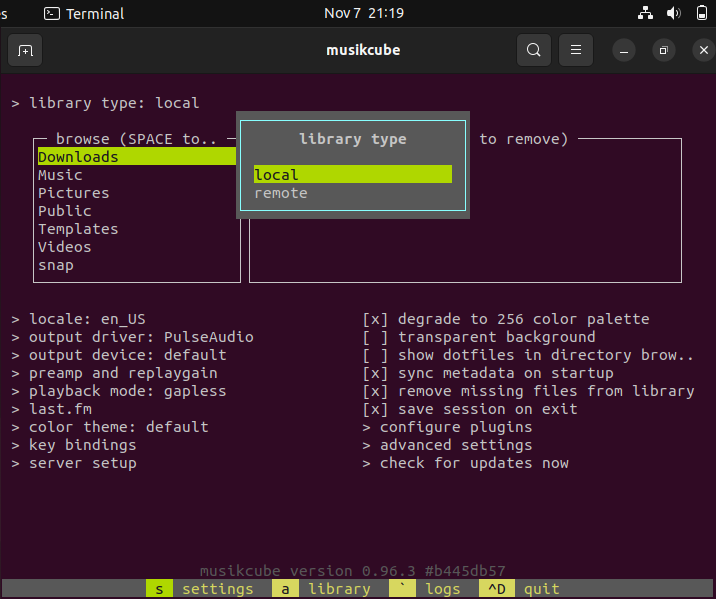
Once it opens, you will get a window like the one in the following image which welcomes you to Musikcube. Click the Enter key to start using Musikcube on Ubuntu 22.04.
Note that Musikcube requires a LANG environment variable and can throw the following error when we open it:

If that happens, execute the following command and open the application again. It works as expected:
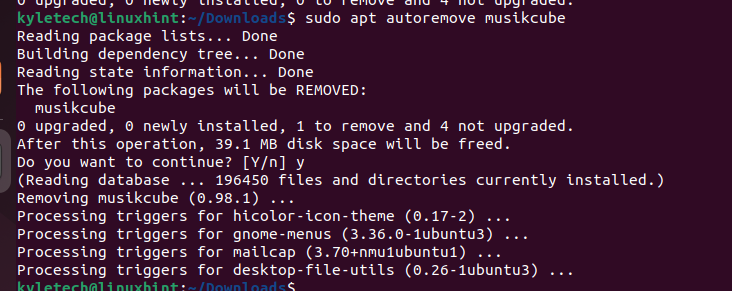
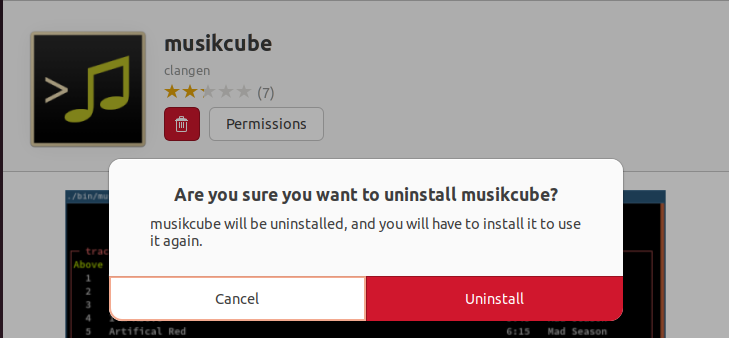
That’s how to install Musikcube as a deb package. With this installation method, if you ever need to uninstall Musikcube, run the following command:
Method 2: Install Musikcube via Snap
Musikcube is available as a snap application. This means that it’s packaged to run on most distributions.
To install Musikcube as a snap application, use the following command:
Musikcube will start to download and install on your system.

You can then open the installed Musikcube application via the terminal using the following command:
Suppose you get the following error. Add a LANG variable and open the Musikcube again:

Run the following command to add the LANG variable:
You will get the welcome page for the Musikcube opening as shown in the following image. You are now ready to use the terminal music player and audio engine for your activities.
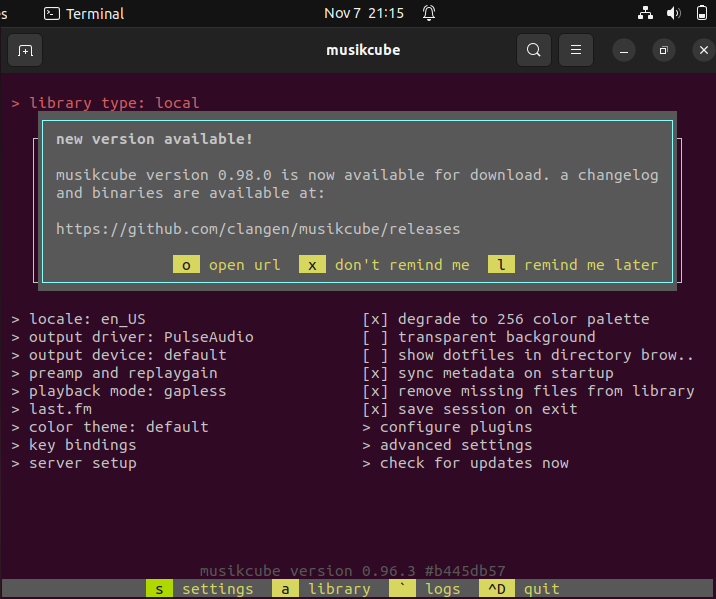
Its user interface will guide you on how to use the application.
Method 3: Install Musikcube via Ubuntu Software
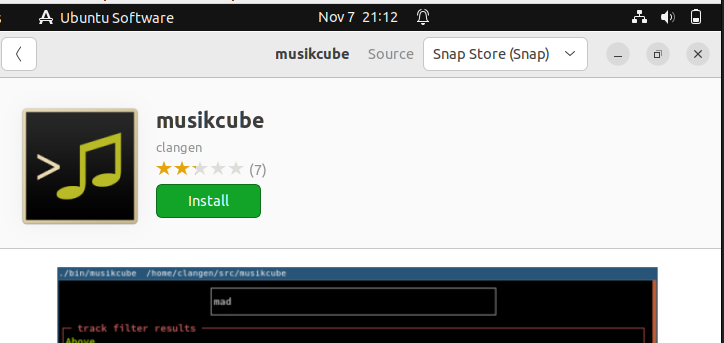
Musikcube is available in the Ubuntu Software Center where you can search for it and install it. Open the Ubuntu Software, click the search icon at the top, and type “Musikcube.” Once you find the application, click on it to open its details.
Locate the install button and click on it to start the installation process.
Authenticate the installation and wait for Musikcube to install as shown in the following progress bar:
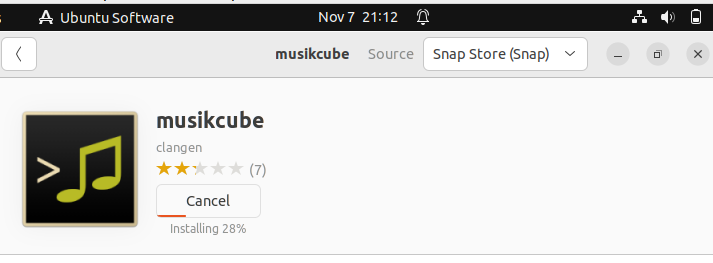
That’s it! You can now open Musikcube from your applications.

Once it loads, you will get a welcome page which is similar to that which is displayed when using the other installation methods. From here, navigate the interface and enjoy Musikcube inyour Ubuntu 22.04.

Those are the three ways of installing Musikcube in Ubuntu 22.04
Conclusion
Musikcube is a free and open-source cross-platform music player and audio engine. We covered the three ways of installing it in Ubuntu 22.04. Try the methods to find the one that works best for you. Hopefully, you will manage to install and use Musikcube in Ubuntu 22.04. That’s it, folks!
Source: linuxhint.com