How to Install MSOnline via PowerShell
Microsoft created PowerShell, a flexible and potent scripting language that enables users to automate a variety of administrative activities. One such task is installing the “MSOnline” module—an essential component for managing Azure Active Directory (AAD) operations. By installing the “MSOnline” module, administrators gain access to a powerful toolset that simplifies and automates common management tasks.
In this tutorial, we’ll look at how to install “MSOnline” using PowerShell step-by-step.
How to Install MSOnline via PowerShell?
To proceed with the installation of “MSOnline” using PowerShell, it is crucial to ensure that PowerShell is installed on the system. Users can obtain and install the latest version of PowerShell directly from the Microsoft website or through the “Windows Management Framework” package.
By following the steps mentioned below, you can easily install MSOnline via “PowerShell”.
Step 1: Connect to the Internet
Since the “MSOnline” module is not included by default in PowerShell, an internet connection is necessary to download and install it.
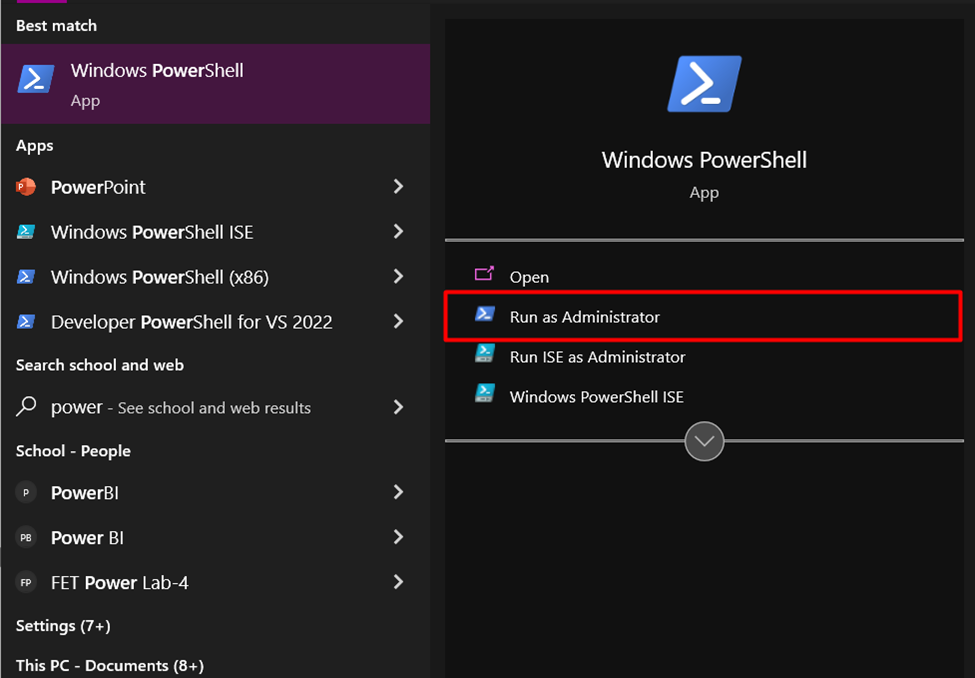
Step 2: Open PowerShell with Administrator Privileges
To install the “MSOnline” module, PowerShell needs to be launched with administrative privileges. This ensures that the necessary permissions are granted for successful installation and configuration:
Step 3: Check the Execution Policy
PowerShell’s execution policy ensures that scripts are not used maliciously. But it’s crucial to make sure the execution policy doesn’t interfere with the installation procedure. By executing the following cmdlet, we can check the current policy and set it to “RemoteSigned” or “Unrestricted”, if necessary:

Step 4: Installing the MSOnline Module
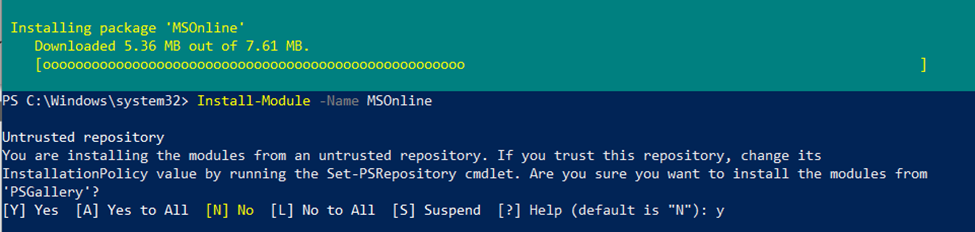
The “MSOnline” module needs to be installed using the PowerShell gallery as the following step. By executing this cmdlet, you can conveniently download and install the module from the gallery repository:

Now, type “y” to ensure the installation of the module:

The installation will start now, as indicated below:

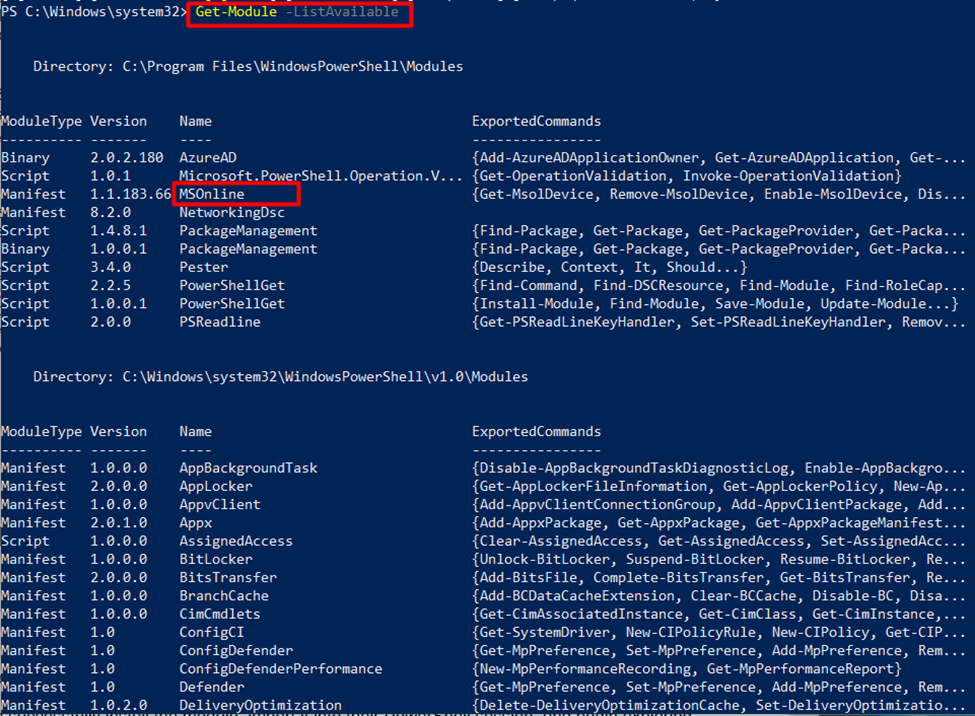
Step 5: Verifying Successful Installation
It’s crucial to check the installation’s success when it’s finished. By running the following cmdlet, you can confirm that the “MSOnline” module is installed correctly and available for use in PowerShell:
Step 6: Importing the MSOnline Module
To start utilizing the “MSOnline” module’s functionalities, you will need to import it into the PowerShell session by running this cmdlet:

Upon applying all these steps, the “MSOnline” will be installed.
Conclusion
Installing the MSOnline module via “PowerShell” is a fundamental skill for efficient “Azure Active Directory” management. This article has provided an in-depth understanding of the significance and process of installing “MSOnline”, empowering users to leverage PowerShell’s capabilities while managing Azure AD and enhancing their administrative proficiency.
Source: linuxhint.com