How to install MongoDB on Raspberry Pi
In this article, we will let you install MongoDB on a Raspberry Pi device so that you can use this database to store a large amount of data.
Installing MongoDB on Raspberry Pi
The MongoDB installation on Raspberry Pi is easy which you can complete within couple of minutes by following the below mentioned steps:
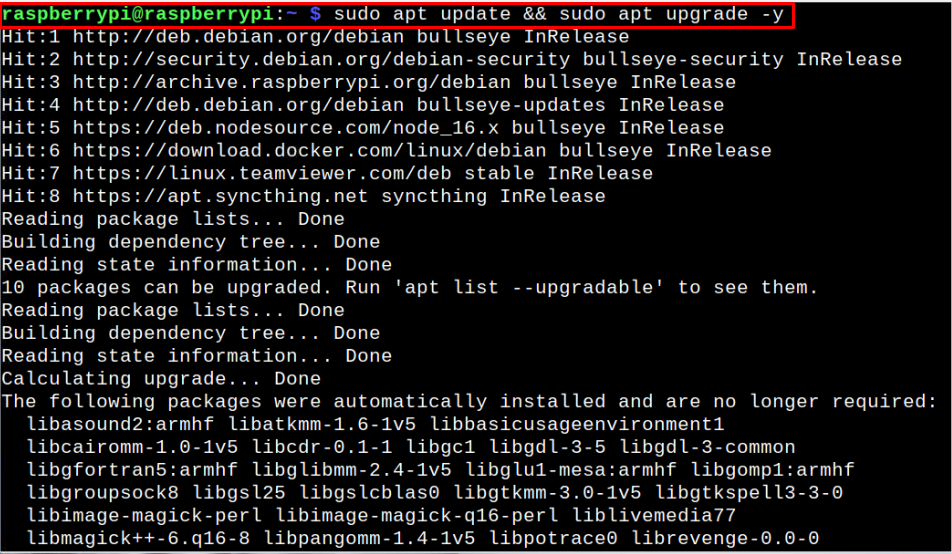
Step 1: Update Raspberry Pi Packages
To begin installing MongoDB on your Raspberry Pi device, ensure that the packages on your system are up to date and you can use the following command to update them.
Step 2: Add GPG Key for MongoDB
Now, add GPG key through the following command as this is required for adding MongoDB repository into the Raspberry Pi list.

The output “OK” confirms that the GPG key is successfully added.
Step 3: Add MongoDB Repository
After adding the GPG key, you can now apply the below-mentioned command to add the MongoDB repository to the Raspberry Pi repository list.
The above command adds the MongoDB repository into the Raspberry Pi source list.
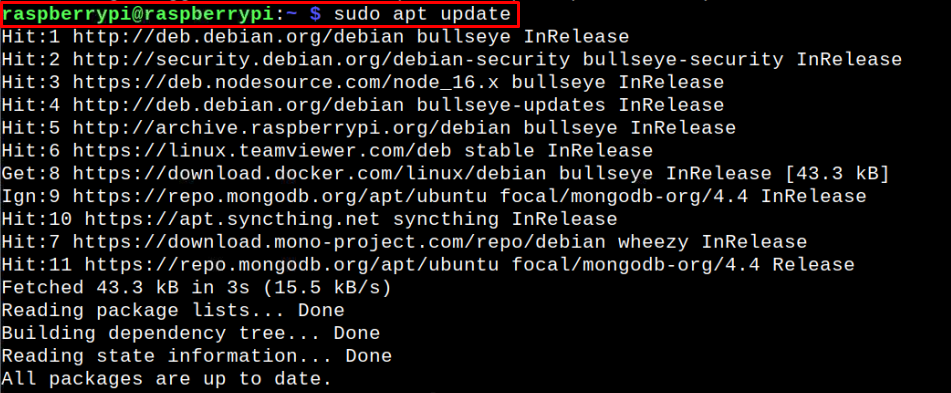
Step 4: Update Source List
After adding the repository, you will need to update Raspberry repository list through the following command:
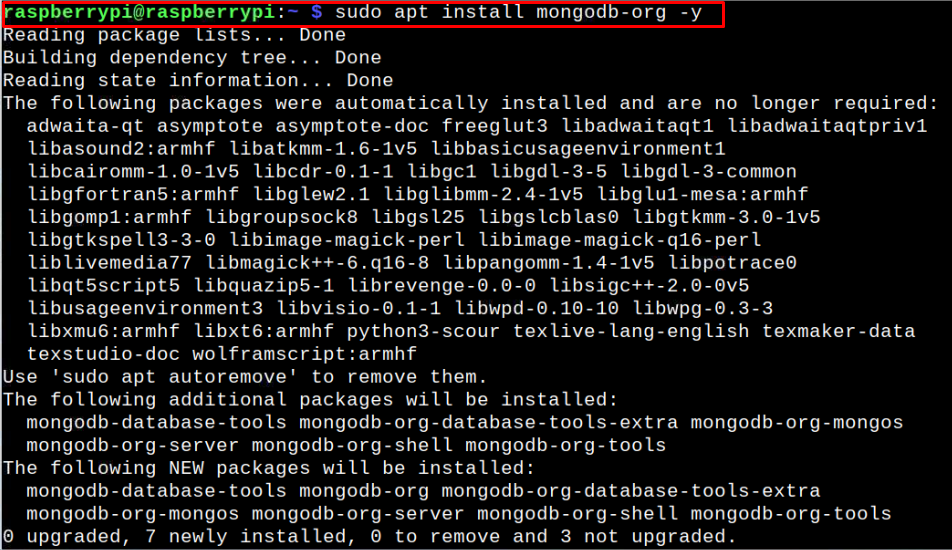
Step 5: Install MongoDB on Raspberry Pi
Once the Raspberry Pi source list is updated, you can use the below-given command to install MongoDB on your device:
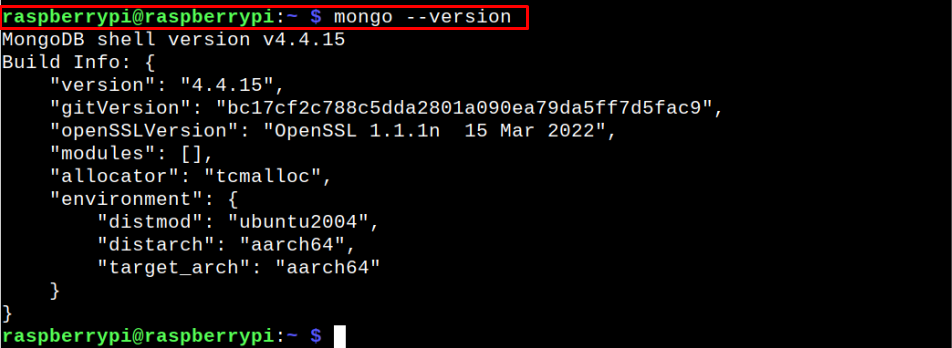
Once the MongoDB installation is completed, you can use the following command to ensure that the latest version is installed on your device.
Step 6: Start MongoDB service on Raspberry Pi
After completing the installation, you will need to install MongoDB service on your Raspberry Pi device using the following command:

Step 7: Check Status of MongoDB service on Raspberry Pi
To ensure that MongoDB service is up and running on your Raspberry Pi device, you can execute the following command:
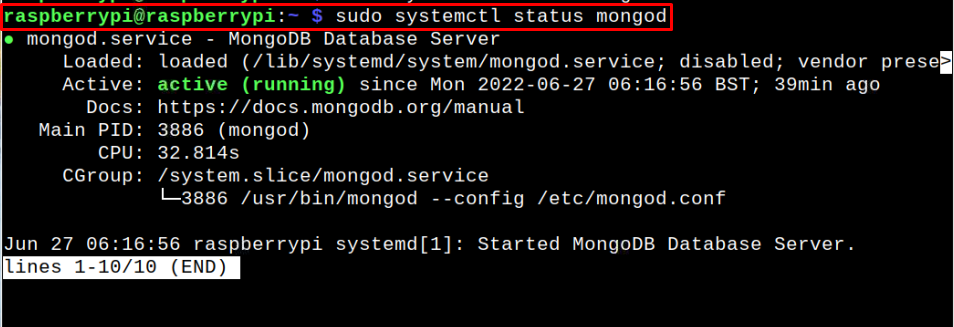
The “active (running)” status ensures that MongoDB service is running completely fine on your Raspberry Pi device.
Step 8: Run MongoDB on Raspberry Pi
With the service running on your device, you can use the following command to run MongoDB on your Raspberry Pi device:
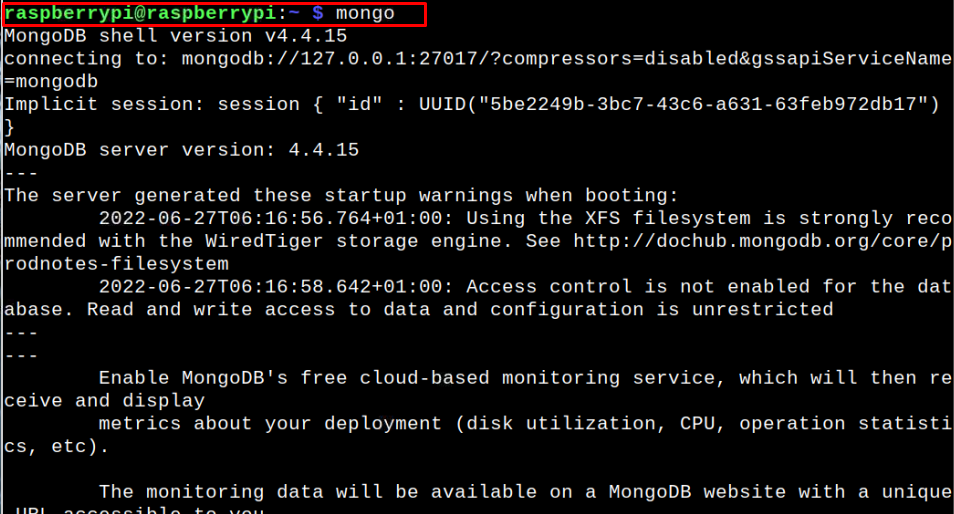
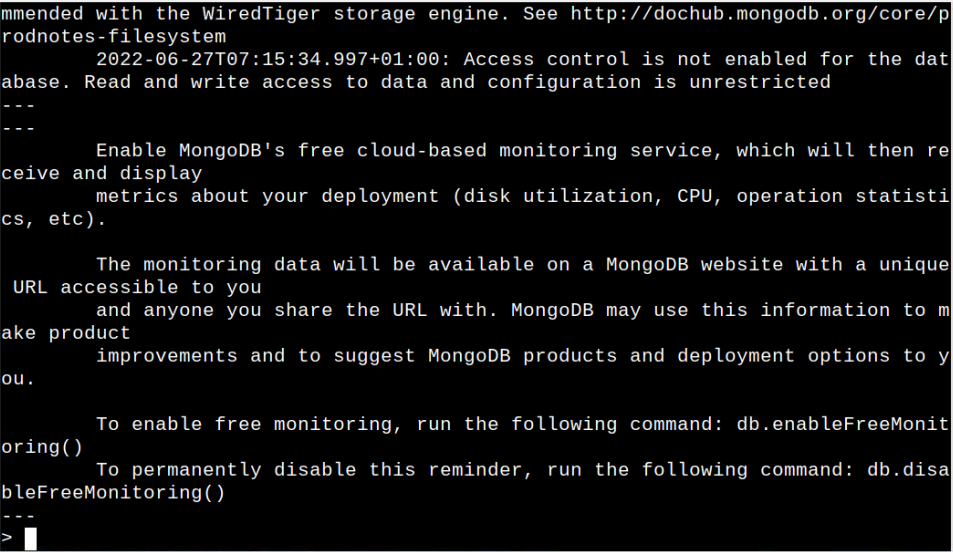
Now, from here on, you can create several databases with ease using the MongoDB database management system.
Conclusion
MongoDB is a robust database management system better than MySQL in terms of performance and speed due to its less restrictive format. From the above guidelines, you can easily install MongoDB on your Raspberry Pi device by adding the GPG key and repository to the Raspberry Pi source list. Afterwards, use the installation command to install the latest version of MongoDB on Raspberry Pi and begin creating several databases with ease.
Source: linuxhint.com