How to Install LAMP on Ubuntu 24.04
LAMP stands for Linux, Apache, MySQL, and PHP. The open-source stack comes bundled together when you want to host dynamic web apps or websites developed in PHP. LAMP is a go-to solution for developers writing their programs in PHP, as it contains everything required to host the web app or website.
Linux is the operating system you are using while the Apache is an open-source web server to handle HTTP requests. The MySQL is the database to handle the data, while PHP is the programming language used for the development. Installing the LAMP stack involves a few steps, and this post has covered them in detail.
Installing a LAMP Stack on Ubuntu 24.04
We must install each element separately and make any configurations to obtain a LAMP stack. For better understanding, we’ve presented this installation guide in phases. Let’s go through each and the steps you should take to have LAMP installed on Ubuntu 24.04.
1. Installing Apache
Apache is a web server, and its massive community support makes it a preferred option for many users. Even with LAMP, we must first install Apache on our Ubuntu 24.04.
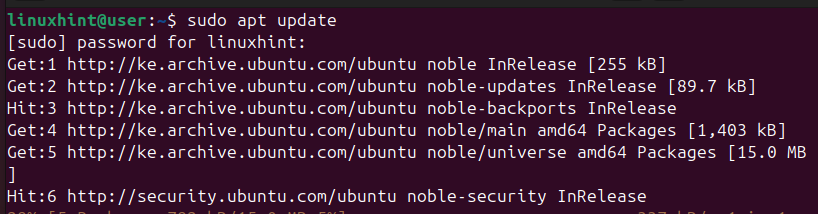
The first step is to refresh our package manager cache by updating it.
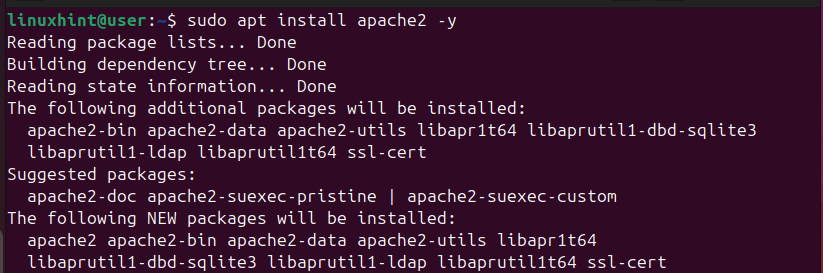
We can then install the Apache package using the APT command below.
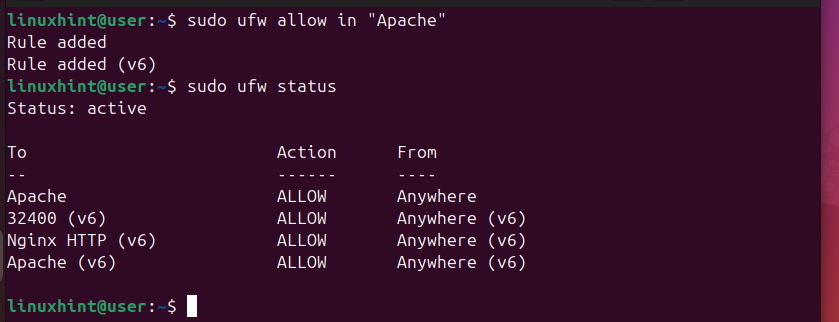
With Apache installed, we must configure our firewall to allow Apache connection. Apache supports HTTP traffic, and to make our firewall aware of this, we need a rule that allows traffic to Apache. Once you’ve added the rule, confirm the firewall status to ensure that it is active and that your firewall rule has been added. Use the following commands to achieve this.
$ sudo ufw status
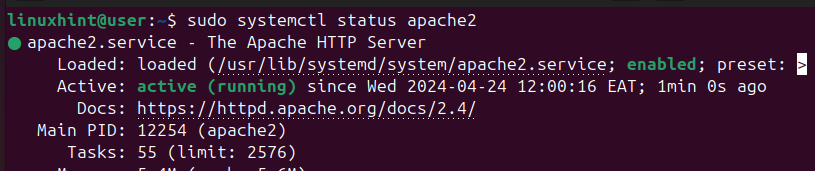
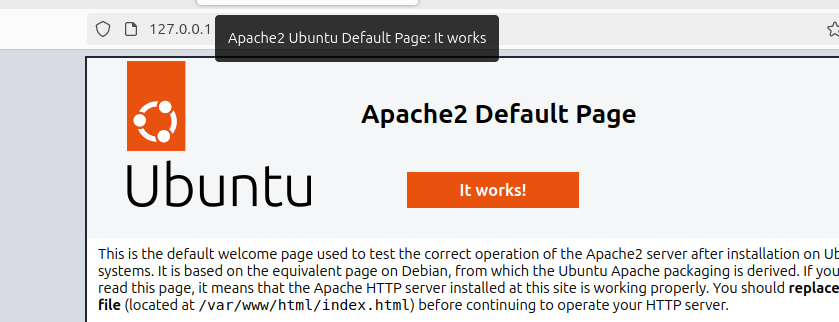
Lastly, we must verify that Apache has been installed and works correctly. Apache comes with a test page. To access this test page, open your browser and visit your server’s IP address. If using localhost, your IP address would be http://localhost. If Apache is correctly installed, you will get a window showing its welcome default page.
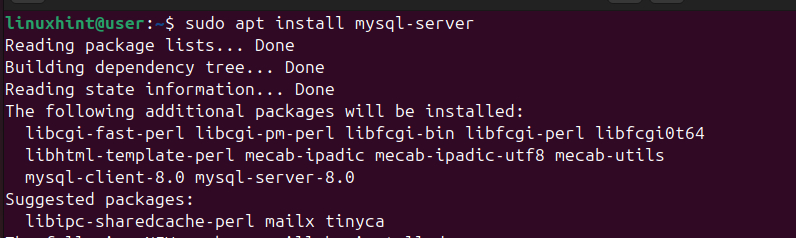
2. Installing MySQL
You can install MySQL or MariaDB for the database. The database will store and manage your site’s data using SQL syntax. If you already have either MySQL or MariaDB installed, skip this step. Otherwise, install MySQL using the following command.
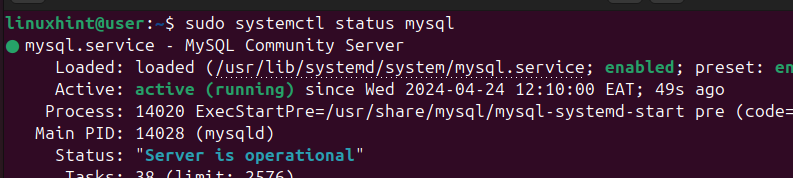
Next, check the MySQL status to ensure your database is active and running.
We then need to run the default MySQL script to secure the database.
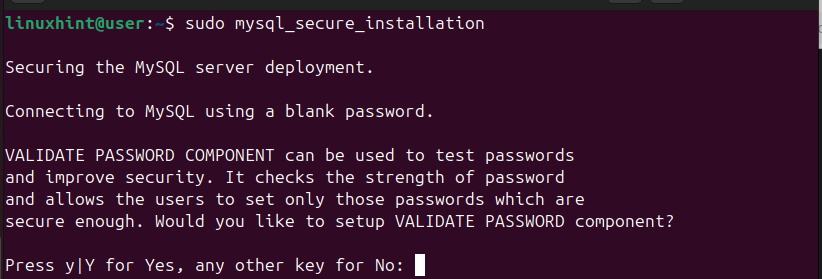
Upon running the script, you will get prompted to confirm different things. For instance, you will be prompted to disable anonymous login. Check each prompt and give the ideal response for your case.
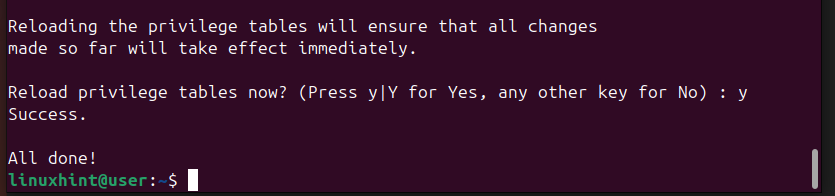
Once the script terminates, you’ve secured your database and can proceed with the other steps. Access the MySQL shell with the below command to verify that the DBMS works correctly.
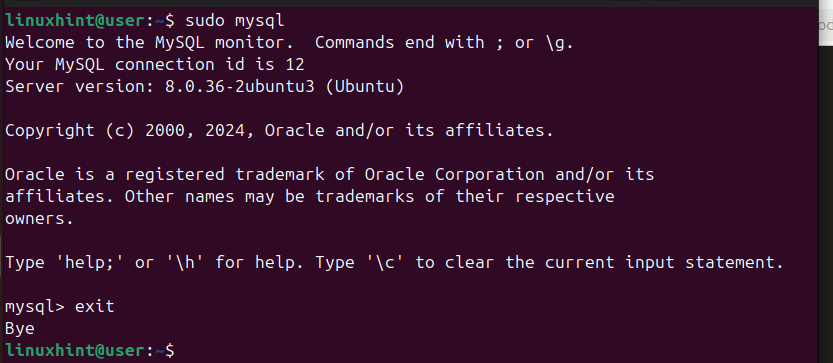
Once you’ve ascertained that it works correctly, exit the shell.
3. Installing PHP
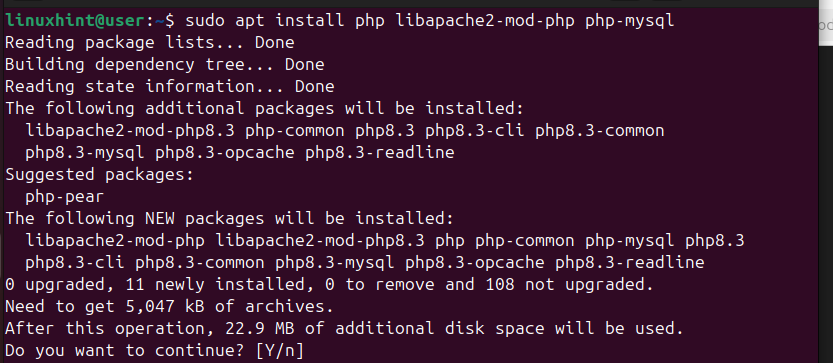
Last on our LAMP stack is PHP. It is the development languages and tools that you will utilize to write your website or web app. When installing PHP, there are different packages that you can install alongside the PHP package, and it all depends on your project requirements.
The basic packages you must install to use PHP can be installed by executing the below command.
Check the installed PHP version.

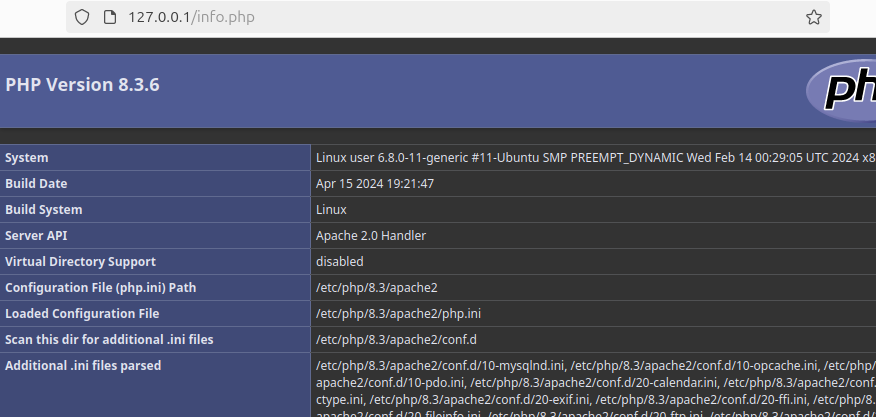
Like Apache, PHP also offers a way to test it to confirm that the installation was successful. First, create the info.php file using a text editor.

Inside the file, add the code in the image below. This code confirms whether the PHP installation was successful.

Once you’ve saved the PHP file, go back to your browser and open the PHP file following the following syntax: http://server_ip/info.php. If PHP is installed successfully, its default page, like the one below, will open in the window.
That’s it! You now have LAMP installed on Ubuntu 24.04. Feel free to use it to host your website or other activities.
Conclusion
LAMP is one way of installing all prerequisites for hosting websites or web apps written in PHP. You can install the LAMP stack by installing each element separately until you’ve built the complete stack on your Linux system. We’ve demonstrated how to go about it using the provided examples and by following each step, you will manage to install LAMP on Ubuntu 24.04 easily.
Source: linuxhint.com