How to Install kubectl on Mac
In the era of Software development, the developer usually gives preference to build, run, and deploy the application in container runtimes. But in that situation, management of containers, enrollment of updates, and monitoring of applications became complex. To overcome this situation, the Kubernetes clusters are used.
Kubernetes is a free open-source container composition or orchestration (coordination of multiple containers) system that is used to develop, manage, and deploy applications and software. The Kubernetes cluster also needs to be managed and operated. For this purpose, the kubectl command line tool is used. The Kubectl tool permits us to give commands to the Kubernetes cluster. Users can use kubectl to build and deploy the app, monitor the app by viewing logs, manage cluster resources, and many more.
This article will demonstrate:
- Prerequisite: Install Docker Desktop App and Enable the Kubernetes Server
- How to Install kubectl Binary with curl on Mac
- How to Use Kubectl to Operate Kubernetes Cluster
- How to Uninstall Kubectl from Mac?
- How to Install kubectl with Homebrew on Mac
- How to Uninstall kubectl with Homebrew
- How to Install kubectl with MacPorts on Mac
- Conclusion
Prerequisite: Install Docker Desktop App and Enable the Kubernetes Server
To start working with Kubernetes and to use kubectl to manage the Kubernetes cluster, users are required to have supported tools to run the Kubernetes cluster. For that particular purpose, Kubernetes supports different tools to run the cluster such as Docker Desktop, kind, minikube, and kubeadm.
For demonstration, we will use the Docker Desktop application to run the Kubernetes cluster. However, users can install and use any of the above-mentioned tools by following Kubernetes official documentation.
To install the Docker Desktop application and to enable and start the Kubernetes server, follow the listed steps.
Step 1: Install the Docker Desktop App
The Docker Desktop app is a containerization Docker GUI tool that is utilized to build, run, deploy, and ship software and applications in small executable containers. The Kubernetes server and client can be easily deployed with the Docker Desktop app. The Kubernetes cluster will be deployed locally and will be a single-node cluster.
To install the Docker Desktop application on Mac, go through our linked “Install Docker Desktop app on Mac” article.
Step 2: Install and Start Kubernetes Server
To install and start Kubernetes on Mac, first, launch the “Finder” app by clicking on the below-highlighted icon:

After that, navigate to the “Applications” directory and run the “Docker Desktop” app:

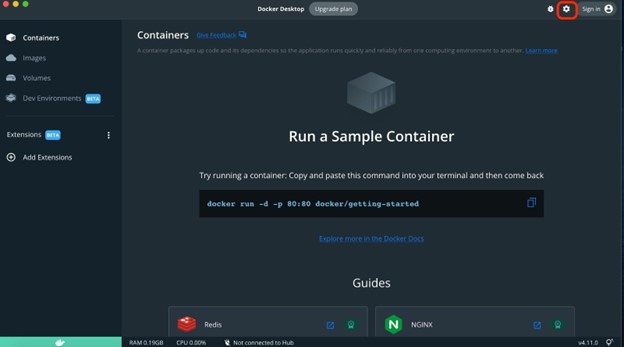
After launching the app, navigate to the Docker Desktop setting by clicking on the “Gear” icon:
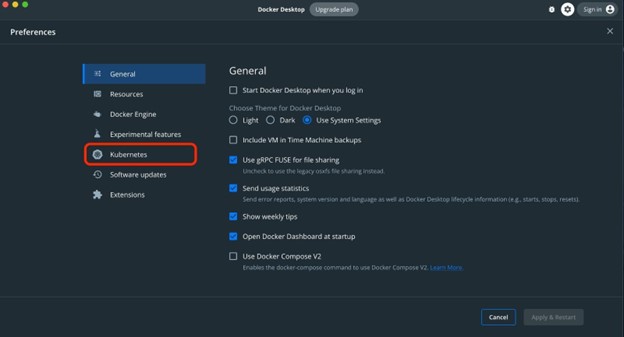
Now, navigate to the “Kubernetes” setting from the left pane:
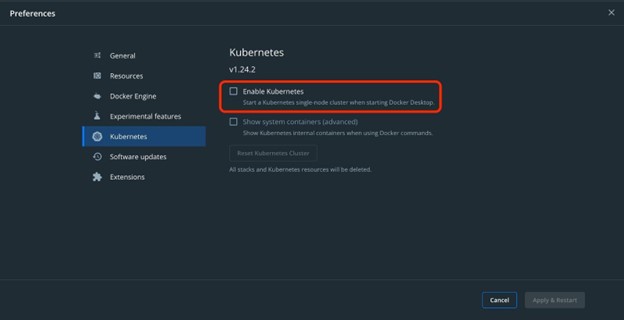
To enable and start Kubernetes, first, mark the highlighted “Enable Kubernetes” checkbox:
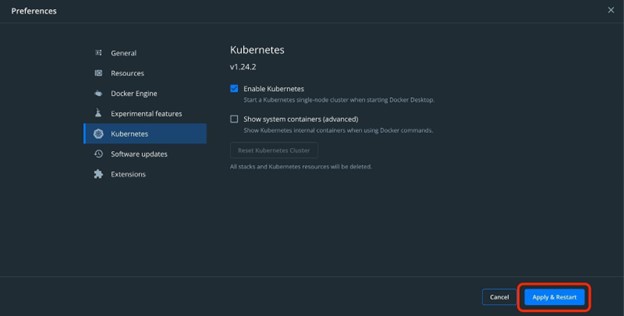
After that, hit the “Apply & Restart” button:
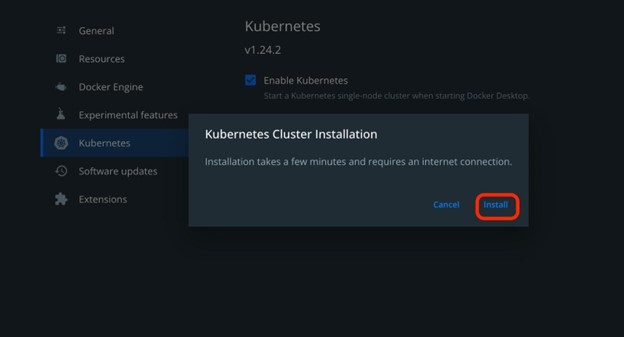
Upon doing so, the “Kubernetes Cluster Installation” box will pop out on the screen. Hit the “Install” button to start the Kubernetes cluster for development:
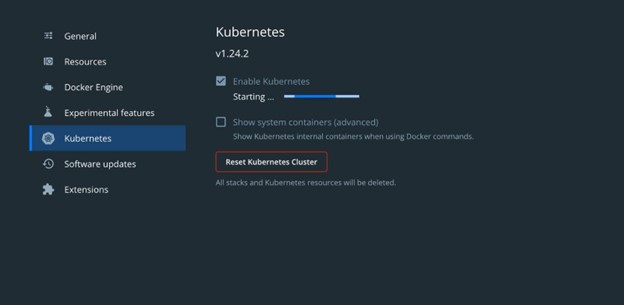
This will start setting up and executing the Kubernetes cluster on Mac through the Docker Desktop application:
How to Install kubectl Binary With Curl on Mac?
Kubectl is a Kubernetes command line utility that is used to manage, build, and deploy Kubernetes clusters. To install the kubectl binary with the “curl” command on Mac, go through the following instructions.
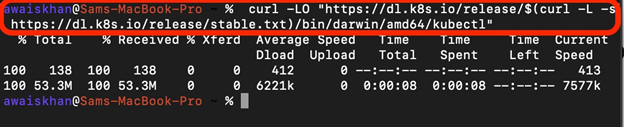
Step 1: Download kubectl Binary
To download the kubectl binary file on Mac, first, launch the Mac terminal. After that, execute the below command:
Step 2: Validate the Binary
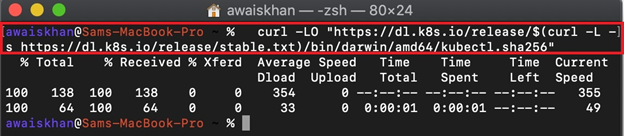
Next, validate the kubectl binary to check the build artifacts created during program compilation and verify they haven’t been compromised. But this step is optional.
To validate the kubectl binary, download the checksum file using the below command:
Now, validate the kubectl binary against checksum:

Step 3: Make Kubectl Binary Executable
Make the kubectl directory where binary files exist executable using the below command:

Step 4: Move kubectl to System Path
In the next step, move the kubectl directory to the system path directory to utilize and access the kubectl commands from Mac terminal:

Next, transfer the kubectl binary ownership to the root user with the help of the below command:

Step 5: Verification
Lastly, verify if we have installed the kubectl on Mac or not. For this purpose, run the “kubectl version” command:
The below output shows that we have successfully installed the kubectl “v1.28.4” on Mac through binary:

How to Use kubectl to Operate Kubernetes Cluster?
To operate, manage, and deploy the Kubernetes cluster on Mac using the kubectl command line tool, first, configure the Kubernetes cluster context. After that, create and start the pod that encapsulates the user application.
For illustration, go through the following instructions.
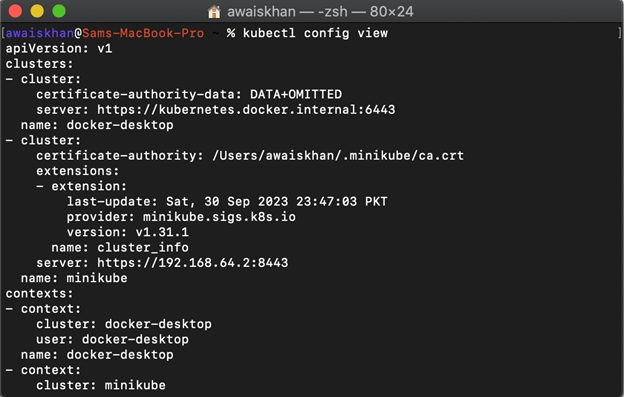
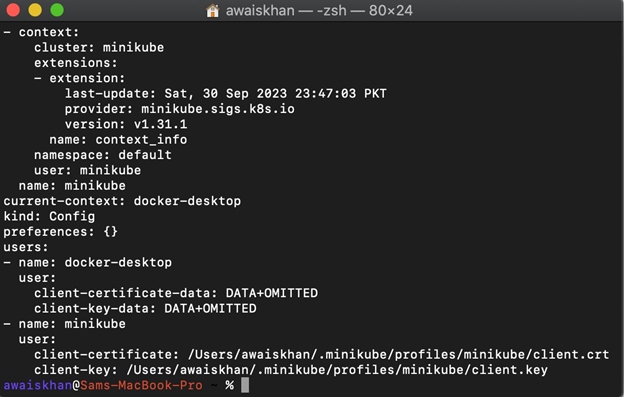
Step 1: View kubeconfig Settings
To view the kubeconfig settings or to check the kubeconfig file to view the available Kubernetes cluster context, utilize the below command:
Step 2: Configure Kubernetes Cluster Context as Docker Desktop
Next, configure the context to run the Kubernetes cluster. For this purpose, utilize the “kubectl config use-context <context-name>” command:

Step 3: Access Kubernetes Nodes
After that, access the Kubernetes running nodes using the “kubectl get nodes” command. In these nodes, the Kubernetes pods execute to deploy the containerized applications:

Step 4: Create and Start the First Pod
Now, run the new pod inside the running Kubernetes cluster using the “kubectl run” command. For demonstration, we are executing the nginx image to run the Nginx application:

Step 5: Verification
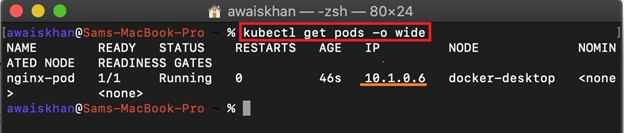
For confirmation, get the Kubernetes pods through the given command. The “-o wide” is used to access the IP address of running pods to access containerized application:
Step 6: Access Application Running in Pod
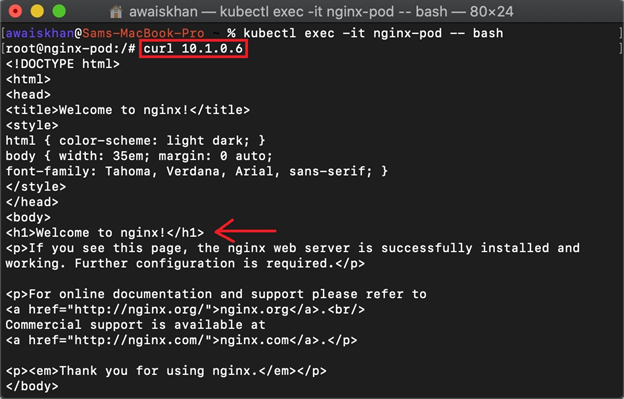
Now, log in to Kubernetes pod bash terminal to access the running application. To do so, the Docker Desktop context uses the “kubectl exec -it <pod-name> — <command>” command:

Now, execute the “curl” command along with the pod IP address to access or ping the executing application:
The below output indicates that we have successfully deployed the Nginx application using kubectl tool:
How to Uninstall kubectl From Mac?
To uninstall Kubectl from Mac, go through the following steps:
Step 1: View kubectl Installation Directory
First, view the installation directory of kubectl tool using below command:

Step 2: Remove kubectl From Mac
Next, run the “sudo rm <path-to-kubectl directory>” command to remove the kubectl from Mac:

Step 3: Verification
After that, verify if the kubectl is removed from the Mac or not. For this purpose, execute the “kubectl version” command:
The below output indicates that we have effectively uninstalled the kubectl from Mac:

How to Install kubectl With Homebrew on Mac?
The Homebrew is a software package management system that is used to install Mac OS packages, applications, and plugins. To install the kubectl using Homebrew, look at the following demonstration.
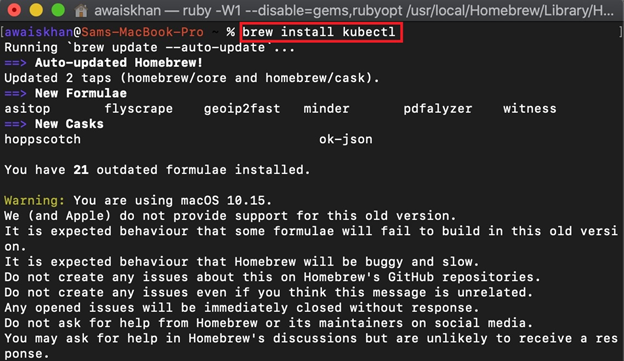
Step 1: Install kubectl
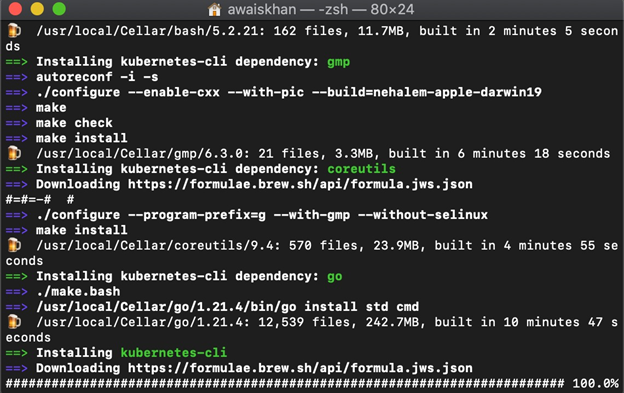
To install the kubectl using Homebrew, utilize the “brew install kubectl” command:
This will also install the extra dependencies along with the kubectl tool:
Step 2: Verification
For verification, check the kubectl version using the below command:

How to Uninstall kubectl with Homebrew?
To uninstall kubectl using Homebrew, utilize the “brew uninstall kubectl” command. In order to ignore the uninstallation of kubectl dependencies that are also used by other packages, utilize the “–ignore-dependencies” option along with the command:

How to Install kubectl with MacPorts on Mac
MacPorts is another package manager of MacOs and Darwin. It is utilized to install open-source packages on macOS. To install the kubectl with MacPorts, follow the given steps.
Step 1: Install MacPorts
The MacPorts package manager is not preinstalled on macOS. To install the MacPorts package manager, navigate to the MacPorts official website and download the package according to your build.
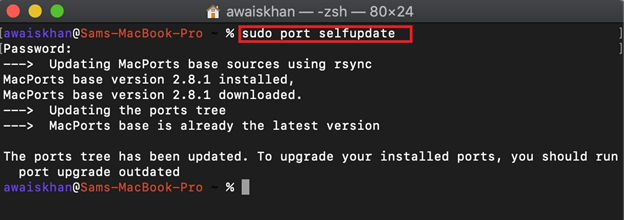
Step 2: Update MacPorts Repository
Now, update the MacPorts repository using the “sudo port selfupdate” command:
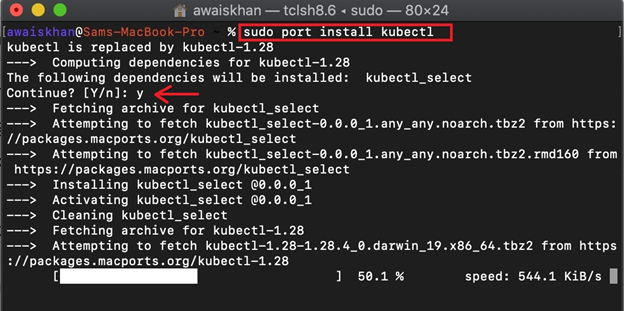
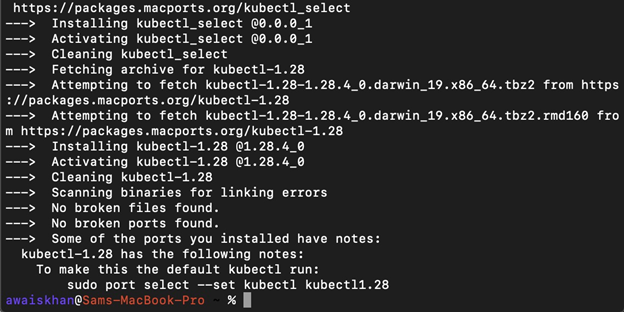
Step 3: Install kubectl
To install the kubectl tool, utilize the following command:
Step 4: Verification
For verification, check the kubectl installed version:
The below result shows that we have effectively installed the kubectl using MacPorts package manager:

Uninstall kubectl From Mac Using MacPorts
To uninstall kubectl using MacPorts, use the following command:

We have covered possible methods to install kubectl on Mac.
Conclusion
To install kubectl on Mac, the user can either install kubectl using binary, Homebrew, or MacPorts package manager. To install kubectl using Homebrew, utilize the “sudo brew install kubectl” command. In order to use the MacPorts package manager, first, install the MacPorts on the system. After that, run the “sudo port install kubectl” command. This blog has illustrated the different techniques to install kubectl on Mac.
Source: linuxhint.com