How to Install Gradle on Linux Mint 21
Gradle is an open-source, popular build automation tool used to create applications based on Groovy and Kotlin. It is a flexible tool and is famous among Linux users because of its consistency. Gradle supports many programming languages like Java, Android, C/C++, Scala, etc. It doesn’t matter how long the project is, Gradle will download respective dependencies and repositories automatically to create it. The structure it follows to create applications is building (compiling, linking, code packaging), automating, and delivering the product with fast performance.
How to Install Gradle on Linux Mint 21
We have two ways to get Gradle on the Linux mint system:
-
- Through the Official Site
- Install Gradle Through the Snap Store
Method 1: Install Gradle Through Official Site
To install Gradle from its official site, you need to follow steps carefully; otherwise, you might face hurdles.
Step 1: Install the Java in your system first using the following command, as it is required for operating Gradle on Linux Mint:
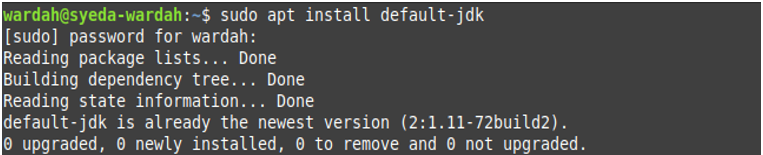
Confirm its installation using the version command:

Step 2: Download the latest package of Gradle by copying the below-mentioned command. You can also visit its official site to check for the latest update:

Step 3: Extract all the files from the downloaded zipped folder using the below-mentioned command:
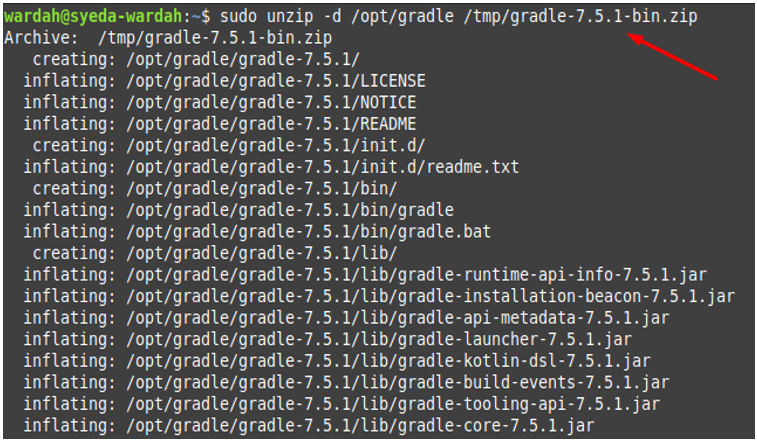
Run the ls command to ensure that the downloaded file has unzipped successfully to the /opt/gradle location:

Step 4: In the next move, you are required to set up the environment variable by opening the Gradle file through nano editor from the following command:

When it opened, you have to define the required paths for Gradle and for this, you must add the following lines inside the file and save it:
export PATH=${GRADLE_HOME}/bin:${PATH}

Step 5: Now, give access to the gradle.sh file and make it executable for the users through following command:

Step 6: By making use of the source command, let’s initialize the variable we have set above for Gradle:

This installs the Gradle package on Linux Mint 21 system.
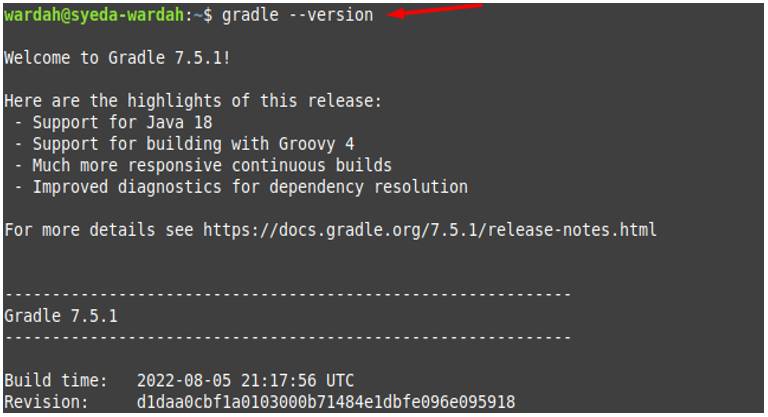
Step 7: Confirm the Gradle installation by executing the below-mentioned command:
Method 2: Install Gradle Using Snap Store
Another way to get Gradle on the Linux Mint system is to install it from the snap store.
For this, you have to remove nosnap.pref file first from the system through the following command:

Now, install snapd (snap package manager) on the Linux Mint system through following command:
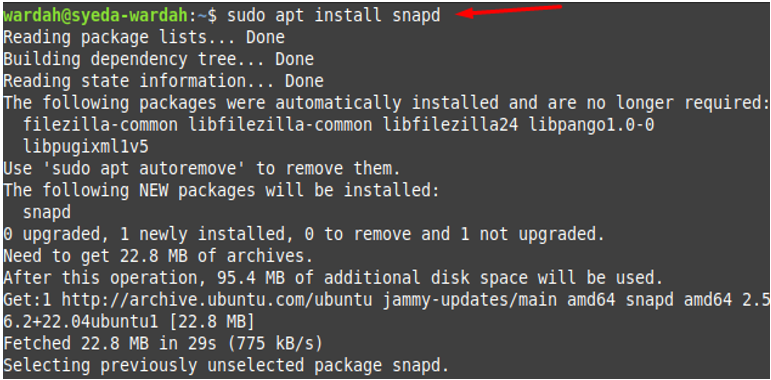
After getting snapd on the system, you can install the Gradle by executing the mentioned command:

Remove Gradle through Snap Store
To remove Gradle using the snap package, run the command:

Conclusion
Gradle is a build automation tool used to create applications based on different programming languages like Java, Scala, Groovy and many more. It is flexible and consistent and helps you to automate the development of applications. This guide has mentioned the process of how we can get Gradle on the Linux Mint 21 system. This is done in multiple easy ways i-e the official site and the snap store.
Source: linuxhint.com