How to Install GParted on Linux Mint 21
GParted stands for Gnome Partition Editor and you can use it on Linux Mint system to manage disk partitions and their file system which includes resizing, moving, copying, creating, and deleting of file systems and disk partitions. You can easily install GParted on your Linux Mint by following the step-by-step guide given in this article.
How to Install GParted on Linux Mint 21
You can install GParted on Linux Mint 21 by using two different methods mentioned below:
1: Install GParted Through Linux Mint Software Manager
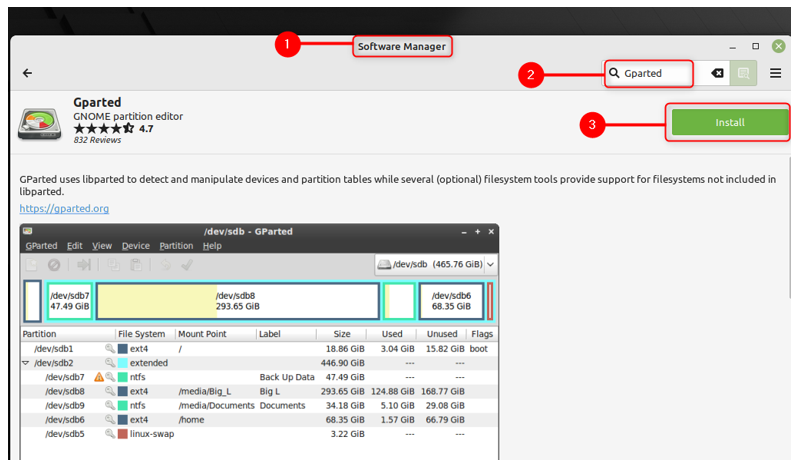
To install GParted using the software manager of Linux Mint, open it and type gparted in search box afterwards click on the Install button present at the top right side:
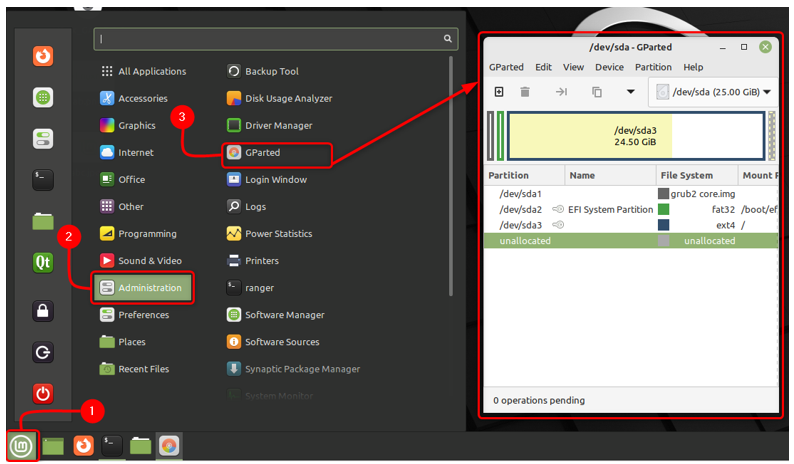
To run the GParted through software manager you can just click on the Linux Mint icon, go to the Linux Mint app menu and double click on the GParted:
2: Install GParted Through Apt Package Manager
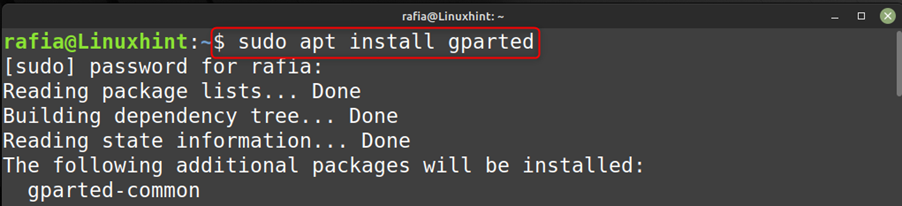
You can also use apt method to install GParted in Linux Mint by using the command mentioned below:
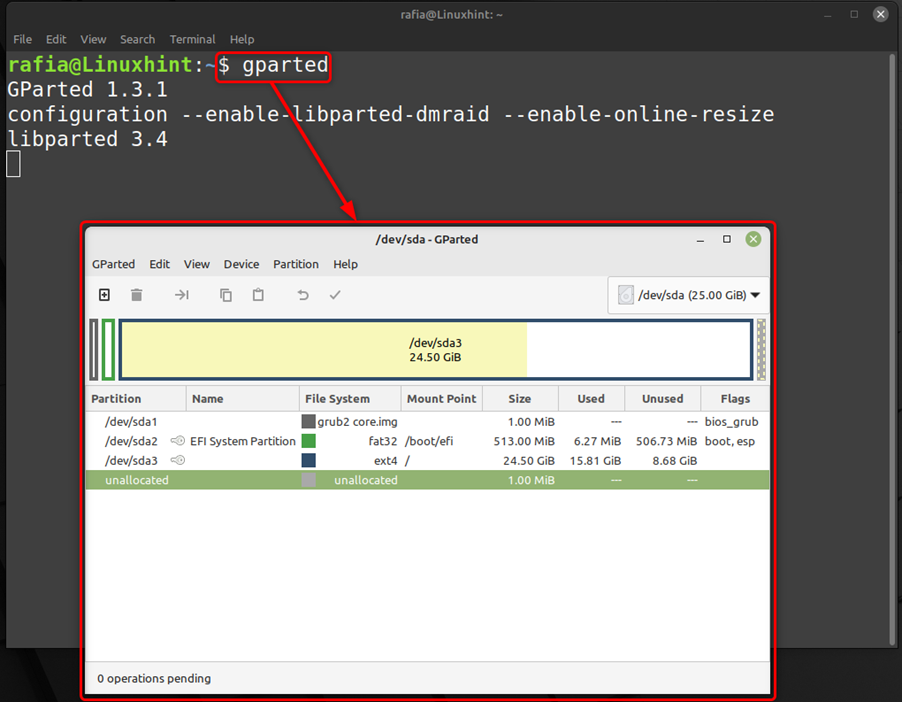
To run the GParted through terminal of the Linux Mint 21, just execute the command given below:
How to Remove GParted from Linux Mint 21
If you want to uninstall Gparted from Linux Mint and used any of the above given method to install it then you can do it by following ways:
Through Software Manager
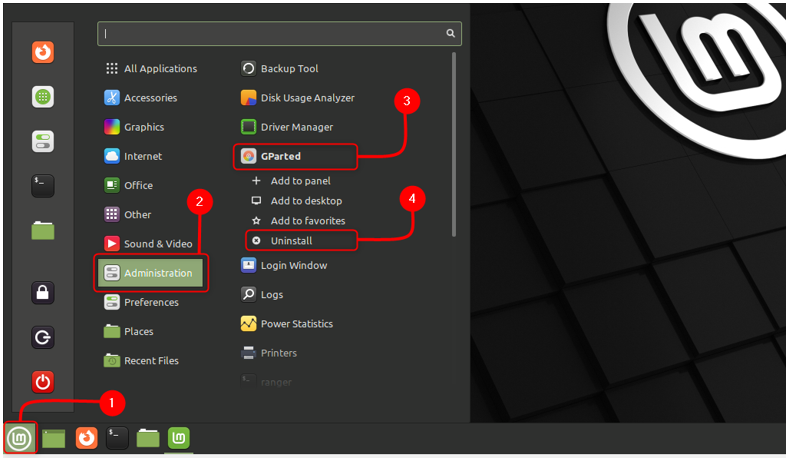
To uninstall GParted using Software Manager of Linux Mint, go to Administration option under the Linux Mint app menu and click the Uninstall button in the app context menu:
Through Apt
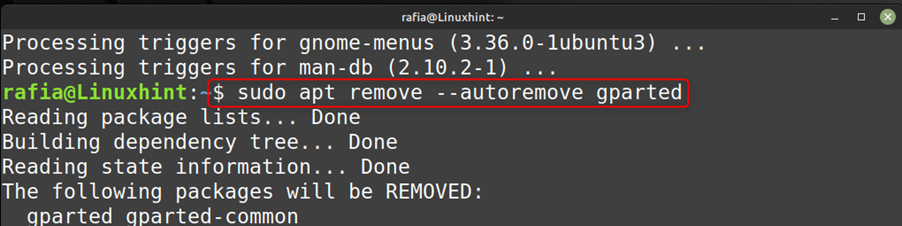
You can execute below command to uninstall GParted in case you installed it using the Apt method:
Conclusion
You can manage your disk partitions and filesystems by using GParted as it is a powerful tool for this purpose. You can install GParted on your system through two ways one is by using the Linux Mint software manager and the other is by using its apt package manager.
Source: linuxhint.com