How to Install Google Chrome on Kali Linux
Google Chrome is one of the vast, efficient, and universally used browsers and search engines. It has one of the larger extension libraries. It provides us with faster and speedy search than any other browser and is available for all major (Linux, Windows, Mac) operating systems. Mostly, users want to install the Chrome browser on Kali Linux. Unfortunately, Kali’s repository does not provide any Chrome installation package. However, users can install Chrome from “.deb” and third-party repositories.
This post will demonstrate the following:
- Install Google Chrome Using the wget Command
- Install Google Chrome Using Kali’s Default Browser
- Install Google Chrome Using Flatpack Package
- Conclusion
Approach 1: Install Google Chrome Using the wget Command
The wget is one of the Linux command line utilities utilized to download files and can directly interact with the rest APIs. To install Chrome’s “.deb” file through the terminal using the “wget” command, go through the given procedure.
Step 1: Launch Kali Terminal
Fire up Kali’s terminal by hitting the “CTRL+ALT+T” key or clicking on the terminal icon from the screen:

Step 2: Update Kali’s APT Repository
Update Kali’s repository through the “apt update” command:
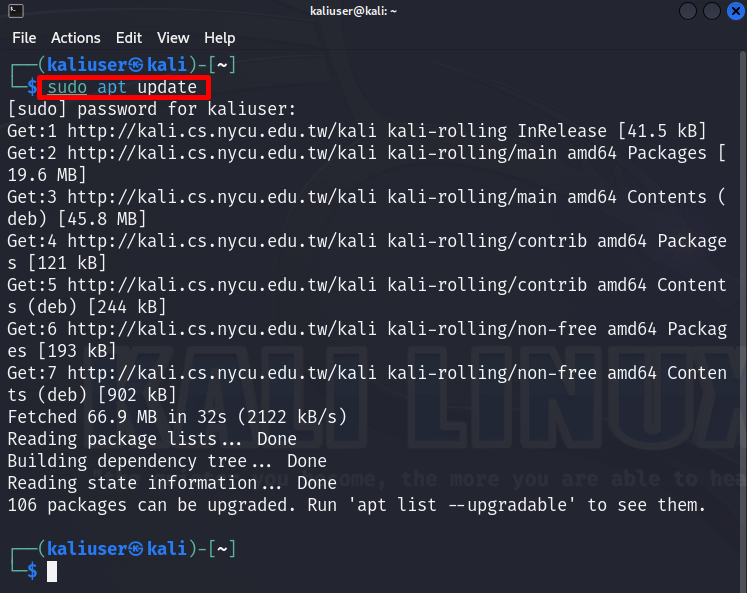
The above output shows that the “106” package needs to be upgraded.
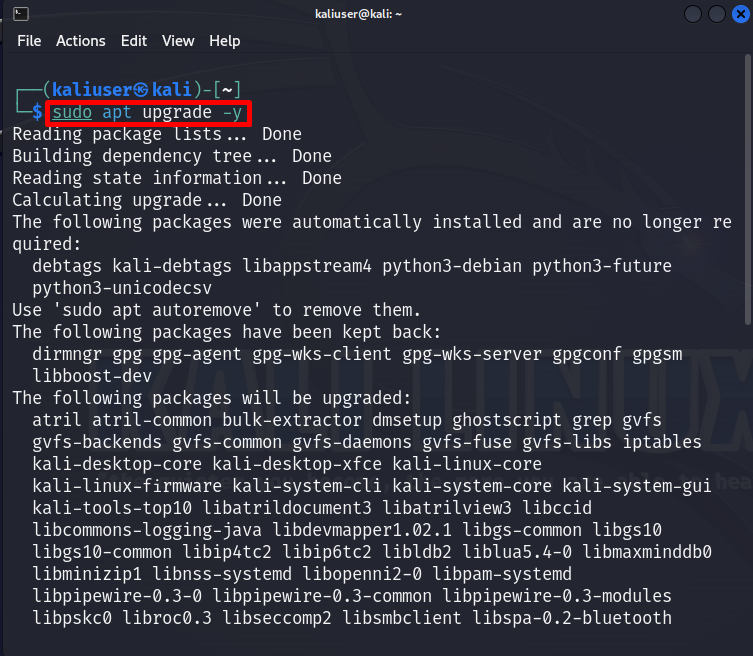
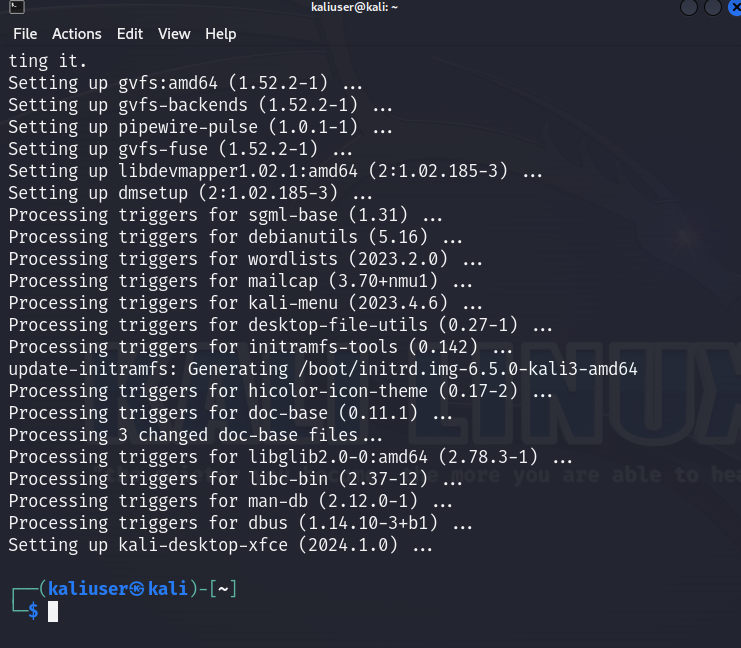
Step 3: Upgrade Kali’s Packages
To upgrade Kali’s packages, go through the below command. Here, the “-y” option directly allocates the required storage permission to a running process:
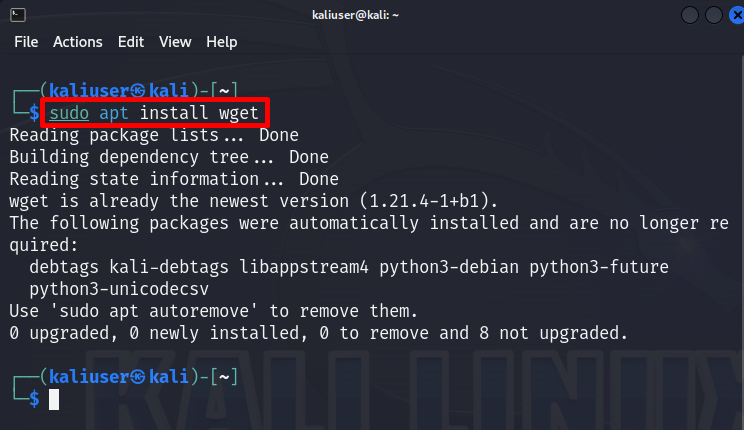
Step 4: Install “wget” on Kali Linux
Now, to download Chrome’s “.deb” file, the wget utility is required. To install the “wget” utility, execute the “apt install wget” command with sudo user privileges:
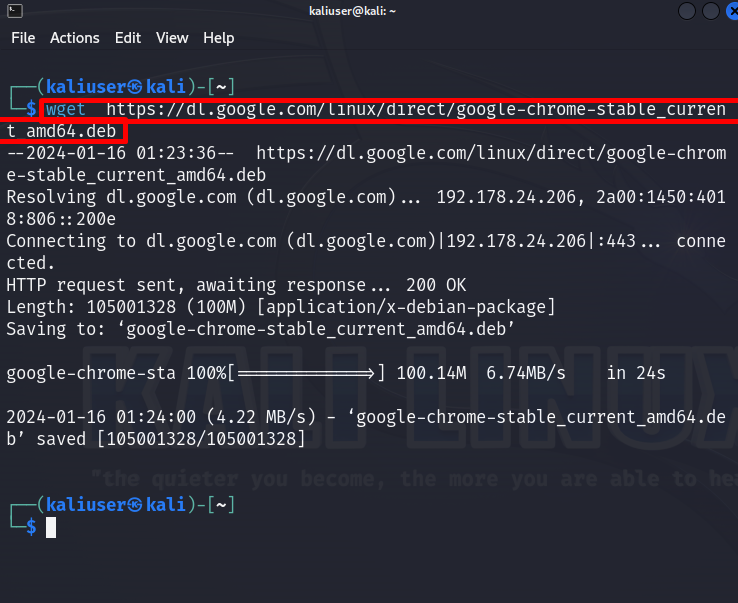
Step 5: Download Chrome’s “.deb” File
Next, download the “.deb” script to install Google Chrome through the “wget” command. For this purpose, directly run the given command in Kali’s terminal:
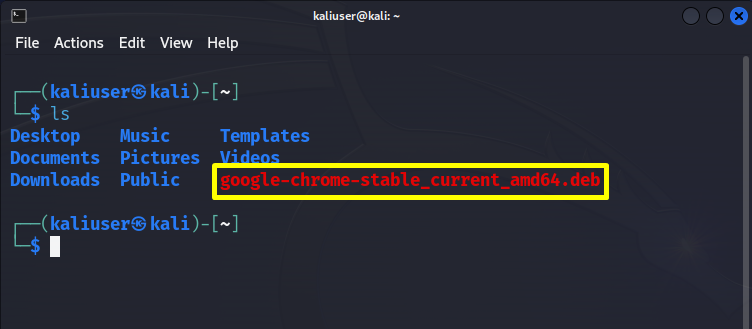
For confirmation, view the current directory of all files. To do so, run the “ls” command:
Here, you can see we have downloaded Google Chrome’s “.deb” file:
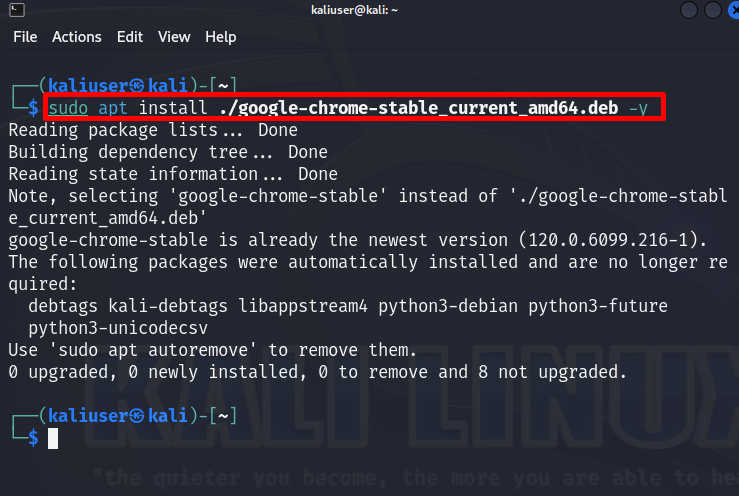
Step 6: Install Google Chrome
Now, install the Chrome browser on Kali Linux by manually installing the “google-chrome-stable_current_amd64.deb” file in Kali’s repository:
This will install the “google-chrome-stable” in Kali Linux:
Step 7: Verification
For confirmation, launch the Chrome browser using the below command:
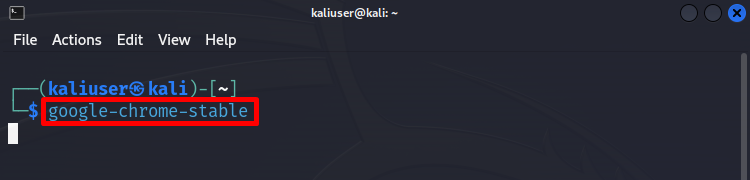
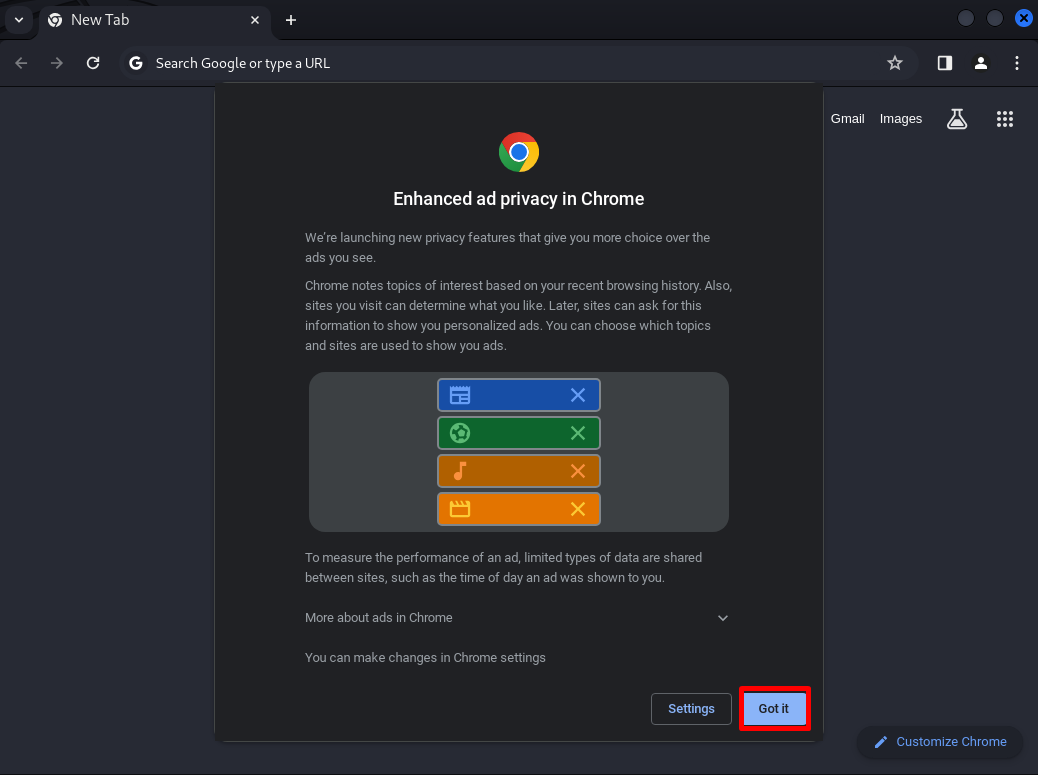
This will open up the browser on the screen. Accept all the terms, review the small summary, and hit the “Got it” button:
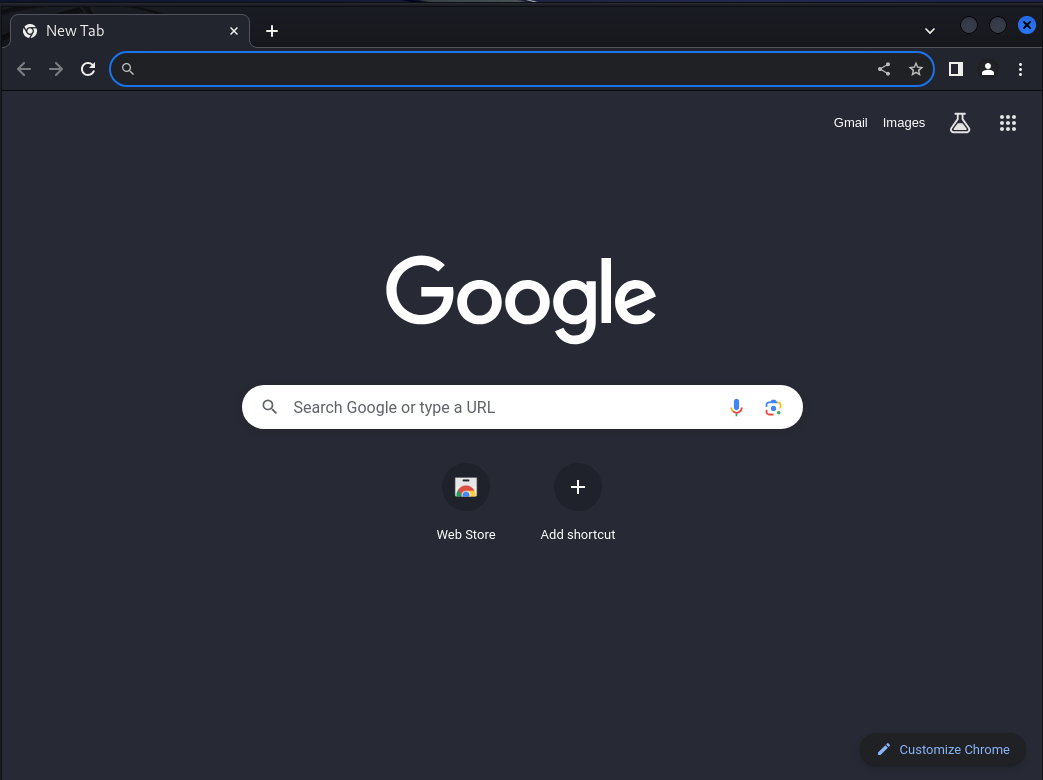
Now, start using the Chrome browser on Kali Linux:
Bonus Tip: How to Completely Remove Chrome Browser From Kali Linux?
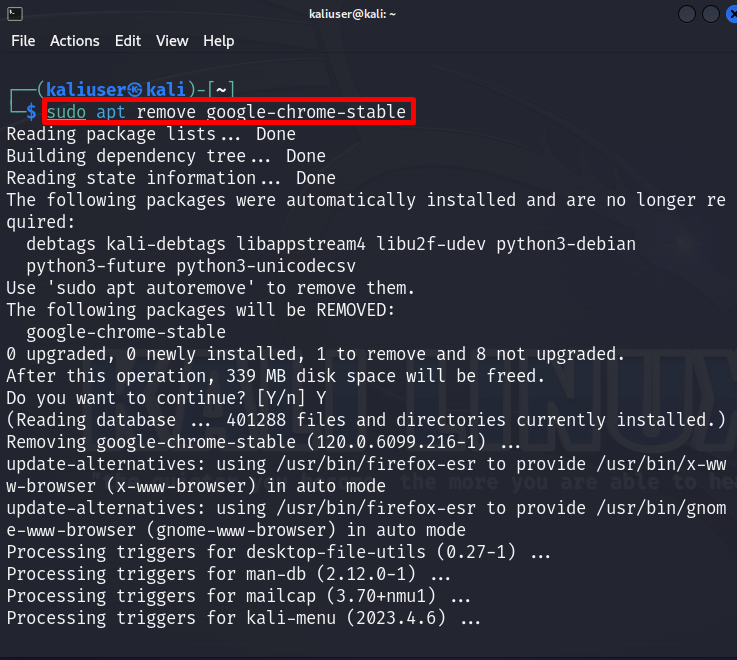
Sometimes users want to remove Chrome from Kali to install the latest and more stable version or to free up disk space by removing infrequently used apps. To completely remove the Chrome browser, simply use the “apt remove google-chrome-stable” command with sudo user privileges:
Remove Chrome’s “.deb” File
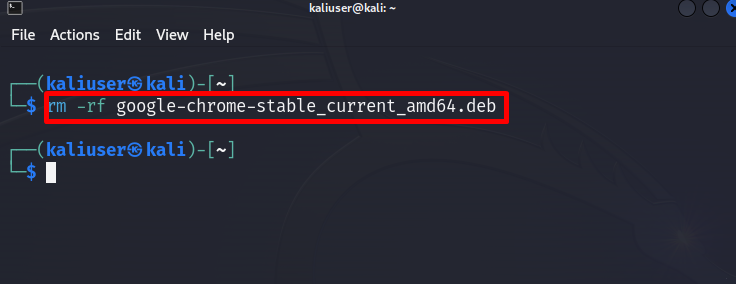
In order to remove Chrome’s “.deb” file from Kali Linux, utilize the “rm -rf <filename>” command as done below:
Approach 2: Install Google Chrome Using Kali’s Default Browser
Another possible way to download the “.deb” file of Google Chrome is by navigating to Chrome’s official website and downloading the file manually. For demonstration, go through the following procedure.
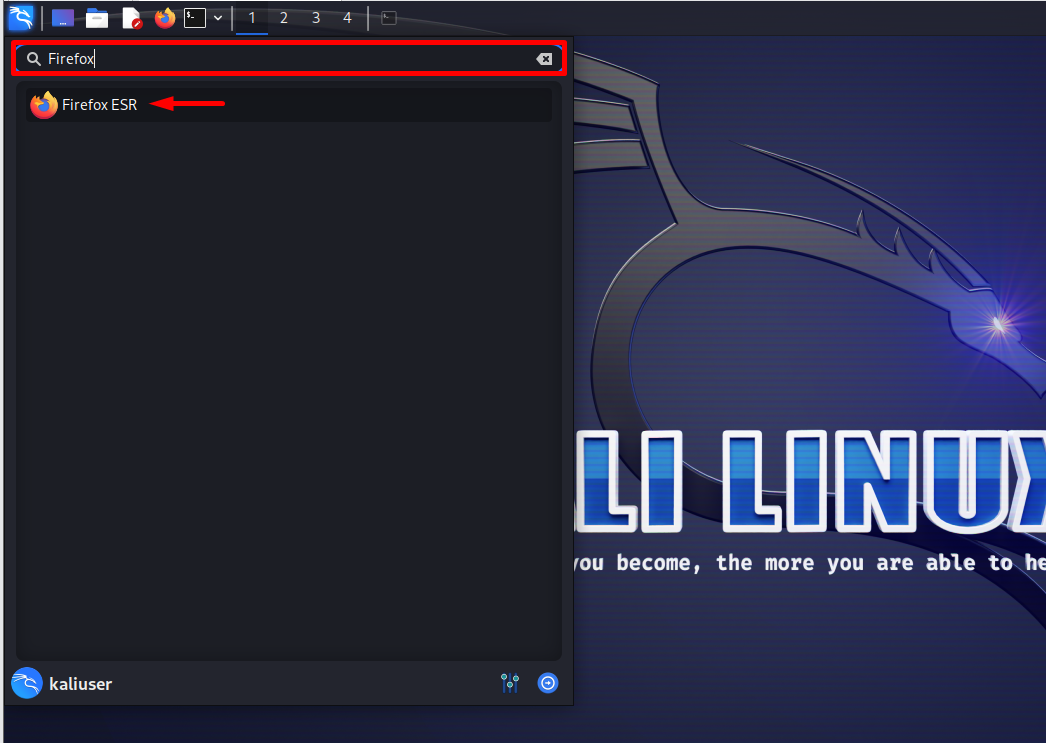
Step 1: Launch Firefox ESR Browser
First, open Kali’s application menu using the “ALT+F1” key. Search for “Firefox” in the search bar and launch the Firefox ESR default Kali’s browser:
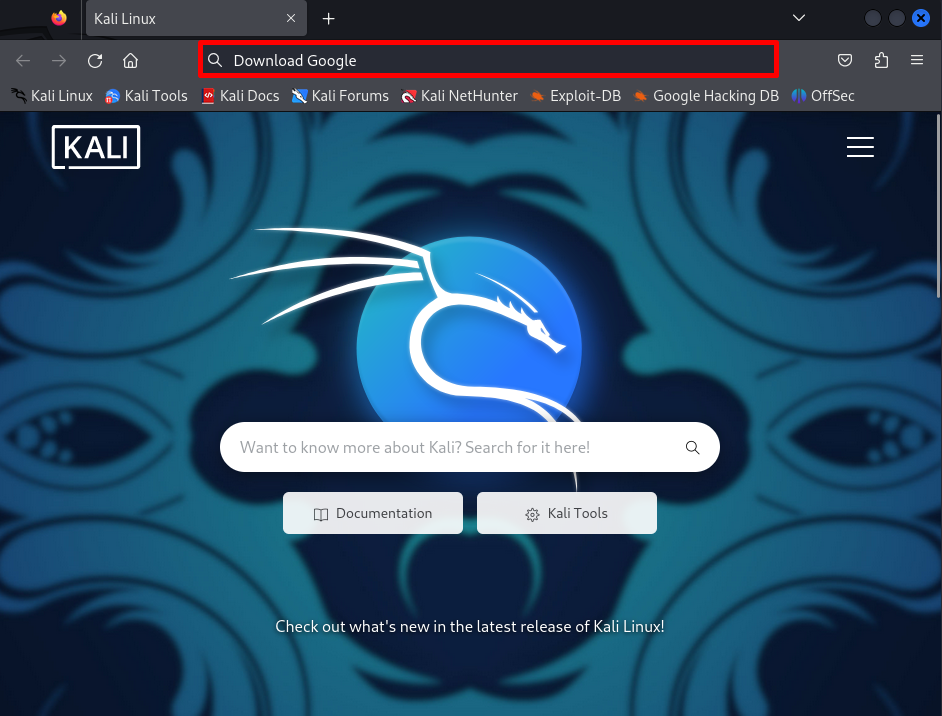
Next, search for “Download Google” in the URL search field:
Step 2: Download “.deb” File From the Browser
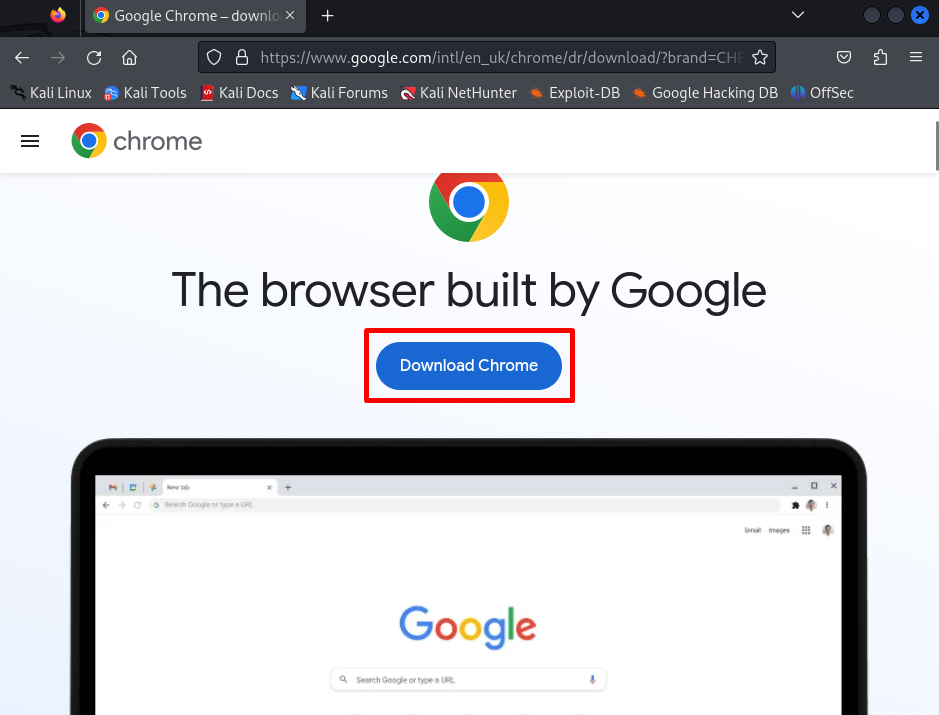
Now, launch the official Google Chrome page from the search results as highlighted below:

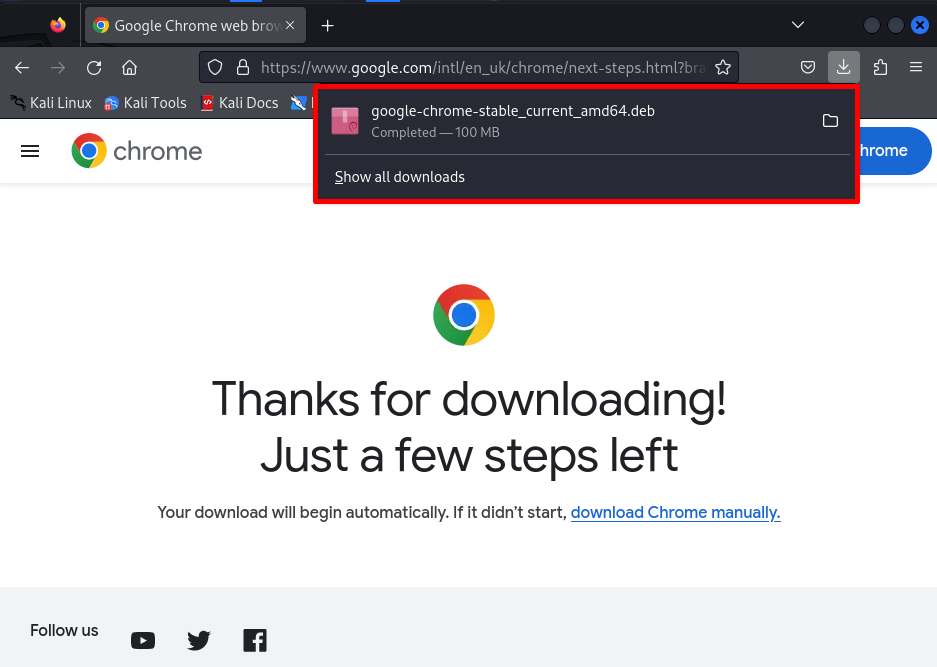
Click on the “Download Chrome” button to download the “.deb” file of Chrome:
Choose the below highlighted “64 bit .deb(Debian/Ubuntu)” radio button and hit the “Accept and Install” button:
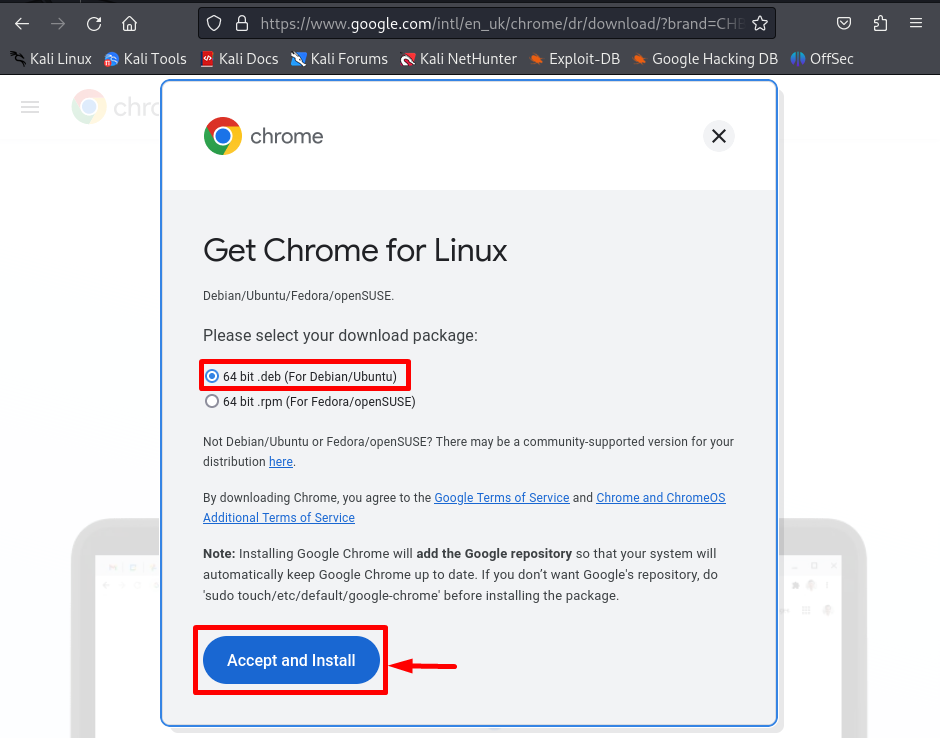
After that, the downloading of the “.deb” file for the Chrome browser will be started and saved in the “Downloads” directory:
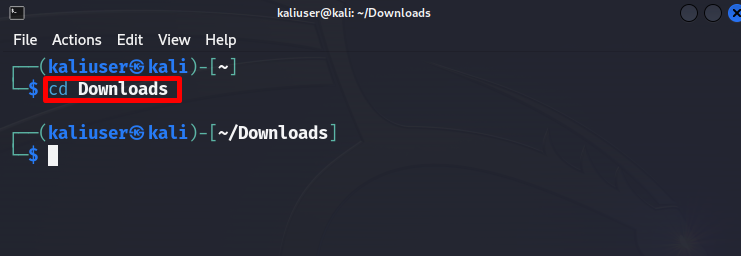
Step 3: Open the “Downloads” Directory
Launch Kali’s terminal through the “CTRL+ALT+T” key. Next, navigate to Kali’s “Downloads” directory using “cd”:
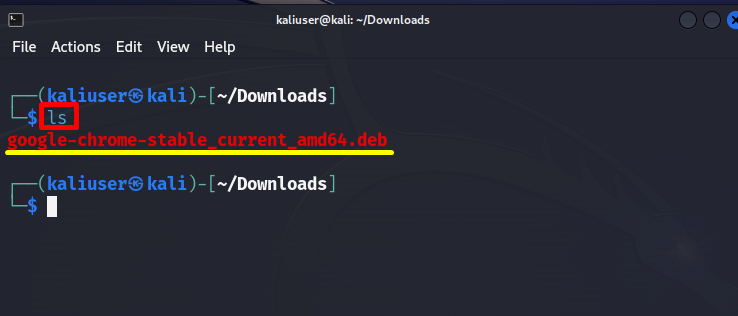
List down all the files and folders of the “Downloads” directory using “ls”:
Here, you can see Chrome’s “.deb” file is saved in Downloads directory:
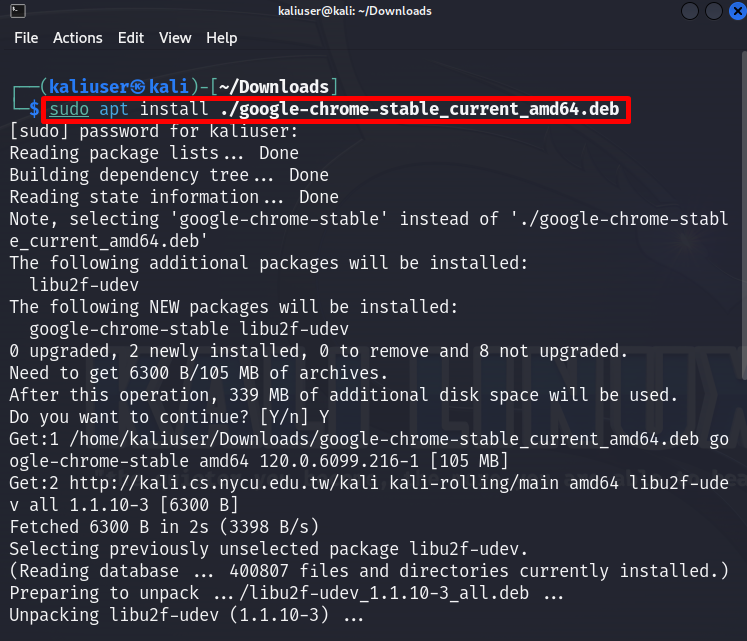
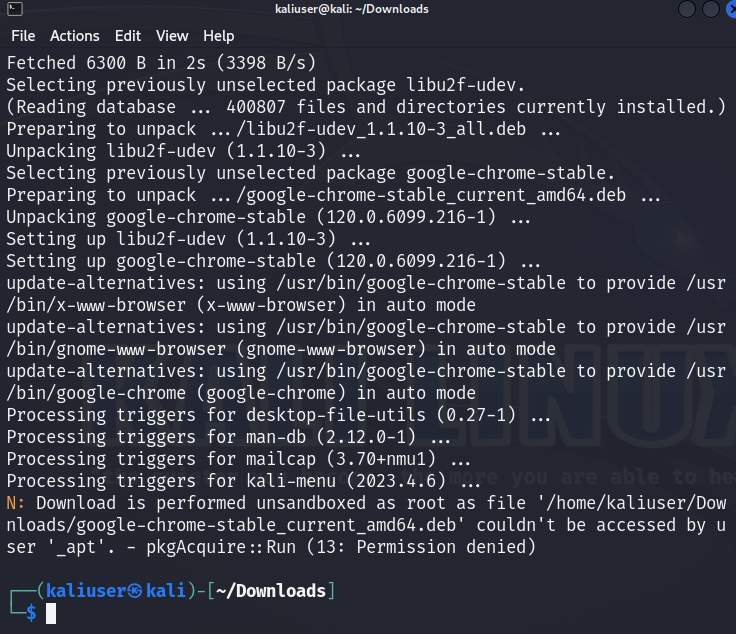
Step 4: Install Google Chrome
Now, run the “apt install <.deb file name>” command with root privileges and install the Google Chrome in Kali Linux:
Step 5: Verification
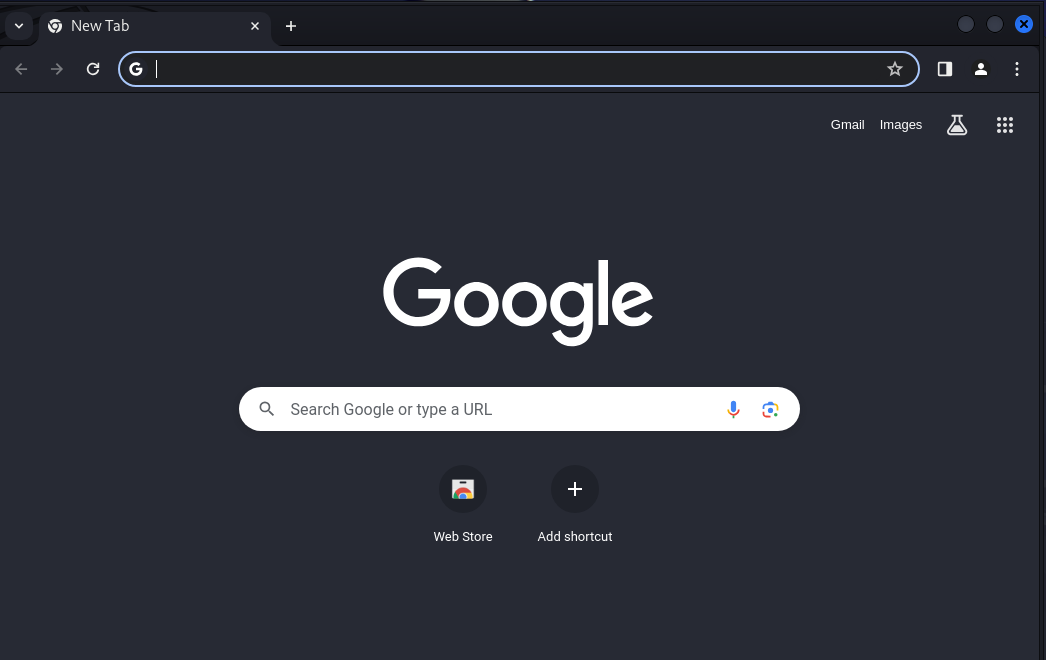
For confirmation, execute the mentioned command to launch Chrome on Kali Linux:

Here, you can see we have effectively installed and launched the Chrome browser on Kali Linux:
Approach 3: Install Google Chrome Using Flatpak Package
Another possible way to install and run the Chrome browser on Kali Linux is by installing Chrome from Flatpak. Flatpak is a Linux tool or repository that develops, manages, and runs the Sandboxed application on any Linux distribution. To install the Flatpak and Chrome on Kali Linux, follow the given steps.
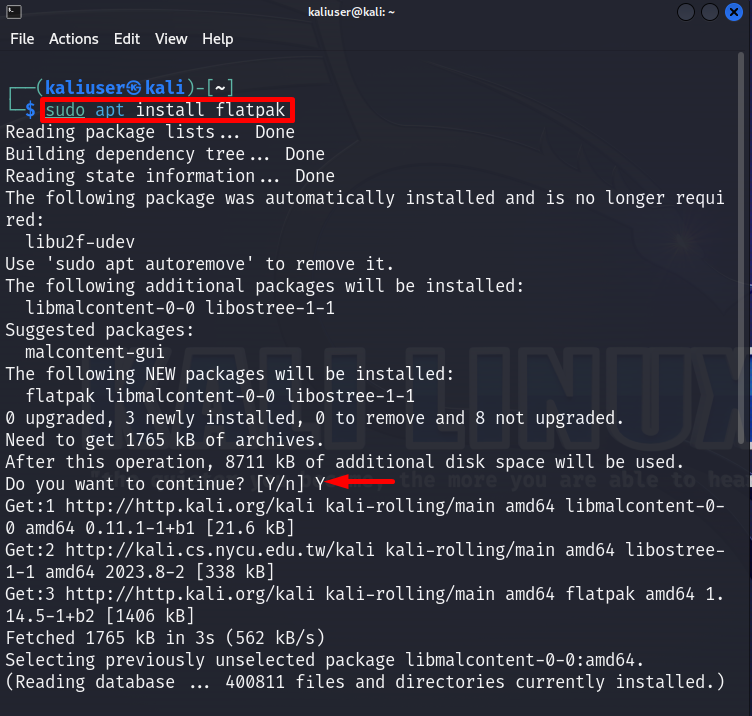
Step 1: Install Flatpak
First, install the Flatpak package manager on Kali Linux using the given command:
During the process, additional disk space is required to install Flatpak. To permit the process to use an additional disk, press “Y”:

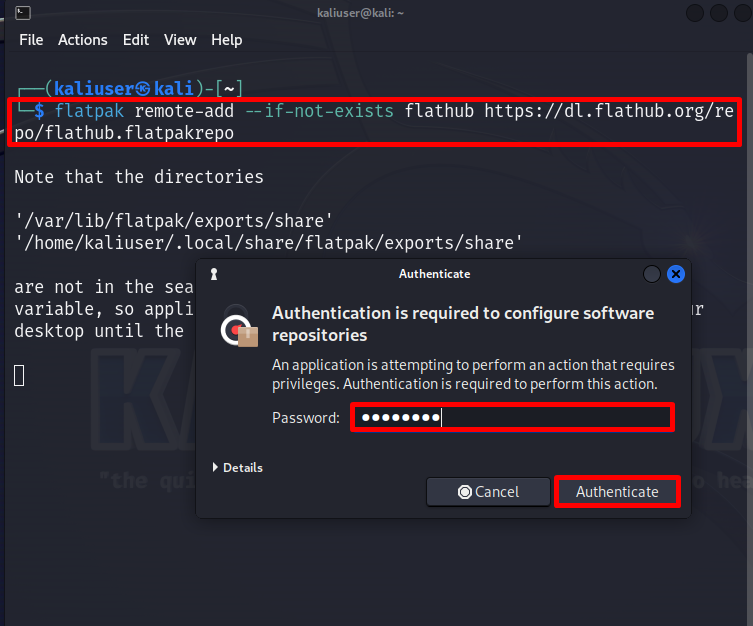
Step 2: Add Flathub Flatpak Repository
After installing the Flatpak, add its official repository Flathub into the Kali system by executing the below command:
This action requires user authentication. Type in your Kali Linux password and press the “Authenticate” button:
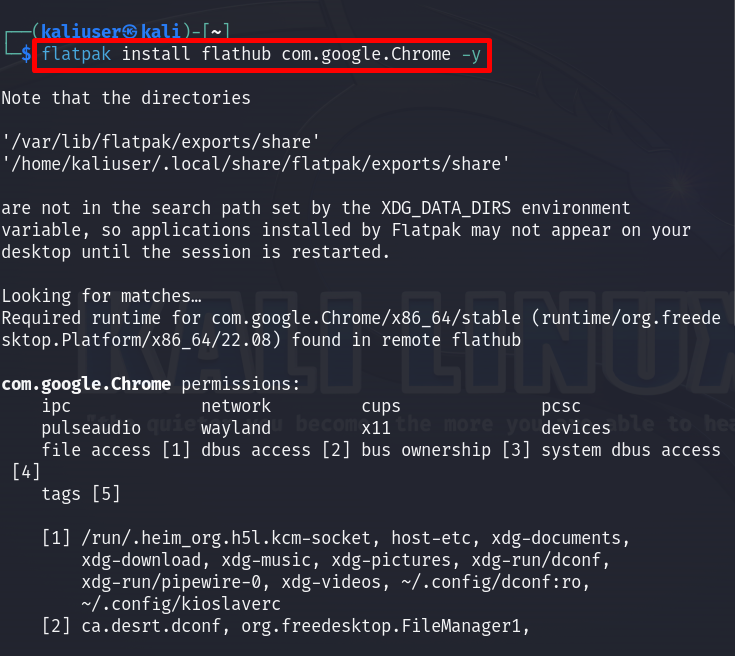
Step 3: Install Google Chrome
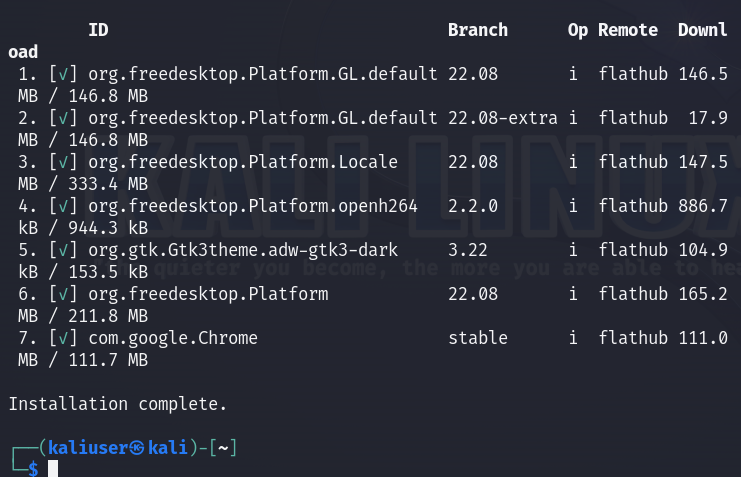
Now, download and install the Chrome browser from Flathub Flatpak official repository:
The below output shows that Chrome is installed effectively on Kali Linux:
Step 4: Launch Google Chrome
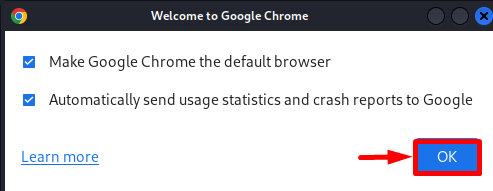
To check if Google Chrome is installed on the system or not, run the Chrome through given command:

This will pop up the “Welcome to Google Chrome” wizard on the screen. Mark the checkboxes according to your preferences and press the “OK” button:
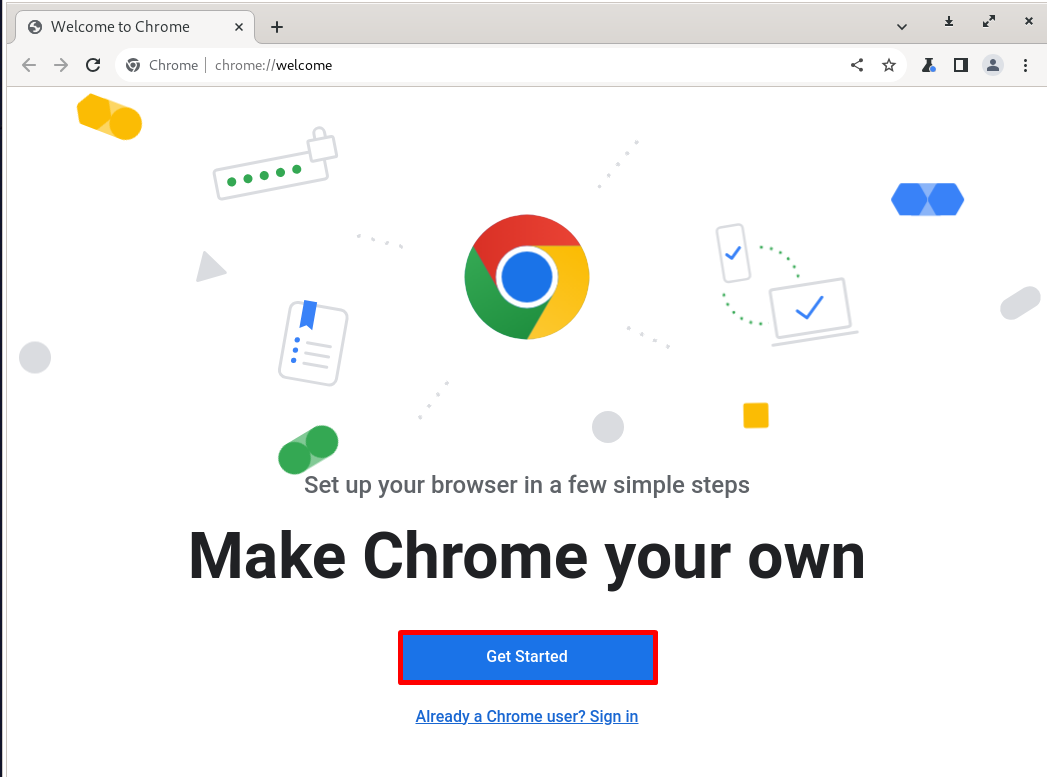
The below result indicates that we have effectively installed the Chrome browser using Flatpak. Press the “Get Started” button to start using Chrome browser:
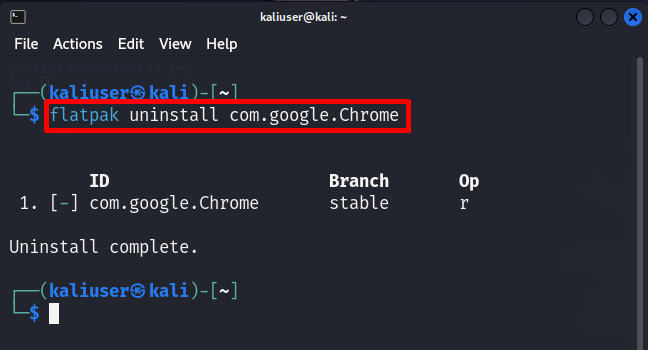
Bonus Tip: How to Remove Google Chrome Using Flatpak?
To remove the Chrome browser that is installed by Flatpak, simply use the “flatpak uninstall com.google.Chrome” command:
We have covered the approaches to install Chrome on Kali Linux.
Conclusion
To install Google Chrome on Kali Linux, either use the “.deb” file or the Flatpak repo. Using the “.deb” file, download the file using “wget” or from Chrome’s official website. Afterward, install Chrome using the “sudo apt install <path to ./google-chrome-stable_current_amd64.deb>” command. In the second approach, first download the flatpak package and add its official repository Flathub. Then, install Chrome using the “flatpak install flathub com.google.Chrome -y” command. We have elaborated on the different approaches to install Chrome on Kali Linux.
Source: linuxhint.com