How to Install GNS3
Installing GNS3 2.0
The first thing we need to do is to add the GNS3 repository to help in locating the needed packages. So, open your terminal and add the GNS3 repository using the command below.
Press the ENTER key when prompted to continue with the process.

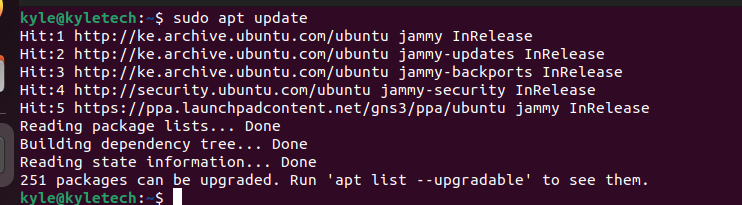
Once the repository is added, we need to update our apt database to take note of the added repository.
Next, we need to install the GNS3 server and the GUI. For that, execute the command below and press the ENTER key to confirm the installation.
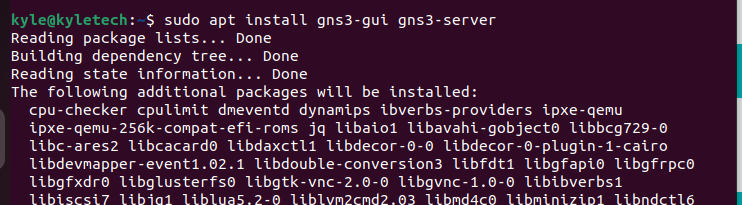
All the necessary packages and dependencies will be installed, and you need to press Y to confirm the installation of the packages.

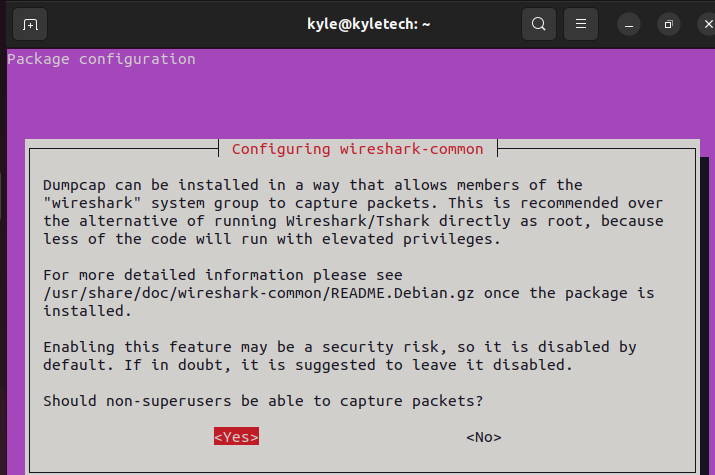
Wireshark gets installed while installing the GNS3, and when prompted, like in the image below, press the YES option to allow other users to run the GNS3 even if they are not superusers.

Also, you should allow other users to capture packets on the network even if they are not superusers by choosing the YES option.
Allow GNS3 to complete the installation and, once everything is done, confirm that GNS3 got installed by checking its version.
In our case, we have version 2.2.34.

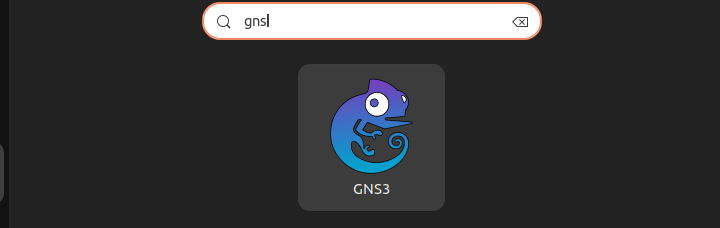
You can now open the GNS3 from the installed applications.
Alternatively, you can open it from the terminal by typing the command below.
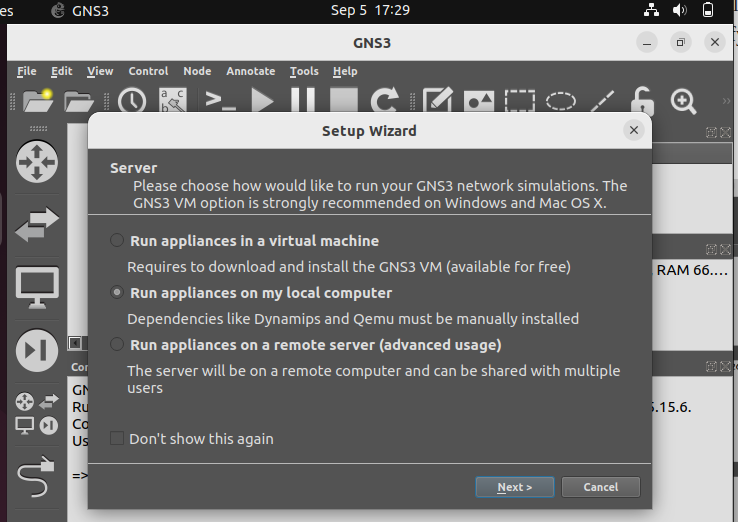
Once you’ve opened the program, a setup wizard will display as the first window. Start by clicking the option to allow running appliances on your local computer, then click the “Next” command at the bottom of the setup wizard.
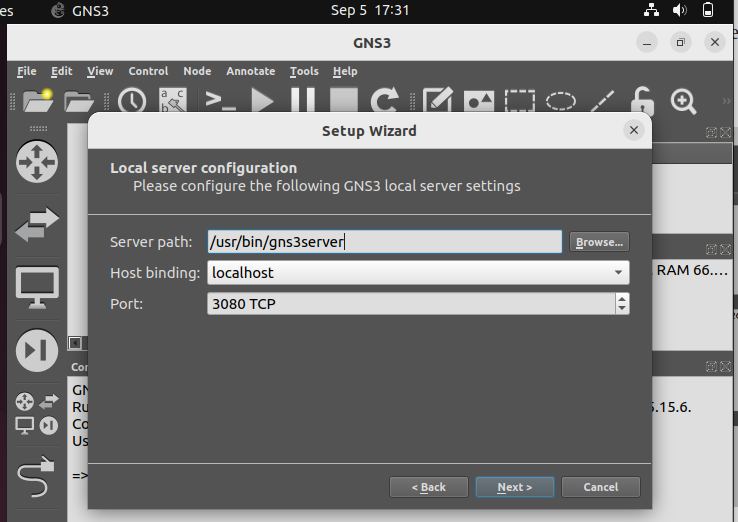
In the next window, you are required to set the server path, host binding, and the port to be used by GNS3. You can leave that as the default, especially if you have no service running on port 3030 and click on “Next.”
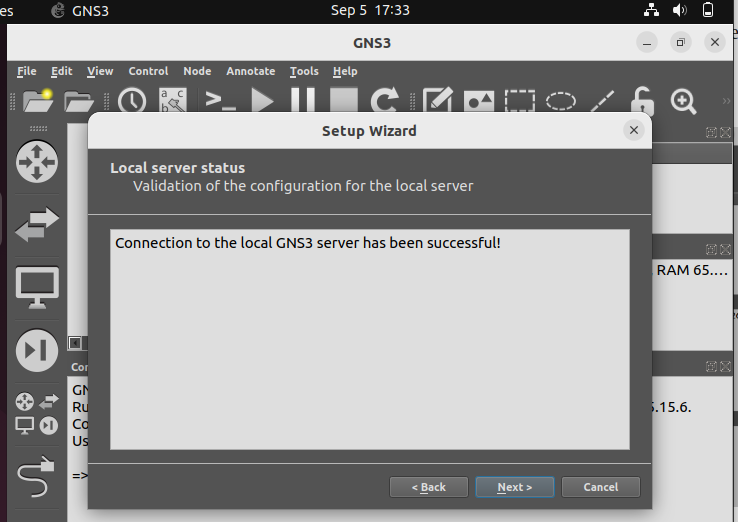
If the path and the port are all working fine, you will get a message confirming that the connection to the local GN3 server was successful. If that’s the case, click on “Next.”
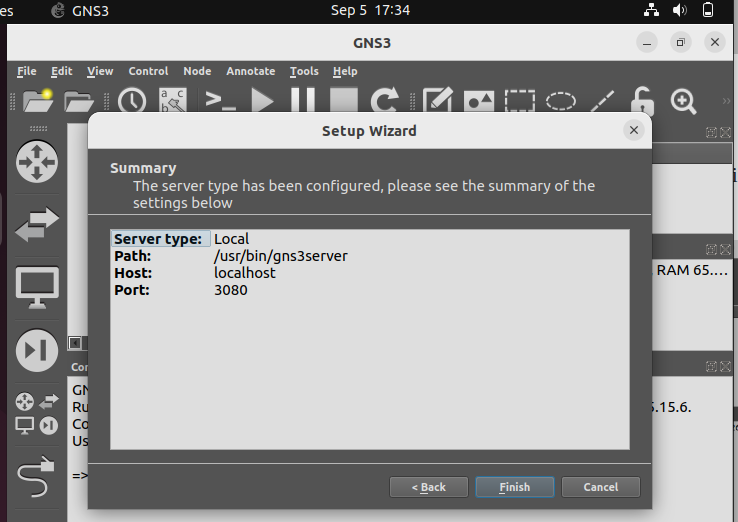
Your local GNS3 server is now configured. The next window will highlight the configuration details, and once you’ve confirmed that everything is working and configured as it should be, click the Finish button to complete the setup process.
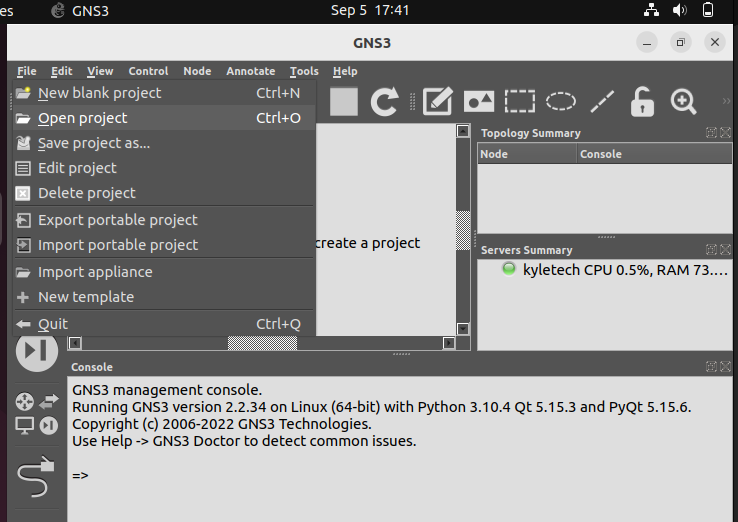
At this point, you can now begin creating your first GNS3 project using the various menu options and the GNS3 management console.
Feel free to use GNS3 for your next network design project or even when preparing to take the CCNA exams. There is a lot that you can do with the GNS3 program.
Conclusion
For anyone learning or looking to design networks, the GNS3 is a great alternative to Cisco’s Packet tracer program for its many cool features, making designing complex networks relatively easier. We’ve seen how to install the program on Ubuntu, specifically Ubuntu 22.04. Follow the steps presented to install it on your Ubuntu.
Source: linuxhint.com