How to Install Fish Shell on Linux
In this guide, we will demonstrate how to install the Fish shell on various Linux systems.
Prerequisites:
To perform the demonstrated steps in this guide, you need the following components:
-
- A properly-configured Linux system. Check out creating an Ubuntu VM on VirtualBox for testing.
- Access to a non-root user with sudo Learn more on managing the sudo privilege in Linux.
Shells in Linux
In UNIX/Linux, a shell acts as an interface between the user and the underlying system. It takes the user input, parses the command, and calls the necessary programs with given parameters. Whenever we work with CLI, we’re actually interacting with the shell.
There are various shell applications available for any Linux system:
The Fish Shell
Fish (friendly and interactive shell), as the name suggests, aims to be a user-friendly command-line shell for the supported platforms (Linux, macOS, BSD, and Windows). It’s an open-source project that comes with a handful of interesting features:
-
- Auto suggestion
- Tab completion
- Syntax highlighting
- Designed to work out-of-the-box without any extensive configuration
- Fish scripting language
Note that the Fish scripting language isn’t compatible with any other shell.
Installing Fish on Linux
The Fish shell is officially available for all the major Linux distros (Debian, Ubuntu, Fedora, CentOS, openSUSE, and more). For advanced users, Fish can also be compiled and installed from the source code.
At the time of writing this guide, the latest version of Fish is v3.6.1.
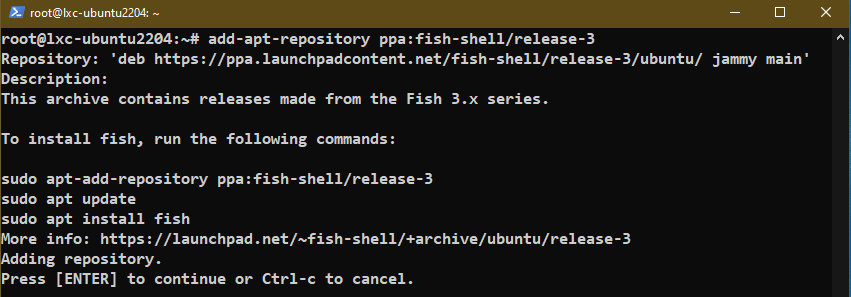
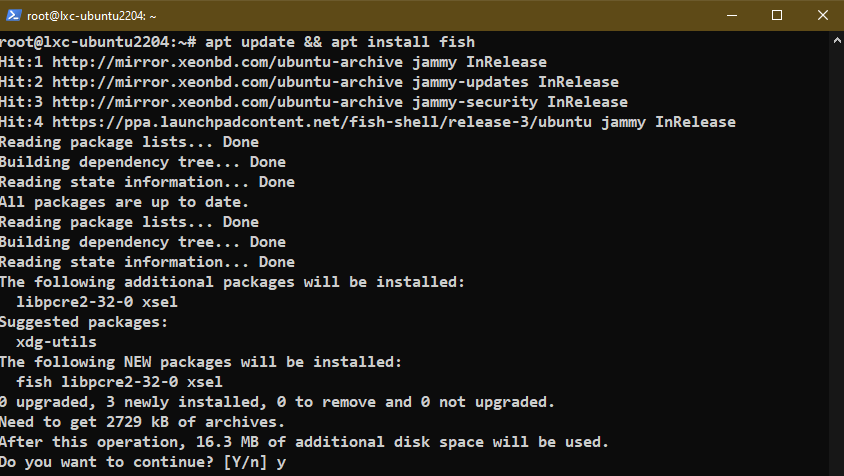
Ubuntu
The default Ubuntu repo contains the following Fish shell:
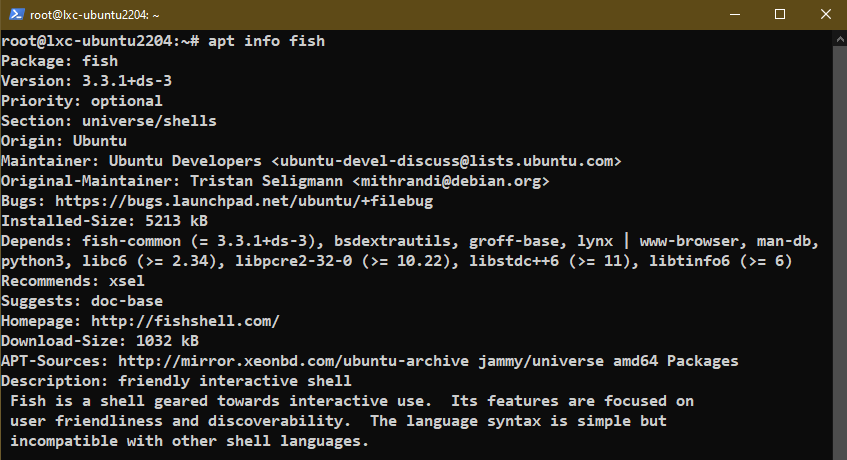
However, it’s an older release. To get the latest Fish shell, we have to add the following Fish repo:
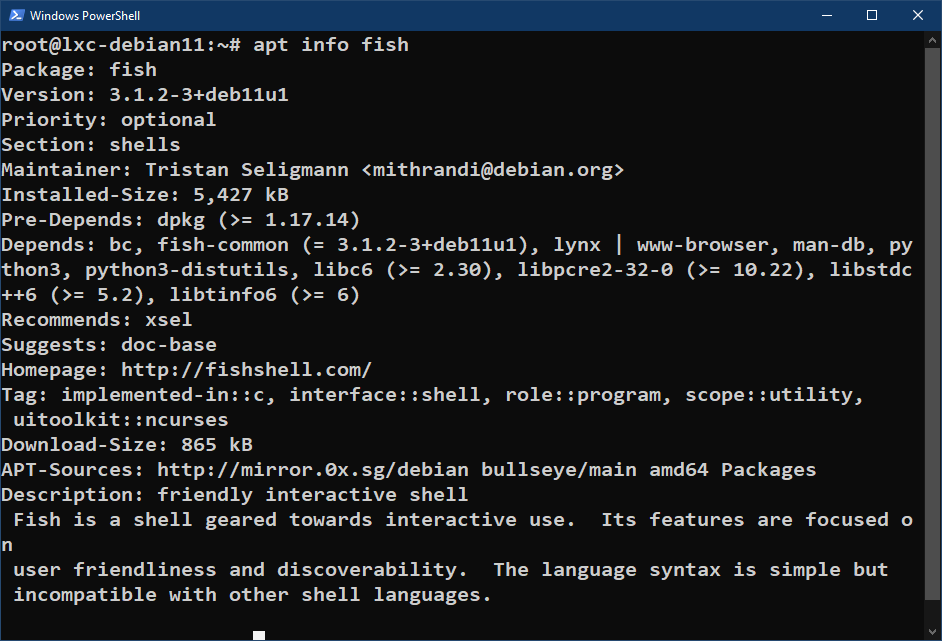
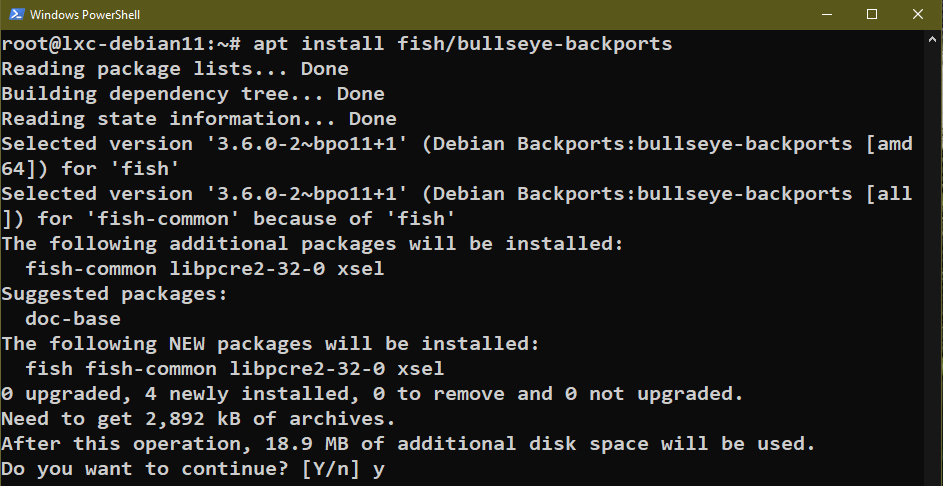
Debian
The Fish shell is available from the following default Debian repo:
However, the latest release of Fish is only available from the backports repo. On Debian 11 Bullseye, the following command configures the backports repo:

Then, update the APT cache.

By default, the backports repo is disabled to preserve the stability and compatibility. The following command temporarily overrides this restriction and installs the Fish shell from the backports repo:
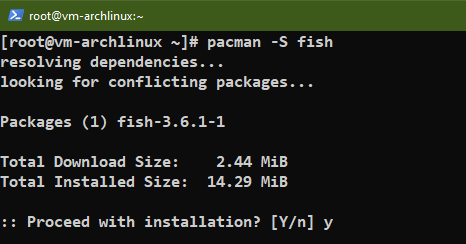
Arch Linux
The latest version of the Fish shell is directly available from the default repo. Use pacman to install the Fish shell:
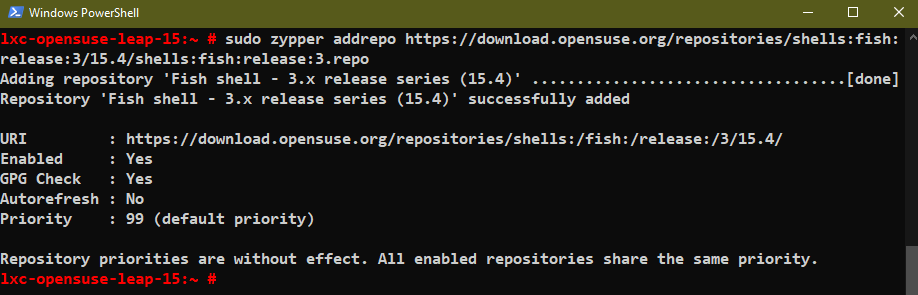
openSUSE
There are dedicated Fish shell repos for both openSUSE Leap and Tumbleweed.
To configure the repo on openSUSE Tumbleweed, run the following commands:
shells:fish:release:3.repo
To configure the repo on openSUSE Leap 15.4, run the following commands:
shells:fish:release:3.repo

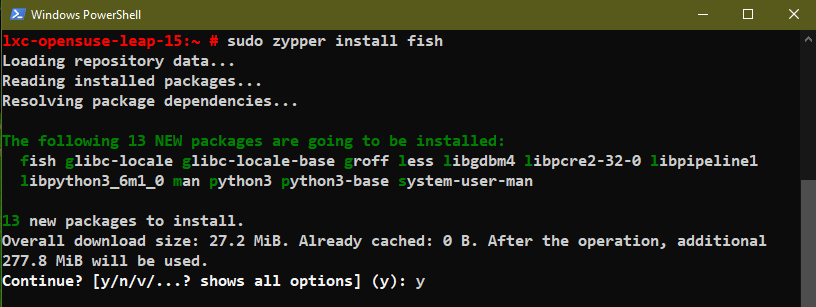
Finally, install the Fish shell:
Fedora
The latest version of the Fish shell is directly available from the default package repo. Run the following command to install Fish:
Gentoo Linux
To install Fish on Gentoo, run the following command:
Void Linux
Fish shell is also available on Void Linux:
Installing Fish from the Source
The complete instruction of building Fish from source is available on GitHub. In this section, we will demonstrate how to build and install Fish on Ubuntu.
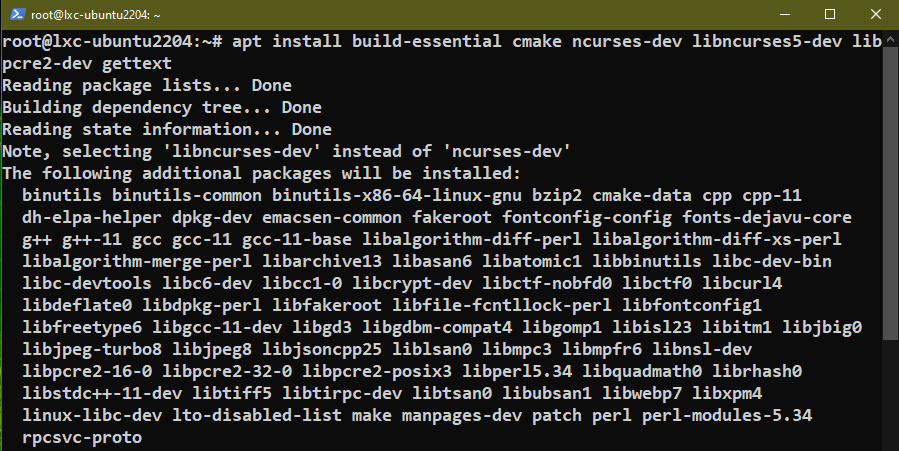
Prerequisite Packages
We need to install the following packages to properly build and install Fish:
Grabbing the Source Code
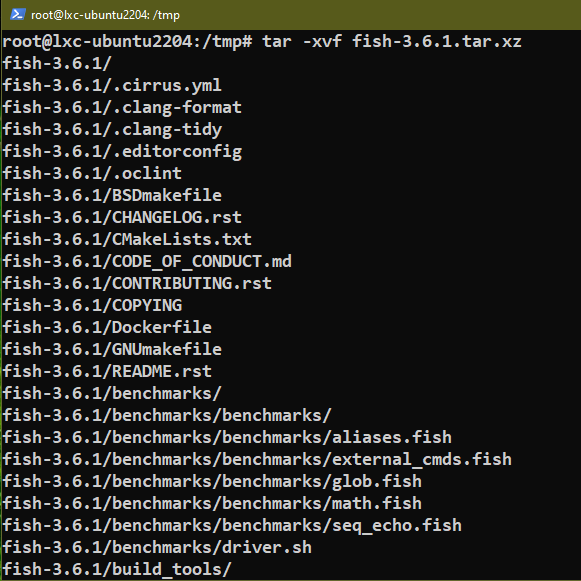
Download the source tarball:

Extract the tarball:
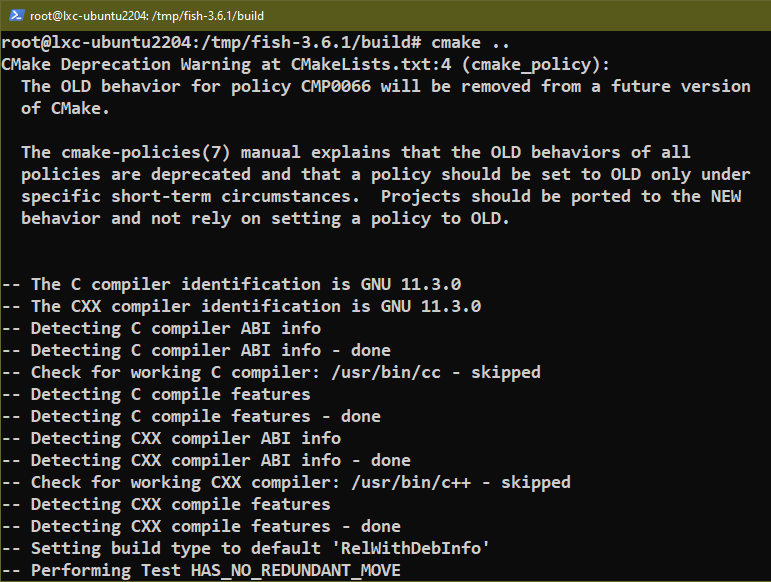
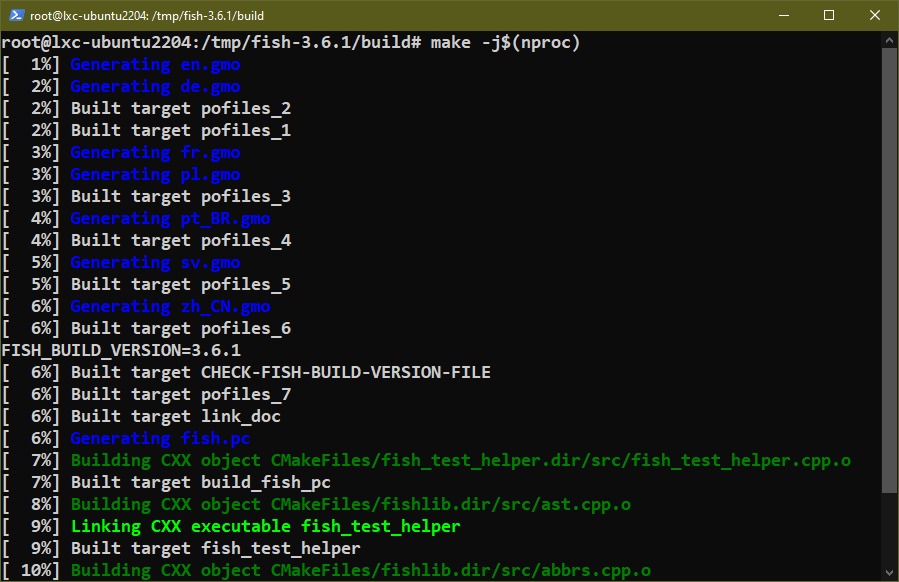
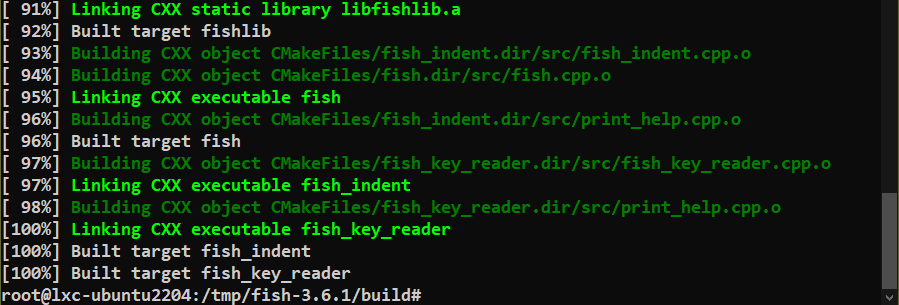
Building Fish
Now, we can start compiling the source code:

Installing Fish
Once the binary is compiled, the following command installs Fish in /usr/local:

Using Fish
The official documentation on Fish shell can be found here. This section demonstrates a handful of them.
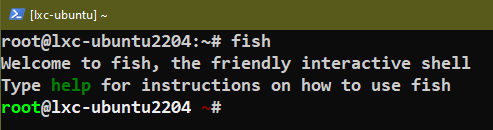
To launch the Fish shell, run the following command:
Syntax Highlighting
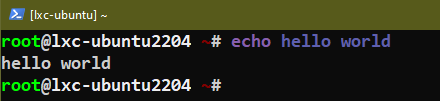
If a valid command is entered, the syntax is highlighted normally:
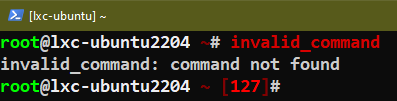
If an invalid command is entered, Fish highlights it red:
Valid File Paths
When typing a file path, it is underlined if the file path is valid:


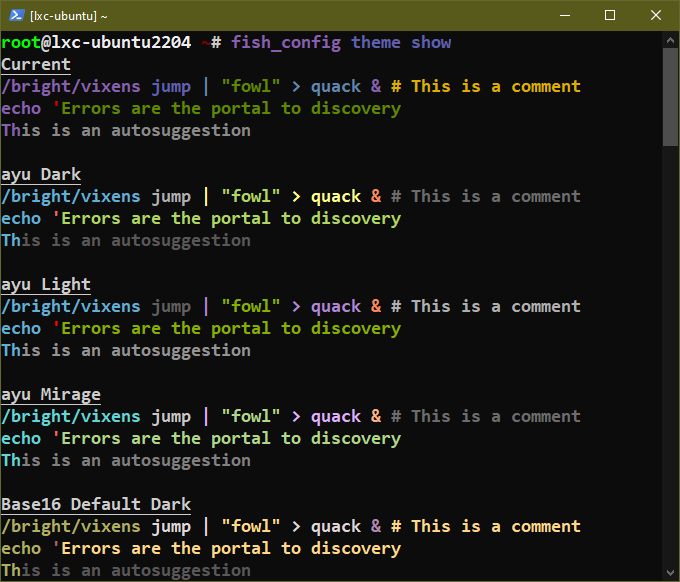
Built-In Themes
The Fish shell comes with a handful of themes by default. To list all the available themes, run the following command:
To apply a different theme, run the following command:

To disable the syntax highlighting altogether, use the following command instead:

Conclusion
We demonstrated how to install the Fish shell on various Linux distros. We also showcased how to build and install Fish from the source. Finally, we demonstrated some basic usage of the Fish shell.
Source: linuxhint.com