How to Install Elasticsearch and Kibana on CentOS 7
“Installing Elasticsearch and Kibana are handy for analyzing various data and logs on your system. Elasticsearch offers a flexible search engine for storing data, while Kibana is the web interface that helps visualize logs and other data. This guide covers the installation of Elasticsearch and Kibana on CentOS 7.”
Step Guide on Installing Elasticsearch and Kibana on CentOS 7
Elasticsearch and Kibana are installed separately. We will start with the installation of Elasticsearch
1. Installing Elasticsearch
To install Elasticsearch, you must have Java installed on your CentOS 7. The good thing is that CentOS 7 comes with Java installed. You can run the command below to check its version.

Now that we have Java already installed, the next thing is to add the ELK repository, which offers the ELK stack packages; Elasticsearch, Kibana, Logstash, and Beats.
For this tutorial, we will be adding the ELK repository for Elasticsearch 7. So, we need to create a new file named elasticsearch.repo. You can use any editor, but this tutorial uses nano, as in the command below.

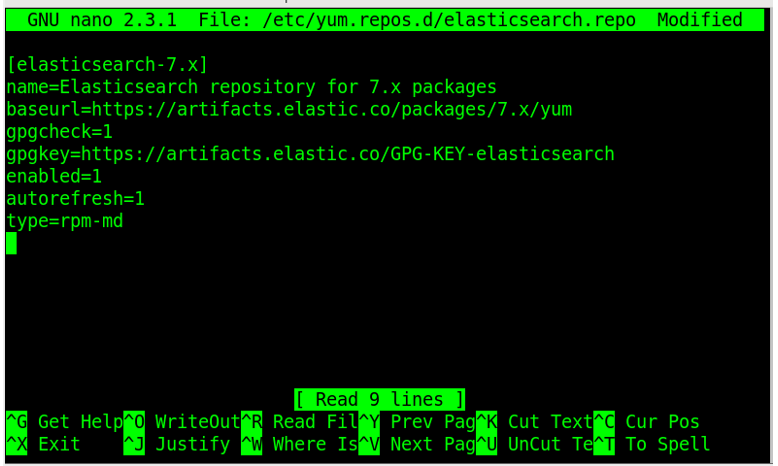
Once you have created the file, paste the ELK repository below, save it, and exit the file.
name=Elasticsearch repository for 7.x packages
baseurl=https://artifacts.elastic.co/packages/7.x/yum
gpgcheck=1
gpgkey=https://artifacts.elastic.co/GPG-KEY-elasticsearch
enabled=1
autorefresh=1
type=rpm-md
Your file should look like the one below.
Once we’ve added the ELK repository, the next thing is the GPG key for Elasticsearch. For that, use the command below.

You need to clear the package repository and update the index using the below commands.
$ sudo yum makecache

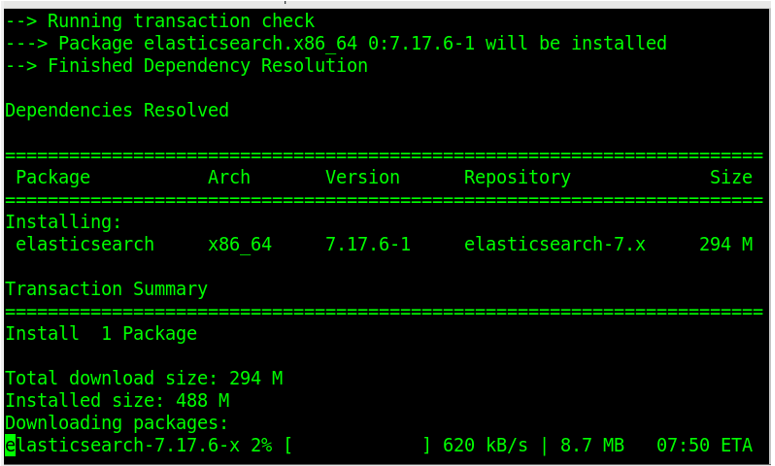
It’s time we now installed Elasticsearch, and we will do that using the command below.
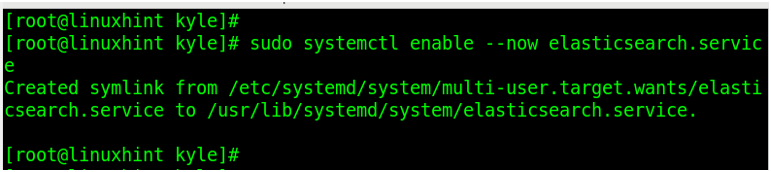
Once the installation completes, you can set Elasticsearch to enable at boot time using the command below.
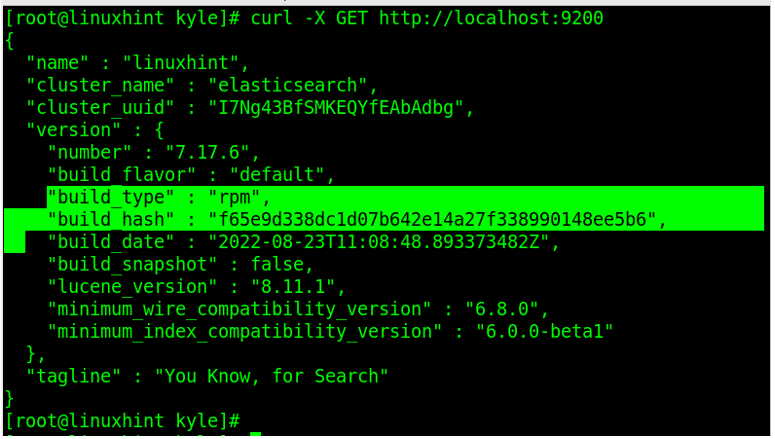
You are done with the first part of installing Elasticsearch. To verify that everything is working perfectly, invoke the Elasticsearch using curl. It should return an output similar to the one in the image below, confirming it is receiving requests.
2. Installing Kibana
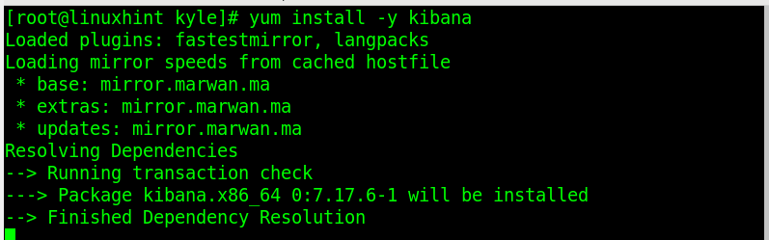
With Elasticsearch installed, we now need to install Kibana. For that, execute the command below.
Go ahead and enable the Kibana service

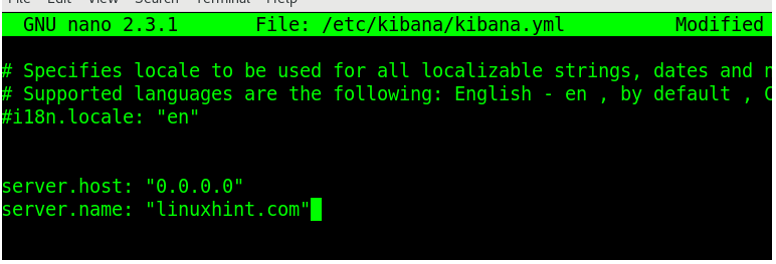
Next, you can open the kibana.yml file and configure it as you prefer. For instance, let’s set our host address and name as in the image below. Feel free to modify the settings.
We can now start Kibana

Note that if you’ve defined some firewall rules, it may block the Kibana TCP port. Therefore, we need to allow requests through port 5601, which Kibana uses. For that, run the two commands below. One allows TCP connections via port 5601 and the other to reload the firewall rules.
$ sudo firewall-cmd --reload
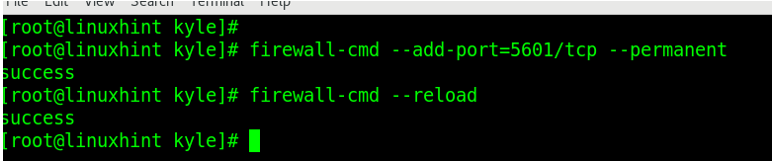
Once both return success, you are good to go. You can now open the Kibana dashboard on your browser using the address http://localhost:5601
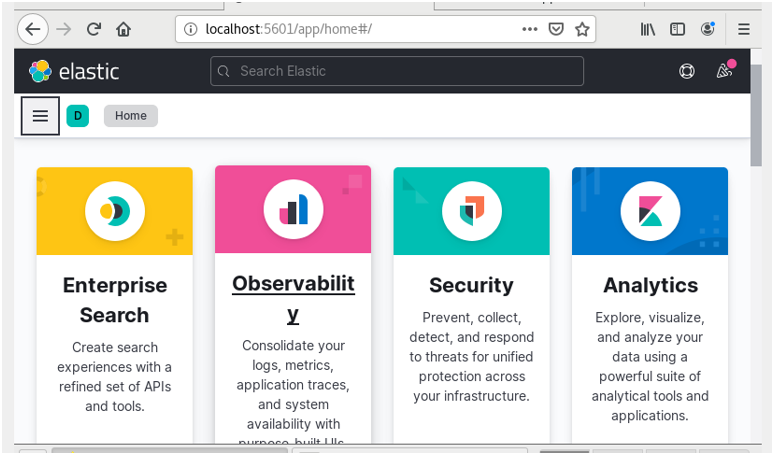
Bingo! You should get the Kibana dashboard loading up like in the image below. Go ahead and get comfortable with the interface to understand the various functionalities that you can use.
If you need to configure a logs server for your client systems, you can consider installing Nginx or Logstash, which is part of the ELK stack.
Conclusion
Elasticsearch and Kibana are great ELT packages. This guide described how to install Elasticsearch and Kibana on your CentOS7. If you follow the steps presented, you will have your Kibana dashboard and Elasticsearch up and running to configure for your activities.
Source: linuxhint.com