How to Install Docker on AWS Ubuntu?
Docker is a platform that offers containers that can be used to place all the components of the application and move it easily. A docker container acts as the safe case for the application while moving from the developer to the end-user or the client. Installing Docker on AWS-provided services enables the user to be more productive and not worry about the manageability and security of their data or applications.
Quick Outline
This post will demonstrate the following:
How to Install Docker on AWS Ubuntu
- Launching AWS Ubuntu
- Get Connection Command
- Open Windows Terminal
- Update Packages
- Install Prerequisite Packages
- Add GPG Key to “apt” Repository
- Install Docker
- Verify Installation
How to Install Docker on AWS Ubuntu?
Millions of people are opting for these services across the globe for building their applications or storing them on the cloud. AWS allows the user to create a virtual machine with multiple machine images like Linux, Ubuntu, Windows, etc. to host different applications and work with them. Using AWS services to install docker and place the code in the container makes the process efficient and effortless.
To learn the process of installing the docket on the Amazon Elastic Compute Cloud or AWS EC2 machine, simply follow the listed steps:
Step 1: Launching AWS Ubuntu
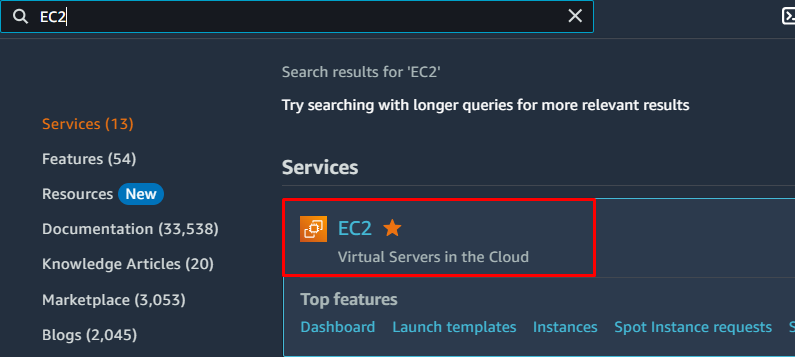
First of all, simply create an AWS account and sign in to it using the credentials(Username and password) to visit the Console or GUI of the AWS platform. Search for the EC2 service from the search bar from the console and click on it to head inside the service dashboard:
From the AWS EC2 dashboard, simply locate the “Instances” button from the left panel and click on it to visit the page. On this page, start configuring the EC2 instance by clicking on the Launch button to expand the list of options for building the instance:

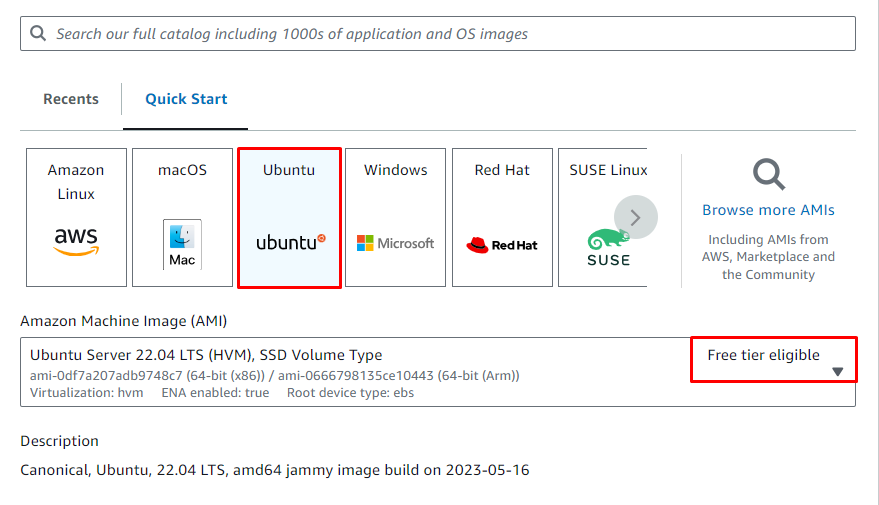
Select the Ubuntu machine for the instances and select the Free tier eligible Amazon Machine Image for the Ubuntu server:
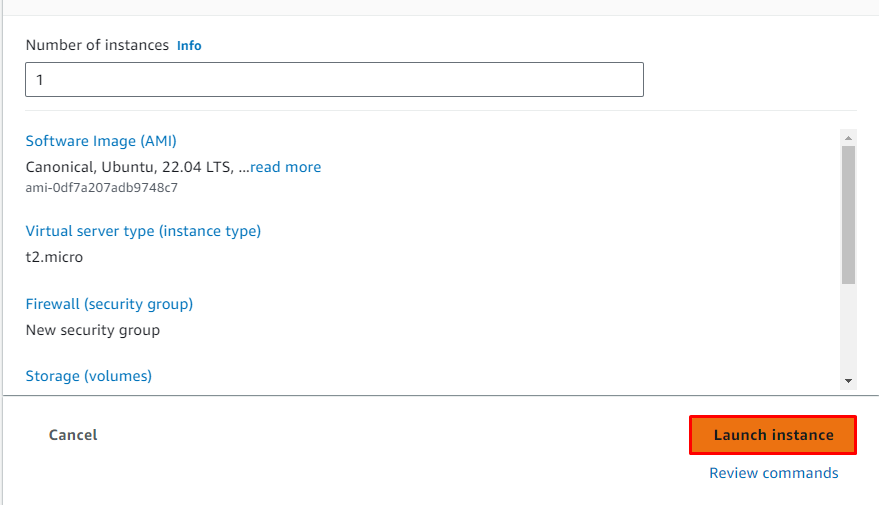
Configure the instance according to the requirements of the work and head to the bottom of the page to launch the instance after reviewing the settings:
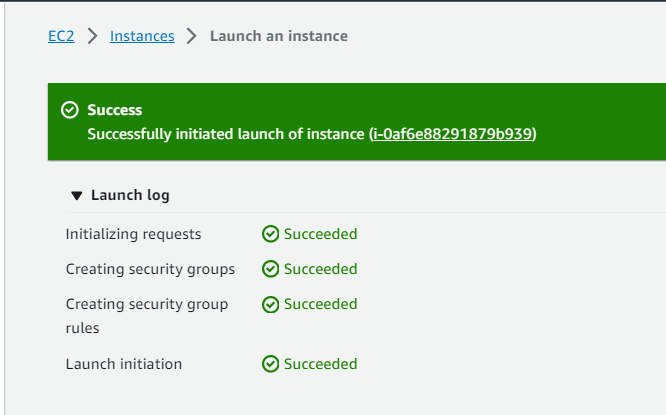
The instance has been launched successfully as the following screenshot displays the success message:
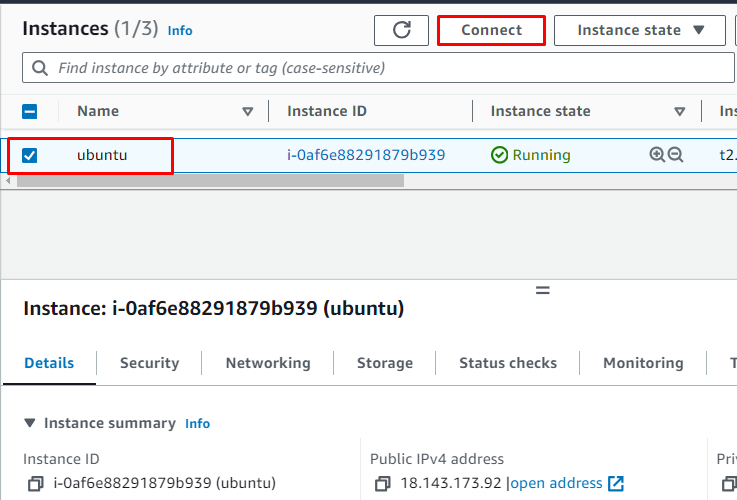
Step 2: Get Connection Command
Once the AWS Ubuntu is created, connect to it by selecting the instance and clicking on the “Connect” button from the Instances page:
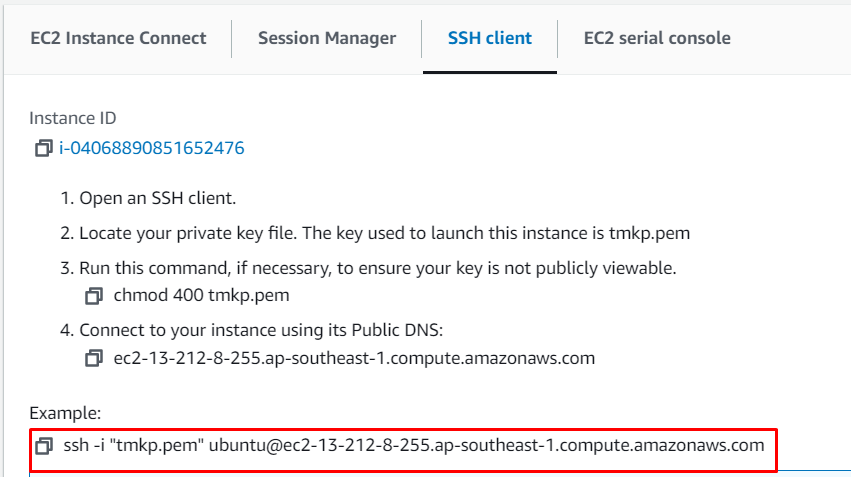
Copy the command from the SSH client section from the connection page of the EC2 instance:
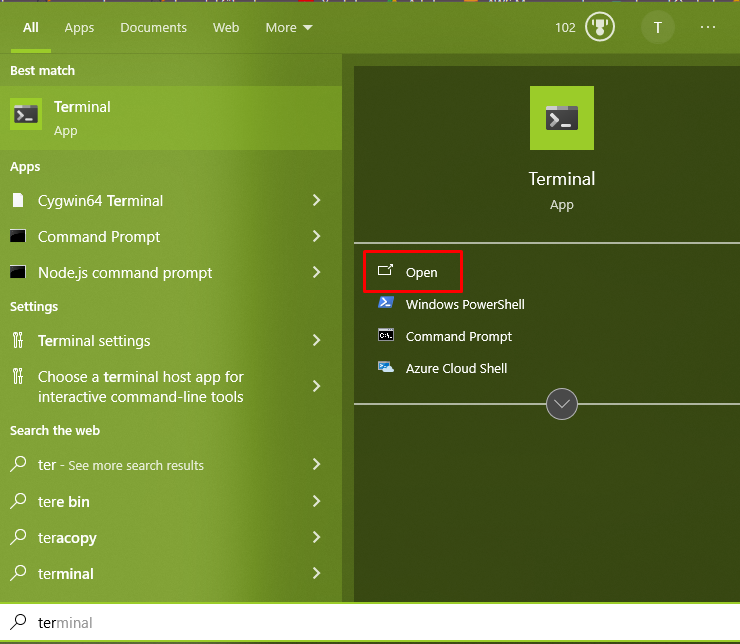
Step 3: Open Windows Terminal
Open the Windows Terminal from the local system by clicking on the Open button after searching it from the Windows search bar. Another method to open the terminal is by hitting the “Win key + R” and writing “wt” before hitting the enter button from the keyboard:
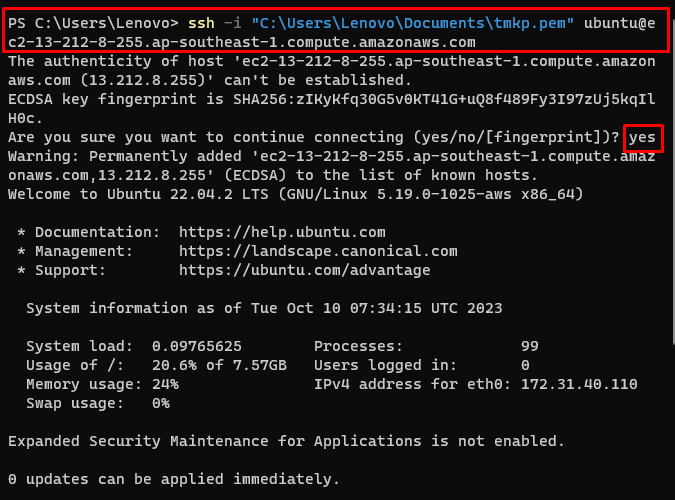
On the Windows terminal, use the following command to connect to the EC2 instance. The command for each instance will be generated uniquely by the platform which can be extracted from the Connect page:
After writing the command to the Windows terminal, simply change the path of the private key pair from the local computer and hit enter. After executing the command, the terminal will ask to verify the connection by typing “yes” and hitting enter again from the keyboard:
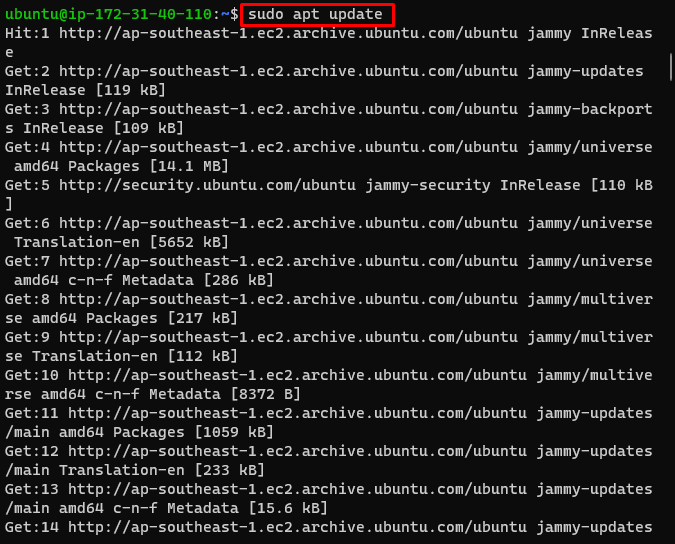
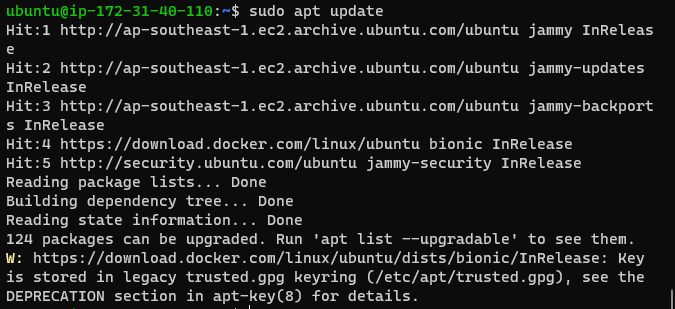
Step 4: Update Packages
Once the user is connected to Ubuntu, simply update the apt packages by using the following command:
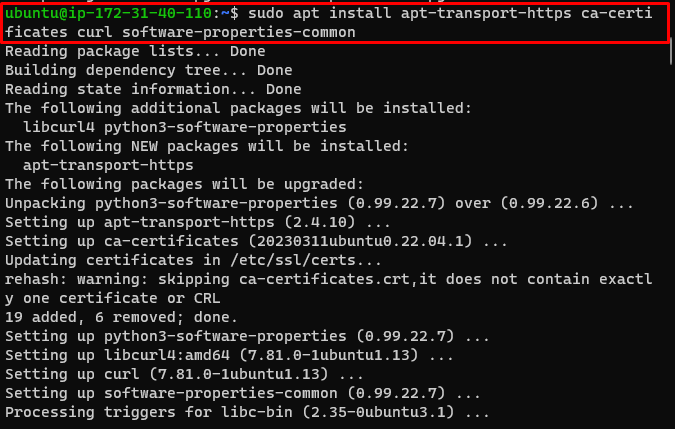
Step 5: Install Prerequisite Packages
Before getting into the installation of the Docker in AWS Ubuntu, simply execute the following code to install the prerequisite packages to the apt library:
Install the GPG repository to get the security clearance required to install the Docker application on the AWS instance:

Step 6: Add GPG Key to “apt” Repository
Add the docker repository to download it to the list of apt packages of Ubuntu by running the following code:
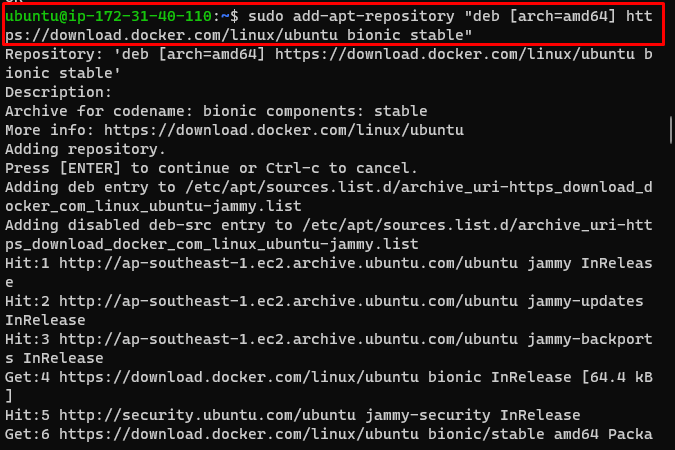
Redirect the apt package list to the docker download repo to make the packages ready for executing the installation process:
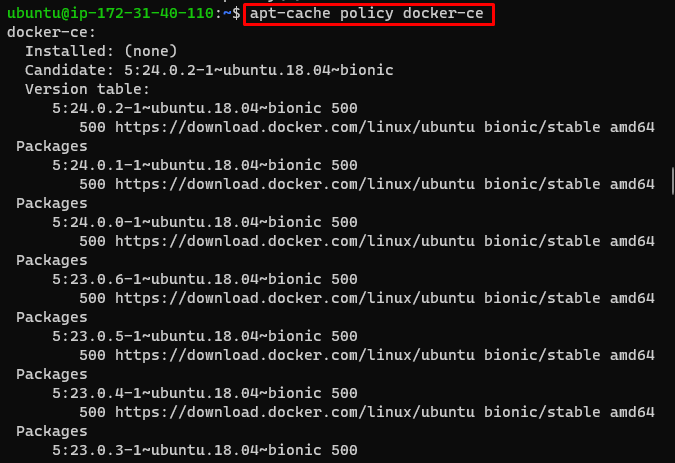
After that, simply update the apt packages once more to get the updated applications/software like Docker for our guide:
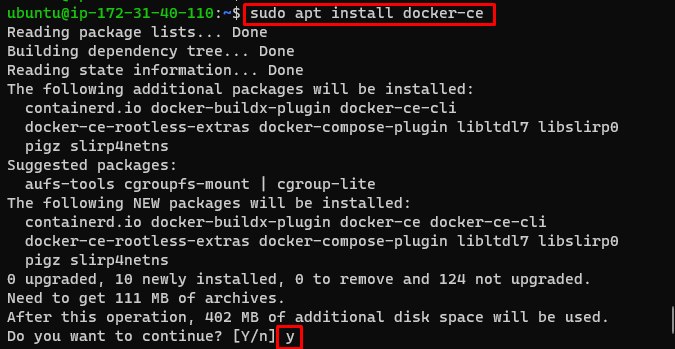
Step 7: Install Docker
Finally, install the Docker on the AWS Ubuntu by using the following command on the AWS EC2 instance:
Executing the above code will ask for the confirmation of the download process and the user can type “Y” to continue with the process and “N” to discard it:
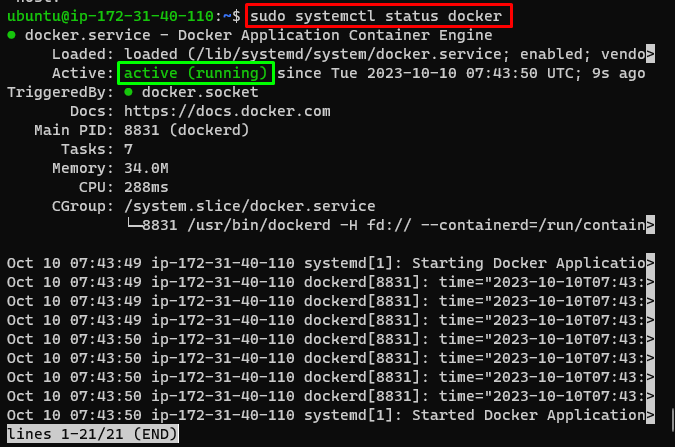
Step 8: Verify Installation
Confirm that the Docker is installed on the AWS Ubuntu by running this code and check the status of the Docker:
The following screenshot displays that the docker is active and running successfully on the AWS Ubuntu:
The docker has been successfully installed on the AWS Ubuntu and the next section contains the process of deleting the docker from the AWS Ubuntu. The user can delete the extra data from the Ubuntu and save it to avoid clogging it with data that is no longer usable:
Bonus Tip: Delete Docker
The deletion of any application after using it is as necessary as its installation. Idle applications can only take up space and slow down the machine which can affect its efficiency and performance. The following section explains the process of deleting the Docker from the AWS Ubuntu:
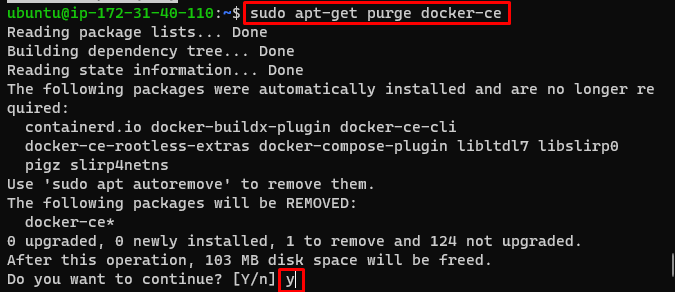
Step 1: Delete Docker
To delete the Docker from the AWS Ubuntu, simply execute the following command once the Docker is no longer in use:
The command will ask for the confirmation, simply type “y” and hit enter to get on with the process:
Step 2: Remove Images, Directories, and Containers
Use the following code to clear all the images and containers from the AWS Ubuntu and check the status of docker to confirm its deletion:
sudo rm -rf /var/lib/containerd
sudo systemctl status docker
The screenshots confirm that the docker is no longer installed on Ubuntu and the user can’t use its services anymore:

That’s all about the process of installing docker on the AWS Ubuntu.
Conclusion
To install the Docker on AWS Ubuntu, simply sign in to the AWS account and head inside the Elastic Compute Cloud or EC2 service dashboard. Configure the EC2 instance by selecting the Ubuntu AMI from the page and connecting to it using its command from the Connect page. Once Ubuntu is connected, simply install the packages required to install the Docker and then use the “install docker-ce” command. This guide has elaborated on the process of installing the Docker on AWS Ubuntu.
Source: linuxhint.com