How to Install digiKam on Linux Mint 21
You can manage your image data easily while working on Linux by using digiKam. The digiKam is an image editor which is programmed in C++ language. You can use it to manage many photographs into an album by mentioning captions, tags, locations and more to easily retrieve them later. This article is a step-by-step guide on how you can install and use digiKam on your Linux Mint system.
How to Install digiKam on Linux Mint 21
You can install digiKam on your Linux Mint system by using three different methods mentioned below:
Through Software Manager
To install the digiKam open the software manager, search for digiKam and click on the Install button:

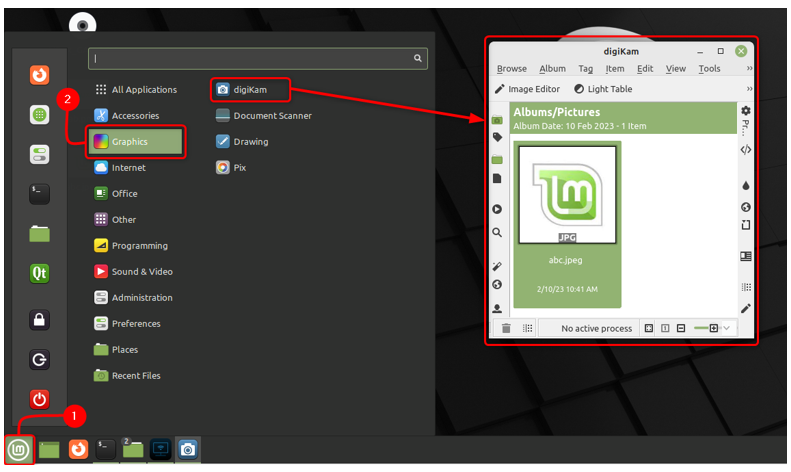
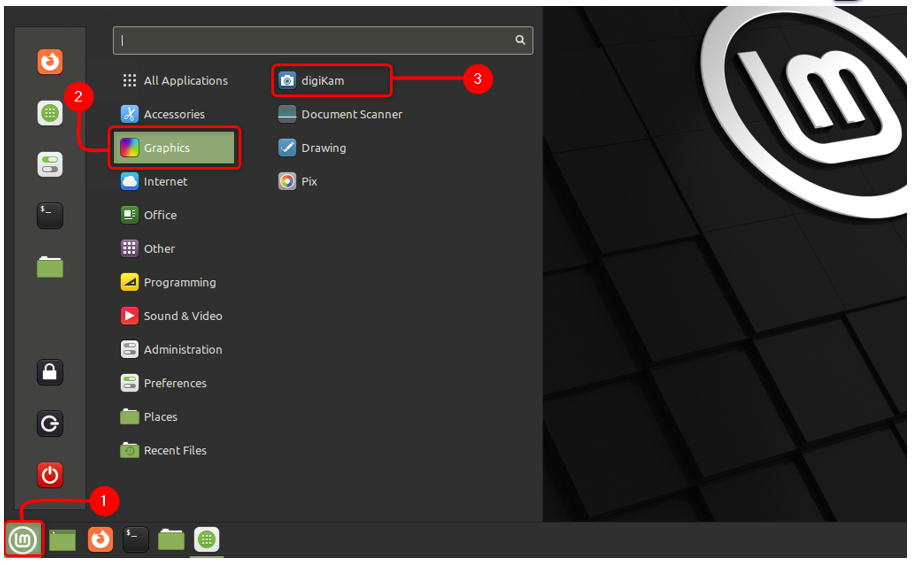
To launch the digiKam just click on Linux Hint icon, go to Graphics, double click on digiKam:
To uninstall digiKam through Software Manager of Linux Mint you can click on Linux Mint icon, go to Graphics, right click on digiKam and click the Uninstall button:

Through Snap
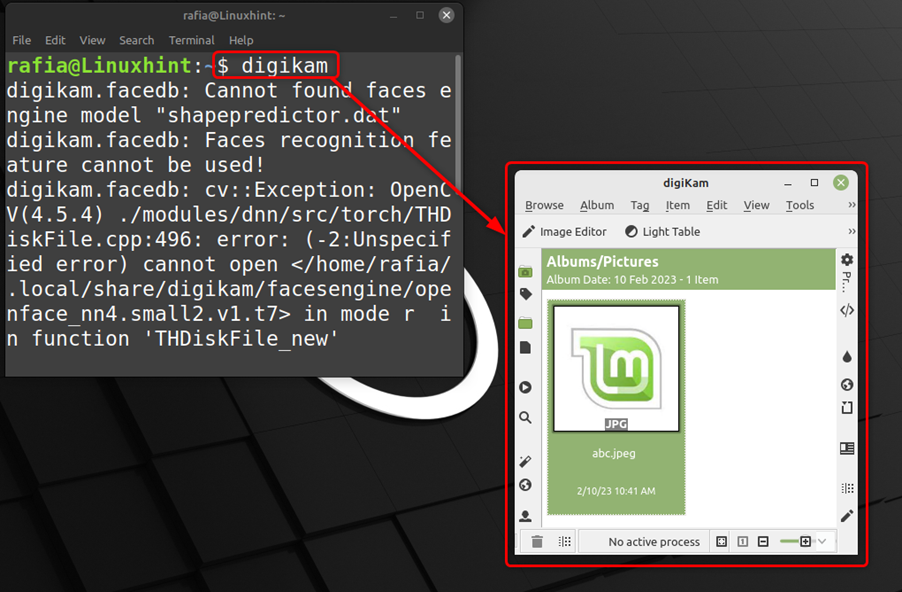
To install the digiKam using Snap you can execute the below mentioned command on the terminal and you can enable snap first:

If you have installed digiKam using snap store you can easily launch it running the command given below:
To uninstall digiKam from Linux Mint you using snap you can execute the below mentioned command:

Through Apt
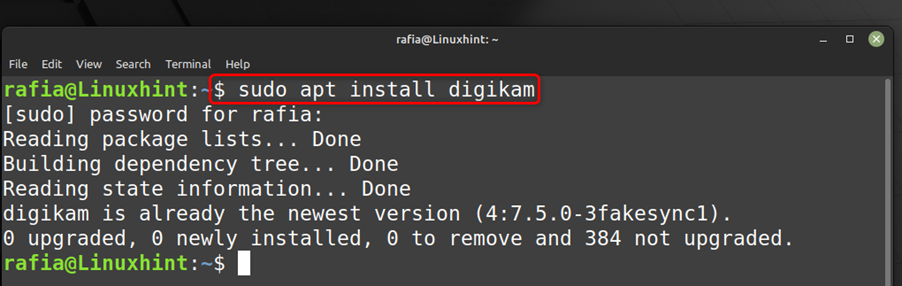
You can also install digiKam by using apt method by running the command mentioned below:
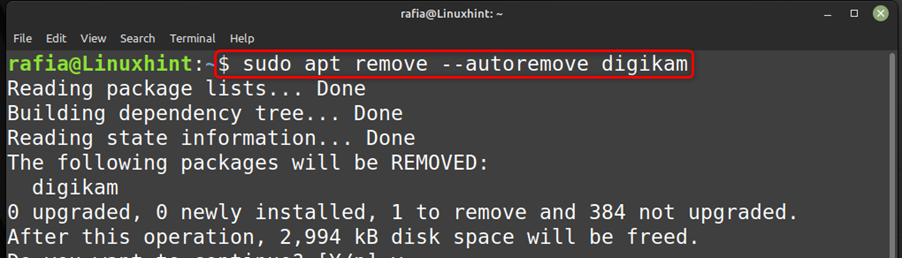
To uninstall digikam from Linux Mint you using Apt you can execute the below mentioned command:
Getting Started with digiKam on Linux Mint
To use digiKam click on Linux Hint icon, go to Graphics, double click on the digiKam:
Follow the steps mentioned below to use digiKam on Linux Mint 21:
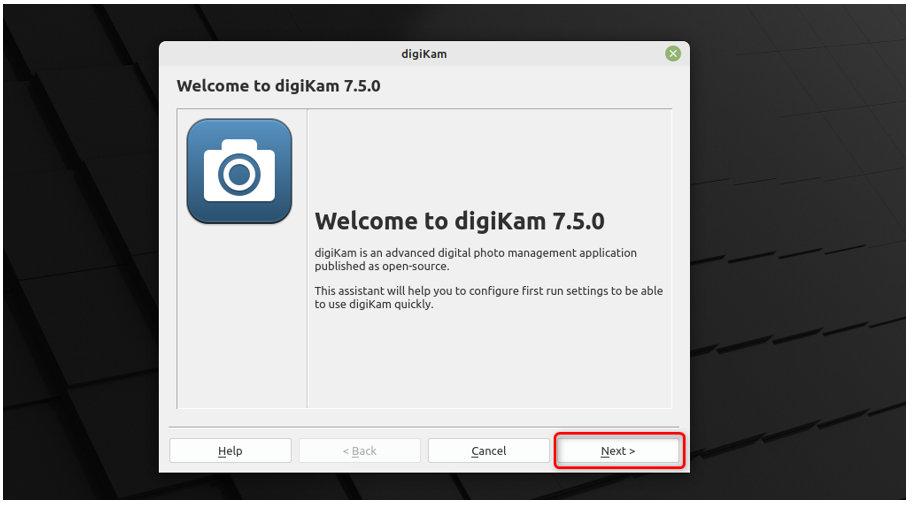
Step 1: You will get a dialog box to run the settings of digiKam, click on Next button:
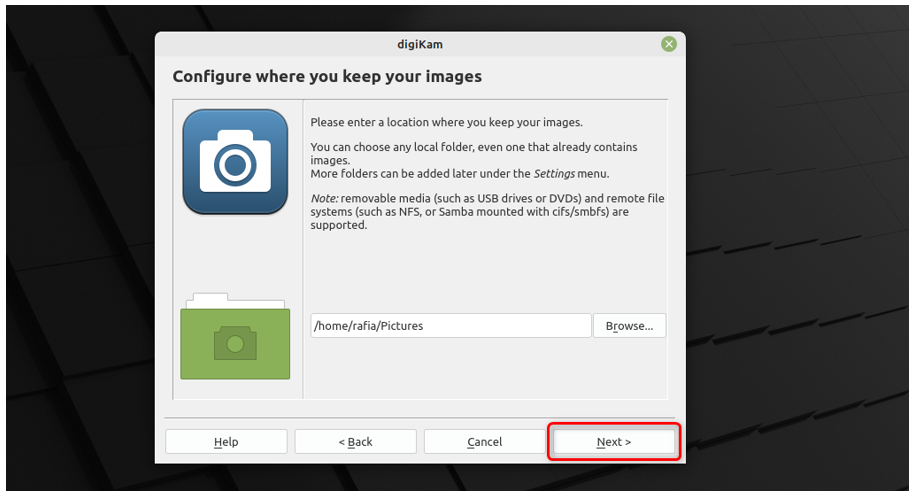
Step 2: Now you will be asked to enter a location for your data to be saved, choose the location folder, and click on Next:
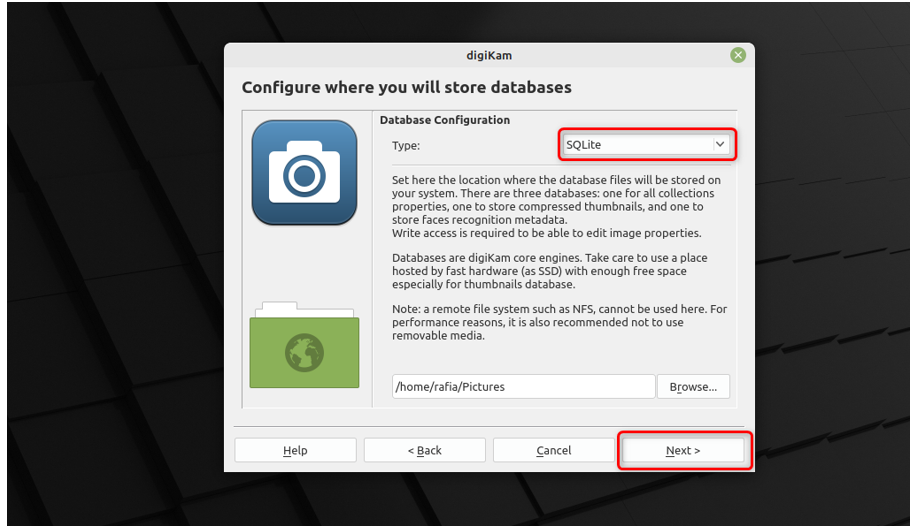
Step 3: Configure the database as SQLite and click on Next:
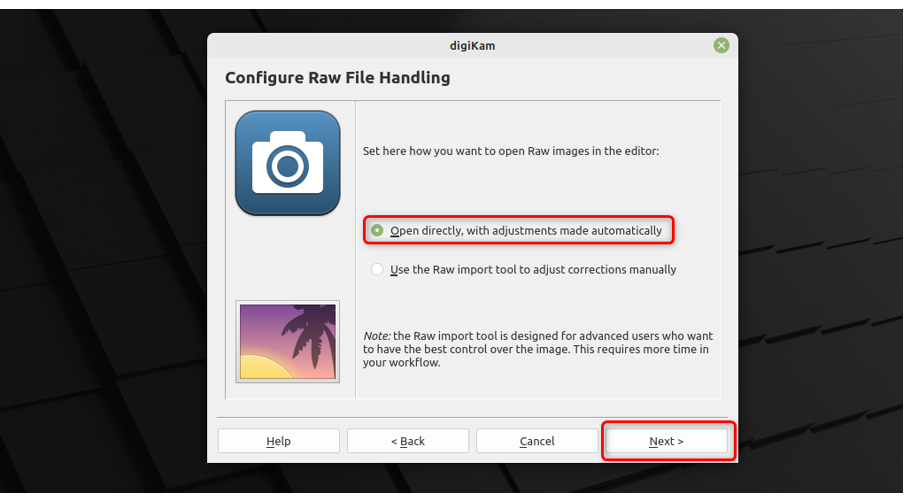
Step 4: Now select in which category you want your image to be opened, choose open directly with automatic adjustments made automatically and click on Next:
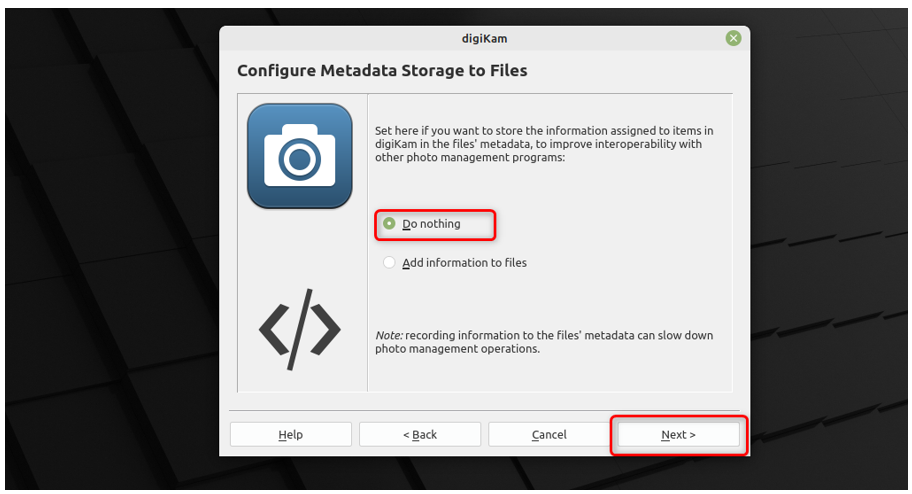
Step 5: Now you have to configure the Metadata Storage to files, for this select Do nothing and click on Next button:
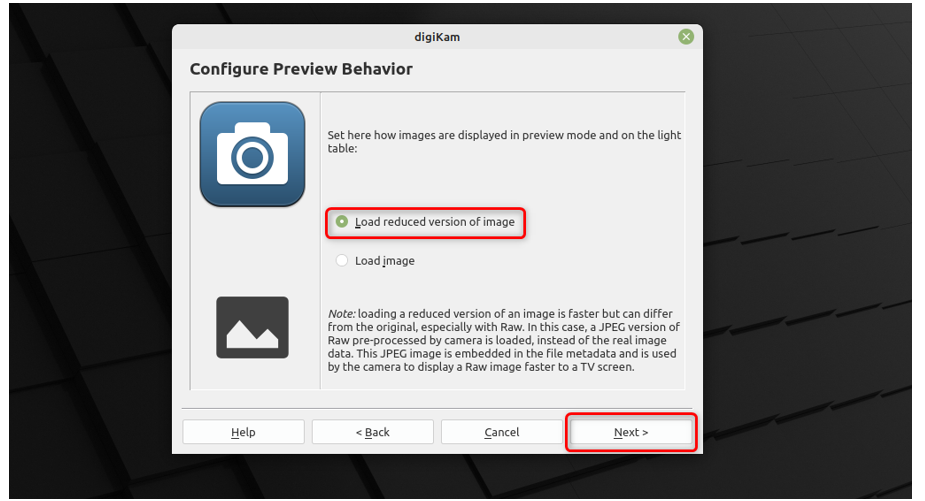
Step 6: Now to select the preview behaviour, choose Load reduced version of image and click on Next:
Step 7: Now to Configure Open File Behaviour, choose Open a preview and click on Next:

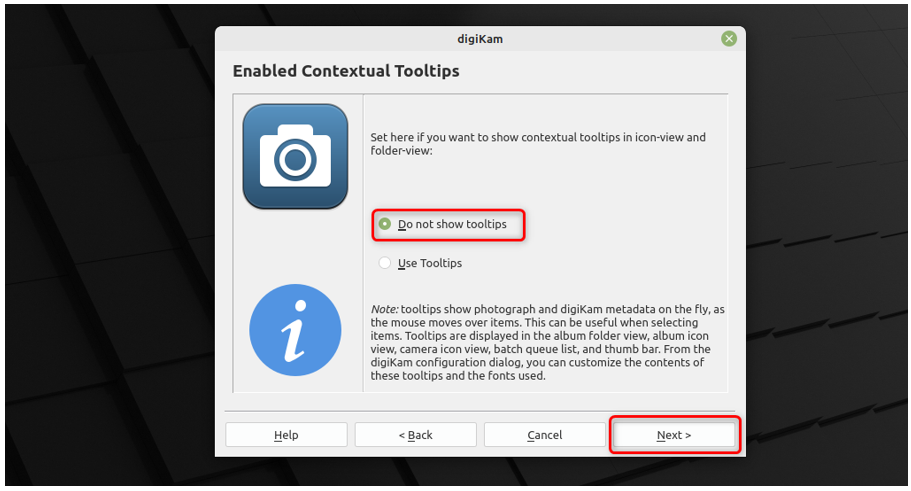
Step 8: Now select whether you want to see Tooltips while using digiKam or not and click on Next button:
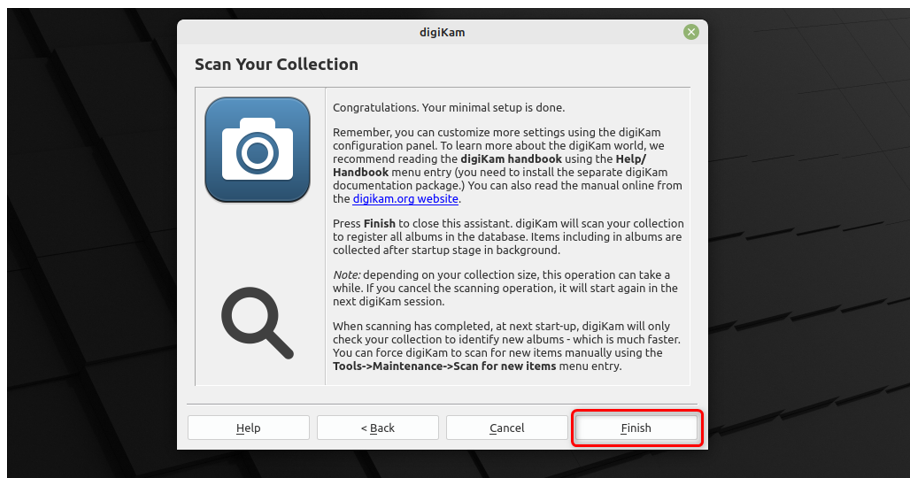
Step 9: Now click on Finish button:
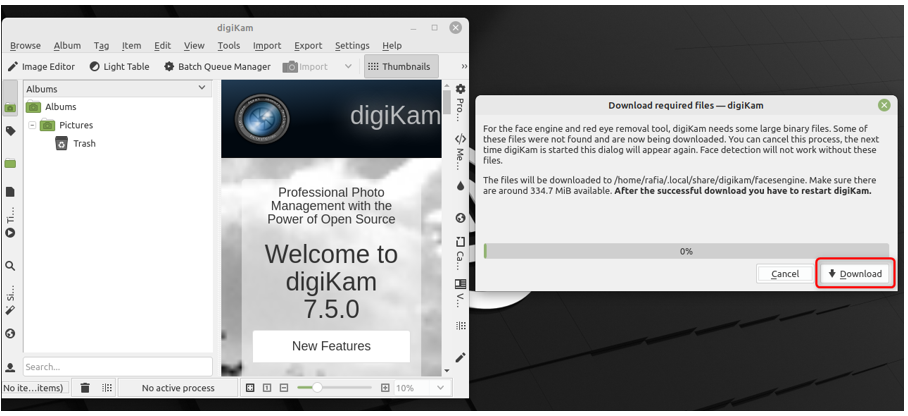
Step 10: Now click on Download button to download all the required files to use the digiKam:
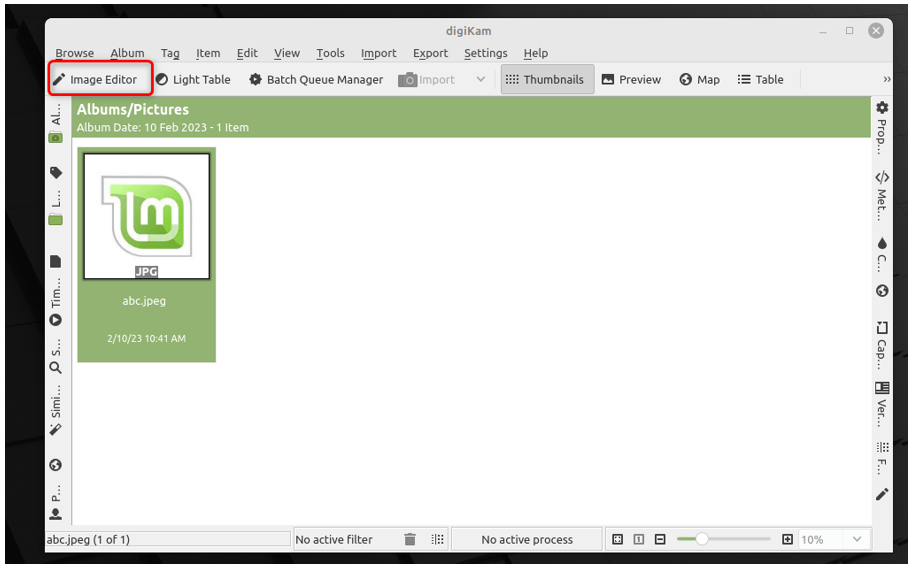
Step 11: All the images in your pictures folder of the system will be shown in the digiKam can select one to edit or manage, to do this click on Image Editor:
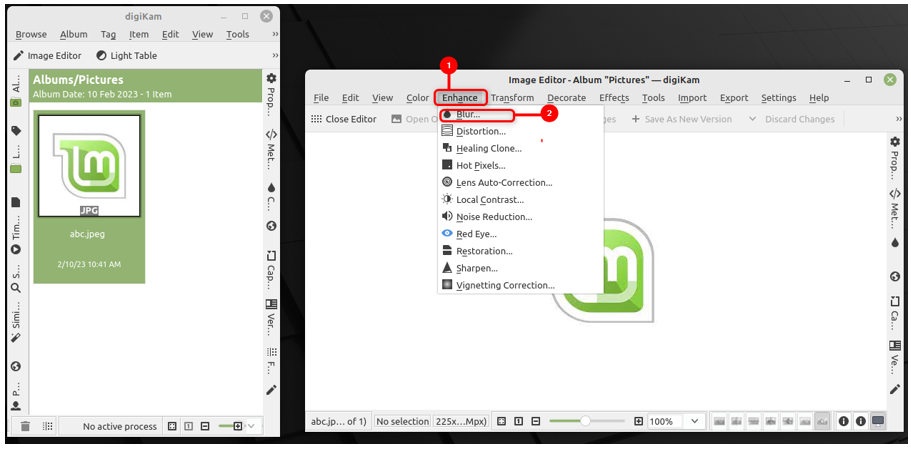
Step 12: A window will be open with the name Image Editor, click on Enhance and then click on blur to blur the image:
Step 13: You can see the original image and in the second window you can see the blurred image and you can set the level of smoothness as required:
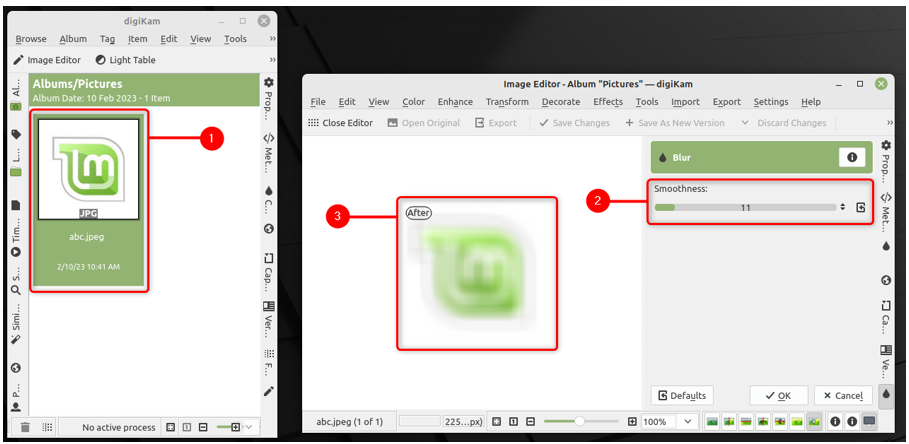
In the same way you can apply other functions on the image to edit it.
Conclusion
digiKam is more like a combination of photo editor and photo manager. You can edit your pictures and manage them in an album by tagging the captions, locations, and other details. You can install and uninstall digiKam on Linux Mint 21 by using software manager, using snap, and using the spt package manager.
Source: linuxhint.com