How to Install AWS CLI on Linux Mint 21
The AWS CLI is an open-source tool for Linux systems that allow users to interact with amazon services via commands. By installing AWS CLI on Linux Mint 21, you can start using all the functions offered by the AWS management on your terminal console. This command line utility provides direct access to the AWS APIs or develops a shell script to manage your resources. In this tutorial, we will discuss the ways to install and set up the AWS CLI on Linux Mint 21.
How to Install AWS CLI on Linux Mint 21
It also provides customization for the services; customizations are the high-level commands that simplify the service with complex API. You no longer need to use the AWS management console on your Linux system, here are some ways to install the AWS command line interface on Linux Mint 21:
1: Install AWS CLI through apt on Linux Mint 21
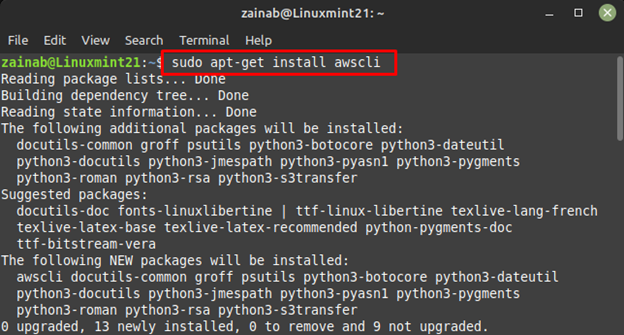
The easiest and most direct method to install AWS CLI on Linux mint is through its default repository that is apt, execute the below command to install it:
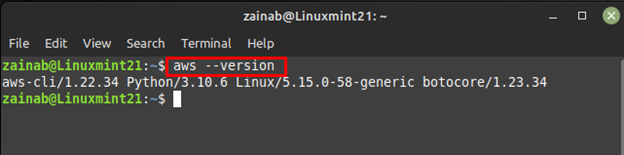
Once the installation is completed, check the version to verify if it is installed correctly:
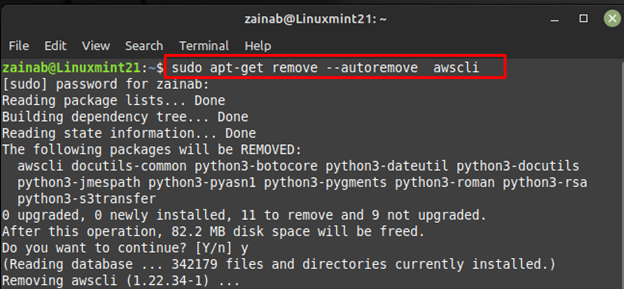
To uninstall AWS CLI from the Linux Mint 21 in case you have installed it through Apt then use:
2: Install AWS CLI through Python pip on Linux Mint 21
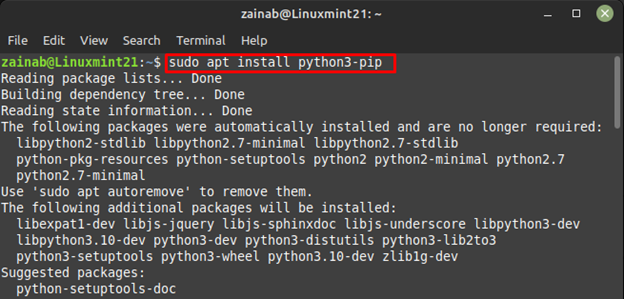
The other way is to install the AWS CLI on Linux Mint 21 is through pip which is a package manager for Python. By default, Python 3 is installed on Linux Mint 21 so first install pip through apt via the following command:
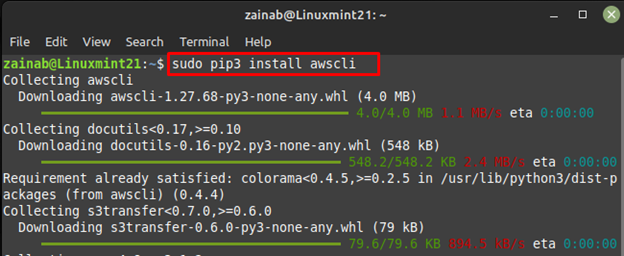
Next, upgrade the pip and install the AWS CLI by running the following command in the terminal:
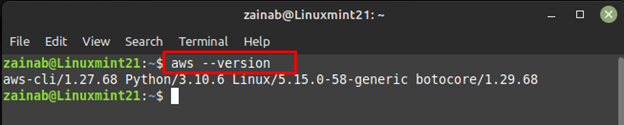
To verify the installation, use the following command:
If you are no longer using the AWS CLI, use the following command to successfully remove it in case you install it through pip package manager:

3: Install AWS CLI through Installer Script on Linux Mint 21
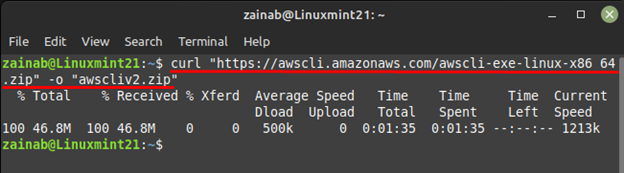
If you want to install the latest version of AWS CLI, install it through its script file but first use the following curl command to download it:
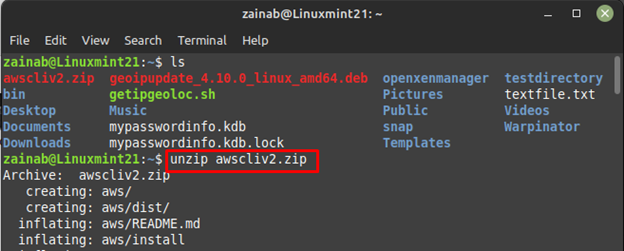
Next, use the unzip command to extract the downloaded file, it will create a new directory with the name AWS:
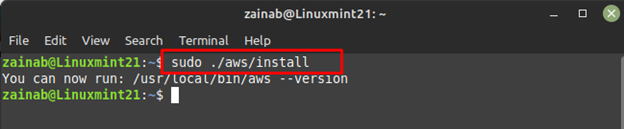
Next run the following command to install AWS CLI:
Verify the installation via the below command:

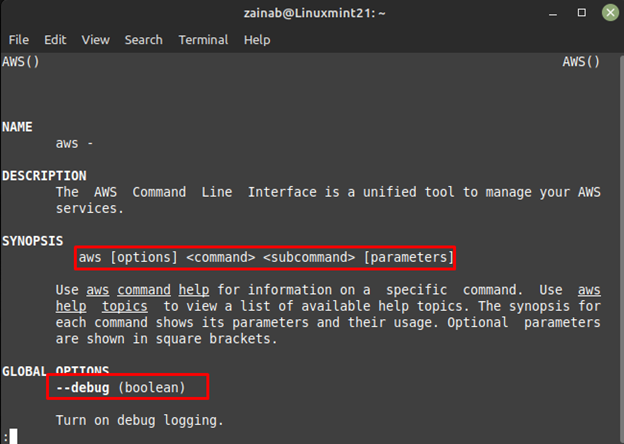
Type the below command and the file will open with the description of the tool and syntax for the commands:
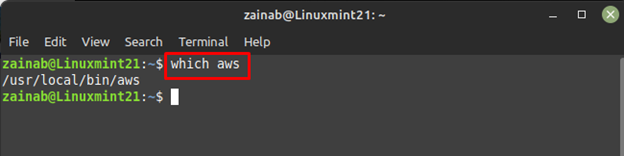
If you want to uninstall AWS CLI from Linux Mint 21, you need to check the installation path of the downloaded file:
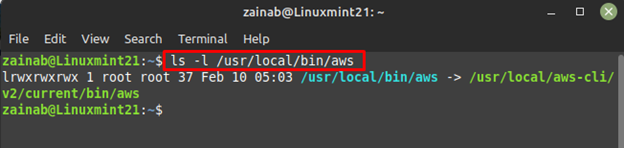
From the above command, you will get the path of the file, next use the below-given command to find the symlink and installation path:
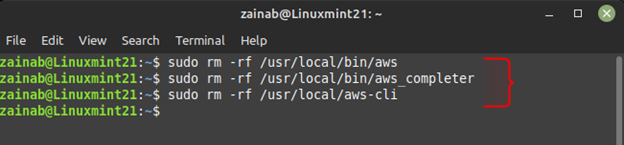
First remove the two symlinks, for the removal of first symlink execute the following command:
Remove the second symlink via the below command:
After removing the symlink, delete the directory through the following commands:
Wrapping Up
Linux users feel more comfortable using the command line interface for their regular tasks, so Amazon services introduced its command line tool AWS CLI. With the single tool of AWS CLI, you can manage multiple AWS Services on your Linux platform. The installation process on Linux Mint 21 is simple and straightforward as there are three ways to do it that are mentioned in this guide.
Source: linuxhint.com