How to Install Apache Maven on Linux Mint 21
Install Apache Maven on Linux Mint 21
We have two approaches to installing Apache Maven on Linux Mint 21 system:
- Through APT
- Through Source Code
Method 1: Install Apache Maven through APT
The Installation process of Apache Maven using apt is quite straight away; there is no hurdle in it. But make sure your system is updated.
Run the following command to let the system refreshed with up-to-date packages:
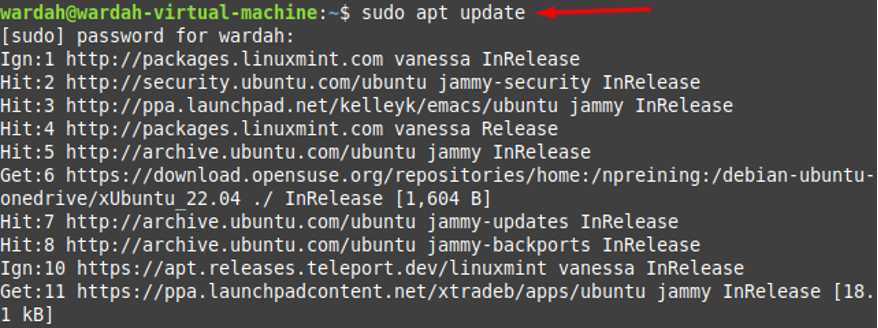
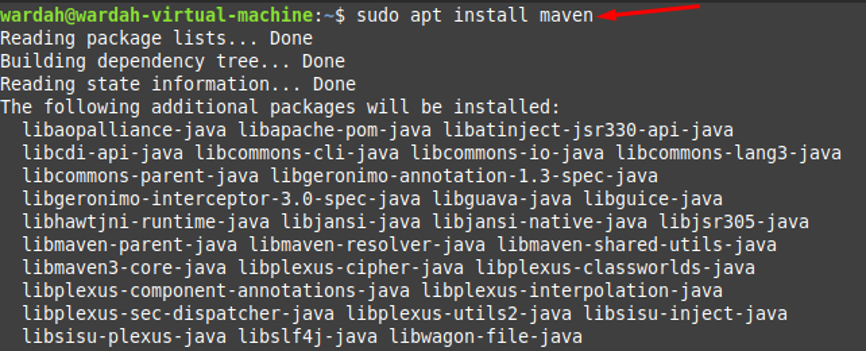
After updating the packages list, now you can directly install Apache Maven from system’s default repository with the help of the following command:
Check its version to confirm the successful installation through the given command:

Method 2: Install Apache Maven through Source Code
This method will surely install the latest update of Apache Maven on the Linux Mint 21 system. For this, follow the below-given step-by-step instructions carefully:
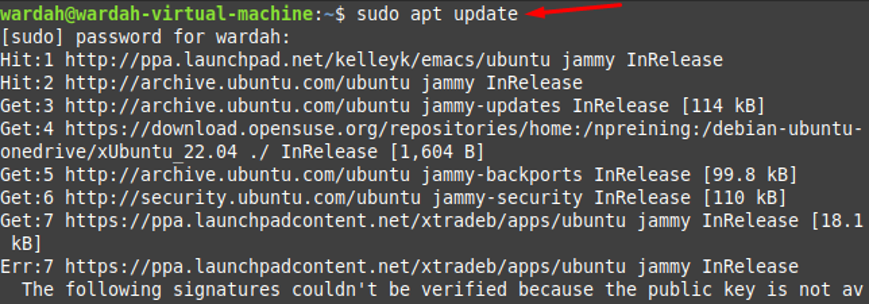
Step 1: Running the command mentioned below to ensure that system is up-to-date and all packages are updated:
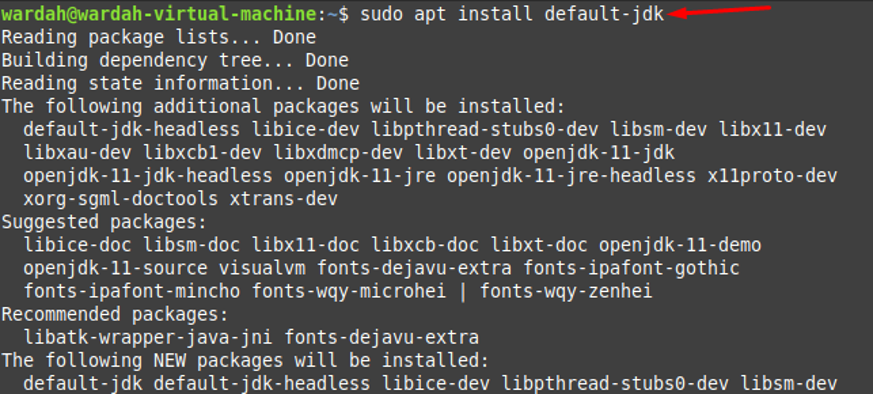
Step 2: In the next move, we need to download JDK as it is the prerequisite of Apache Maven. We can do it through the below-given command:
Step 3: Confirm the Java installation using the version command:

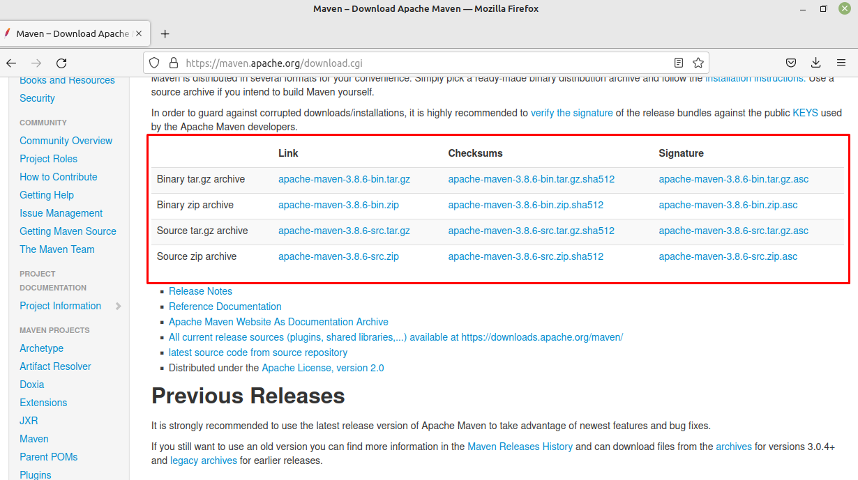
Step 4: To retrieve the source package of Apache Maven from its official website, execute the following command:
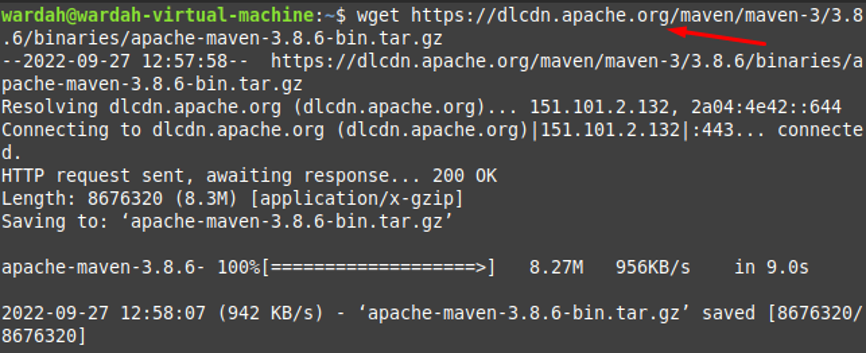
You can also directly copy the link from the official source to download the source file through wget command on your system:
Step 5: Move the downloaded Apache Maven source package to the /tmp file through following command:

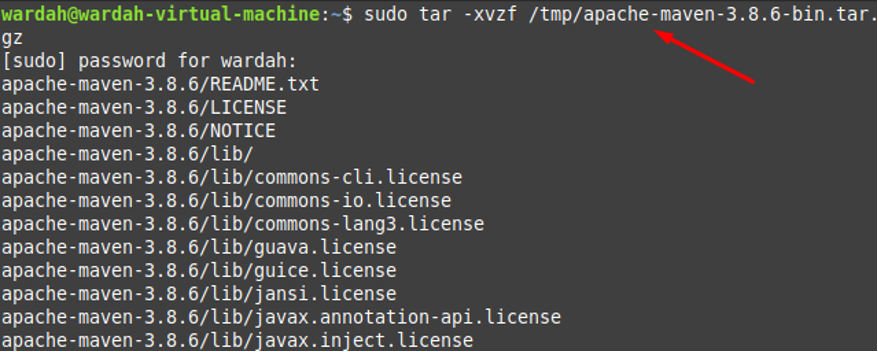
Step 6: Extract the downloaded Apache Maven source package in the /tmp file by making use of following command in terminal:
Step 7: Once all files are extracted, copy them into the opt/maven directory using the command:

Step 8: To setup the environment for Apache Maven, open maven.sh file with the nano editor:
![]()
In this file, put the following lines of code:
export M2_HOME=/opt/maven
export MAVEN_HOME=/opt/maven
export PATH=${M2_HOME}/bin:${PATH}
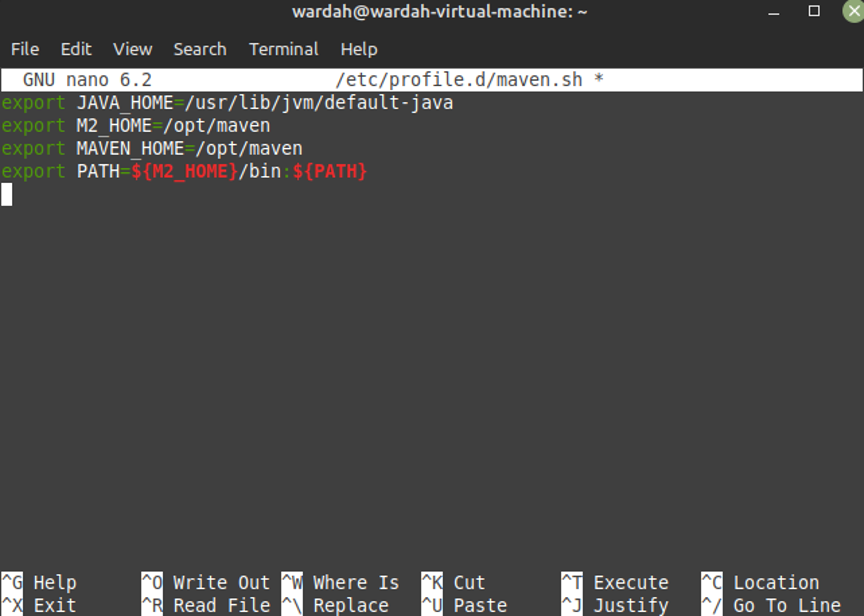
Save the file by pressing Ctrl+O you save the file.
Step 9: Make the file executable from the following command:

Step 10: The last step to set the environment for Maven using the source command that is used to lload the source variables:

Step 11: After successfully running all the above steps, now you can check the version of Apache Maven that is installed on Linux Mint 21 system:

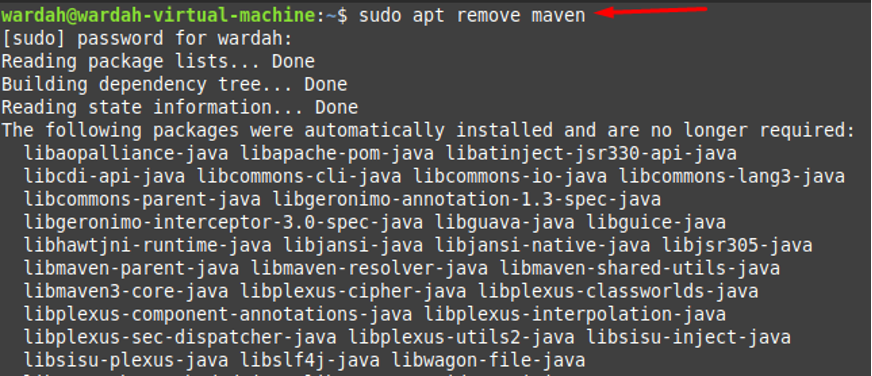
How to Remove Apache Maven from Linux Mint 21
You can also remove Maven from the Linux Mint 21 system by executing the following command:$
Conclusion
Apache Maven is an open source and helpful Java project management tool that is used to create different projects in Java and other scripting languages. We have provided multiple ways to install Apache Maven on a Linux system. The first one installs an older version of Apache Maven while the second method installs the latest version on your Linux system.
Source: linuxhint.com