How to Install Any OS on Raspberry Pi – 3 Different Methods
A single-board computer, Raspberry Pi can be used to perform various computing tasks. Just like any other computer Raspberry Pi also requires an operating system to perform different operations/tasks. There are multiple operating systems that can be installed on Raspberry Pi such as Raspberry Pi OS, tiny core Linux, RISC OS, and many others.
If you need help installing an operating system on Raspberry Pi, follow this article for guidance.
How to Install OS on Raspberry Pi
There are three ways for installing any OS on Raspberry Pi.
Each method is discussed below in detail. But before starting installation make sure you are equipped with the required material for installation which includes:
- SD Card
- Card Reader
- Laptop or PC
- Raspberry Pi
Put the SD card into the card reader and connect it to a laptop or PC. Then follow any of the below-mentioned methods:
Method 1: Through Raspberry Pi Imager
Raspberry Pi Imager is one of the most used applications for installing OS on Raspberry Pi because it already has the images of a few operating systems so users don’t have to spend time downloading the images. But if the user-required OS is not available in the Raspberry Pi Imager then it also allows users to install a custom OS. To install OS through Raspberry Pi Imager, follow the steps mentioned below:
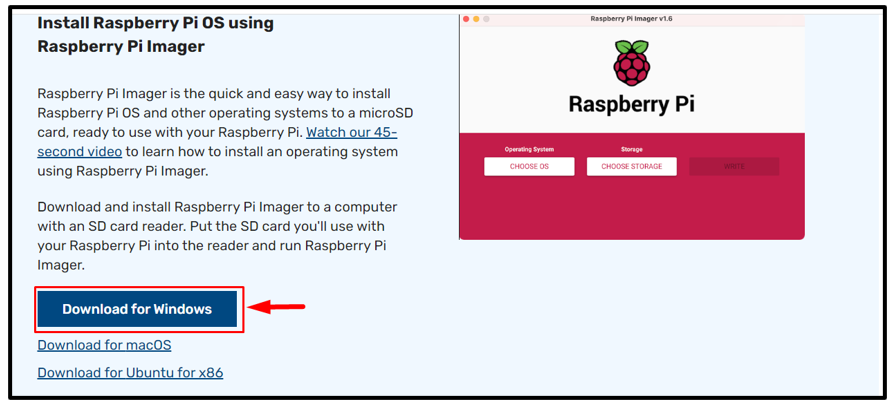
Step 1: First, download the Raspberry Pi Imager from the link. Here, I have installed the windows version, if you are using macOS or Linux, you can download the respective version:
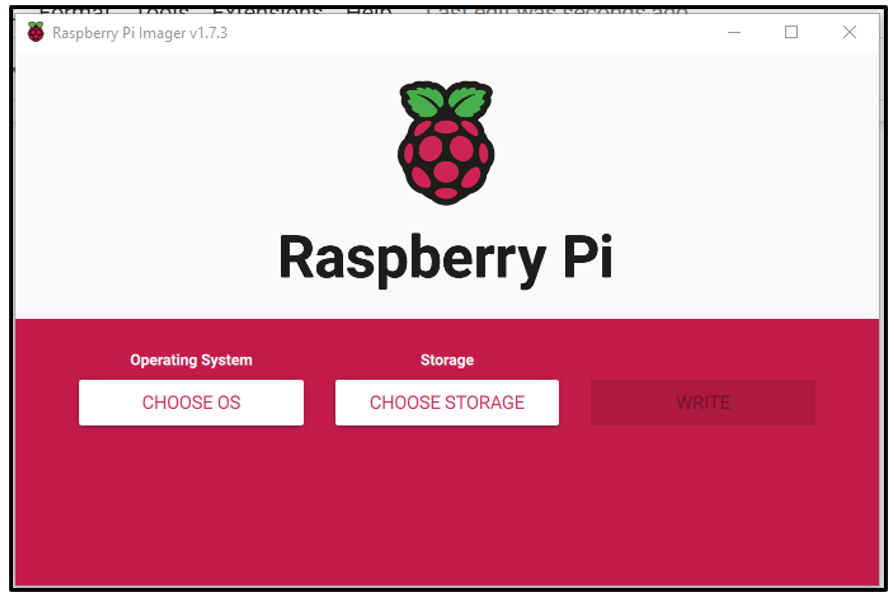
Step 2: Once the downloading is finished, open the Raspberry Pi Imager Application on the desktop:
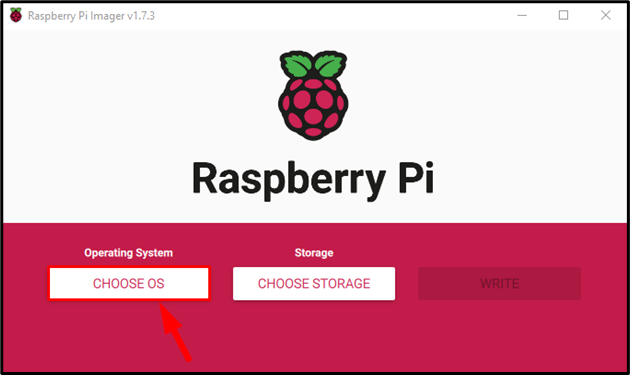
Step 3: Then click on the “CHOOSE OS” option:
Step 4: A drop-down list of operating systems will appear on the screen from which you have to select the desired OS. If you want to install the official Raspberry Pi OS, click the first option:
Note: There are several other operating systems too you can explore that by yourself by clicking on each of the options in the drop-down list.
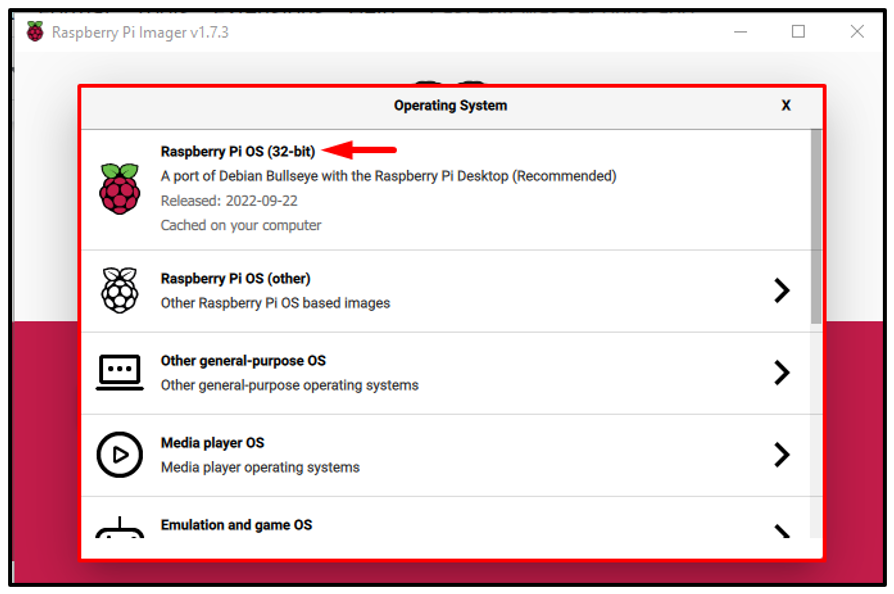
And if your desired OS is not in the list then, you can click on the “Use custom” option to load the image of the desired OS.
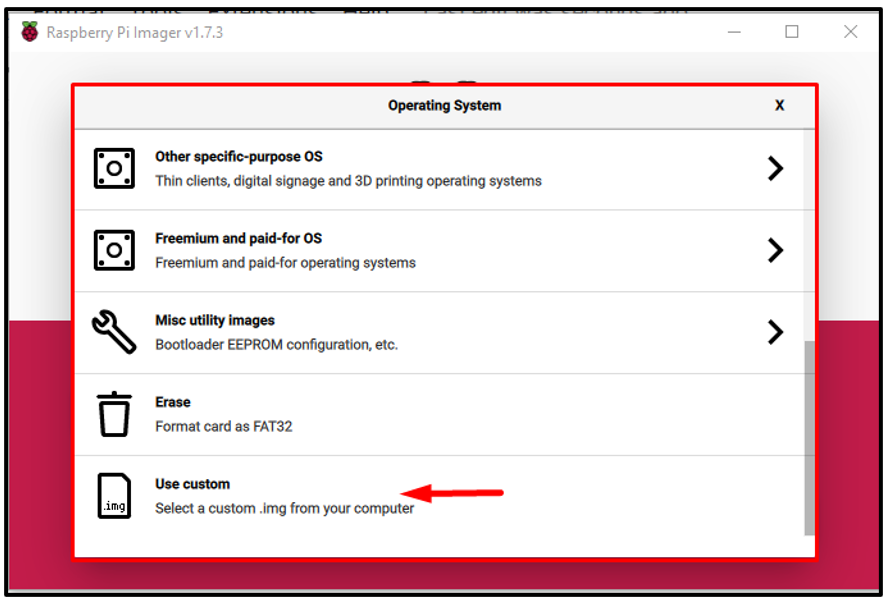
But before this, make sure to download the image of your required OS from the official website. Here, I am installing Raspberry Pi OS for this case:
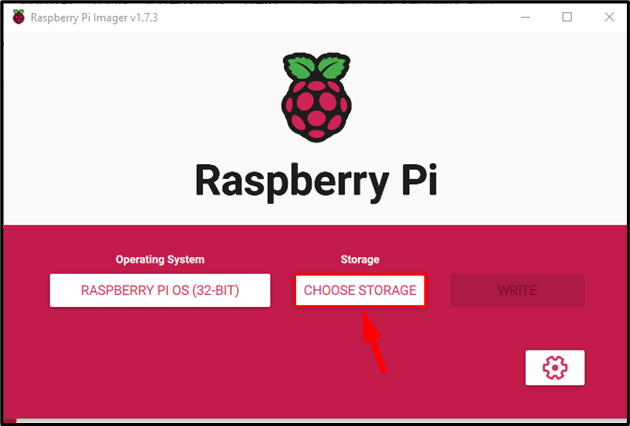
Step 5: Now click on the “CHOOSE STORAGE” option.
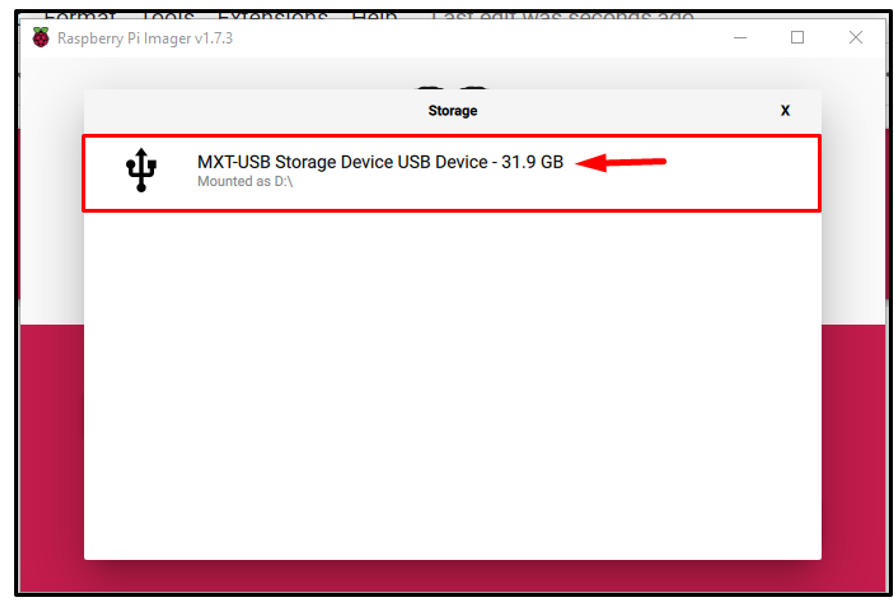
Step 6: If your card reader is connected correctly, it will be displayed as a mounted device, click on it:
Step 7: Then finally click on the “WRITE” button to write the image of the OS onto the SD card.
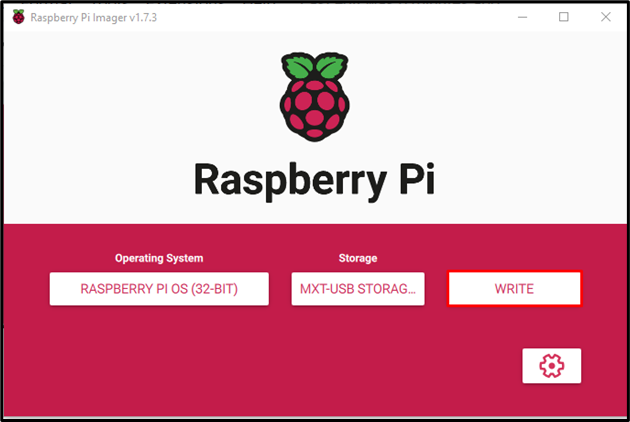
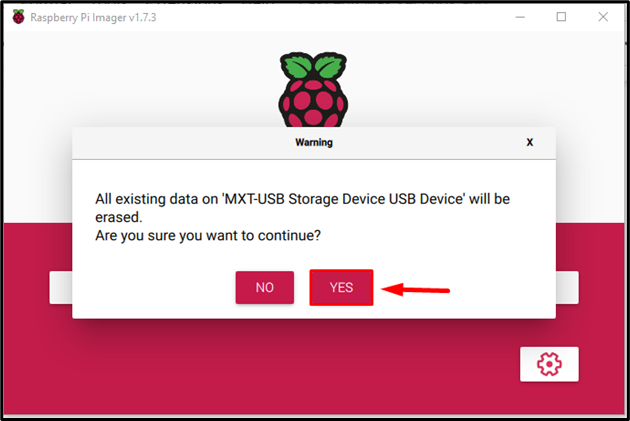
As soon as you click on the “WRITE” button, a warning will appear on the screen to inform you that all the previous data on your SD card will be erased.
Step 8: Click “YES” to continue writing the image onto the SD card:
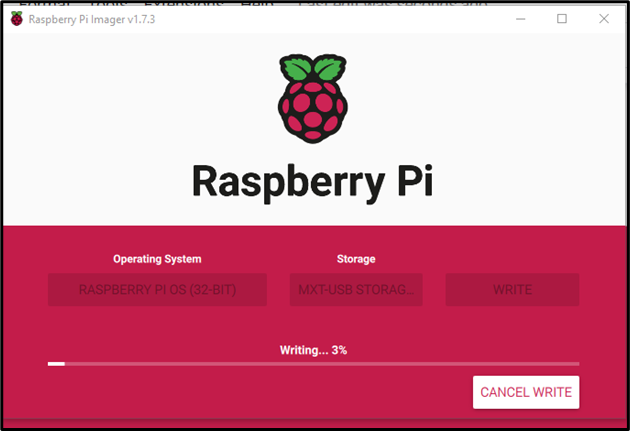
The image writing process will start and it is going to take some time to complete as it downloads the image and write it on the SD card.
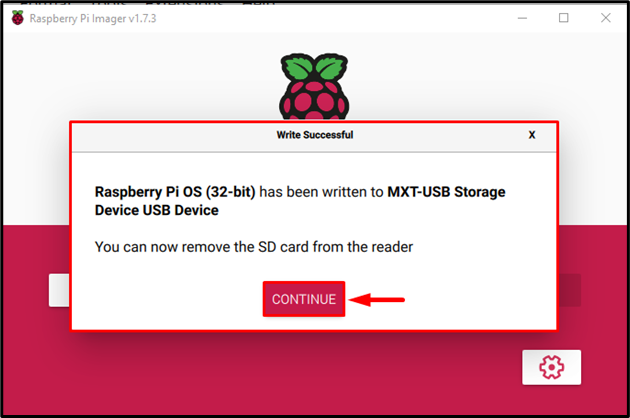
Step 9: After some time, a prompt will appear on the screen to inform you that the process is completed and the USB device (card reader) can be removed. Click on the “CONTINUE” button to safely remove the card from the system.
Insert the SD card into the Raspberry Pi device and after some setup, the Raspberry Pi OS is ready to be used on the device.
Method 2: Through balenaEtcher
The second method on the list is to install OS on Raspberry Pi using balenaEtcher. The steps for this method are mentioned below:
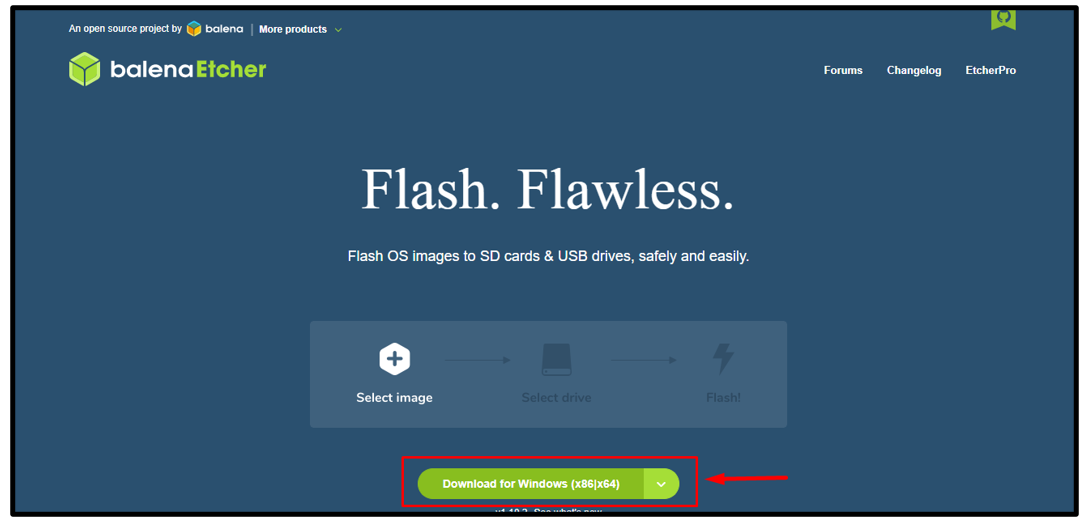
Step 1: Download BalenaEtcher through this link by clicking on the Download button.
Step 2: Download the OS Image of your desired OS that is compatible with Raspberry Pi. Here, just for an example, I have downloaded the Raspberry Pi OS.
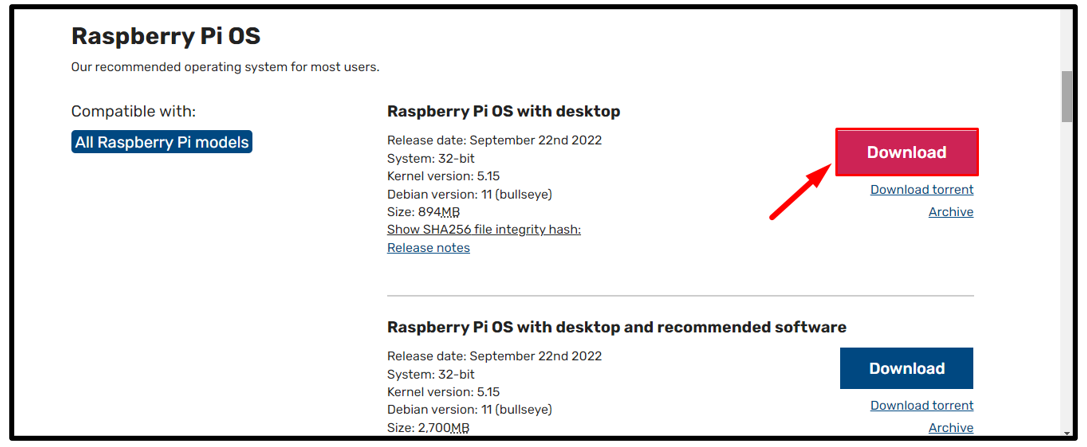
To download the image of any OS, just type the name of that particular OS into the browser and download the image from the official website of that browser.
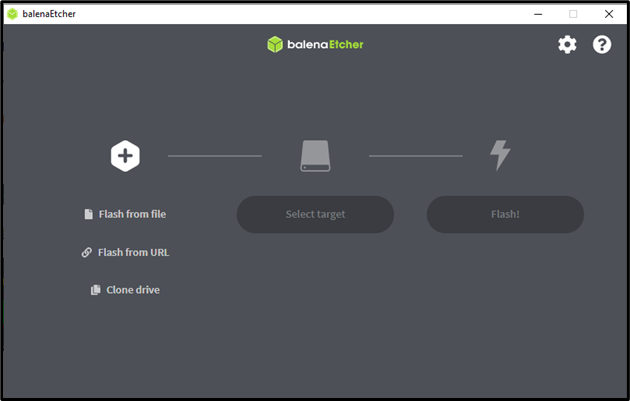
Step 3: Then open the installed balenaEtcher application on your laptop/PC:
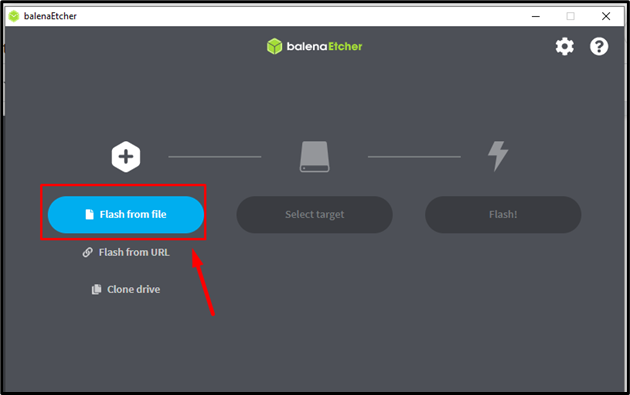
Step 4: Click on the “Flash from file” option.
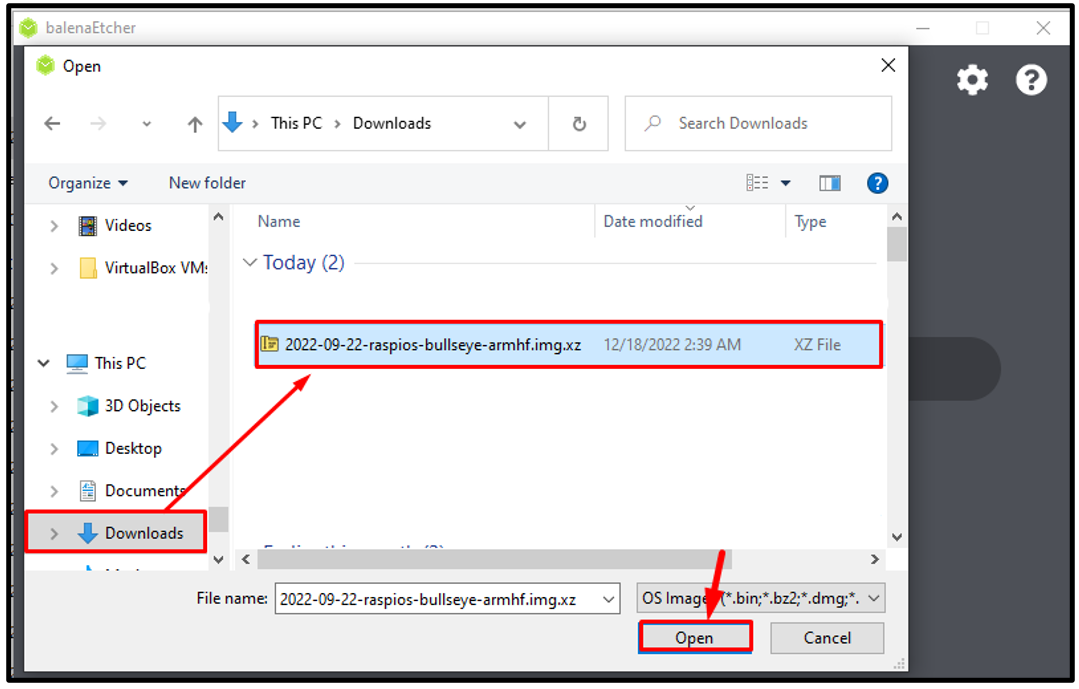
Step 5: Go to the folder where the OS image is downloaded and then click on the “Open” button:
Note: I have used Raspberry Pi OS as an example in this image.
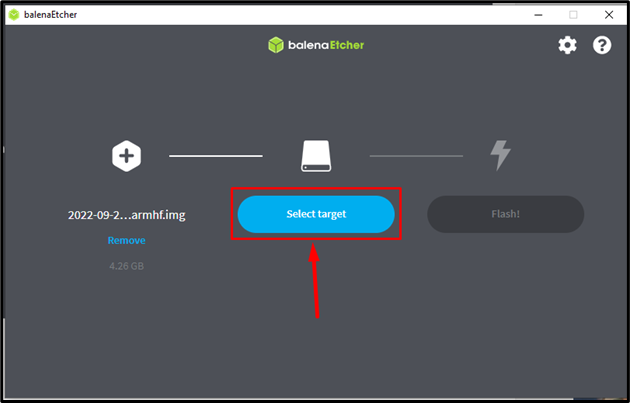
Step 6: After loading the image file, click on the “Select target” option:
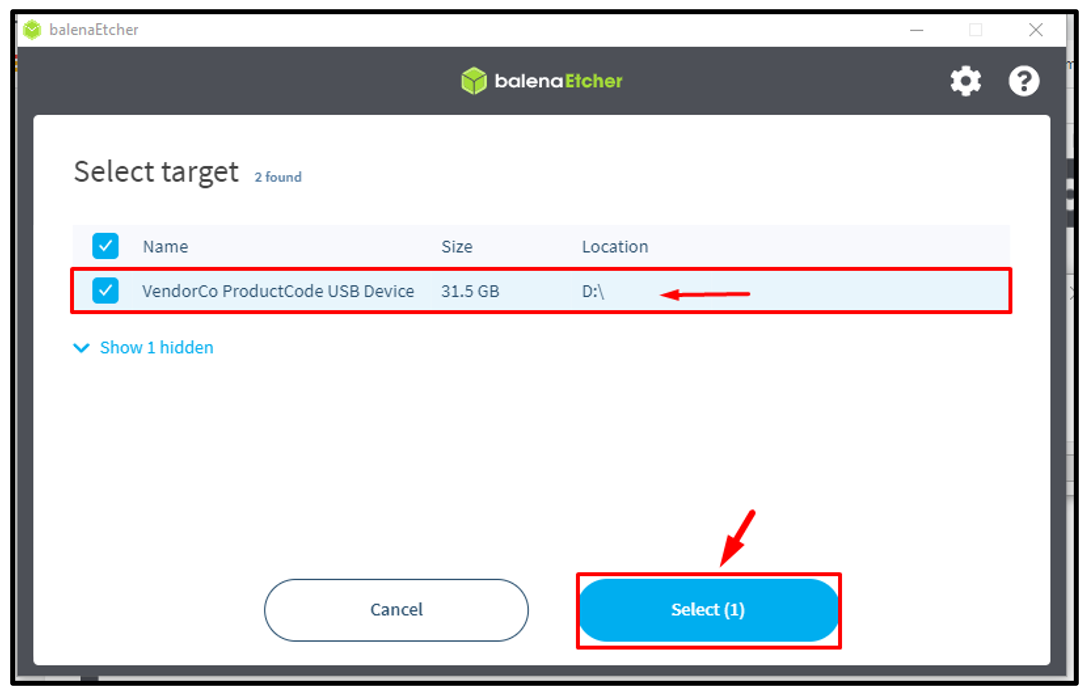
Step 7: The mounted USB card reader will appear here, tick that device, and choose the “Select” button:
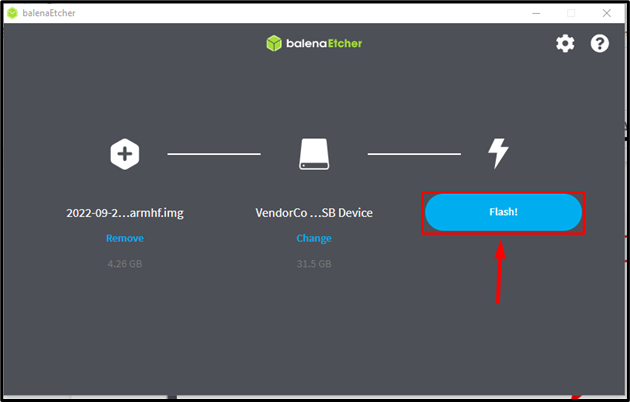
Step 8: Now click the “Flash” button to flash the image onto the SD card:
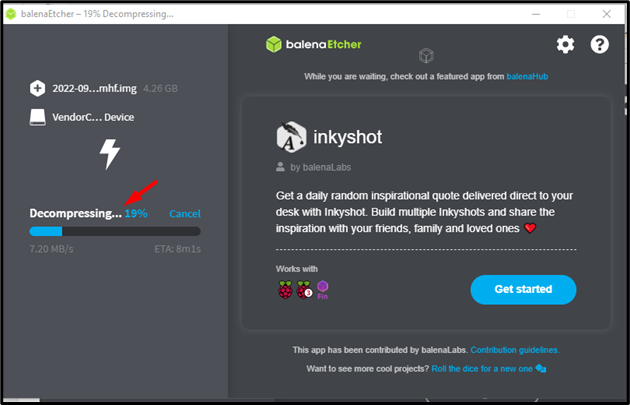
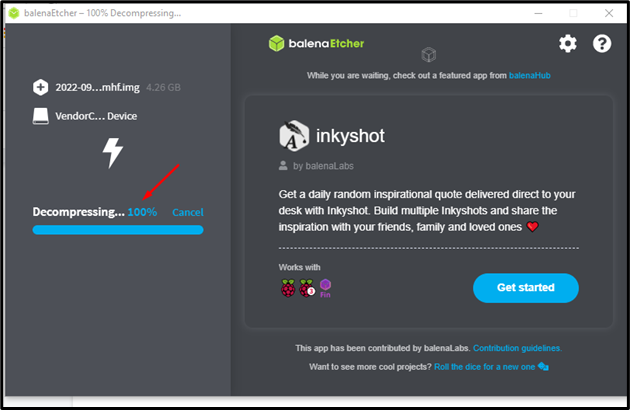
The flashing process will start and it may take some time:
When the flashing is finished, you will see the “Flash Complete” message on the screen:
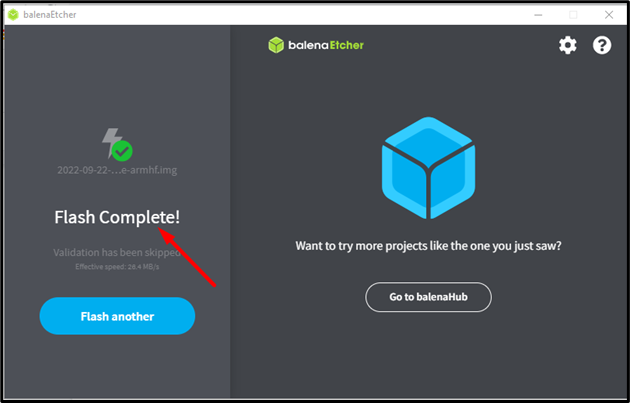
The OS is successfully installed into the SD card, now insert it into the Raspberry Pi and use the OS.
Method 3: Through Win32 Disk Imager
Win32 Disk Imager is also a very good application that can be used to Read and Write the Disk Images. In this method, we will install OS on Raspberry Pi using Win32 Disk Imager using the following steps:
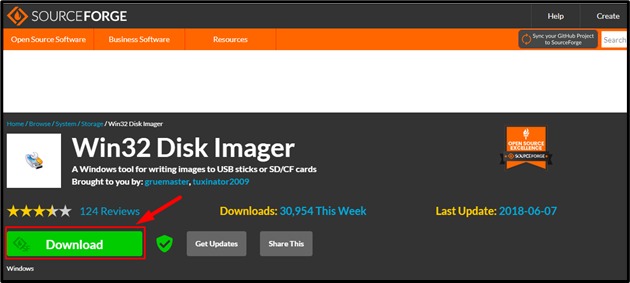
Step 1: Firstly, download the Win32 Disk Imager by opening the link and clicking on the Download button:
Step 2: Download the OS Image of your desired OS that is compatible with Raspberry Pi. Here, just for an example, I have downloaded the Raspberry Pi OS. To download the image of any OS, just type the name of that particular OS into the browser and download the image from the official website of that browser:

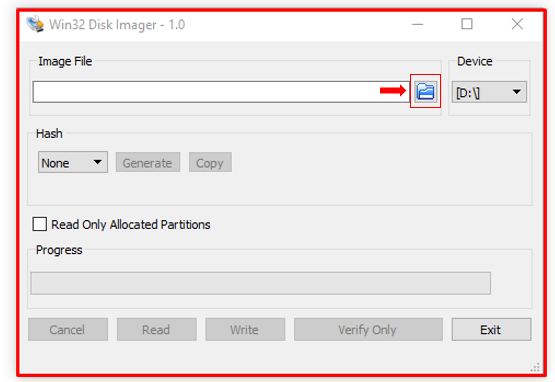
Step 3: Now click on the Folder icon highlighted in the image below:
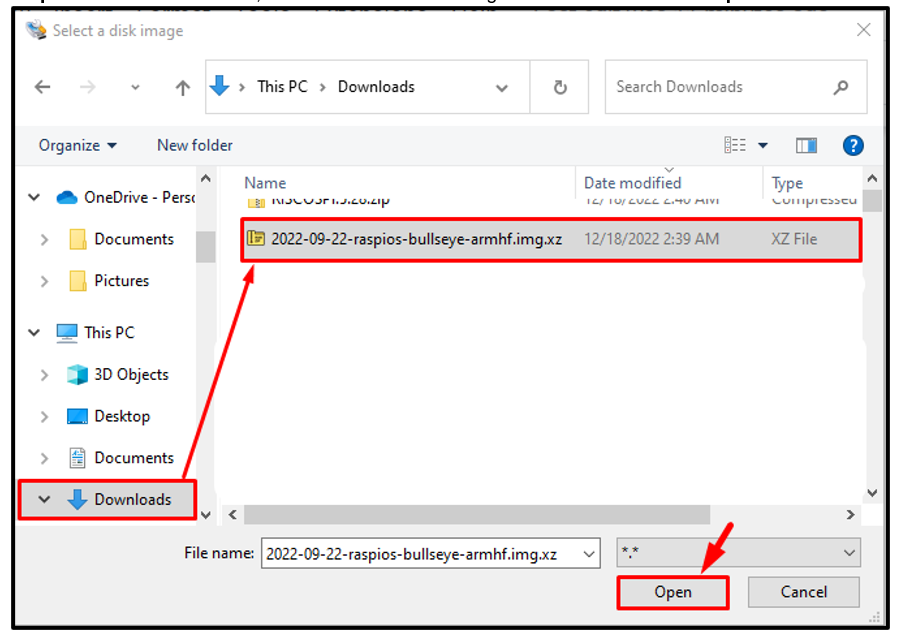
Step 4: From the Downloads, select the downloaded image of the OS and click the “Open” button:
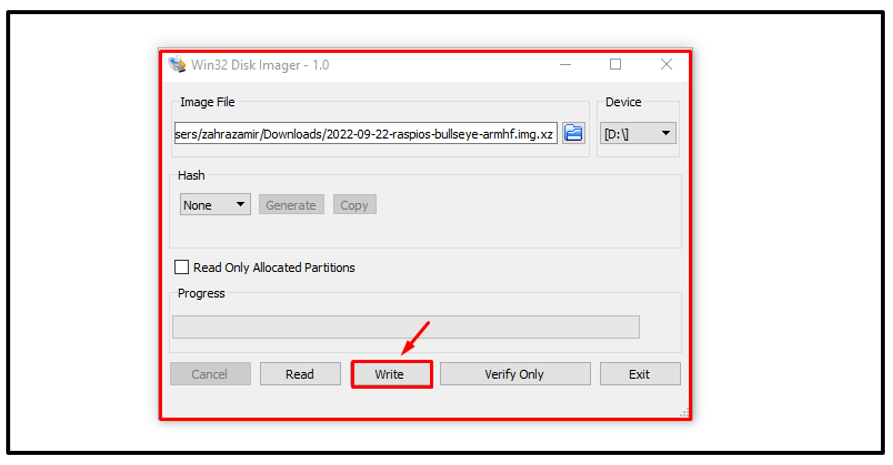
Step 5: Then click on the “Write” option to write the image onto SD card:
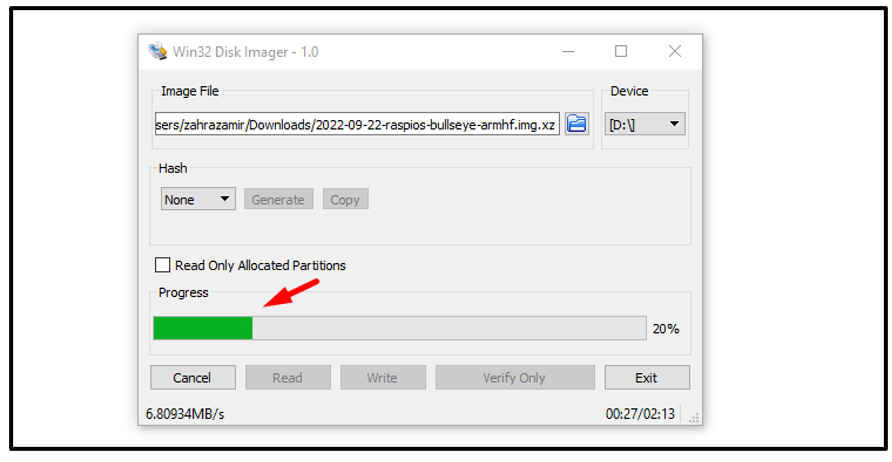
The writing process will start and it might take some time, the progress can be seen through the highlighted progress bar:
Step 6: Once the image writing process is finished, a prompt message will appear on the screen. Hit the “Ok” button here to complete the process.
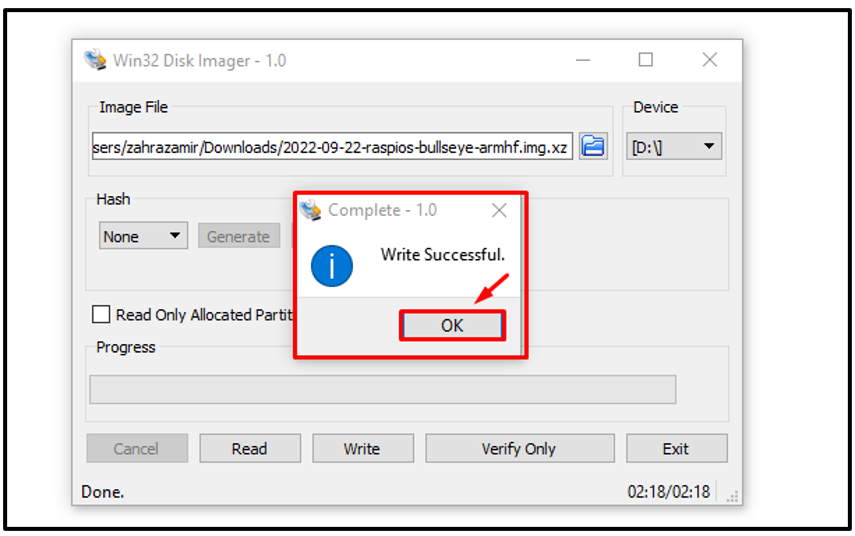
And that’s it the OS has been successfully written on the SD card. Now take out the SD card from the card reader and put it into Raspberry Pi and the OS is ready to be used on Raspberry Pi.
Conclusion
Three methods are presented in the article to install any OS on Raspberry Pi. The Raspberry Pi imager is the most used tool to install different Operating systems on Raspberry Pi without downloading the image as the Raspberry Pi Imager itself contains images of most of the Raspberry Pi-supported OSes. The other methods are using balenaEtcher and Win32 Disk Imager and for both these methods, it is necessary to download the image of the OS first and then install OS by following the simple steps mentioned in the above guidelines.
Source: linuxhint.com