How to Install and Use the Screen Command on Fedora Linux
Prerequisites:
To perform the steps that are demonstrated in this guide, you need the following components:
- A properly-configured Fedora Linux system. If you don’t have one, you can easily configure a Fedora Linux VM using VirtualBox.
- Access to a non-root user with sudo privilege. Learn more about managing the sudo permission using sudoers.
The Screen Command on Fedora Linux
In Fedora Linux (and most other Linux systems for that matter), whenever using the terminal, you’re only allowed to run one command/script at a time. The console does not accept any new command unless the current command/script finishes its execution.
However, there are numerous situations where you want to execute multiple commands in parallel. This is where the “screen” command comes in. It’s basically a terminal multiplexer. It can launch the terminal windows within the current terminal, each sub-terminals offering full-fledge functionalities. In addition, the screen can also run a command/script in the background.
The “screen” command comes with a lot of interesting features. For example:
- Detaching a process from the current shell session
- Remote access
- Sharing screen sessions over SSH
Installing Screen on Fedora Linux
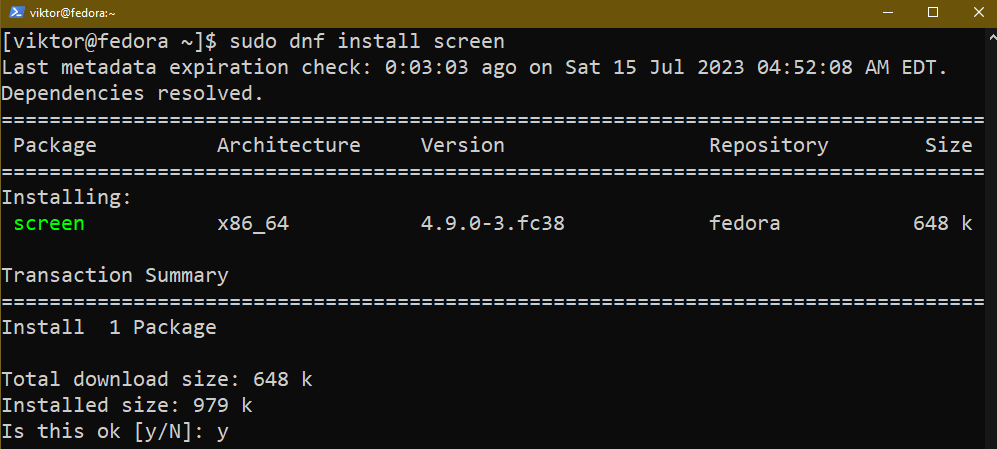
The “screen” command isn’t part of the built-in tools that Fedora Linux comes with. However, it’s directly available from the default package repos.
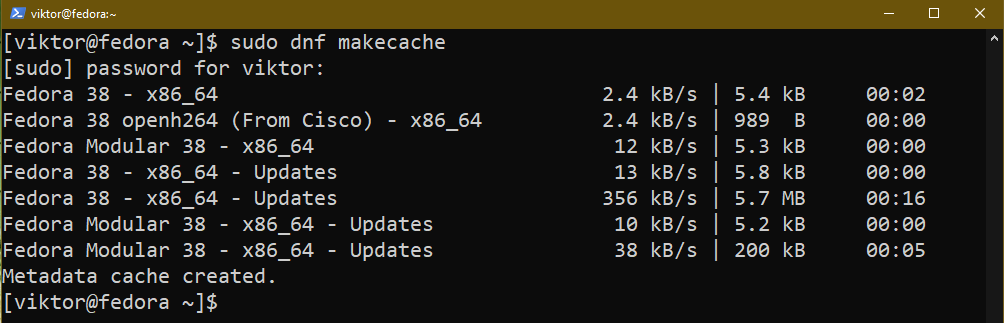
First, update the package info cache:
Next, tell DNF to install the package screen:
Using Screen Deep Dive
Keyboard Shortcuts
There are some keyboard shortcuts available that can dramatically transform the user experience. Here are a handful of keyboard shortcuts to keep in mind:
- Detach the current session: Ctrl + A, d
- Kill the current “screen” session: Ctrl + A, k
- Go to the next screen: Ctrl + A, n
- Go to the previous screen: Ctrl + A, p
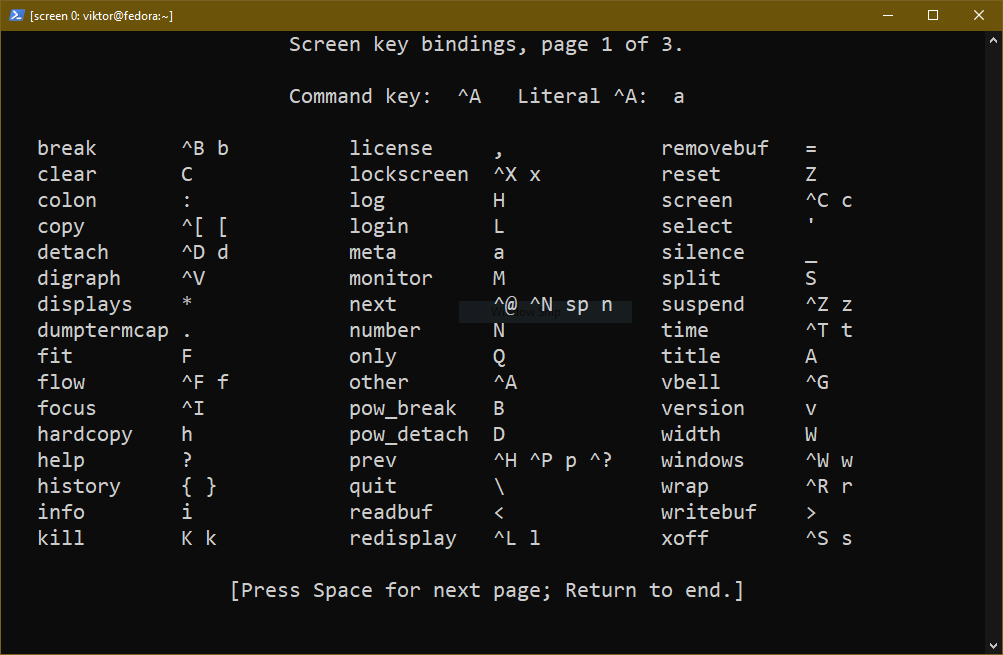
- Show all keyboard shortcuts: Ctrl + A, ?
Here, you press “Ctrl + a” first, then the other key. Note that the keyboard shortcuts are case-sensitive.
Starting a Screen Session
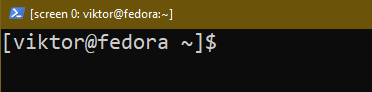
To launch a screen session, use the following command:
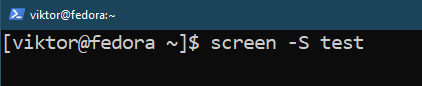
Alternatively, we can launch the session with a name:

You will land within a virtual terminal. All the commands and keyboard shortcuts can be viewed by pressing “Ctrl + A, ?”.
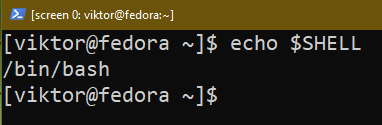
The terminal uses the default shell app:
Within this virtual terminal, you can now run any command.
Multiple Terminals
This is one of the most powerful features of the “screen” command: creating multiple virtual terminals. We can move between them using the keyboard shortcuts.
Let’s say we keep an eye on the system resources on the first screen using “htop”:

Now, create a new screen by pressing “Ctrl + a, Ctrl + c”:

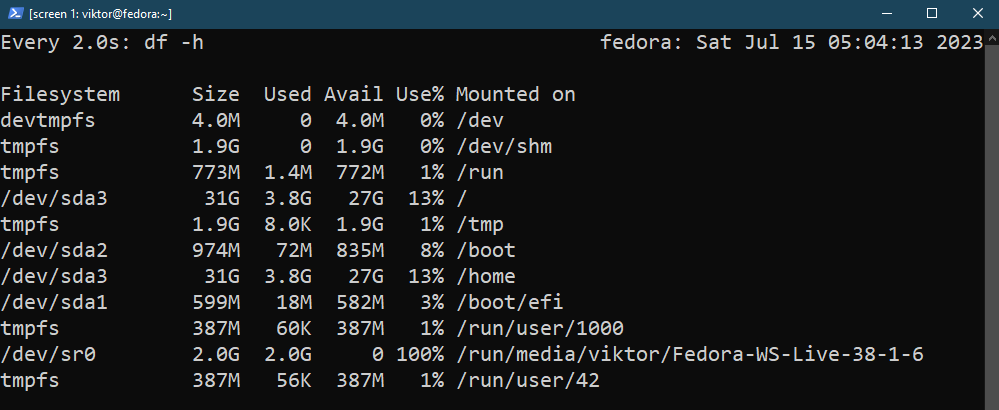
Let’s say we’re going to keep an eye on the disk space usage:
To go to the previous screen, press “Ctrl + a, p”:

To go to the next screen, press “Ctrl + a, n”:

Splitting the Terminals
In the previous method, we created the completely new screens for different tasks. However, if the number of sessions increase, keeping track of them becomes difficult. Moreover, you may want to keep an eye on all the things on the same screen.
This is where terminal splitting comes in. The “screen” command allows both the horizontal and vertical splitting of a virtual terminal. To create a horizontal split, press “Ctrl + A, |”:

To create a vertical split, press “Ctrl + a, S”:
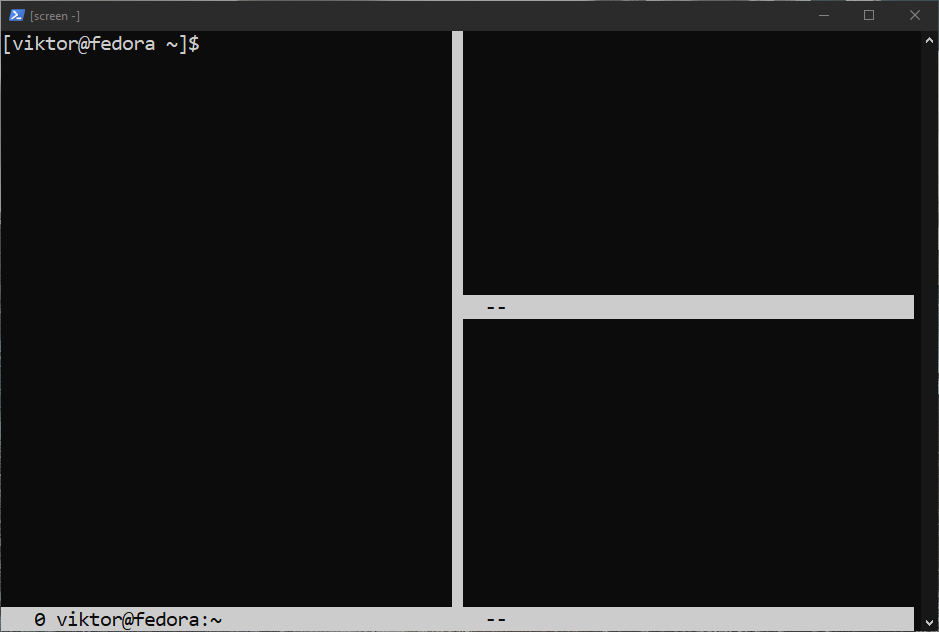
To switch to a different split, press “Ctrl + a, Tab”. Once you switch, you have to create a new screen instance using “Ctrl + a, Ctrl + c”:

Interestingly, from a split terminal, you can also scroll through all the previous screens.
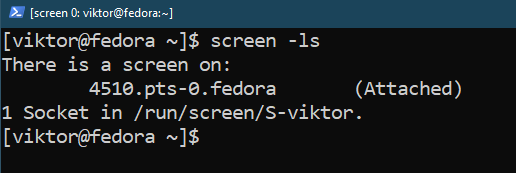
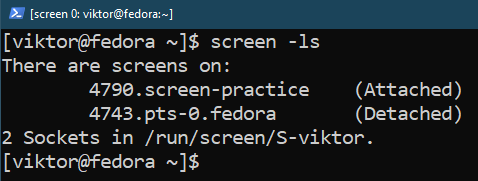
Listing All the Sessions
The following command lists all the running screen sessions:
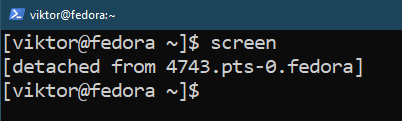
Detaching a Process
If you close any terminal, all the child processes are terminated as well. This is also true for the virtual terminals that we are creating using “screen”. However, screen supports detaching the running command/process from the virtual terminal.
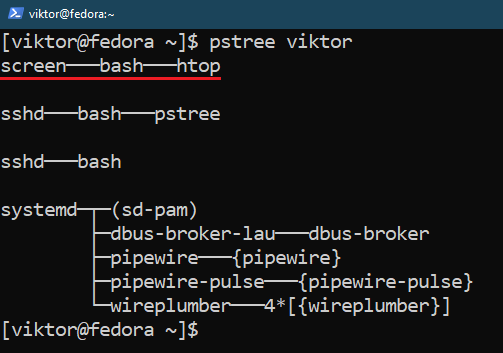
First, check the process tree to determine the attached processes under the current terminal:

To detach a running command/process from the virtual terminal, press “Ctrl + A, d”:
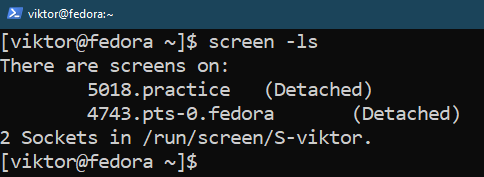
We can check the list of running processes to determine if it detached successfully:
Reattaching a Process
Any process that is detached from a screen session can be reattached. It can be useful to take a look at a running background process for debugging.
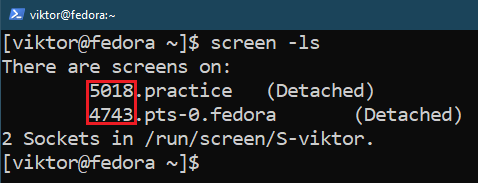
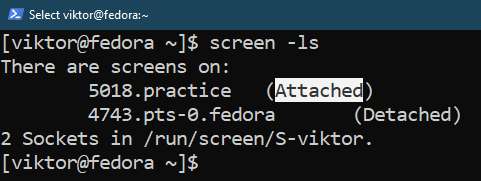
First, check the list of screen instances:
There are a couple of ways to reattach a process. We can do it using the session name. The command structure is as follows:


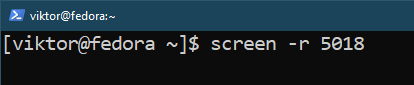
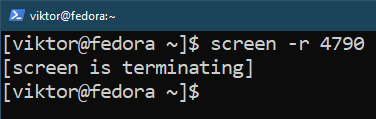
If a session wasn’t given a name, you have to use its PID to reattach to it:
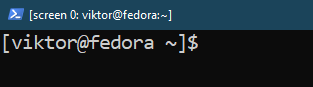
After you determine the PID, reattach the process using the following command:
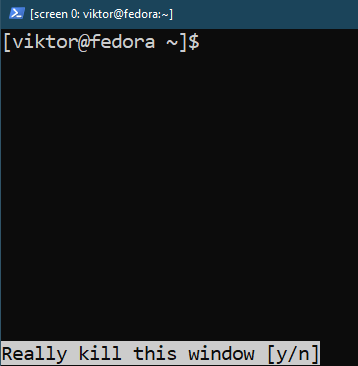
Closing the Screen Sessions
If a screen session is no longer needed, it’s recommended to close it to reduce complexity.
First, check the list of running sessions:
To kill a session, attach to the session and use the “Ctrl + a, k” keyboard shortcut:
There should be a session termination message:
Conclusion
We demonstrated how to install the “screen” command on Fedora Linux. The “screen” command is a powerful tool to launch the terminals within terminals. We also showcased the various ways of using the “screen” command: creating new sessions, terminating unnecessary sessions, detaching and reattaching the processes, etc.
Happy computing!
Source: linuxhint.com