How to Install and Use the Deepin Screen Recorder
Deepin is a reliable screen recorder. You can use it to capture screenshots and even record your screen. However, only the video gets recorded when recording the screen and not the audio. Still, the screen recorder is easy to use and offers some basic yet helpful editing.
Using it to capture a screenshot has great features that help modify how the captured image should look. Before saving the screenshot, you can add texts and other shapes to the image. If you are looking for a good screen recorder, this guide covers on how to install and use the Deepin screen recorder.
Installing the Deepin Screen Recorder in Ubuntu
The Deepin screen recorder is available for download in Ubuntu. You can easily install it using the apt or apt-get commands.
-
Installing the Deepin Screen Recorder Via Apt
Run the following commands for a quick installation of the Deepin screen recorder.
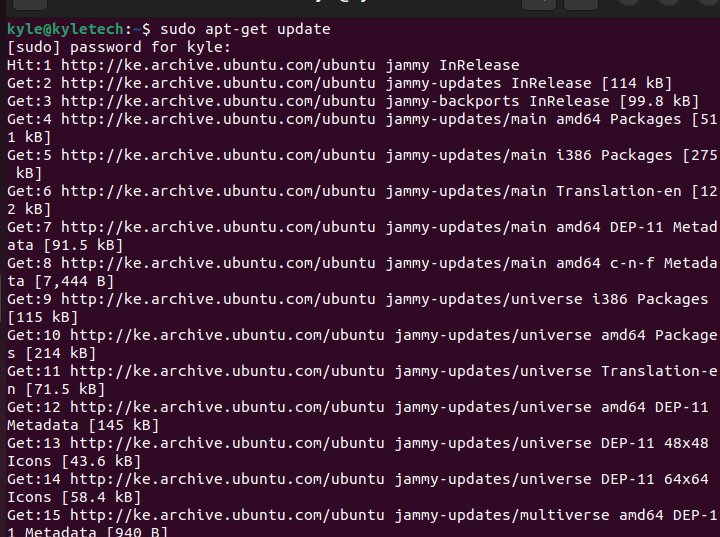
Start by updating your sources file.
or
$ sudo apt update
 With the apt database updated, you can install the Deepin screen recorder using any of the following commands:
or
$ sudo apt install -y deepin-screen-recorder

Let the installation proceed to completion. Once completed, open your applications and confirm that Deepin is installed.
If you ever need to uninstall the Deepin screen recorder and all its dependencies, run the following command:
-
Installing the Deepin Via Ubuntu Software
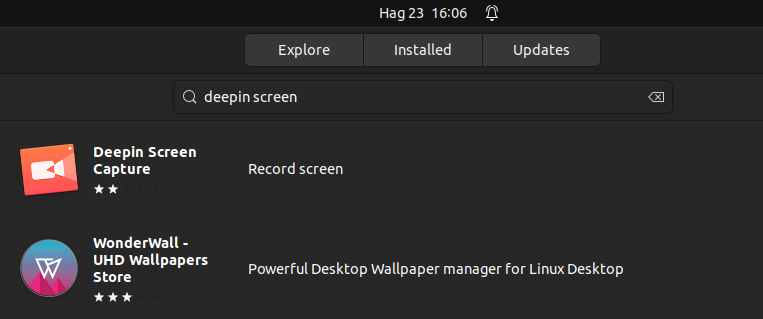
Deepin is available in the Ubuntu store and offers a graphical alternative to install it for those who don’t enjoy using the command line. For this method, start by opening the Ubuntu software on your system. Once opened, click the explore option at the top and type “Deepin screen recorder”. Note that the tool appears on the search results.
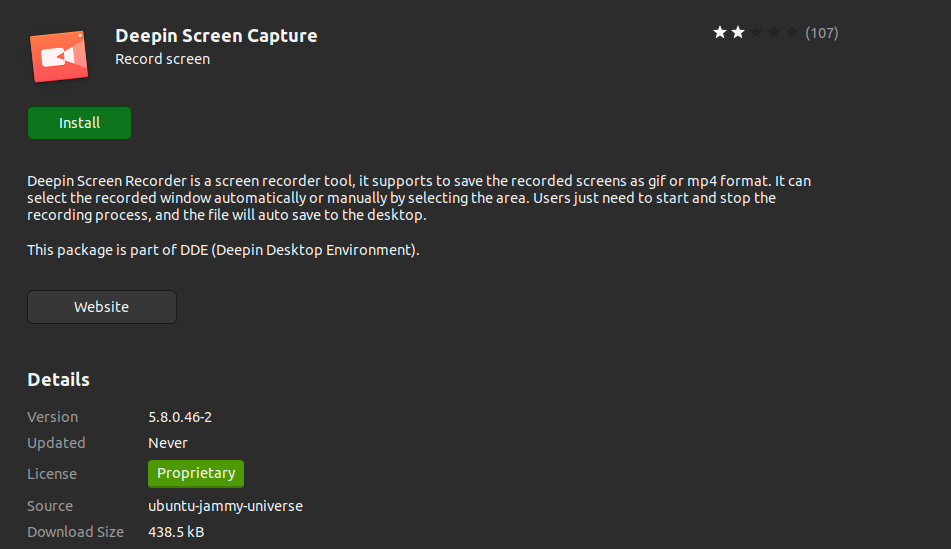
 Click on it. Press the install button below it and enter your password to authenticate the action. Deepin will then download and install on your system.
You can confirm the installation by checking for it from your applications.

How to Use the Deepin Screen Recorder
The best thing with Deepin is that you can use it to record your screen and capture screenshots.
To record a video, open the Deepin application and choose whether you want to save the recorded video as a GIF or as an mp4 file.
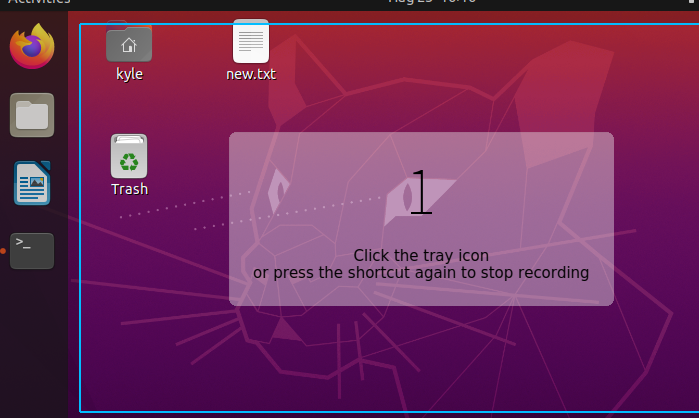
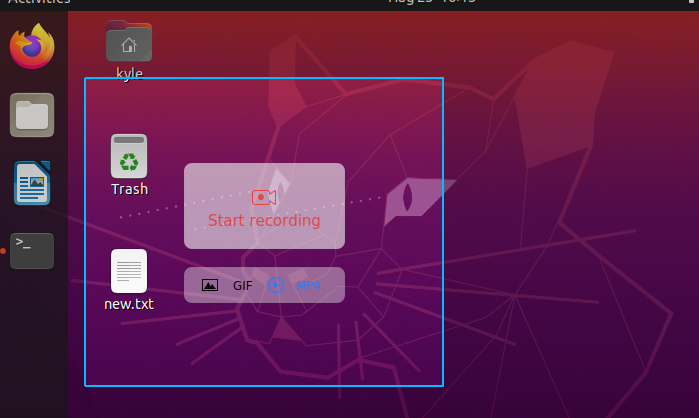 Select the section of your screen that you wish to record. Once you are ready, click the record button. A countdown timer of three seconds will initiate, and your recording will start.
 Your video is saved. You can play it to view the recorded screen.
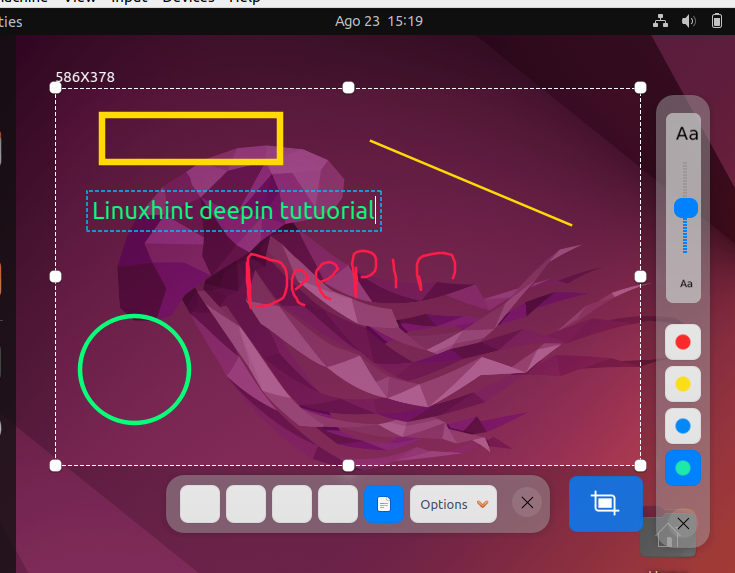
 If you want to capture your screen as a screenshot, open the Deepin tool and select the area that you want to capture. Place your cursor above the options provided by the Deepin screen recorder to see the various features that you can use.
For instance, the following image utilized all the editing options including a change of color:
 Once your screen capture is perfected, click the blue icon on the right to save the screenshot to your /Pictures.
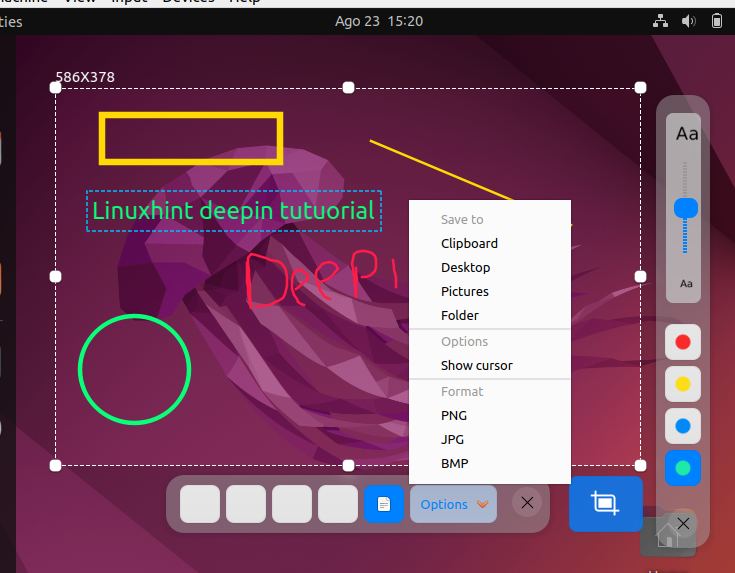 You can navigate the other options including choosing the picture format that you want the captured image to get saved with. Also, feel free to set the color to your preference and change the font size of your text using the various options provided with the screen recorder.
Conclusion
There are times that you must record your screen either to capture a video of your activities or a screenshot for reference. Ubuntu has the default screenshot feature but doesn’t offer the much-needed features such as highlighting the various sections. In that case, you need an advanced screen recorder such as Deepin screen recorder. This guide covered the steps to install and use the Deepin screen recorder.
Source: linuxhint.com