How to Install and Use SQLite in Fedora Linux
This guide demonstrates how to install and use SQLite in Fedora Linux.
Prerequisites:
To perform the steps that are demonstrated in this guide, you need the following components:
-
- A properly-configured Fedora Linux system. Check out how to install Fedora Linux on VirtualBox.
- Access to a non-root user with sudo privilege.
SQLite on Fedora Linux
SQLite is an open-source C library that implements a lightweight, high-performance, self-contained, and reliable SQL database engine. It supports all the modern SQL features. Each database is a single file that’s stable, cross-platform, and backward compatible.
For the most part, various apps use the SQLite library to manage the databases rather than using the other heavyweight options like MySQL, PostgreSQL, and such.
Besides the code library, there are also SQLite binaries that are available for all the major platforms including Fedora Linux. It’s a command-line tool that we can use to create and manage the SQLite databases.
At the time of writing, SQLite 3 is the latest major release.
Installing SQLite on Fedora Linux
SQLite is available from the official package repos of Fedora Linux. Besides the official SQLite package, you can also obtain the prebuilt SQLite binaries from the official SQLite download page.
Installing from the Official Repo
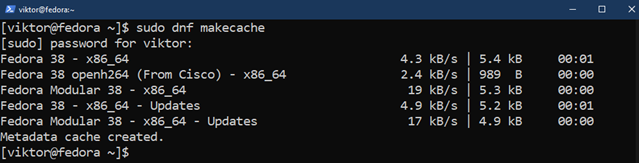
First, update the package database of DNF:
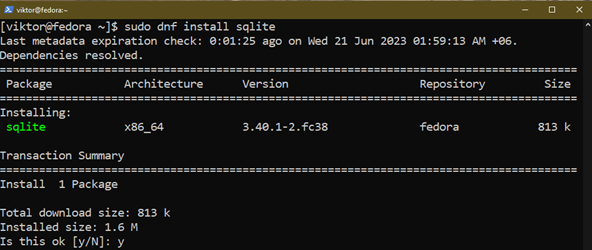
Now, install SQLite using the following command:
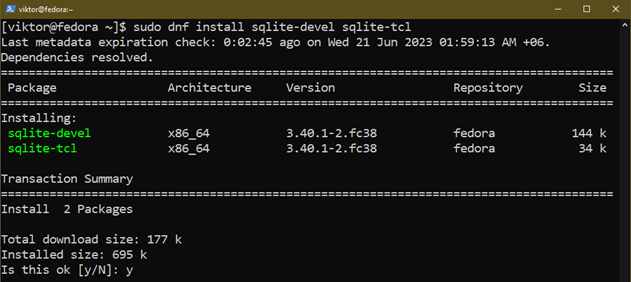
To use SQLite with various programming languages, you also have to install the following additional packages:
Installing from Binaries
We download and configure the SQLite prebuilt binaries from the official website. Note that for better system integration, we also have to tinker with the PATH variable to include the SQLite binaries.
First, download the SQLite prebuilt binaries:

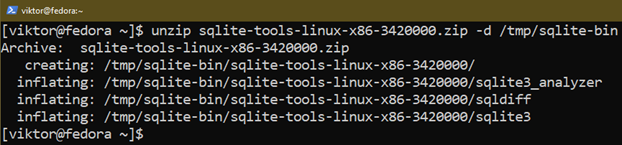
Extract the archive to a suitable location:
For demonstration purposes, we extract the archive to /tmp/sqlite-bin. The directory is cleaned next time the system restarts, so choose a different location if you want a persistent access.
Next, we add it to the PATH variable:

The command temporarily updates the value of the PATH environment variable. If you want to make permanent changes, check out this guide on adding a directory to the $PATH in Linux.
We can verify if the process is successful:

Installing from the Source
We can also download and compile SQLite from the source code. It requires a suitable C/C++ compiler and some additional packages. For general users, this method should be ignored.
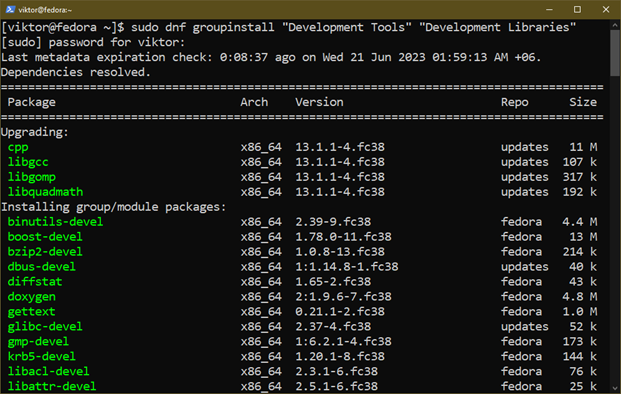
First, install the necessary components:
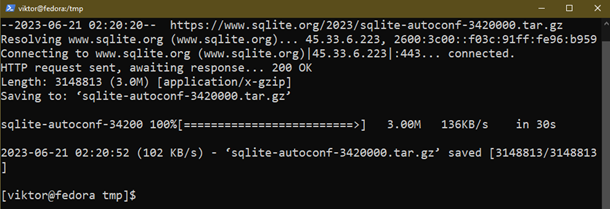
Now, download the SQLite source code that contains a configure script:
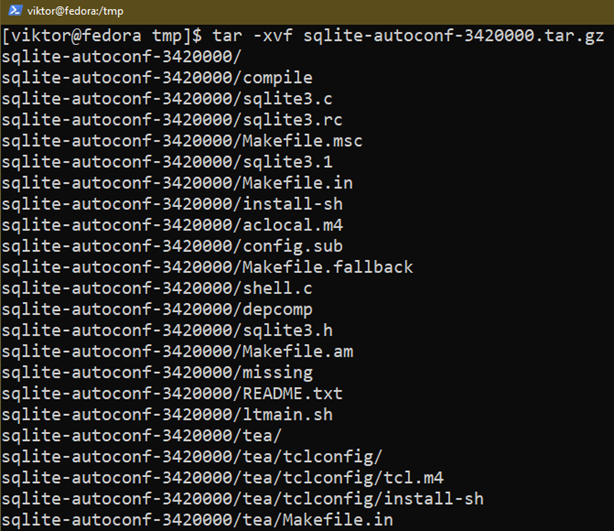
Extract the archive:
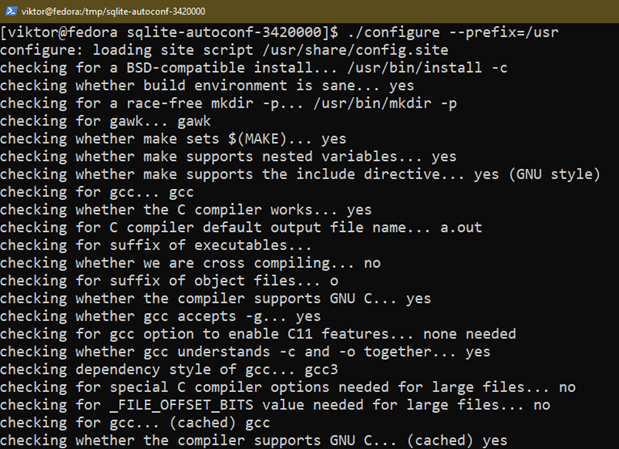
Run the configure script from within the new directory:
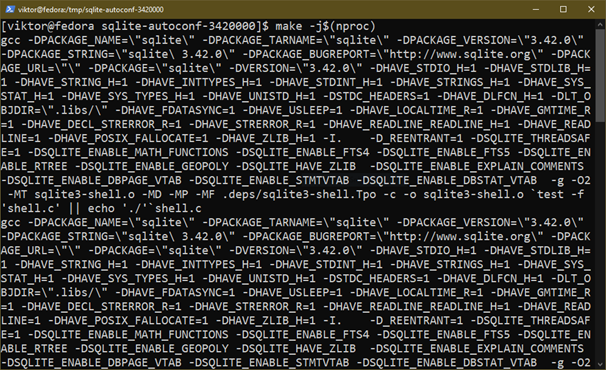
Next, compile the source code using “make”:
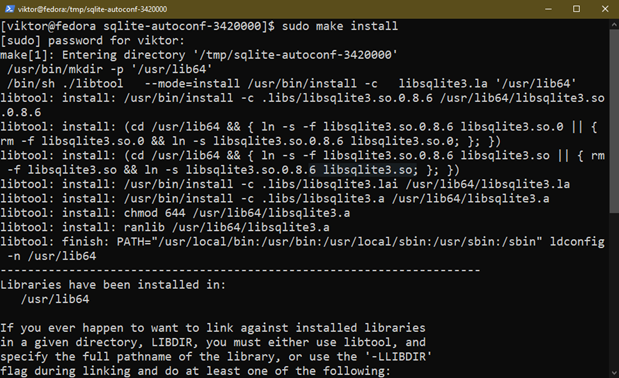
Once the compilation is finished, we can install it using the following command:
If the installation is successful, SQLite should be accessible from the console:

Using SQLite
Unlike other database engines like MySQL or PostgreSQL, SQLite doesn’t require any additional configuration. Once installed, it’s ready to be used. This section demonstrates some common usages of SQLite.
These procedures can also serve as a way to verify the SQLite installation.
Creating a New Database
Any SQLite database is a standalone DB file. Generally, the file name serves as the name of the database.
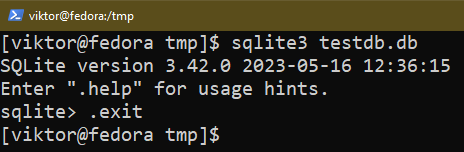
To create a new database, run the following command:
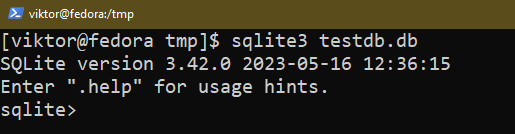
If you already have a database file with the specified name, SQLite opens the database instead. Then, SQLite launches an interactive shell where you can run the various commands and queries to interact with the database.
Creating a Table
SQLite is a relational database engine that stores the data in the tables. Each column is given with a label and each row contains the data points.
The following SQL query creates a table named “test”:
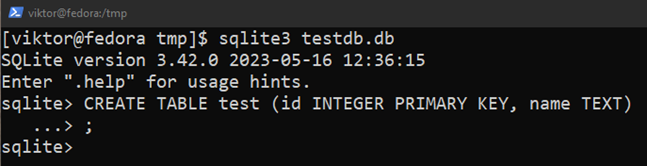
Here:
-
- The table test contains two columns: “id” and “name”.
- The “id” column stores the integer values. It’s also the primary key.
- The “name” column stores the strings.
The primary key is important to relate the data to other tables/databases. There can be only one primary key per table.
Inserting the Data into the Table
To insert value in the table, use the following query:
$ INSERT INTO test (id, name) VALUES (10, 'the quick BROWN fox');

To view the result, run the following query:

Updating the Existing Row
To update the content of an existing row, use the following query:
For example, the following query updates the content of row 2 of the “test” table:
![]()
Check the updated result:
Deleting the Existing Row
Similar to updating the row values, we can delete an existing row from a table using the DELETE statement:
For example, the following query removes “1” from the “test” table:
![]()
Listing the Tables
The following query prints all the tables in the current database:
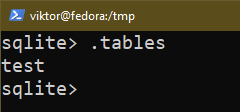
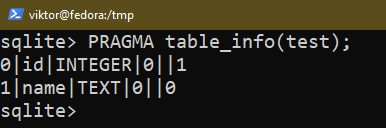
Table Structure
There are a couple of ways to check the structure of an existing table. Use any of the following queries:

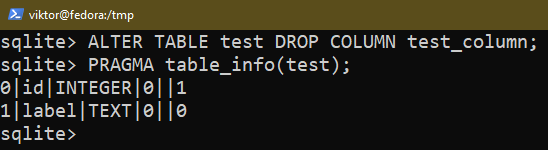
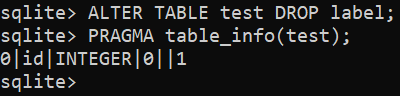
Altering the Columns in Table
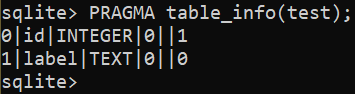
Using the ALTER TABLE command, we can change the columns of a table in SQLite. It can be used to add, remove, and rename the columns.
The following query renames the column name to “label”:

To add a new column to a table, use the following query:

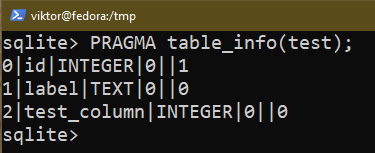
To remove an existing column, use the following query:
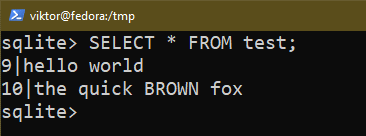
Data Query
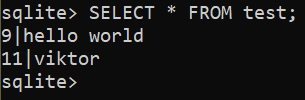
Using the SELECT statement, we can query the data from a database.
The following command lists all the entries from a table:
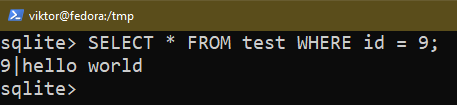
If you want to apply certain conditions, use the WHERE command:
Exiting the SQLite Shell
To exit the SQLite shell, use the following command:
Conclusion
In this guide, we demonstrated the various ways of installing SQLite on Fedora Linux. We also demonstrated some common usage of SQLite: creating a database, managing the tables and rows, querying the data, etc.
Interested in learning more about SQLite? Check out the SQLite sub-category that contains hundreds of guides on various aspects of SQLite.
Happy computing!
Source: linuxhint.com