How to Install and Use Ngrok
“This tutorial explains how to use Ngrok to make local resources public. For example, to make a local website from the localhost accessible from the internet.
After reading this tutorial, you will be able to make websites and applications hosted on the local computer (Local Host or 127.0.0.1) public. Except for the installation methods, which only cover Debian and RedHat based Linux distributions, usage instructions are valid for every distribution.
All instructions included in this tutorial contain screenshots, making it easy for every Linux user to understand and follow them.”
Note: For users who want to try Ngrok with a local web server, the last section of this tutorial explains how to set up and run a web server in two simple steps.
How Ngrok Works
Ngrok is a service that allows you to make public, or share, local resources like a website on the internet. To achieve this, Ngrok generates an URL with a dynamic subdomain. For example, if your website is locally accessible through the address http://127.0.0.1:8080 or http://localhost:8080, Ngrok will generate an URL like https://YourWebsite.ngrok.io pointing to your local address (http://localhost:8080 or http://127.0.0.1:8080).
Another common use users give to Ngrok is sharing external access to the ssh service. Even security specialists can test clone phishing techniques.
The best part of this useful service is that the user only needs to execute a command for Ngrok to make its function.
Installing Ngrok
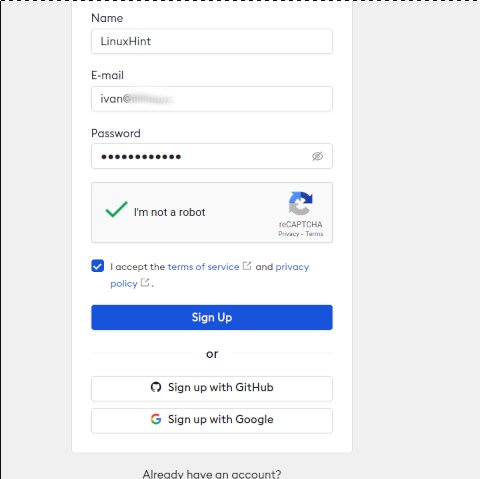
Before installing Ngrok, you need to register an account at https://dashboard.ngrok.com/signup
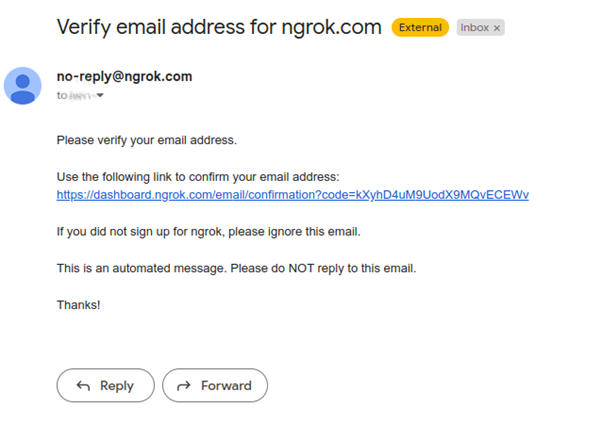
After registering your account, confirm it by pressing the confirmation link sent to your email address.
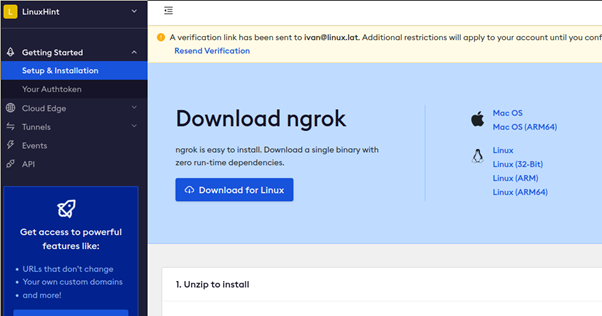
There are two methods to install Ngrok. You can use the snap packages manager (Explained later below), or you can download the compressed binary from the dashboard.
If you decide to download the Ngrok binary from the dashboard, once downloaded, extract it by executing the command below. If necessary, change the name according to the file you got.

If you want to install Ngrok using snap, execute the command shown below.

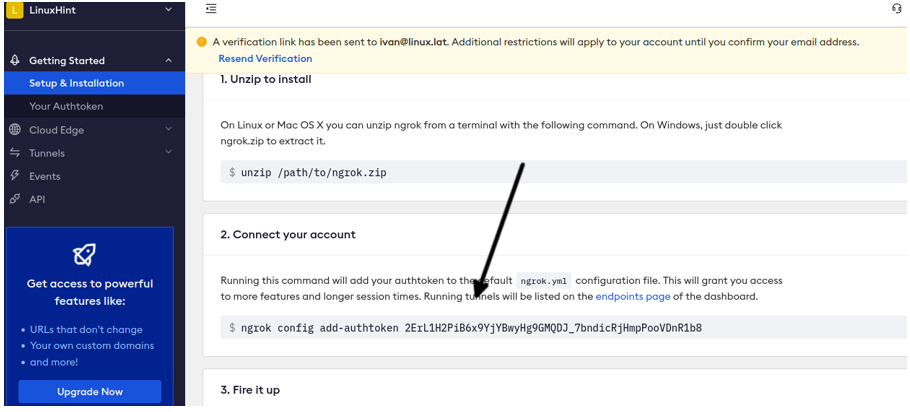
Once Ngrok is installed or the binary in your computer, scroll down the Dashboard and find the section “Connect your account,” which includes a command with an authentication token. Copy it.
If you downloaded the Ngrok binary, run the following command.

If Ngrok was installed with a snap, run:
Now Ngrok is ready to be used.
How to Use Ngrok
The first example of this Ngrok tutorial explains how to make public a local website (Hosted in local Apache2). To follow this example, you must have a web server installed on your system. In case you want to try this specific feature and don’t have a web server, the last section of this article contains instructions to install and start it in 2 simple steps.
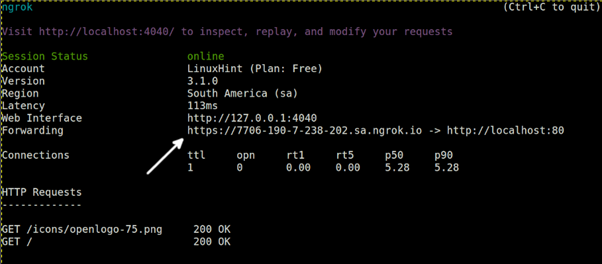
With a web server running on your system, run the command shown in the following screenshot.

The output will show a remote URL through which you can access the local website. Copy the URL in the Forwarding line.
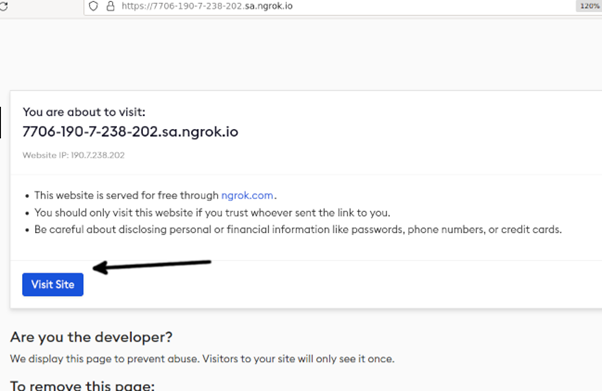
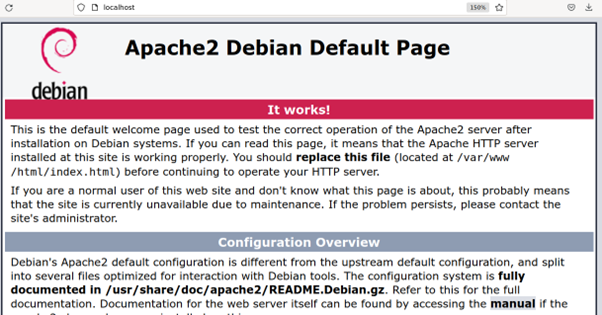
Paste the previously copied URL into your web browser. When accessing the provided address, you will receive a warning message, just press the Visit Site button to access your site.
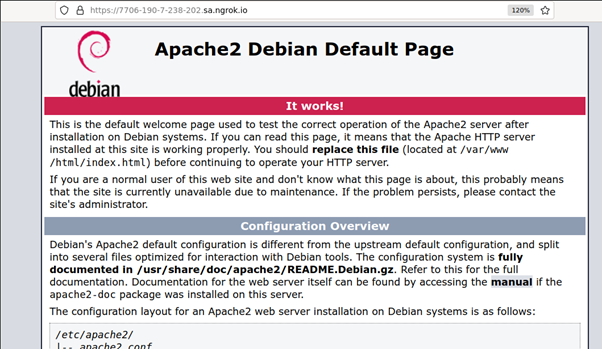
As you can see, I accessed my local web server.
To quit Ngrok, press Ctrl+C.
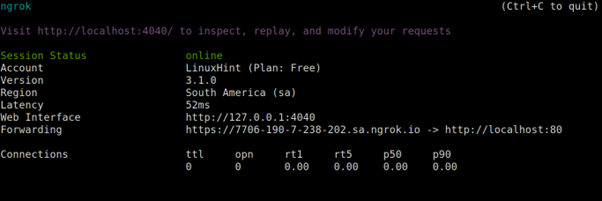
Now, let’s make our computer remotely accessible through ssh by running the following command for users who downloaded the binary.
Users who installed Ngrok from span should run Ngrok as shown below.
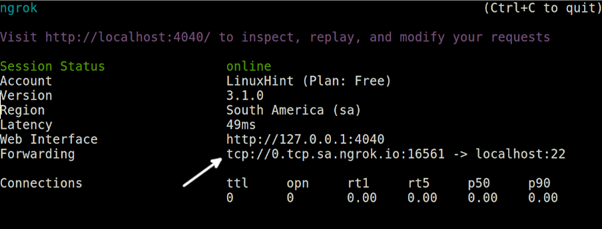
In the screenshot above, the Forwarding line includes an address starting with tcp://.
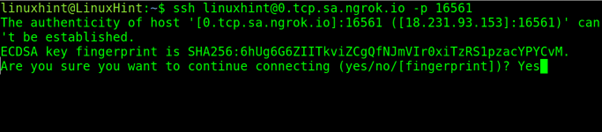
The syntax to connect is the following:
As you can see above, tcp:// must not be included, and the port must be specified with the -p option.
That’s how to make your local ssh public.
Instructions for a Fast Web Server Installation
To install a web server, in this case, Apache2, on Debian-based Linux distributions, including Ubuntu, run the following command.

RedHat users can install apache with the command shown below.
Debian users: Once installed, activate it by executing the command shown in the following figure.

RedHat based distros: To start the web server on Red Hat based Linux distributions, run:
Then, access http://localhost, and the default page must show up.
Now you can scroll up to get started with Ngrok.
Ngrok Alternatives
The market offers alternatives to Ngrok you can try. Among them, you can find the following:
- LocalTunnel: This alternative does not support ssh but supports http and https. It also allows you to set up a custom subdomain and does not require registration.
- Teleconsole: This is a good alternative for users looking to share an ssh server. Does not support http and does not require installation.
- Serveo: Teleconsole does not require registration or installation; it can be simply executed.
- Pagekite: Like Ngrok, Pagekite requires registration and supports protocols http, https, ssh, and tcp.
Since all alternatives are extremely easy to implement, it is recommended to try them to find the best which fits your needs.
Conclusion
Ngrok is an excellent tool for software producers, testers, or any user needing to share local resources. It creates inverse connections bypassing all obstacles between nodes. Although this document focused on ssh and http services, Ngronk can expose to the internet many ports or services. Ngrok also offers paid plans for developer and enterprise users with additional features which were not included in this tutorial. We encourage you to try this tool and the alternatives described above.
Thank you for reading this article explaining how to install and use Ngrok in Linux. Keep following us for additional Linux professional content.
Source: linuxhint.com