How to install and use Go Compiler on Raspberry Pi – Step by Step Guide
If you want to get your hands on learning Go programming on your Raspberry Pi device, you should install a Go compiler. This article guides you in installing a Go compiler on your Raspberry Pi device so that you will be able to execute codes written in Go language.
Using Go Compiler on Raspberry Pi
Before writing your first code in Go language, you will first require to install a Go compiler on your Raspberry Pi device. Follow the below mentioned steps to install the latest version of Go compiler on your device:
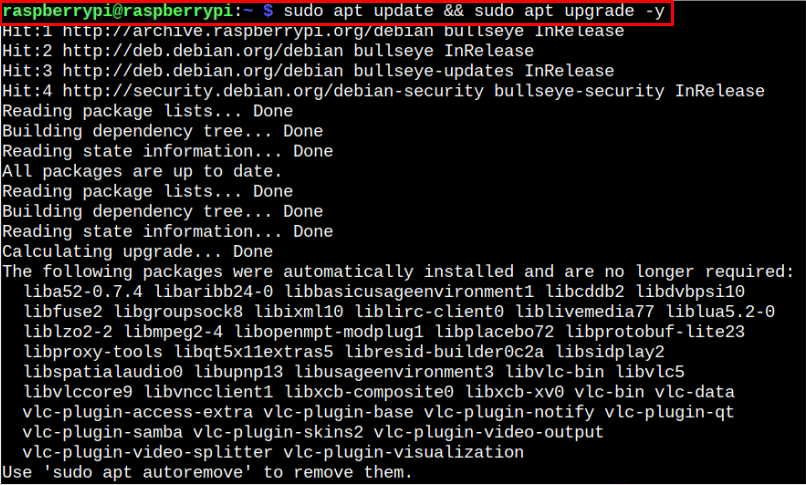
Step 1: Update Packages
Before proceeding towards the installation, update your Raspberry Pi packages by applying the following command:
Step 2: Download Go Compiler Package
After updating the Raspberry Pi packages, apply the following command to install the latest Go compiler package on 64-Bit operating system:
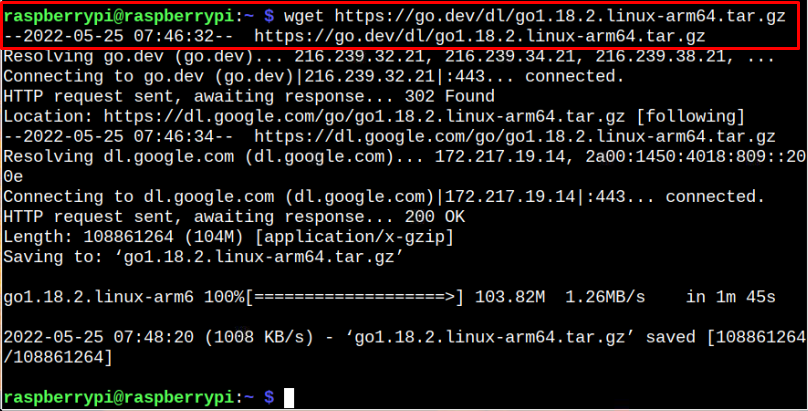
If you are using a 32-Bit operating system, you can download the appropriate version from the website. Make sure to install the latest version of Go compiler on your Raspberry Pi. Right now, the latest version is 18.2.
Step 3: Extract Go Files
After downloading the above tar.gz file, you will need to extract the contents of the file to “/usr/local” through the following command:

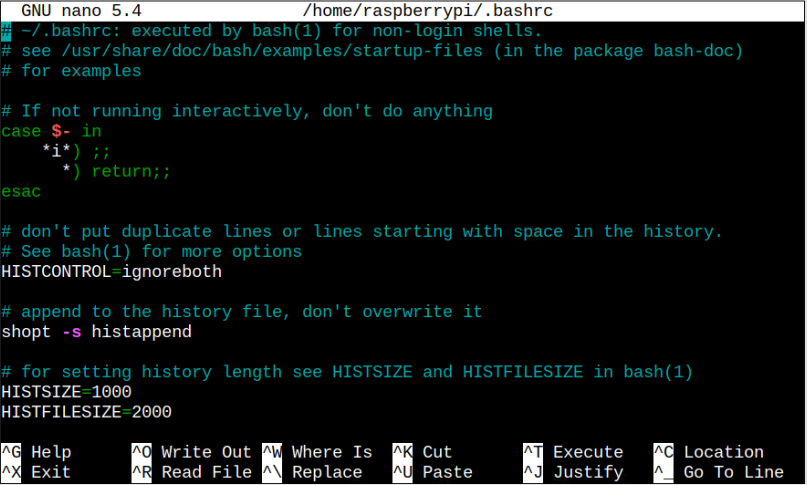
Step 4: Configure Go Directory Path
After extracting the Go contents to the /usr/local, you will also need to tell the command-line that Go directory exists in the current location as this will help locate the Go binary directory. Use the following command to open the bash aliases file:
Then add the following lines to the end of the file to tell the command-line to find the Go binaries at the given location.
export PATH=/usr/local/go/bin:$PATH:$GOPATH/bin
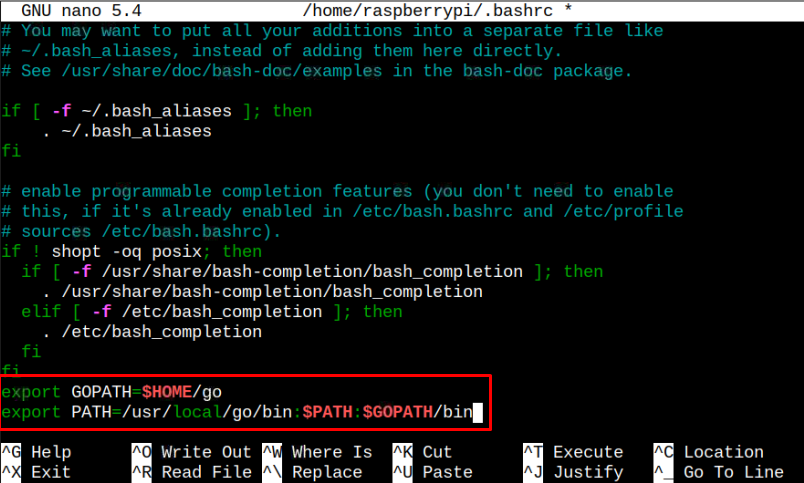
Save the current file using “CTRL+X”, Y and Enter.
Step 5: Load the Changes
Next, load the changes you made in the above file using the command:
![]()
This completes the installation of the Go compiler on your Raspberry Pi device.
Using Go compiler to execute a simple code
Now that the Go compiler is installed on your system, it’s time to execute a simple code to guide you how you can run codes written in Go language. Follow the below-given steps to execute a simple Go program.
Step 1: Write a first script for adding a Go program using the following syntax:
You can pick the script name according to your choice, however don’t forget to add .go after the file name.
Step 2: Now, add the following code inside the file:
import "fmt"
func main() {
fmt.Println("Welcome LinuxHint Users!")
}
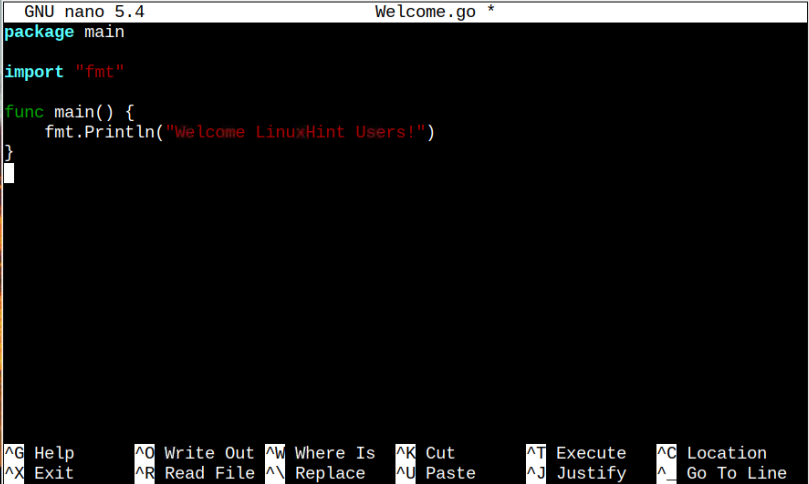
From the above code, the package main is used to improve the code reusability, while the “fmt” package is a standard one used before writing a Go code in compiler. After adding the code, save the file.
Step 3: Now run the above code using the following command:

The above output confirms that Go compiler is running perfectly on your Raspberry Pi device and you are good to write your codes in Go language by following the above steps.
Conclusion
Go language is a robust programming language used by the professionals for game development, server-side management and cloud base programming. It provides simple programming syntax which any one can easily understand. From the above steps, you will be able to install the Go compiler on your Raspberry Pi device and start compiling your codes written in Go languages using the guidelines provided in this article.
Source: linuxhint.com