How to Install and Configure an NFS Server on Linux Mint21
File sharing is one of the major issues Linux users faces, especially transferring files from one system to another though there are some easy ways to transfer a file. Using the NFS tool on Linux Mint is the best way to share files between other systems as long as all the systems are connected to a network. So, if you are interested in sharing files and looking for an easy-to-use tool then try NFS and for that read this guide.
How to Install NFS Server on Linux Mint 21
There are few steps that are mentioned in this guide to install NFS server on Linux Mint 21:
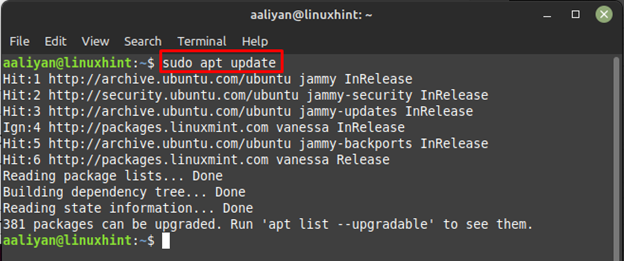
Step 1: Update the package list of the apt package manager as it is a good practice:
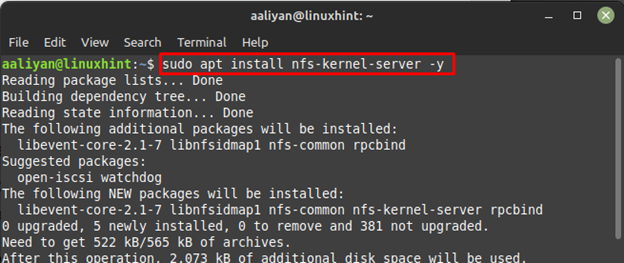
Step 2: Next, install the NFS server on your Linux Mint using the default package manager:
How to Setup and Use NFS Server on Linux Mint 21
Once the server is installed there are few settings that one need to do in order to use this server effectively, below are some steps for configuring the NFS server:
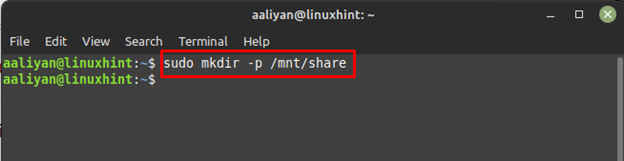
Step 1: Create a directory for NFS that can be named according to the user preference, for instance I have created a directory named share:
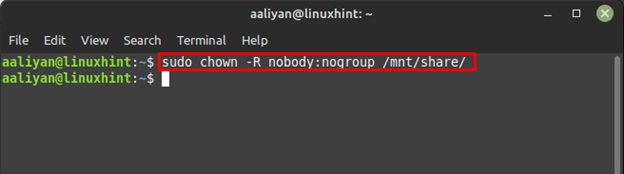
Step 2: Change the ownership of the directory to a group user and for that execute:
Next change the directory permissions and give the permission accordingly by using the chmod command:

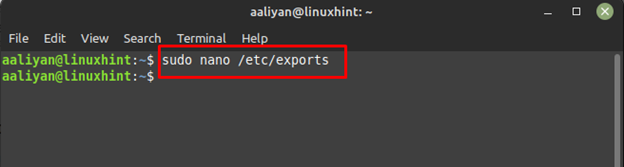
Step 3: Now grant access to the NFS server and for that open the exports file using:
Next enter the IP address of your system to grant access to others, here I have used the below given syntax to give access:
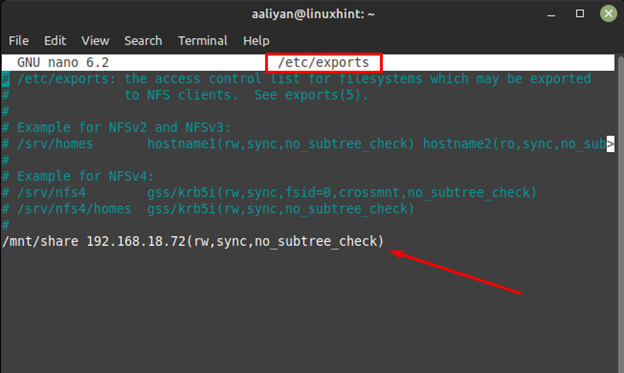
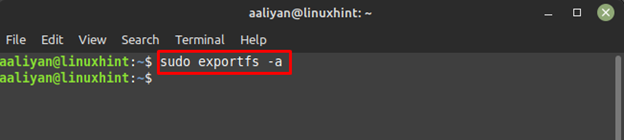
Now save the changes made in file and afterwards export the file by using:
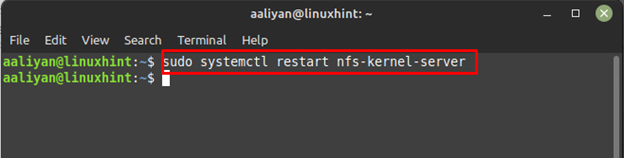
Step 4: Next, to apply the changes restart the NFS server and for that use:
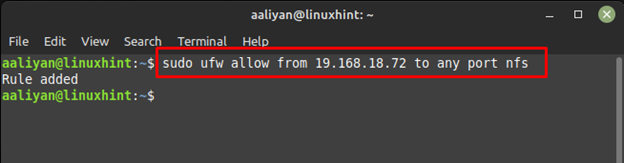
Step 5: Now allow the client system through the firewall of Linux Mint and for that use:
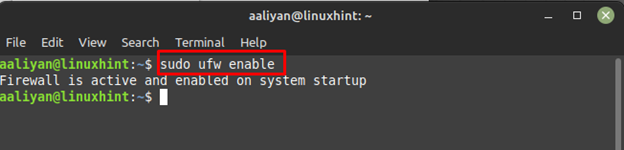
Next enable the firewall of Linux Mint using:
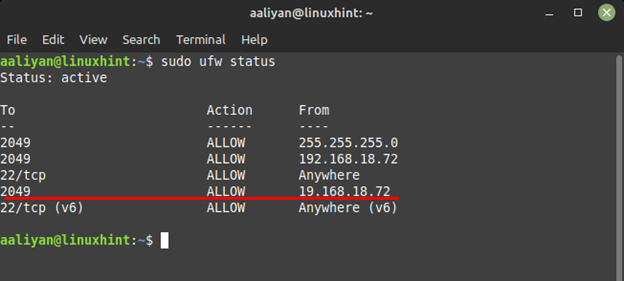
Next check the status if the client IP is allowed through the firewall of Linux Mint and for that execute:
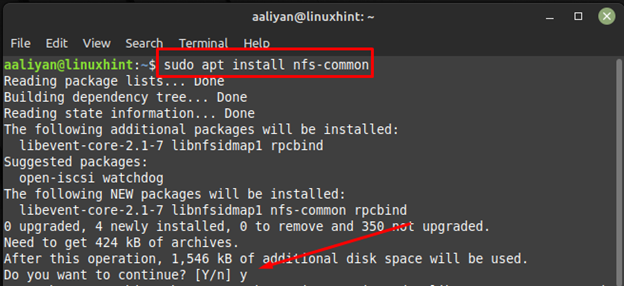
Step 6: Now install NFS client on Linux Mint and for that use:
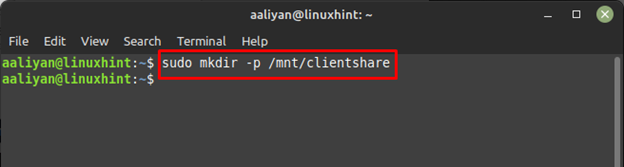
Step 7: Now create a directory for the client and for that use:
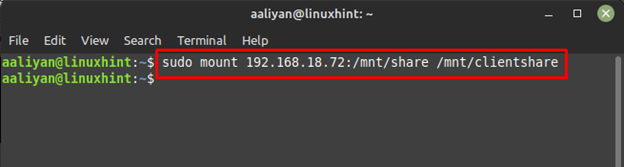
Step 8: Now mount the NFS server with the client directory using the IP address of client by following the given syntax:
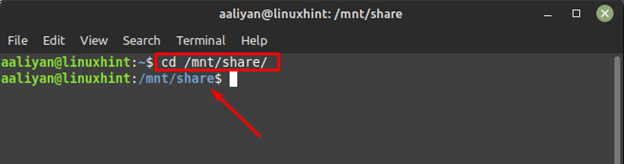
Step 9: Now move to the NFS share directory using change command:
Testing NFS server on Linux Mint 21
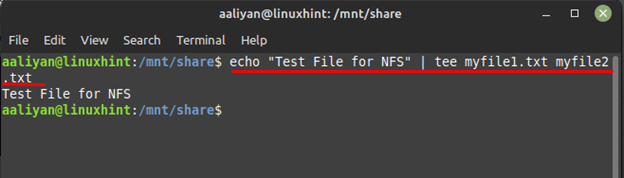
Now all the settings are done so let’s test the NFS and for first create two test files, for that use the echo command with tee command like this:
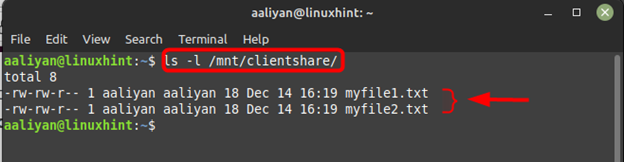
Now check the client directory using ls command and you will find both files in that directory which were created in the NFS server directory:
Removing NFS Server From Linux Mint 21
To completely remove NFS from Linux Mint one needs to remove the NFS kernel server and NFS client, below are steps to remove both NFS server and NFS client:
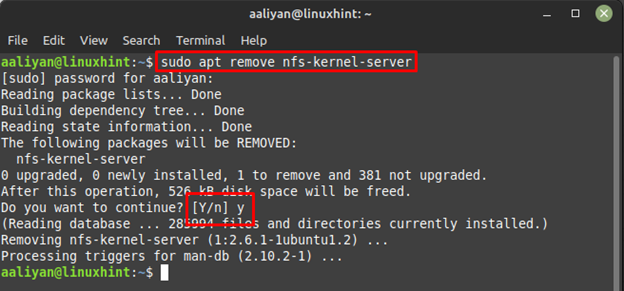
Step 1: To remove NFS server completely from Linux Mint 21 use:
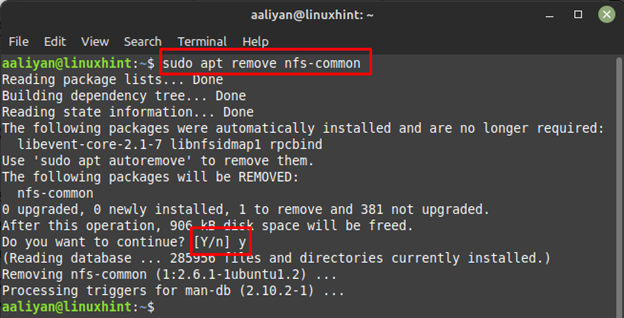
Step 2: Now to remove the NFS client from Linux Mint 21 execute:
Conclusion
The NFS tool on Linux Mint is the best way to share files between other systems as long as all the systems are connected to a network. To use NFS one needs to have an NFS client and server installed on a Linux system, this guide gives a detailed process on not only installing NFS but also using it.
Source: linuxhint.com