How to Install Adminer on Linux Mint 21
Adminer is a database management tool that is far better than PHPMyAdmin as it has a much better UI, more secure in terms of security and gives better performance. PHPMyAdmin has a drawback that it only supports the MySQL database system while Adminer can be used to manage other database management systems as well, like PostgreSQL, SQLite, MongoDB, Oracle and Amazon SimpleDB.
This guide gives the detailed process of installing the Adminer database management tool on Linux Mint.
Prerequisites for installing Adminer on Linux Mint
To successfully install Adminer there are some essential elements that should be installed on Linux Mint and for that go through the subsequent steps:
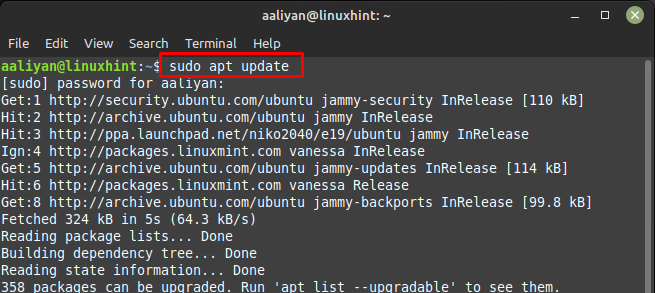
Step 1: Before installing any application on Linux Mint it is recommended to update the packages list:
Step 2: Next, install Apache2 and MariaDB along with the PHP packages on Linux Mint using the default package manager:

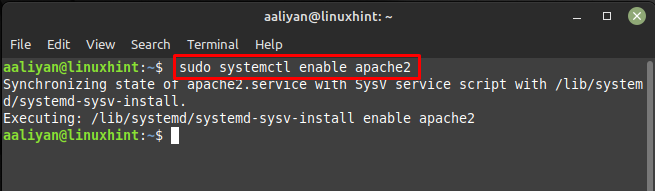
Step 3: Next enable the Apache2 server that we installed in the previous step using:
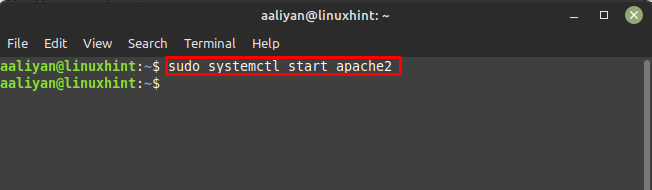
Next, start the server:
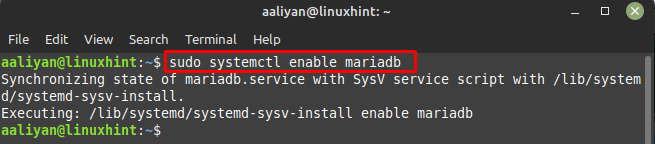
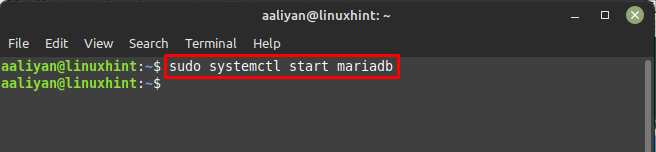
Step 4: Now enable the MariaDB using:
Next, start the MariaDB using:
Step 5: Now setup the MariaDB on Linux Mint using:
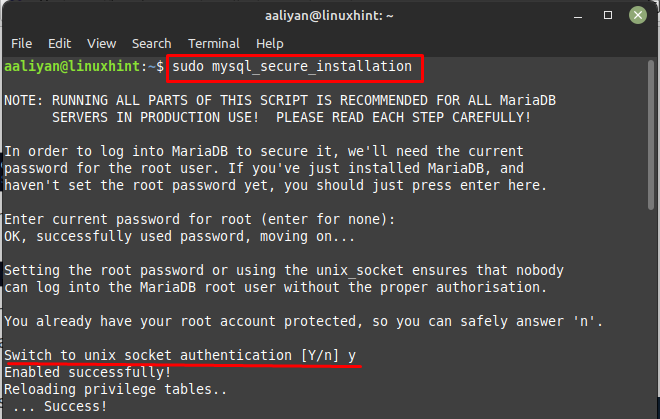
Now allow the socket authentication and after that set the root password if you think the current password is quite easy to guess. Next, allow removal of anonymous users and keep the option of remote login:
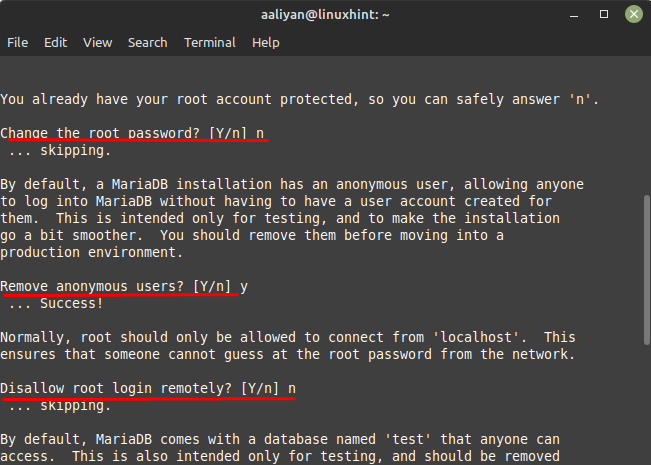
Next disallow the test database removal by typing n:

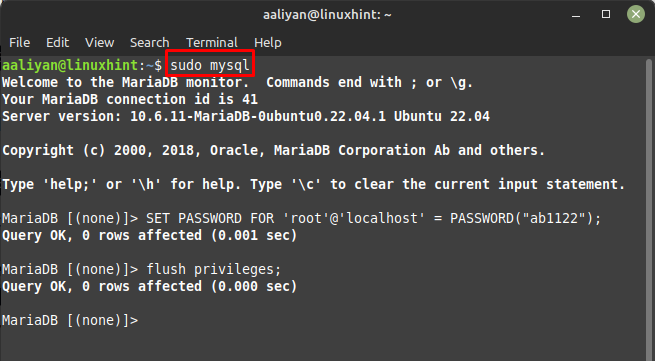
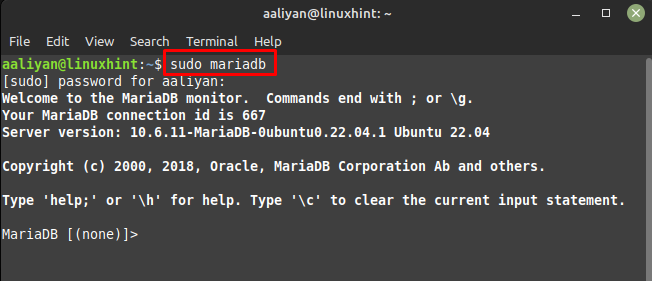
Step 6: Now run the database using:
There is another way to run the database MariaDB using:
Next set the password for the root login for this database management tool using the following syntax:
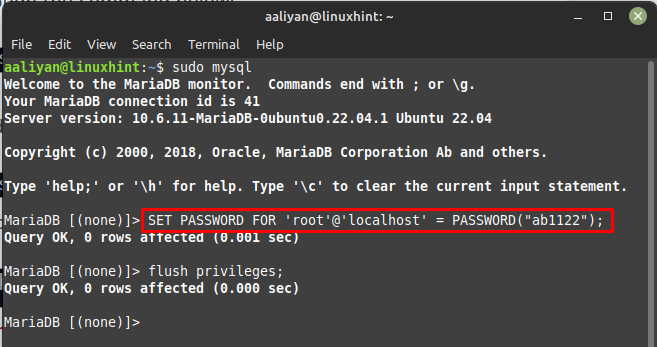
Now to apply the changes use:

Next exit the database using exit command:

Installing Adminer on Linux Mint 21
Once all the Prerequisites for Adminer are installed let’s move to its installation, below are respective steps that one needs to install Adminer in Linux Mint:
Step 1: Now install the Adminer using the apt package manager:

Step 2: Now, configure the Adminer using:
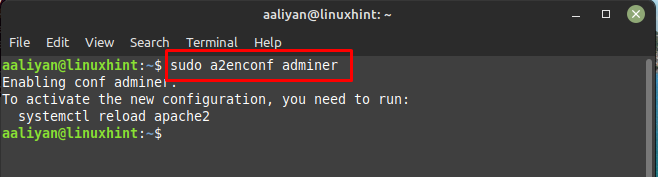
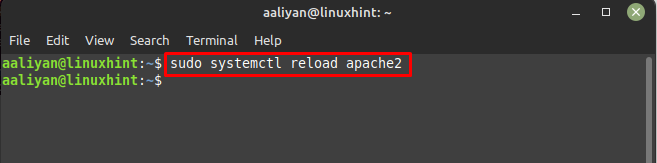
Now reload the Apache server to activate the Adminer new configuration using:
Step 3: Now everything is setup and it’s time to access the Adminer a web-based database management tool by entering IP address of Linux Mint (simply use localhost or 127.0.0.1) system along with Adminer in the address of the browser:
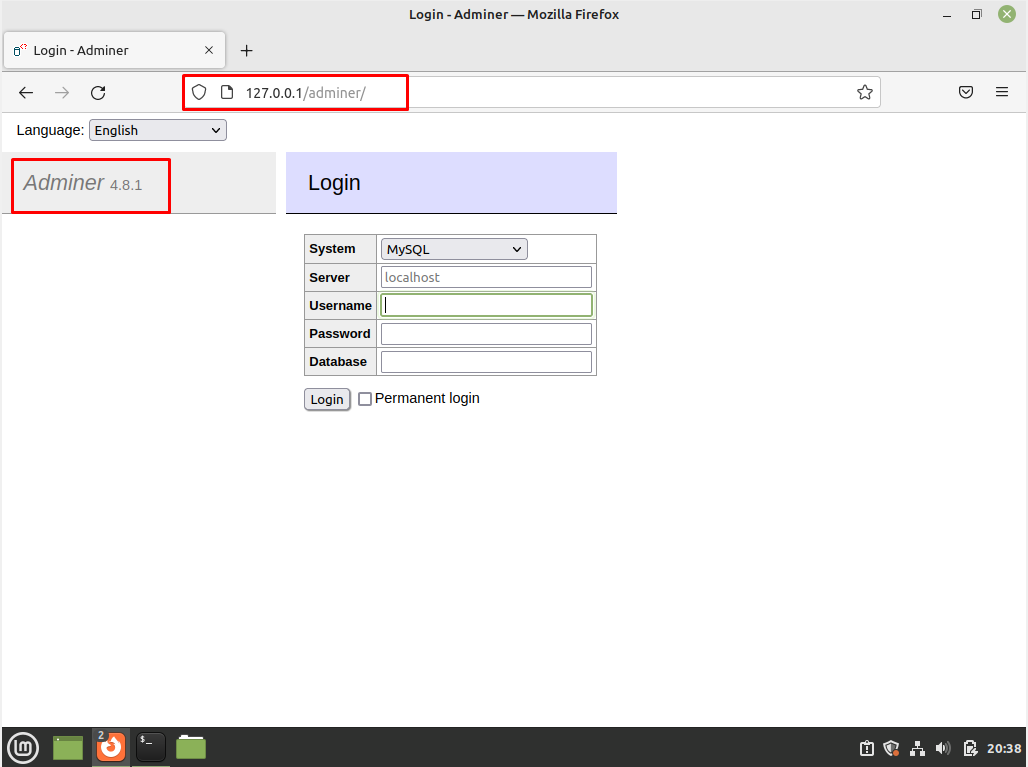
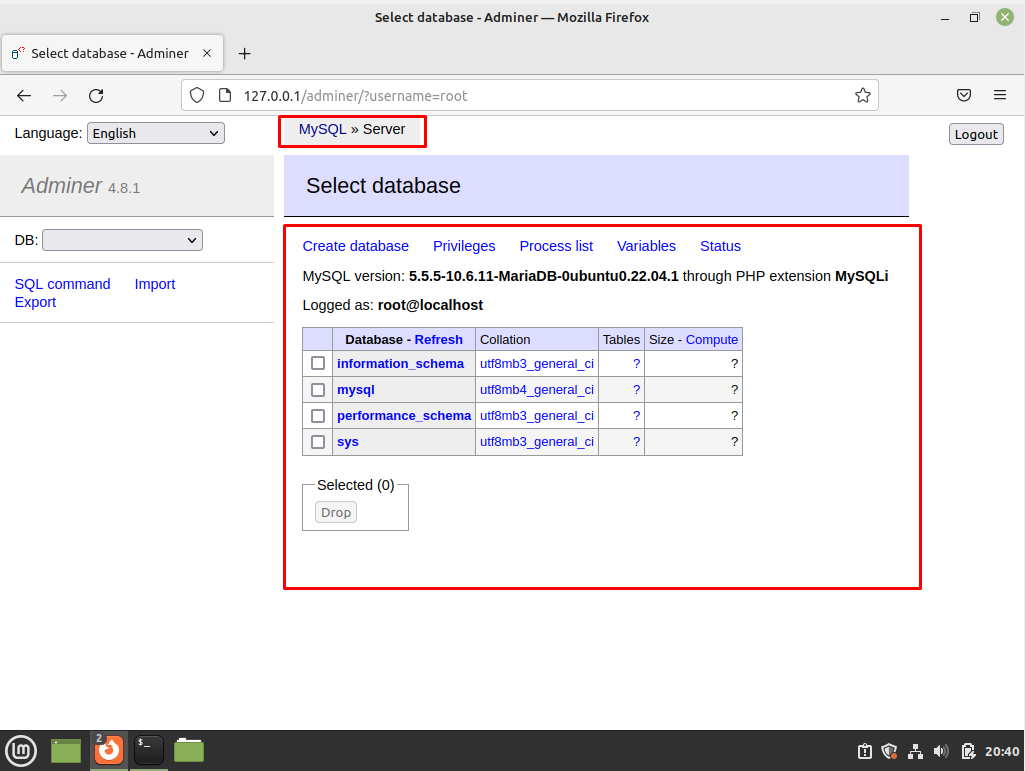
Now login through the root password that you entered previously during configuration of server:
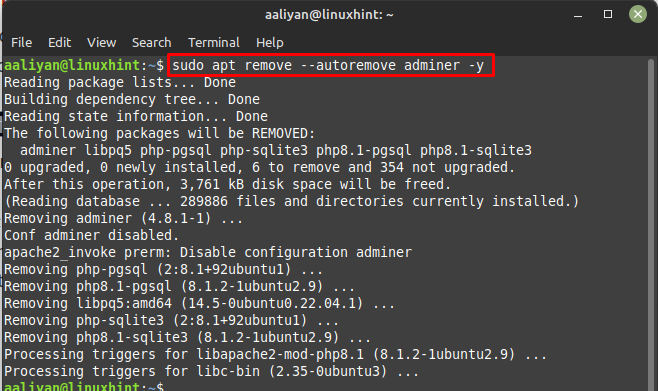
If you no longer need to use the Adminer then to remove it from the Linux Mint system entirely using:
Conclusion
Adminer is one of the best web-based management tools for databases that one can rely on as it can manage both relational and non-relational database management systems.The Adminer can be installed on Linux Mint 21 systems by using its default package manager.
Source: linuxhint.com