How to Insert Shapes in Google Docs
Google Docs provides a drawing tool to add the text boxes and other shapes to the page. It is simple to use and is useful for many tasks, from writing straightforward letters to producing complicated presentations.
Steps to Insert Shapes in Google Docs
Let’s dive into the easiest step to insert shapes in Google Docs which is as follows. The shape tool in Google Docs is a fun feature that allows us to change the visual appearance of the text. To highlight an important terminology to render it more readable while creating a lengthy document, we can start with the shape tool.
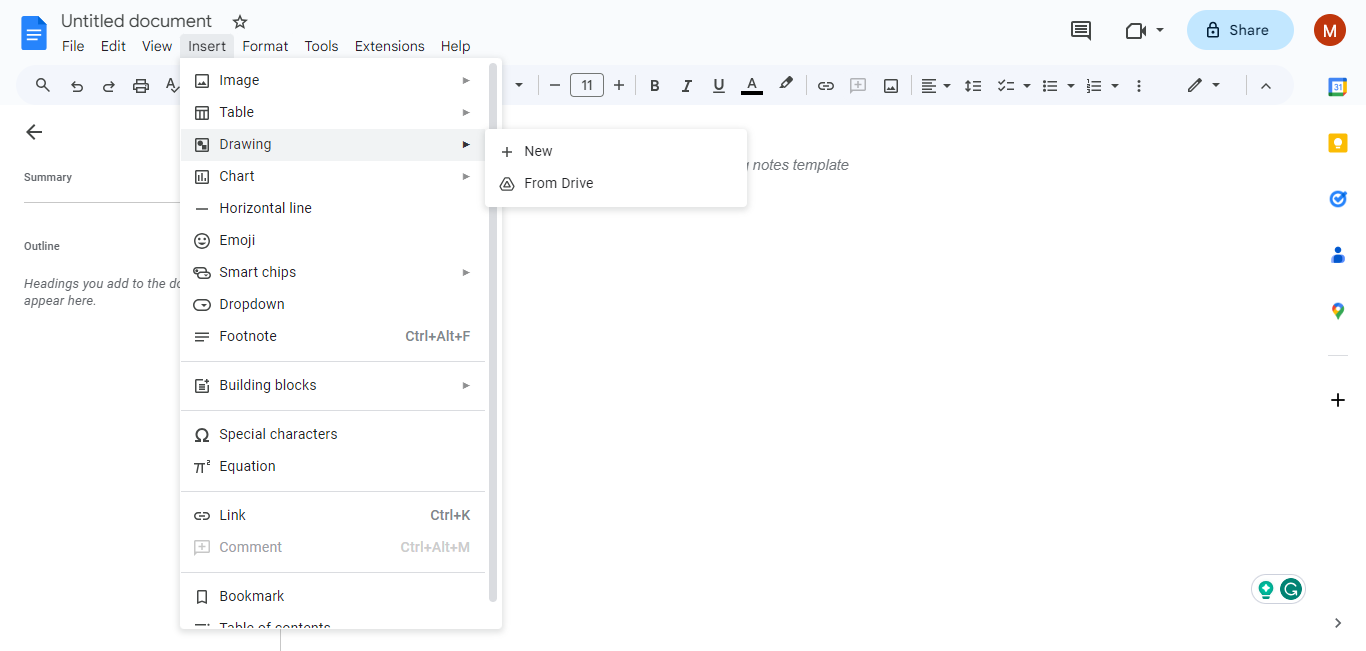
Step 1: Click on the Insert Option from the Toolbar
In the first step, we need to navigate the “Insert” option from the menu bar of Google Docs. Click on the “Insert” option which lists further useful options. From there, we have the “Drawing” option. Upon clicking the “Drawing” option, it shows the other options that Google Docs provides.
Since we have to insert shapes in Google Docs, the “+New” option is selected. The following screenshots show each step that we need to insert the shapes in Google Docs.
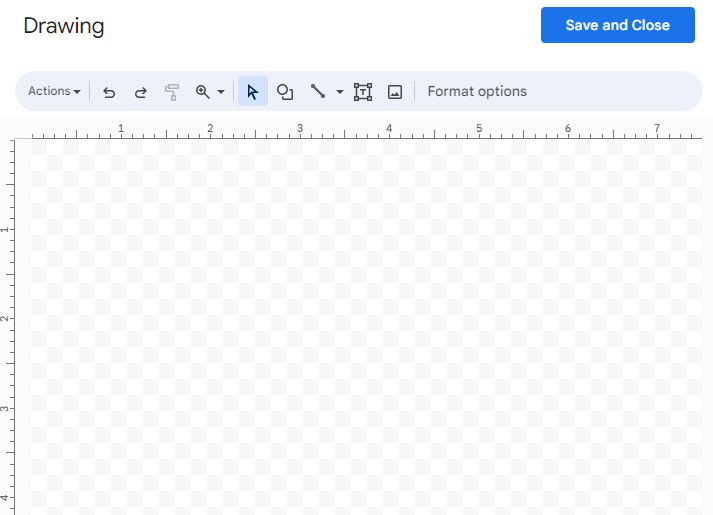
Step 2: Open Google Docs to Drawing
When we click on the “+New” option from the “Drawing” option, a new pop-up will open in Google Docs which displays the drawing tool. From here, we can insert new shapes, edit them, and fill them with specific colors or resize the shapes and many other options to be explored.
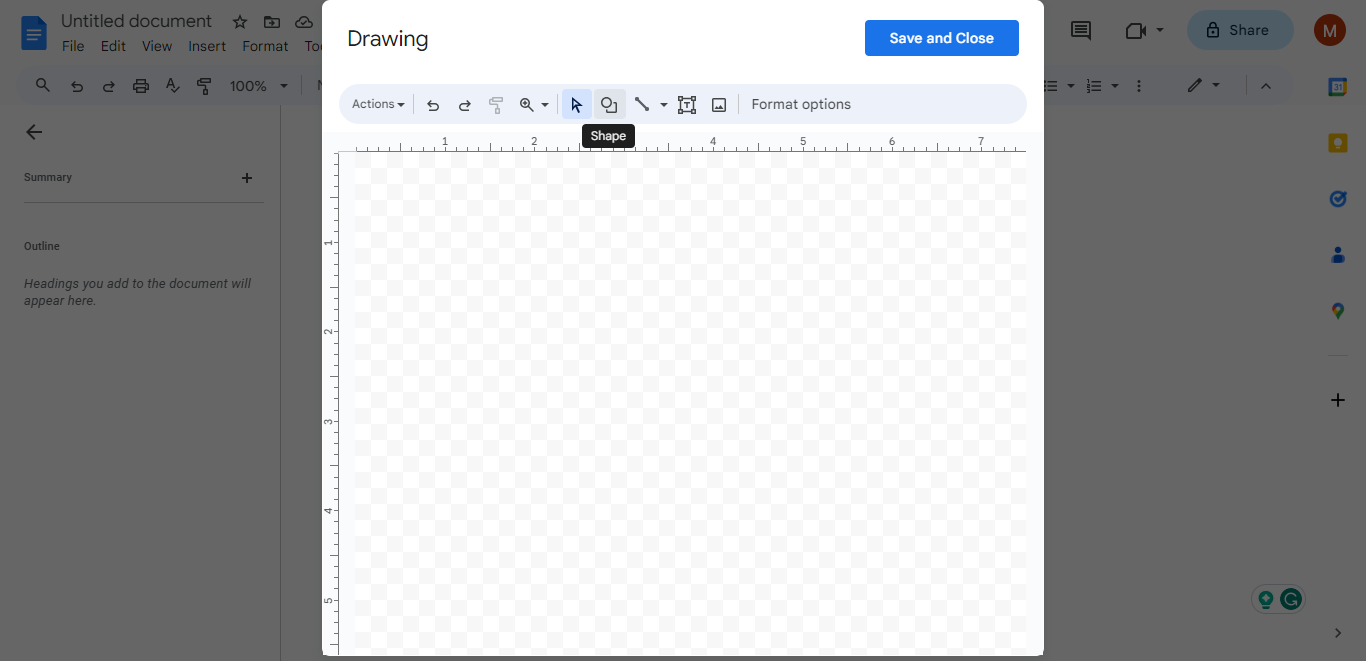
Step 3: Press on the Shapes option in the Drawing Tool
Next, we move on inserting the shapes by clicking on the shapes action item from the “Drawing” tool menu bar. As we can see in the image, the selected action options are named “shapes” when hovering the mouse over it.
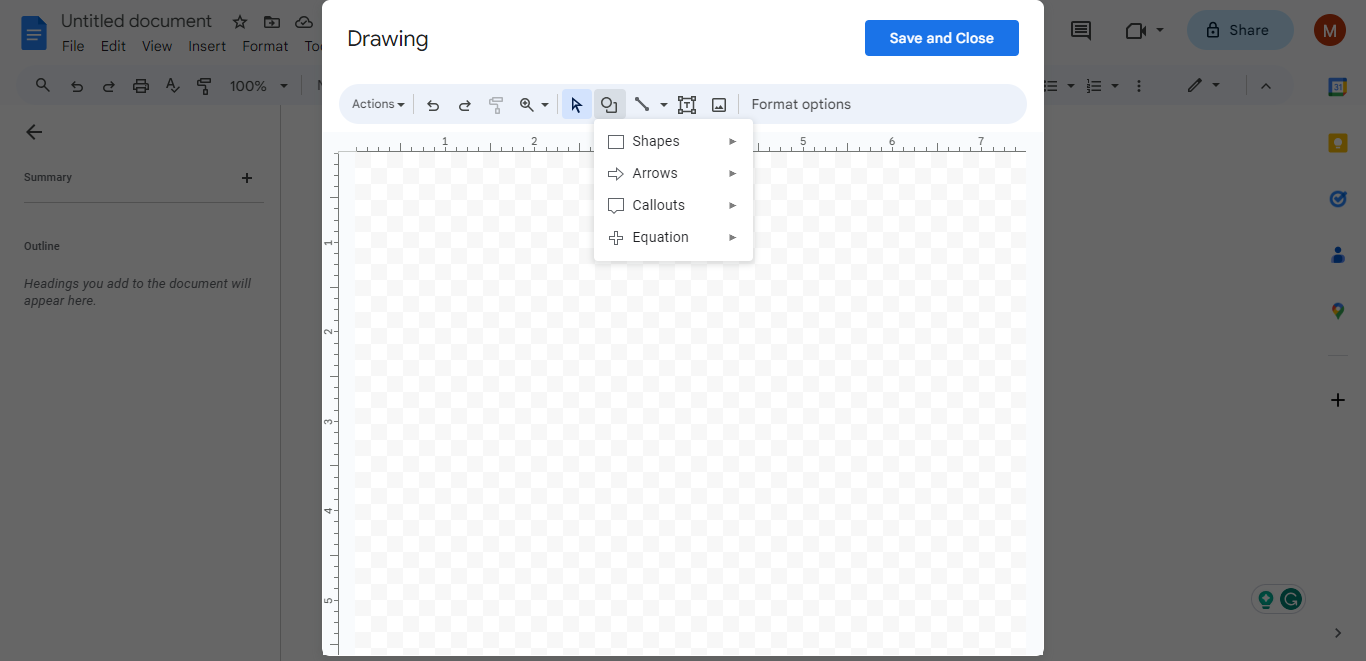
Step 4: Choose the Shapes to Add Shapes in Google Docs
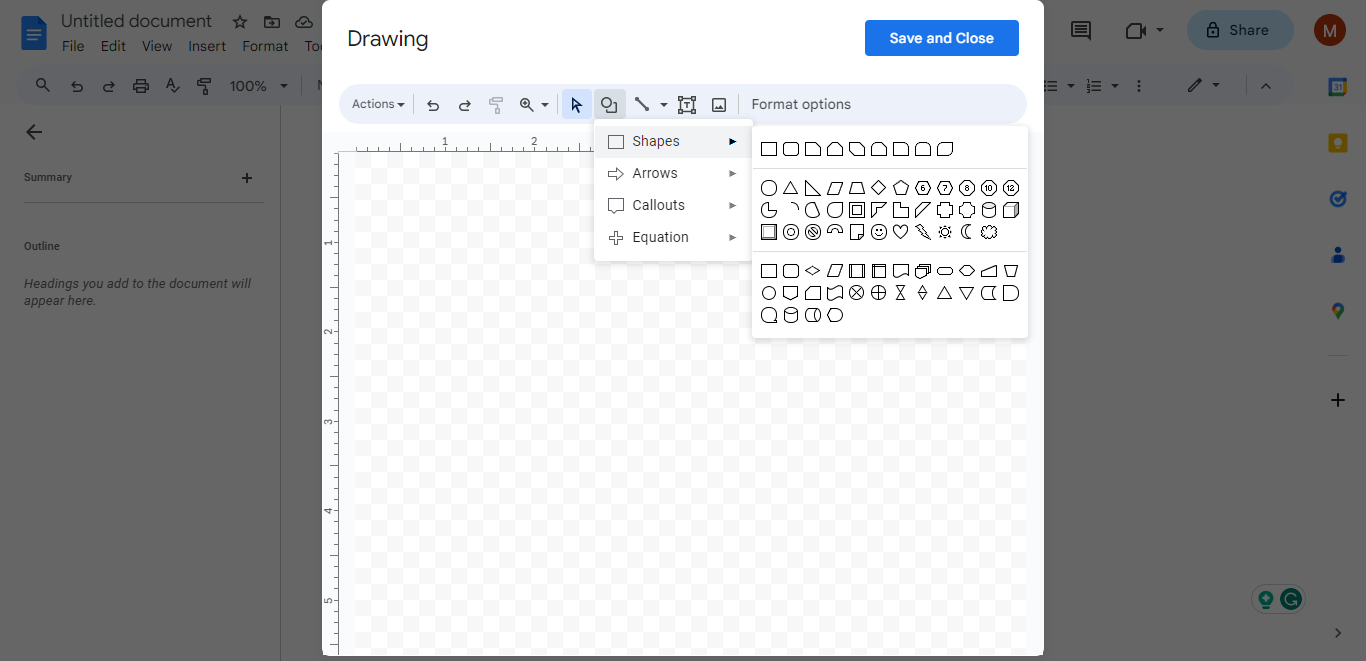
By clicking the “Shapes” option from the “Drawing” toolbar, the other options will be listed down where we can see the “Shapes” option, arrows, callouts, and “Equations” option to be inserted in the “Drawing” tool of Google Docs.
Step 5: Select the Specific Shape to Add to the Drawing Tool on Google Docs
Here, we click on the “Shapes” option to insert shapes in Google Docs. When we press the “Shapes” option, different shapes will display as shown in the following screenshot:
Step 6: Adjust the Shape in Google Docs from the Drawing Tool
We select the triangle shape from the different shapes by clicking on that shape. The shape is now added to the “Drawing” tool which is displayed in the following image:
Step 7: Choose a Color for the Added Shape in the Drawing Tool of Google Docs
The drawing tool has the shape inserted as demonstrated in the previous step. Then, in order to make it appear more appealing, we add color to it. For this, just click on the shape, and the styling option for the shapes will be displayed. We use the “Fill Color” option which generates the color palette upon clicking on it.

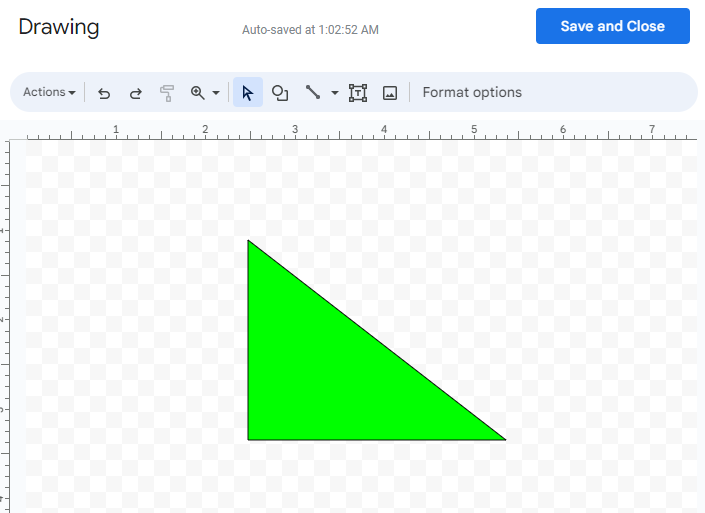
Step 8: Save and Close the Drawing Tool when Done with the Shape
Here, we have a selected light green color for the triangle shape which is displayed in the following screenshot. Now, on the “Drawing” tool screen, we need to tap the “Save and Close” box at the top right corner. This adds the specified shape to the Google Docs document.
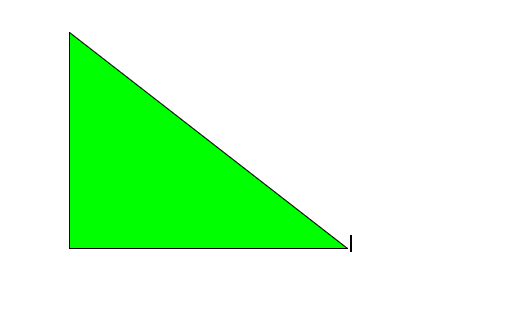
The shape is uploaded on the Google Docs document with the specific color as seen in the following attached screenshot:
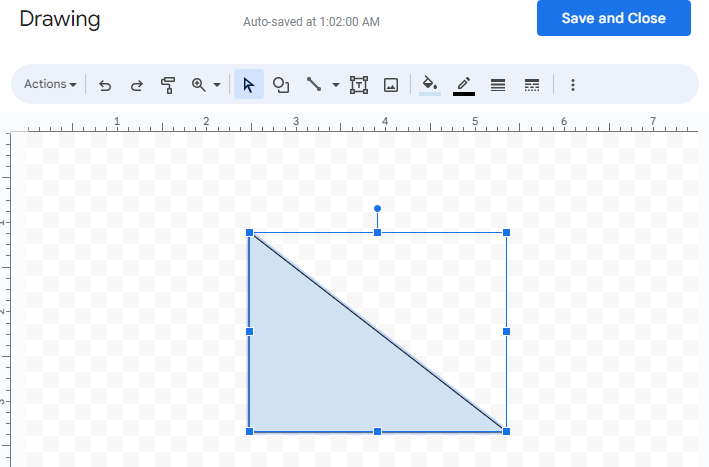
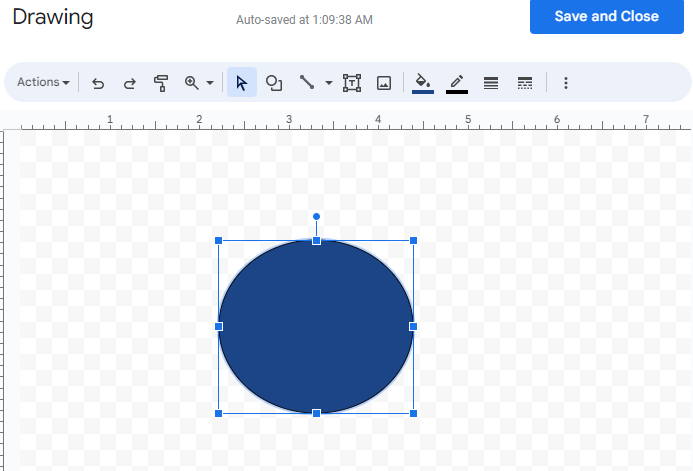
Step 9: Adjust the Size of the Shape in the Drawing Tool of Google Docs
Furthermore, if we want to change the shape size in Google Docs, we can easily accomplish that by just clicking on the shape and dragging in and out the shape as we want. This adjusts the image according to our requirements.
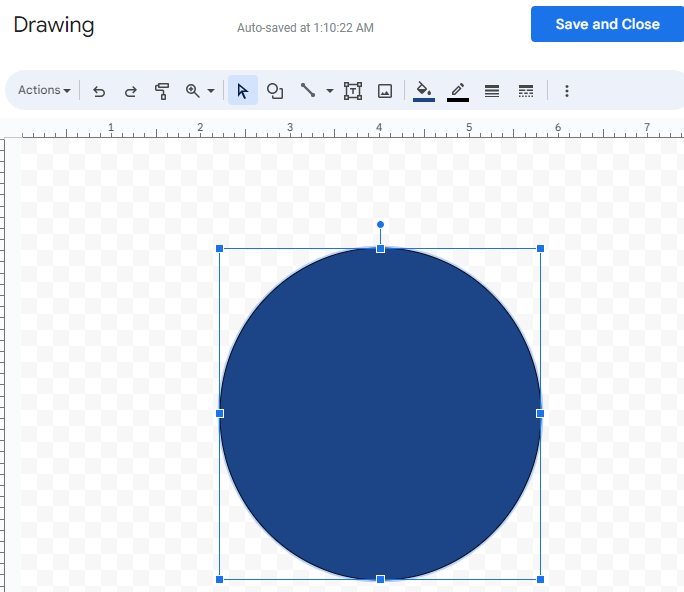
Now, the difference is clearly shown that the shape size in the following image is larger than the previous one. Again, pressing the “Save and Close” option saves the shape and closes the “Drawing” tool.
However, as seen in the following image, we can insert as many shapes at once in the “Drawing” tool which are added to the Google Docs document. Furthermore, we can add a text to the specified image by double clicking on the shape, or we can select the “Text Box” option from the toolbar. In the following image, we add three similar shapes with different text inside them.

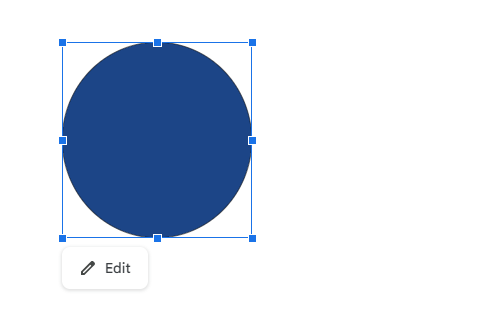
Step 10: Edit the Shape by Clicking on the Shape and Pressing on the Edit Option
Lastly, we can modify the shapes even when added to the Google Docs document. Just click on the shape on the Google Docs document and it shows the “Edit” option. Then, we click on the “Edit” option. The “Drawing” tool will open and we can make any edits for the selected shape there.
Conclusion
In conclusion, using the “Drawing” tool feature, we illustrated the steps to insert shapes in Google Docs. We inserted the shapes, resized them, filled them with colors, and added a text inside the particular shape. Unfortunately, we don’t have a shortcut way to the “Shape” tool in Google Docs. We might have to use the standard approach to insert the shape into the document of Google Docs. Moreover, we can upload the images and pdf documents in the “Drawing” tool and then insert the shapes into them.
Source: linuxhint.com