How to Insert an Image in LaTeX

However, many users are unfamiliar with using pictures in any document. This tutorial is for you if you also don’t know how to do it. In this tutorial, you will learn how to insert an image in LaTeX.
How to Insert an Image in LaTeX
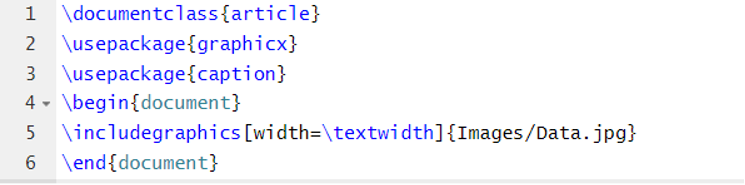
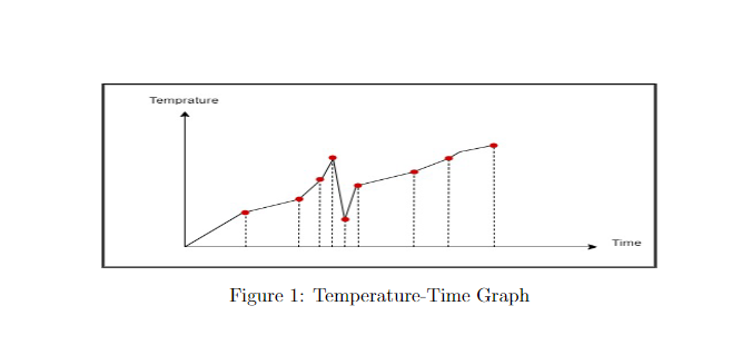
Adding an image is easy as you only need to use the \graphics usepackage with the source code. Let’s start with the simple example of inserting the Data.jpg in the document using the following source code:
\usepackage{graphicx}
\usepackage{caption}
\begin{document}
\includegraphics[width=\textwidth]{Images/Data.jpg}
\end{document}
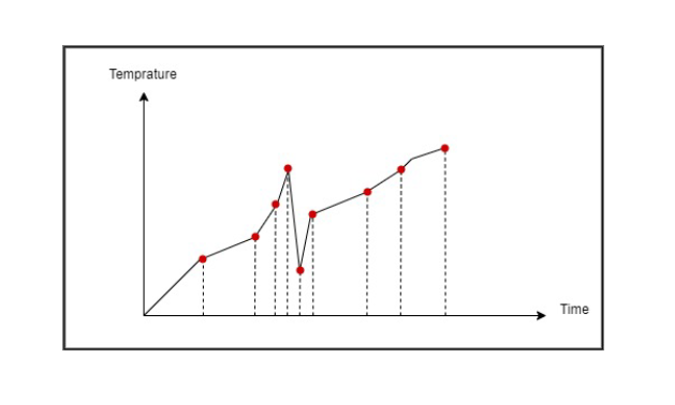
Output
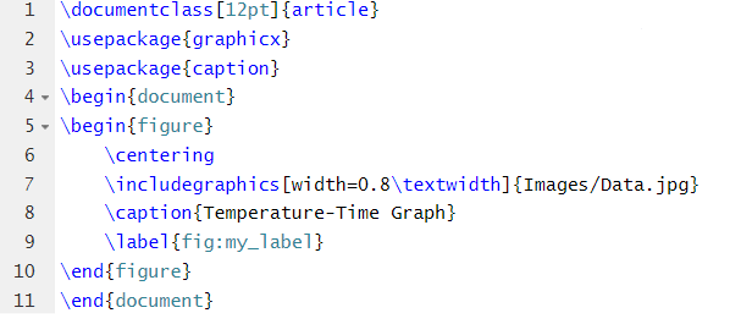
You can add a caption below the image using the \caption{} source code. But it requires the \caption usepackage. Here is the example source code:
\usepackage{graphicx}
\usepackage{caption}
\begin{document}
\begin{figure}
\centering
\includegraphics[width=0.8\textwidth]{Images/Data.jpg}
\caption{Temperature-Time Graph}
\label{fig:my_label}
\end{figure}
\end{document}
Output

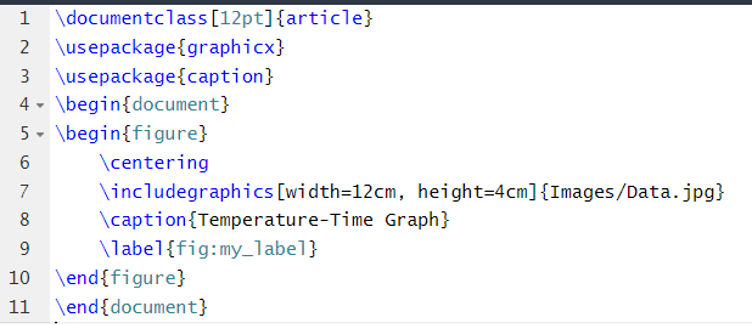
As the previous source code shows, the \label is used to label the caption. Moreover, you can also change the width of an image using the following source code:
\usepackage{graphicx}
\usepackage{caption}
\begin{document}
\begin{figure}
\centering
\includegraphics[width=12cm, height=4cm]{Images/Data.jpg}
\caption{Temperature-Time Graph}
\label{fig:my_label}
\end{figure}
\end{document}
Output
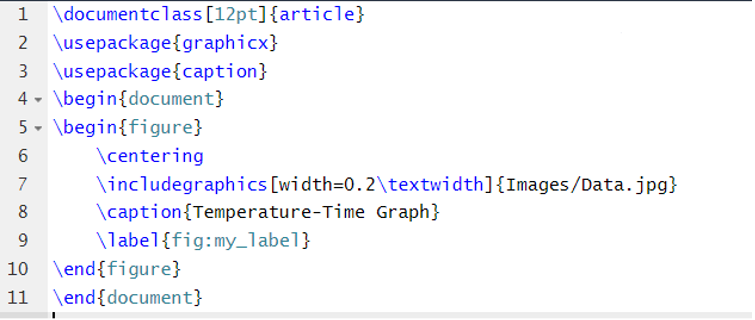
In the previous source code, you can replace the \includegraphics[width=X height=X] with the \includegraphics[width=X\textwidth]:
\usepackage{graphicx}
\usepackage{caption}
\begin{document}
\begin{figure}
\centering
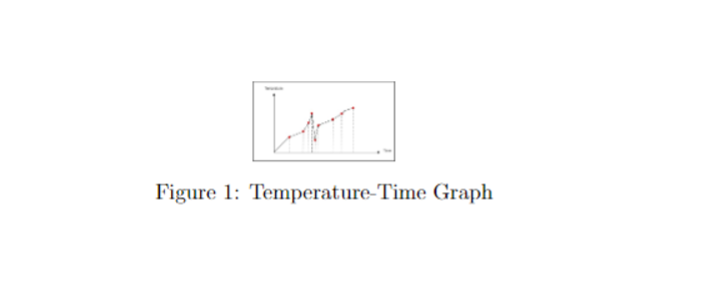
\includegraphics[width=0.2\textwidth]{Images/Data.jpg}
\caption{Temperature-Time Graph}
\label{fig:my_label}
\end{figure}
\end{document}
Output
Conclusion
There are many ways to insert an image in LaTeX to make a document more informative and representative. The source code of LaTeX allows you to modify a picture’s width and height. That’s why we used the different methods and their respective examples to give you the best possible information. We hope that the previous explanation may help you insert a picture in the article and on technical or non-technical documents.
Source: linuxhint.com