How to Implement p5.js mouseClicked() Function?
Some projects need complex concepts to be implemented like data visualization, generative art, and infographics where algorithms are used to generate visuals. In addition, some projects require integration with audio-visual elements to enhance interactivity and create more engaging UI elements. These things are very hard to implement or integrate over the webpage solely using lines of code.
Happily! With the arrival of the JavaScript-designed library “p5.js” the implementation of such elements becomes achievable.
This blog explains the core concept of the “mouseClicked()” function offered by p5.js.
How to Implement p5.js mouseClicked() Function?
The “p5.js” is a designing library, which means it offers various functions, methods, properties, and keywords that help a lot in the creation of several UI elements. The “p5.js” library is mostly used to create 2-dimensional elements like ellipses, rectangles, lines, and so on. To engage users with the website or application, it offers several methods like “mouseClicked()” which performs a specific function when the mouse gets clicked.
Syntax
The syntax for mouseClicked() function in p5.js is stated below:
Let’s visit through a couple of examples for the implementation of the “mouseClicked()” function in the p5.js library.
Example 1: Modifying the Background Shades on Each Click
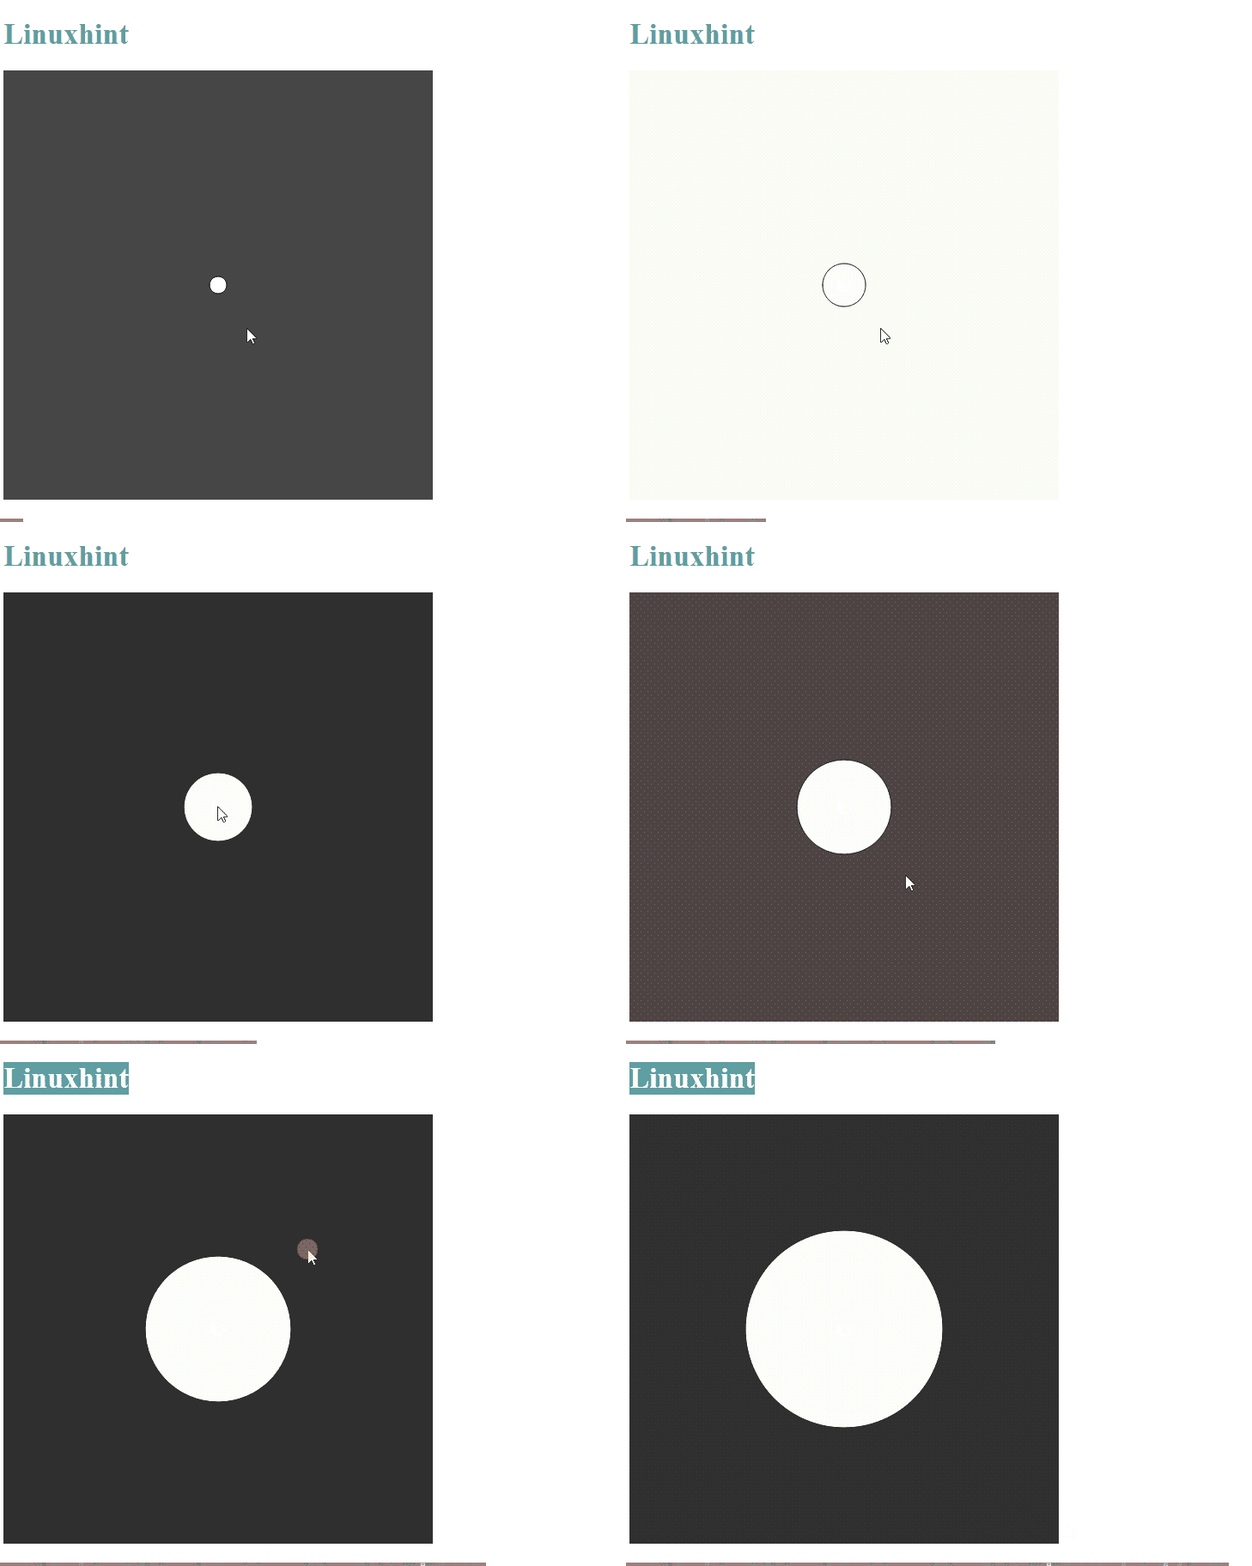
In this example, the background color shades are going to be changed and the circle is also going to enlarge after each click. Initially, the “CDN” content delivery network for “p5.js” the library needs to be integrated or inserted in the HTML file. This makes the function and methods of “p5.js” accessible inside the HTML file. The CDN can be obtained by traversing through official documentation via this link. Let’s go through the given code:
<script src="https://cdn.jsdelivr.net/npm/p5@1.7.0/lib/p5.js"></script>
<script>
let demoCanv, diameter, shade;
function setup() {
demoCanv = createCanvas(400, 400);
demoCanv.mouseClicked(grayShades);
diameter = 20;
shade = 100;
}
function draw() {
background(shade);
ellipse(width / 2, height / 2, diameter, diameter);
}
function mouseClicked() {
diameter = diameter + 5;
}
function grayShades() {
shade = random(0, 255);
}
</script>
</head>
Description of the above p5.js mouseClicked() function code:
- First, inside the “<head>” tag, insert the “CDN” for the “p5.js” library.
- Next, three variables “demoCanv”, “diameter”, and “shade” are created using the “let” keyword.
- Then, create a predefined function “setup()” which invokes when the program starts. Inside it, the “canvas” having a width and height of “400” is created using the “createCanvas()” method and stored in the variable “demoCanv”.
- In addition, the “mouseClicked()” function is attached to the “demoCanv” and it invokes the callback function of “grayShades()”. This function gets invoked whenever the user clicks over the canvas.
- Provide the values of “20” and “70” for the remaining two variables “diameter” and “shade” respectively. These values are later on used to set the circle size and shade of the background.
- Now, define the default “draw()” function which basically runs as a loop. In it, pass the “shade” variable to the “background()” function to set the background equal to the value stored in the “shade” variable.
- Also, create a circle using the “ellipse()” function which takes 4 parameters, the first two sets the X and Y coordinates. The remaining two parameters set the width and height of the ellipse or circle.
- After that, define the “mouseClicked()” function which simply adds the value of the diameter variable by a factor of “5” to make the size of the ellipse or circle enlarge on each click.
- In the end, define the “grayShades()” function to change the background color which is going to be invoked by the “mouseClicked()” function. It updated the values of the “shade” variable randomly between “0” and “255” using the “random()” method.
Preview of the output after the completion of the compilation phase:

The above output shows that the background color of the canvas has been changing each time along with the circle size on the user clicks.
Example 2: Modifying the Color for the Element Over the Canvas in p5.js
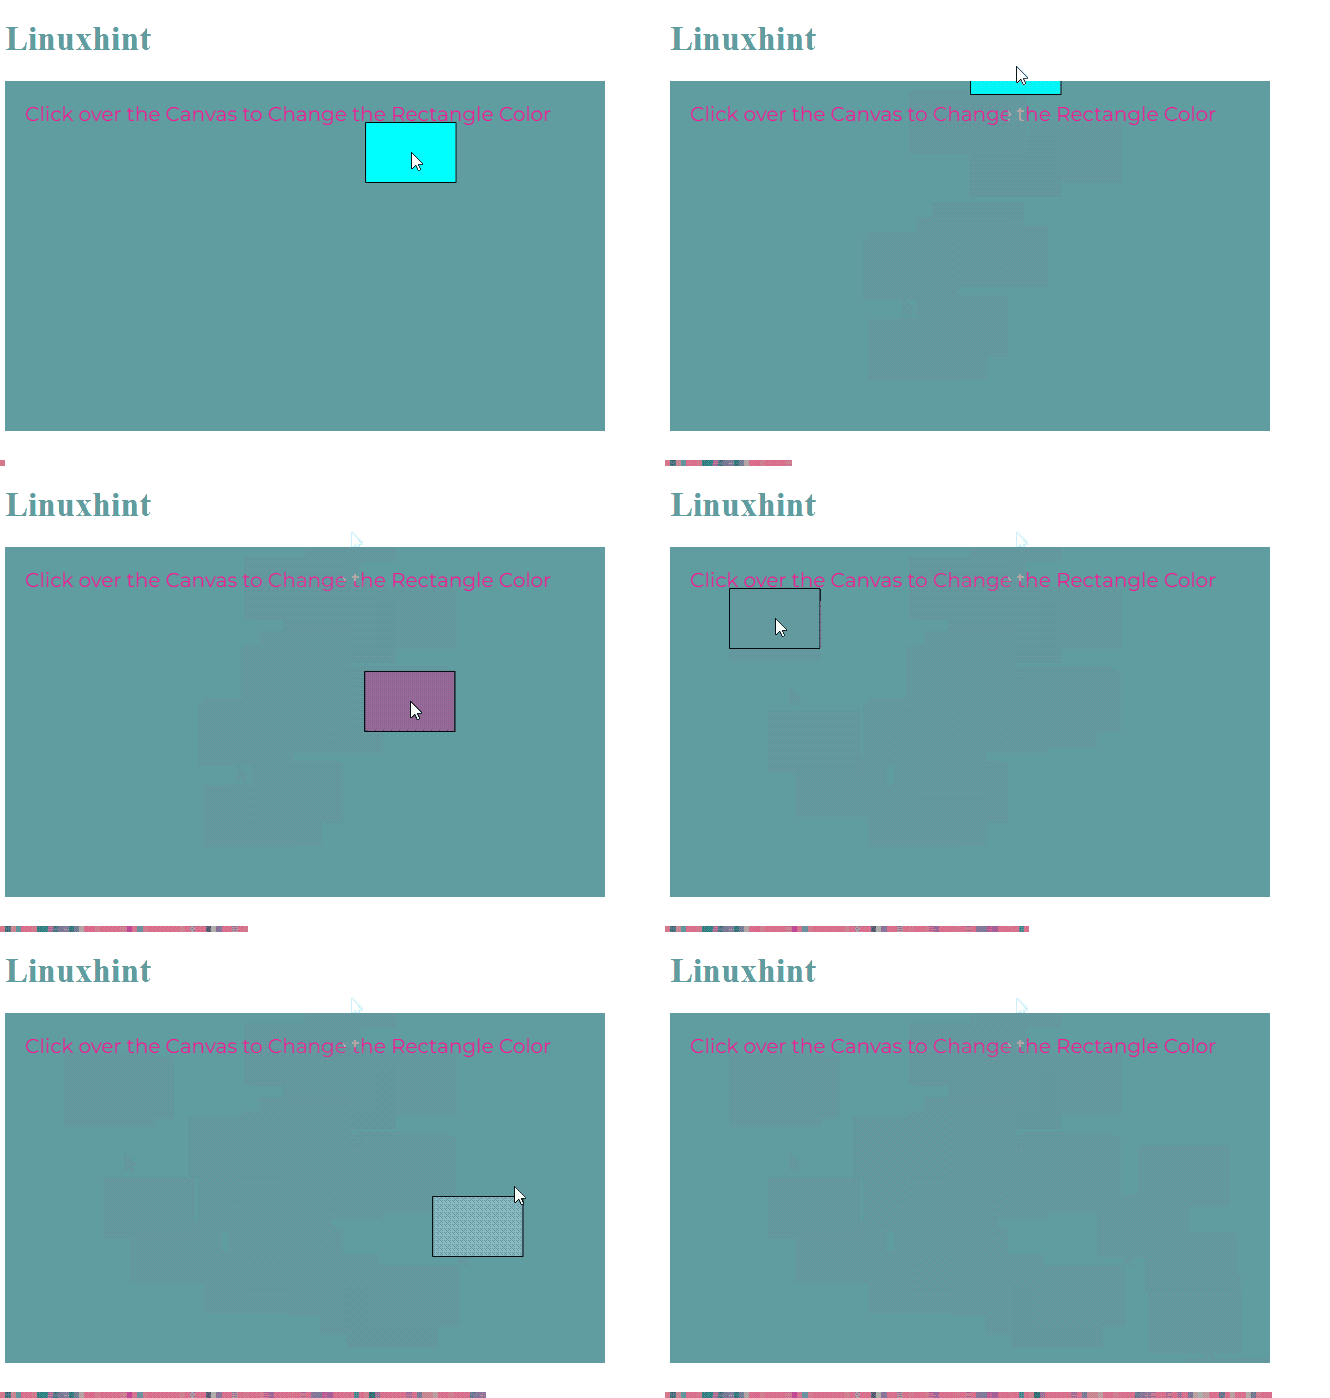
In this example, the rectangle is going to be created over the canvas which moves along the position of the cursor and changes its background color on each user’s click. The functional approach is going to be utilized in the below code to enhances the readability and scalability of the code, which is best suitable for complex projects:
<html>
<head>
<script src="https://cdn.jsdelivr.net/npm/p5@1.7.0/lib/p5.js"></script>
</head>
<body>
let Xcord = 0;
let Ycord = 0;
function setup() {
createCanvas(600, 350);
}
function draw() {
background('rgb(95, 158, 160)');
manageText();
modifyingFill();
createRect();
}
function manageText() {
fill('deeppink');
textSize(20);
text('Click over the Canvas to Change the Rectangle Color', 20, 40);
}
function modifyingFill() {
fill(Xcord, 255 - Ycord, 255 - Xcord);
}
function createRect() {
rectMode(CENTER);
rect(mouseX, mouseY, 90, 60);
}
function mouseClicked() {
colorCalculator();
}
function colorCalculator() {
Xcord = mouseX % 255;
Ycord = mouseY % 255;
}
</script>
<h1 style="color: cadetblue;">Linuxhint</h1>
</body>
</html>
The description of the code displayed in the above code block:
- Start by importing the “p5.js” library in the HTML file using its CDN which can be obtained by traversing through this link. Enter the “<body>” tag and declare two variables named “Xcord” and “Ycord” and assign it an initial value of “0”.
- Next, the default “setup()” function is defined which creates a canvas having the dimensions of “600” and “350” using the “createCanvas()” function.
- Then, the main “draw()” default function is defined which is setting the background of the canvas using the “background()” function. Along with it, the custom “manageText()”, “modifyingFill()”, and “createRect()” functions are invoked.
- Now, define the “manageText()” function to set the color, size, text, and position of the text on the canvas using the “fill()”, “textSize()”, and “text()” functions respectively.
- In addition, define the “createRect()” function which sets the position of the rectangle at the center of the cursor using the “rectMode(CENTER)” function.
- Also, create a rectangle using the “rect()” method and set its position over the canvas according to the position of the cursor using the “mouseX” and “mouseY” properties.
- After that, define the “mouseClicked()” which invokes the “colorCalculator()” function.
- In the end, the “colorCalculator()” function is created which updated the values of “Xcord” and “Ycord” by dividing the cursor position over the canvas with max color value “255”.
After the rendering of the HTML file over the webpage, the output displays like this:

The output shows the color of the rectangle element changing with each mouse click. This is all about implementing the p5.js mouseClicked() method.
Conclusion
To implement the “mouseClicked()” function of the “p5.js” JavaScript library, create a canvas using the “createCanvas()” function inside the “setup()” function, and with the help of the “draw()” function creates UI elements over the canvas or style the canvas. After that, attach the “mouseClicked()” function along the canvas and insert the required code inside it, which gets executed when the user clicks over the canvas. This blog has illustrated the procedure to implement the “mouseClicked()” function of the p5.js library.
Source: linuxhint.com
