How to Git stash Pop Specific Stash
Stash is one of the major functions of the Git platform that enables users to save changes. It is referred to as temporary storage. However, sometimes developers in Git are required to switch Git repositories or branches to review other branch functionalities or to fix bugs. In this type of scenario, the stash is utilized to temporarily save the current changes of a working repository in the Stash index. After saving changes, Git users can easily switch to another branch.
This blog will elaborate on how to Git stash pop a specific Git.
How to Git stash Pop Specific Stash?
To pop the specific Git stash, first, open the repository of Git. Next, view the list of stashes and note the stash reference. After that, utilize the Git “stash” along with stash reference to pop the specific stash.
For this purpose, the below provided instructions are effective enough.
Step 1: Launch Git Terminal
From the Windows “Startup” menu, open the Git command line terminal:
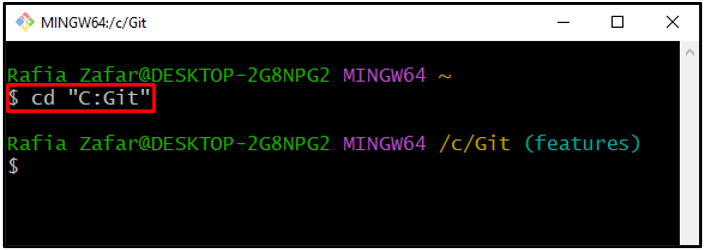
Step 2: Move to Repository
Utilize the “cd <repo-path>” command to move to the repository:
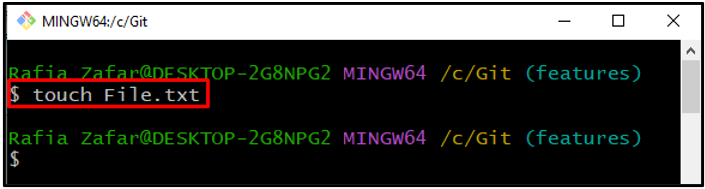
Step 3: Create New File
Next, create a text file by executing the “touch” command:
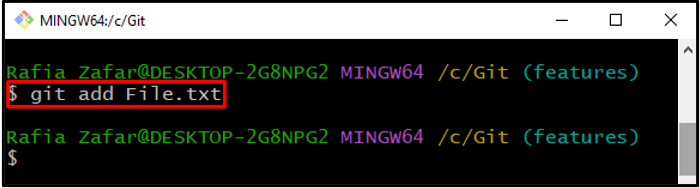
Step 4: Track the New File
Add the text file to the repository tracking index with the help of the given command:
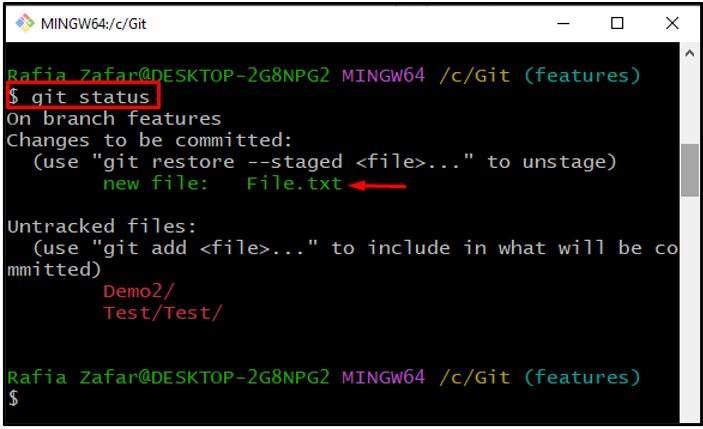
Check the repository state and confirm if the text file is added to the tracking index or not:
Step 5: Create New Stash
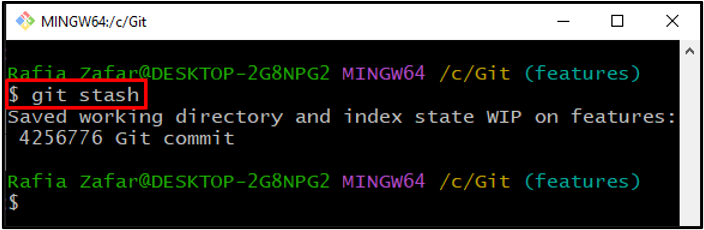
To create a new stash before moving to another branch, take a look at the provided command:
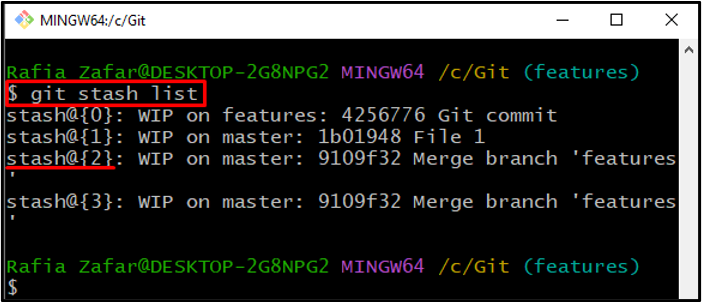
Next, view the stash list and note the reference of the stash you want to pop:
For instance, let’s pop the Git stash with the reference “2”:
Step 6: Apply Specific Stash
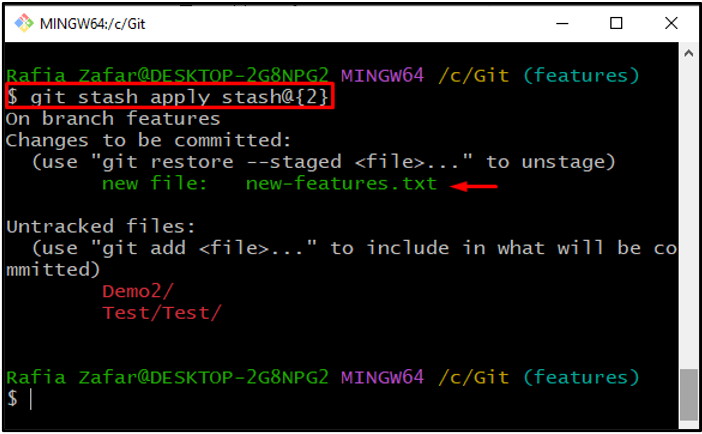
Now, pop out or apply the specific stash using the “git stash apply <stash@{reference}>” command:
Here, you can see we have successfully popped the specific stash in Git:
Here we go! We have elaborated on the method to pop the specific stash using the Git “stash” command.
Conclusion
To pop the specific stash using Git “stash”, first, navigate to the repository of Git. View the list of available stashes and note the reference number of stashes you want to pop. After that, utilize the “git stash apply <stash@{reference}>” command to pop the specific stash. This post has demonstrated how the Git stash pops the specific stash.
Source: linuxhint.com