How to Get the Objects in Amazon Simple Storage Service(S3) USING Node JS?
A Simple Storage bucket (S3) is provided by AWS and is used for accessing, storing, and retrieving the data along with the capability to maintain the version history. S3 bucket provides various methods to obtain objects either by CLI, console or by using different platforms such as Node JS. We can access S3 bucket content using Node JS and by installing the AWS SDK through npm.
This article is a step-by-step guide on how to get the objects using Node JS in AWS S3.
How to Get the Object in Amazon Simple Storage Service Using Node JS?
Node JS is a popular platform widely used for the development of applications. While Node JS is popular for developing the fully featured web application in one place. Embedding the AWS services in Node JS applications can further enhance the performance and improve the user experience.
Before following this tutorial, ensure that there are some prerequisites installed on your system:
– Node JS: Learn more about installing Node JS by referring to this article “How to Install Node JS?”.
– Visual Studio Code: Download and install through this download link of Visual Studio Code.
– S3 bucket: Read more about uploading an object to an S3 bucket by referring to this article “ How to upload objects in Amazon Simple Storage Service”.
If you have made all the required configurations, let’s explore some steps in which we can get an object uploaded to the S3 bucket using Node JS.
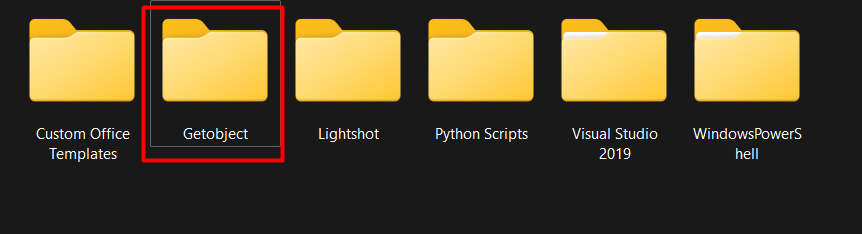
Step 1: Create a Folder
Create a Folder on your desktop or at any location on your system:
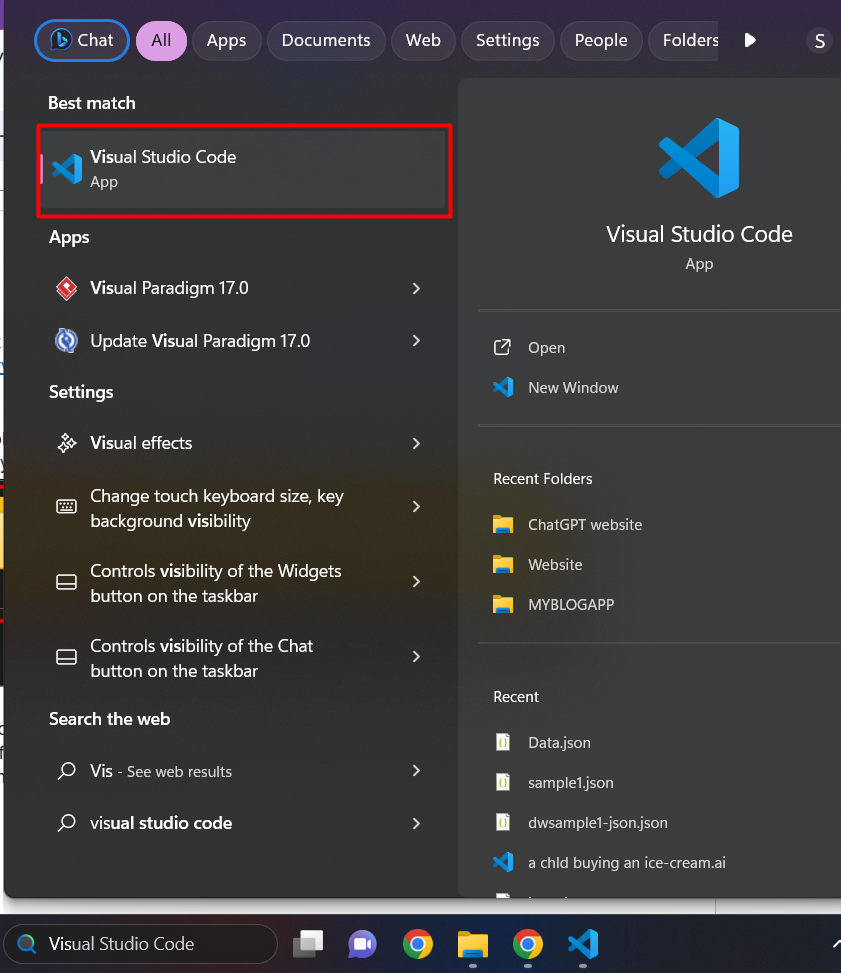
Step 2: Open VS Code
From the start menu, search and select the “Visual Studio Code” option:
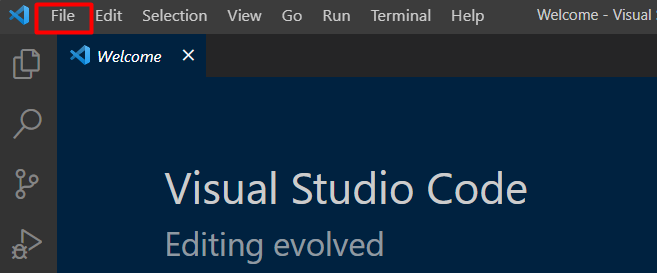
Click on the “File” option mentioned in the top-left corner of the VS code interface:
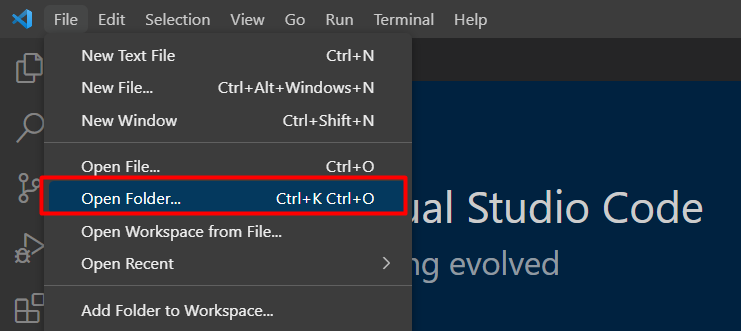
Step 3: Open Folder
From the File menu, click on the “Open Folder” option. Select the folder that you have created earlier and open it in the VS Code:
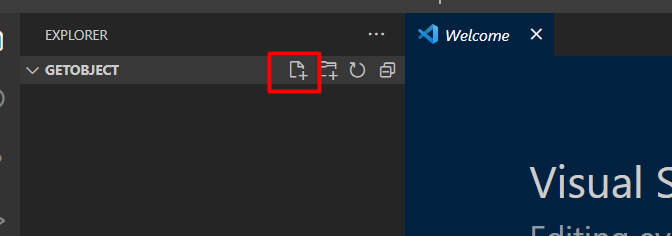
Click on the “New File” option as highlighted in the below image.:
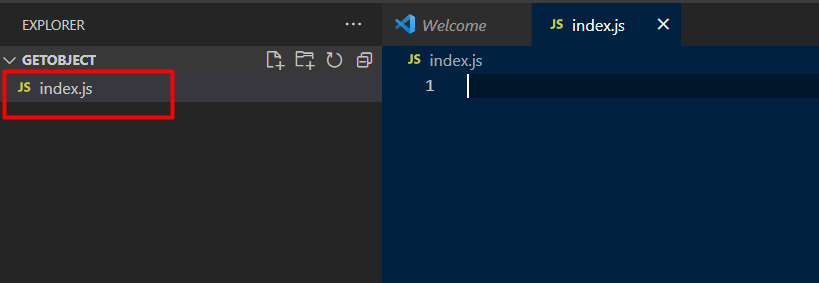
Step 4: Create the .JS File
By clicking on the “New file” button, provide a name for the file and save it with the extension of “.js”. Here, we have provided a name for the file as “index. js”:
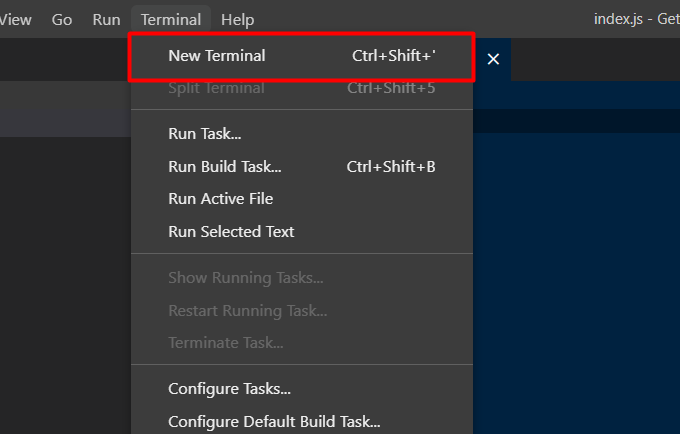
Step 5: Install AWS sdk
To work with AWS, we first need to install “AWS sdk”. Click on the “Terminal” button from the toolbar of the VS code. From the menu, click on the “New Terminal” option:
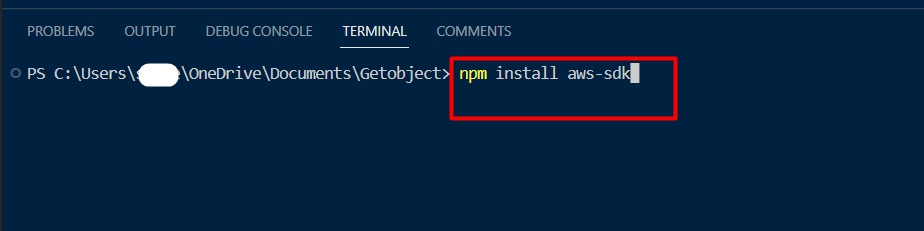
Provide the following command to the terminal and hit the “Enter” button:
Step 6: Provide AWS Credentials
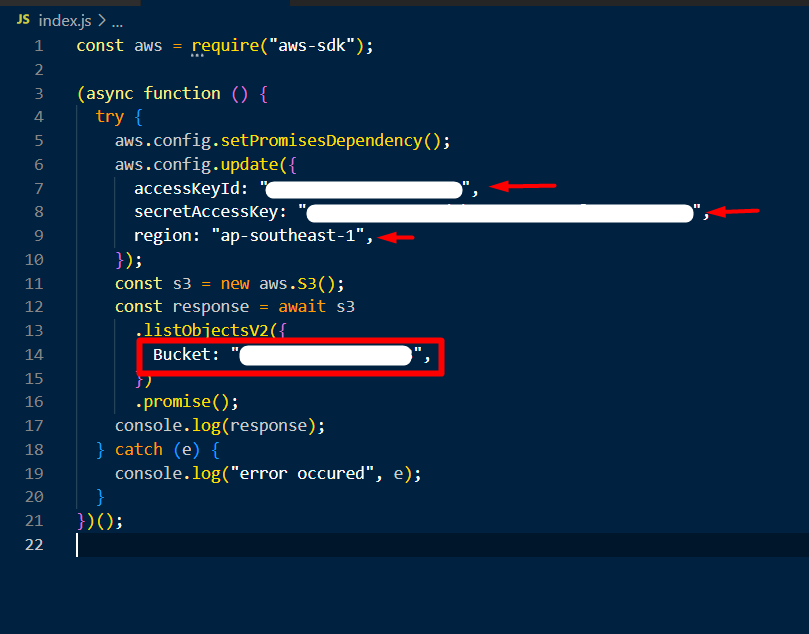
Add the following code to your file opened in VS Code. It is important to consider here that there are certain fields that will require your AWS credentials and bucket name:
- Access Key ID: Provide the AWS access key ID to your account.
- Secret Access Key: Provide the AWS secret key of the AWS account.
- Bucket: Provide the name of the bucket from which you want to obtain the object.
- Region: Provide the region in which your AWS account and the bucket are operational.
(async function () {
try {
aws.config.setPromisesDependency();
aws.config.update({
accessKeyId: "",
secretAccessKey: "",
region: "",
});
const s3 = new aws.S3();
const response = await s3
.listObjectsV2({
Bucket: "",
})
.promise();
console.log(response);
} catch (e) {
console.log("error occurred", e);
}
})();
Step 7: Run the File
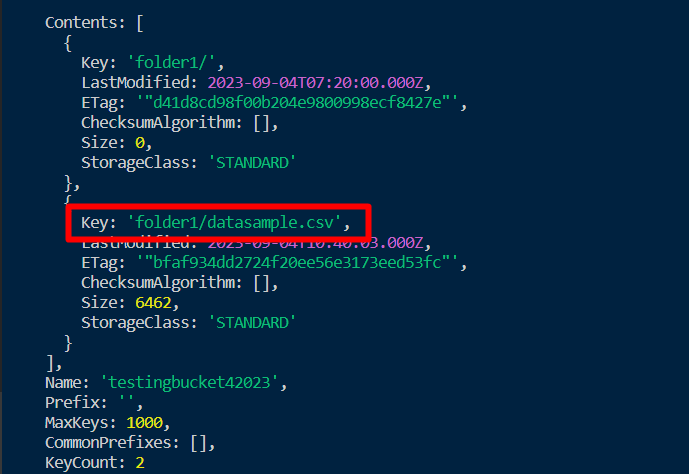
Open the terminal and provide the following command to run the file. Here the file name is “index.js”. Provide your file name in the command and hit the “Enter” button:

The output of the command will be like this. As our bucket contains a CSV file, it will show the file name with extension along with the folder name in which the file is present inside the bucket:
That is all from this guide.
Conclusion
To get an object in S3 using Node JS, provide the name, region, access key, and secret access key to the code and it will display the contents of the bucket. S3 provides various methods in which we can obtain the contents of the bucket either by using the CLI, console, or code. This article provides a comprehensive practical guide for obtaining an object using Node JS.
Source: linuxhint.com