How to Get Started with the New Photos App on Windows 11
Photos app on Windows 11 is the default app to manage and organize your videos and pictures on your computer. The latest update on the Photos app makes it easy to find, view, edit, and organize all of your media files whether they are stored on your local computer or online.
How to Get Started with the New Photos App on Windows 11
The new Photos app on Windows 11 has a new interface such as a cantered search bar, round corners, and a navigation pane at the left with an expand and collapse menu option.
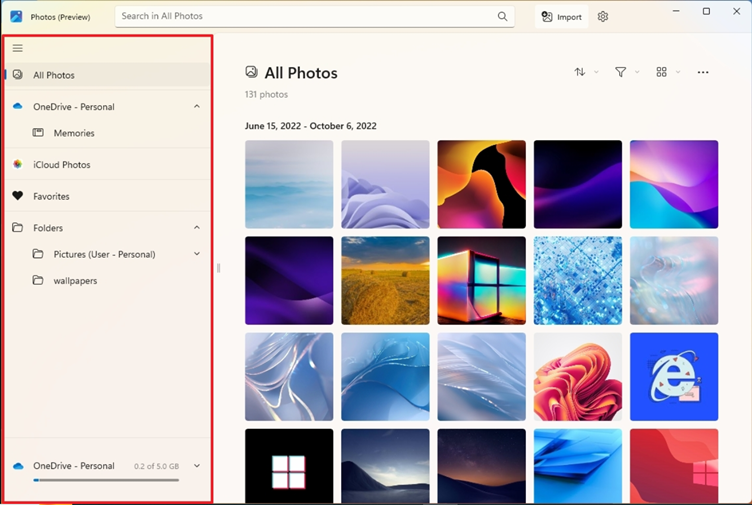
1: Navigation Pane
In the new update of the Photos app, the navigation pane is at the left of the Windows. You can access all of your favourite media files with a single click on Favourites in the navigation pane. You can easily navigate files not only stored in the local computer but also from your iCloud or OneDrive. On the lower side of the navigation pane, you can see the status of the OneDrive storage space:
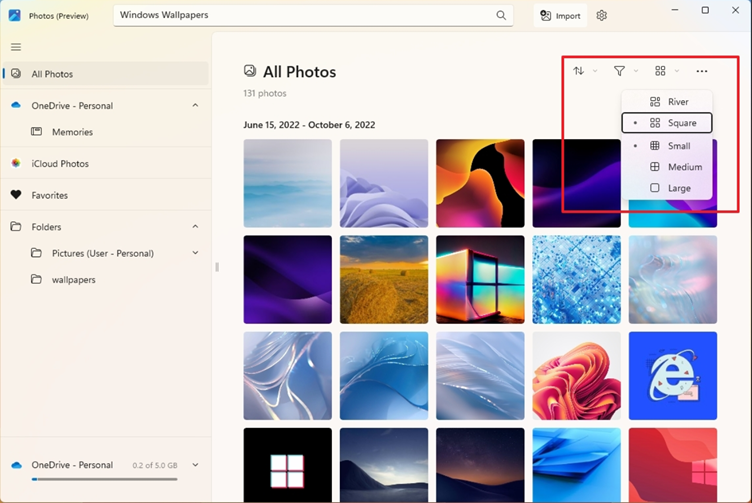
2: Toolbar
Using the Photos app toolbar, you can choose to sort by criteria such as by date taken, by name, or by recently added. You can also change the preview size and filter the media files by videos and photos:
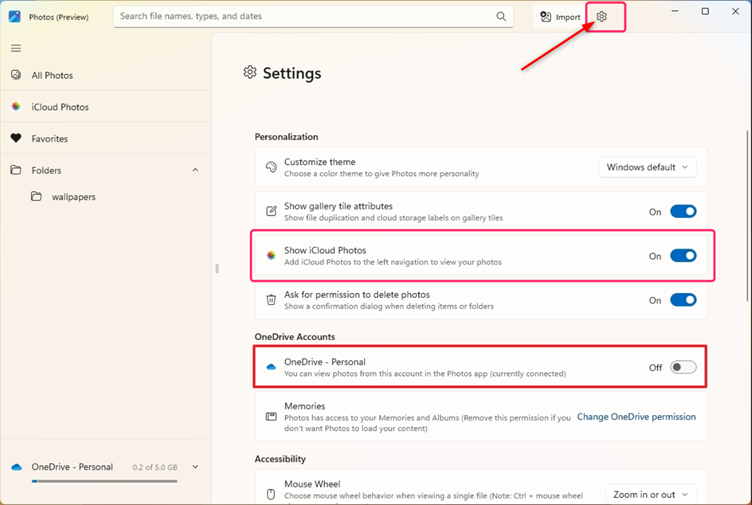
3: Hide or show OneDrive and iCloud Photos
In the Photos app on Windows 11, you can choose to show media files from OneDrive and iCloud. To show or hide media files from OneDrive and iCloud click on the toggle button to set your preference. Click on the settings icon at the top and Toggle on or off under the OneDrive-Personal and Show iCloud Photos to show or hide media files from them:
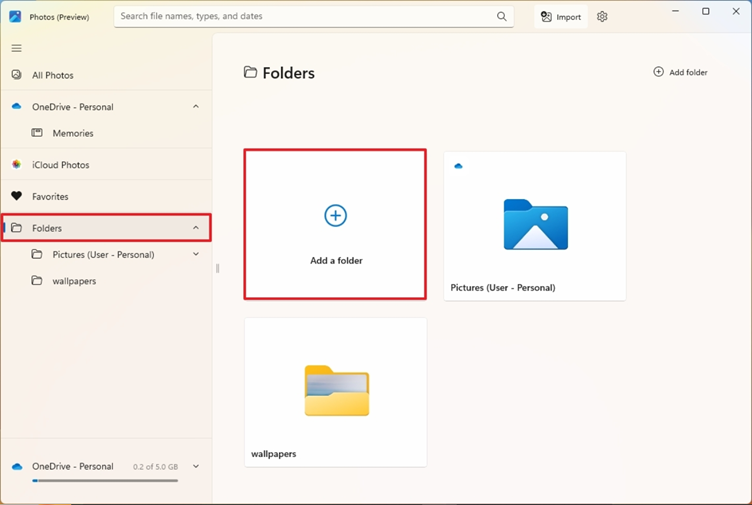
4: Add a Folder on the Photos App
To add a folder, click on Folders in the navigation pane and click on Add a Folder on the right side then select the folder you want to add in the Photos app:
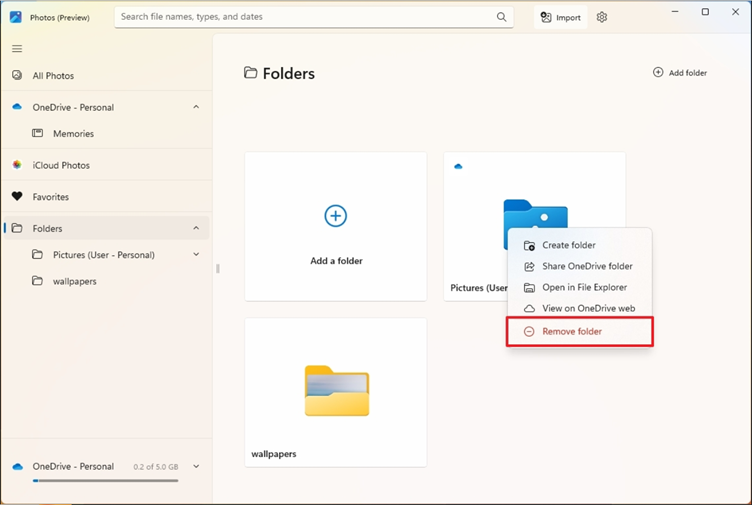
5: Remove the Folder from the Photos App
To remove the folder from the Photos app, click on Folders in the navigation pane, all the folders will appear on the right pane. Right-click on the folder you want to remove and click on Remove folder from the context menu:
6: Change the Colour Mode of the Photos App
To change the colour mode of the Photos app, click on the settings icon at the top and open the drop-down menu in front of the Customize theme under Personalization. Select the colour mode from dark, light, or Windows default:

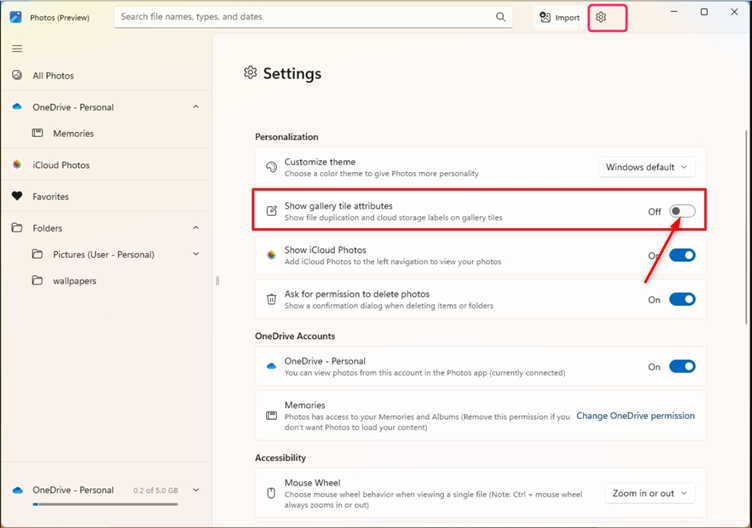
7: Hide Cloud Icons from Images
To hide the cloud icons from the images in the Photos app, open the Photos app settings as mentioned above.
In the Personalization settings section, Toggle off the switch in front of the Show gallery tile attributes:
Conclusion
In the new Photos app on Windows 11, we can navigate the media files not only stored on the local computer but also from OneDrive and iCloud. In the new Photos app, the navigation pane is at the left of the Windows with the expand and collapse option. We can navigate to favourited videos by clicking on favourite in the navigation pane.
Source: linuxhint.com