How to Get Started With Streamlit
Streamlit is a well-known, open-source Python library that is frequently used all over the world for building and designing web applications based on data science and machine learning. It is also used for the evaluation of the results in presentable form with the help of graphs, pie charts, histograms, tables, and so on.
In this blog, we will demonstrate how to get started with Streamlit.
How to Get Started With Streamlit?
To get started with Streamlit, first install it on the system. For this purpose, first, install Python and pip on the system. After that, install and activate the virtual environment and then install and use Streamlit. For a demonstration, follow the below-provided outline.
- Prerequisites: Install Python and pip
- Install and Activate Virtual Environment
- Install Streamlit and Run its Interface
Prerequisites: Install Python and pip
To start using Streamlit, users are required to fulfill some prerequisites such as installing Python on the system. For this purpose, follow our associated tutorial on “Install Python on Windows 10/11”. After installing Python, install the pip on the system by following the below-given instructions.
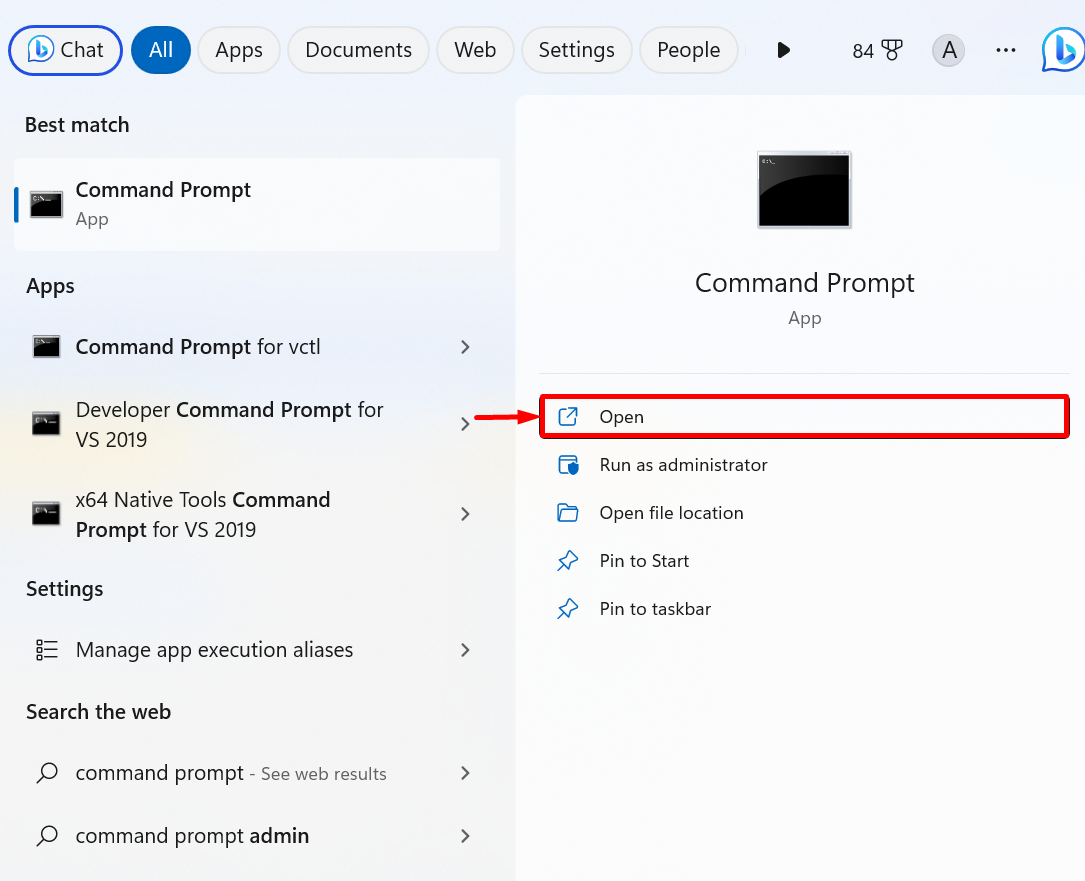
Step 1: Launch Command Prompt
First, navigate to the Windows “Startup” menu and launch the Command Prompt:
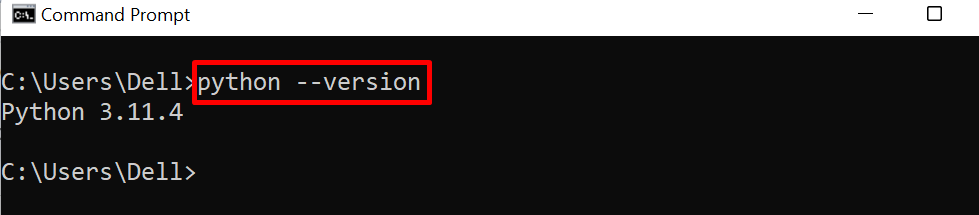
Step 2: Check Python Version
In the next step, confirm that if Python is installed on the system or not by verifying its version:
The output shows that we have Python version “3.11.4” on the system:
Note: Installation of Python automatically installs the pip on the system. But sometimes, the Python installer may fail to install pip. To install pip on the system, check out the next step otherwise, you can skip these steps.
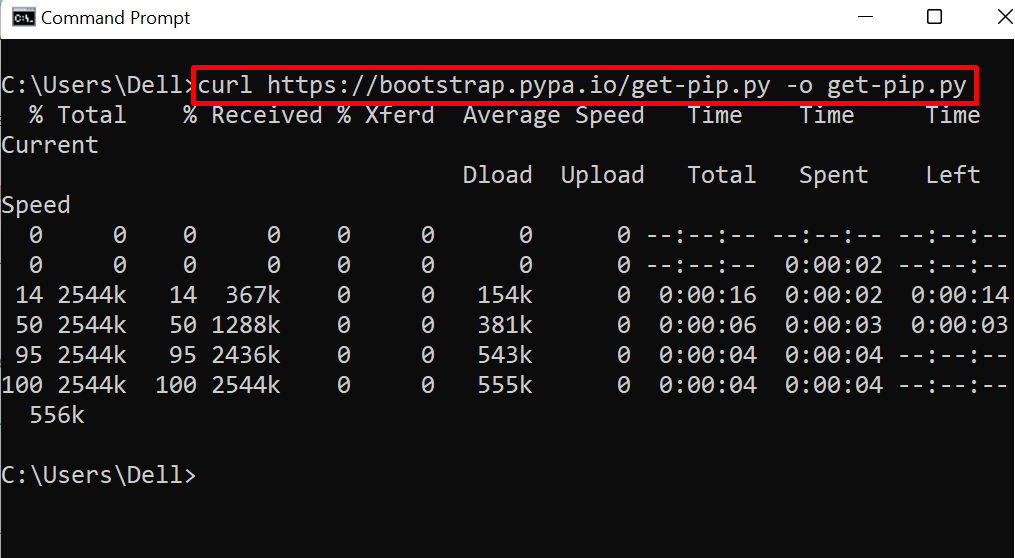
Step 3: Install pip
Utilize the below-mentioned curl command to download the pip installation file from the provided URL. In the below command, the provided URL contains the script. This script is overwritten in the “get-pip.py” file with the help of the “-o” option:
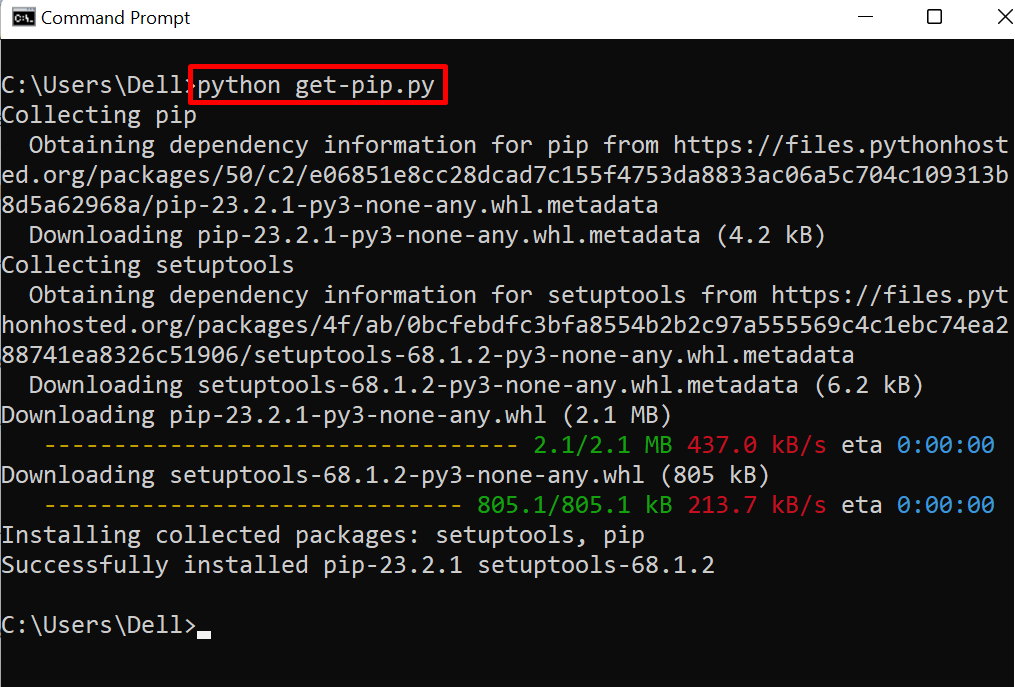
Now, run the below command to install the pip on the system:
Step 4: Verification
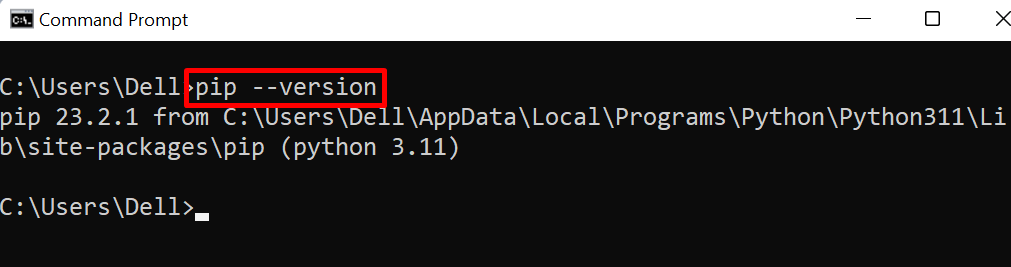
For verification, check the version of pip using the “pip –version” command:
The output shows that we have successfully installed the pip on the system:
Install and Activate Virtual Environment
To install and activate the virtualenv (virtual environment), you can follow our linked article “Activate Virtual Environment on Windows”.
For illustration, go through the below steps.
Step 1: Install Virtual Environment
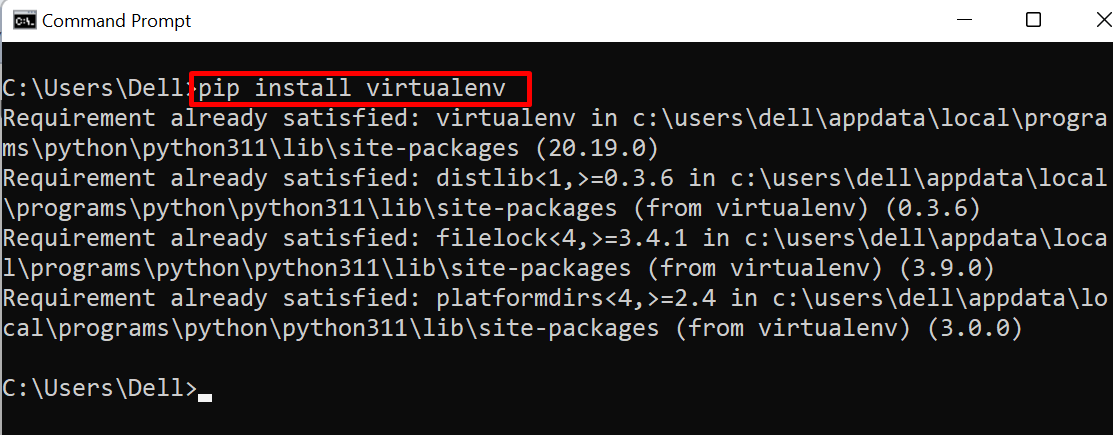
First, install the virtual environment by utilizing the pip package manager as done below:
The output indicates that the virtual environment has been installed on the system:
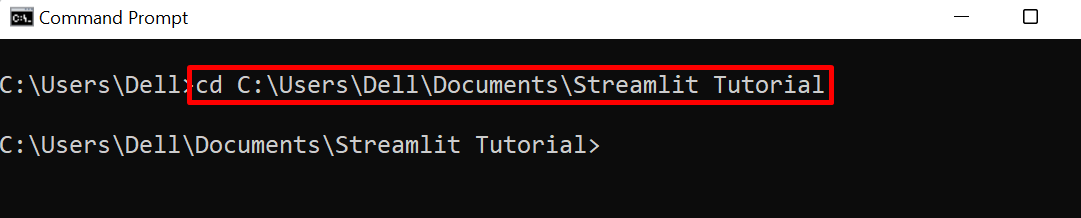
Step 2: Navigate to Project Directory
Next, navigate to the project directory where the user wants to start working on Streamlit:
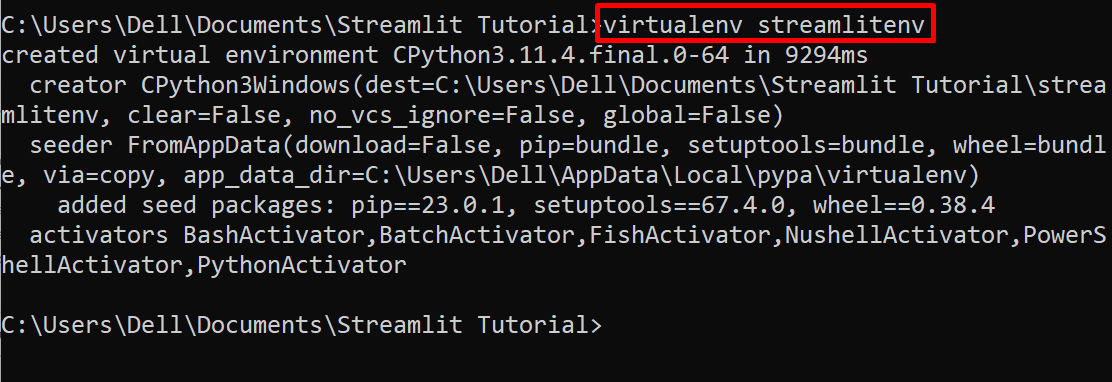
Step 3: Create Virtual Environment For Streamlit
In the next step, create a new virtual environment by utilizing the “virtualenv <environment-name>” command. For demonstration, we have created a “streamlitenv” virtual environment:
Step 4: Activate Virtual Environment
Now, activate the newly created virtual environment through the mentioned command:
The output shows that we have successfully activated the “streamlitenv” virtual environment:

Install Streamlit and Run its Interface
To install the streamlit Python library to start designing a website or to view results in presentable form, utilize the below instructions.
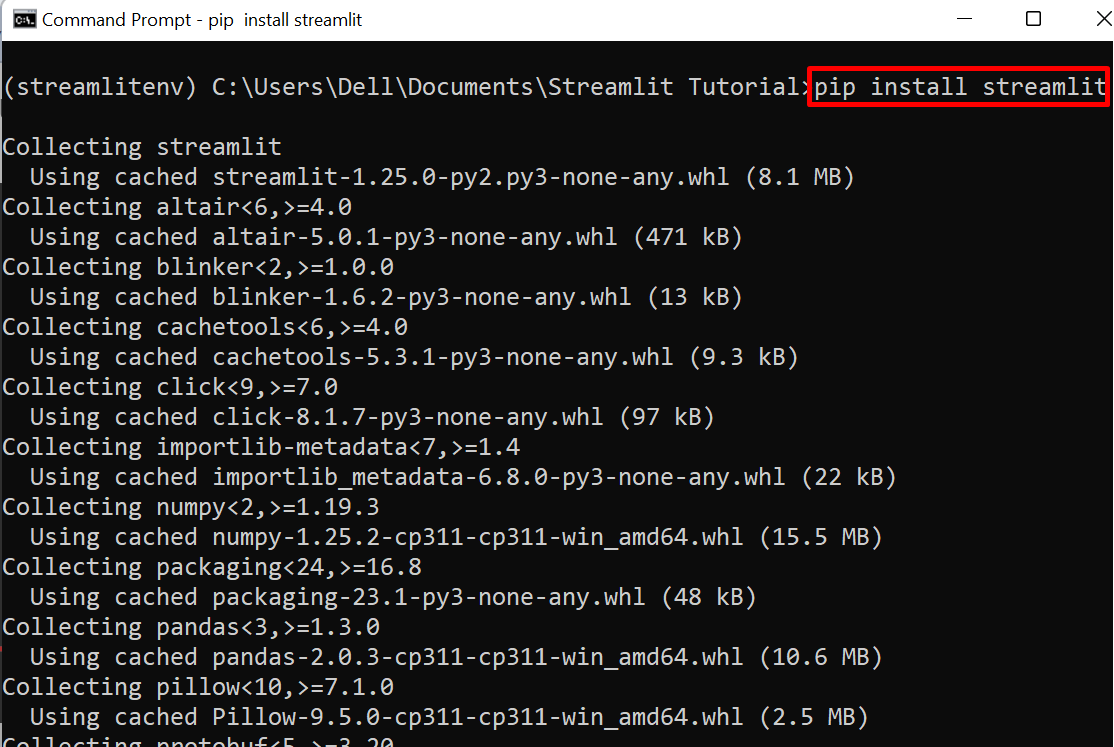
Step 1: Install Streamlit
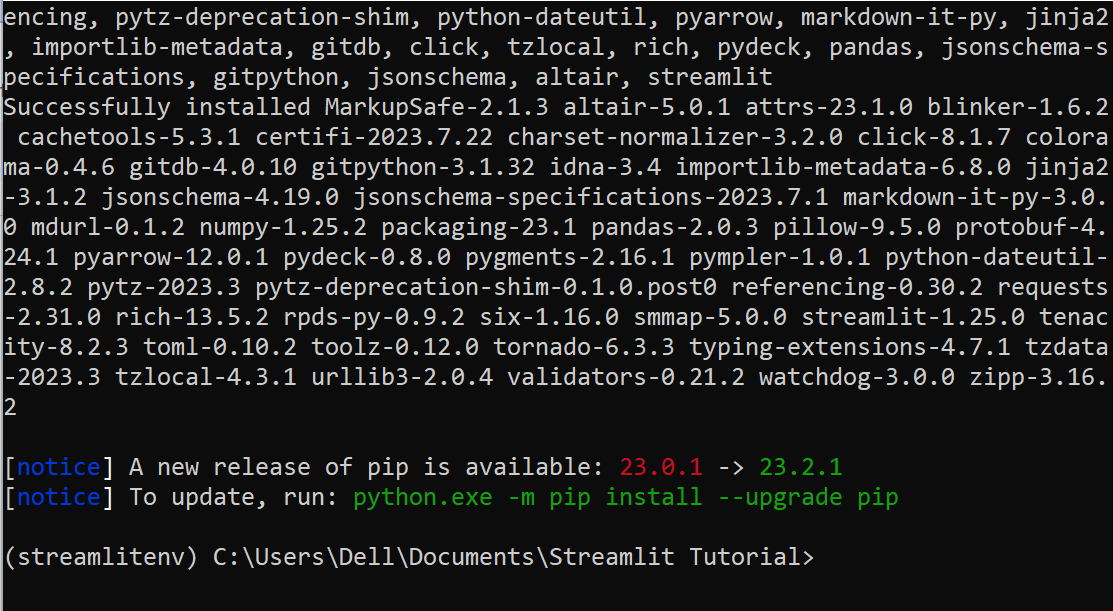
To install the Streamlit library, utilize the pip package manager and below command:
The below output indicates that we have successfully installed the streamlit library on the system:
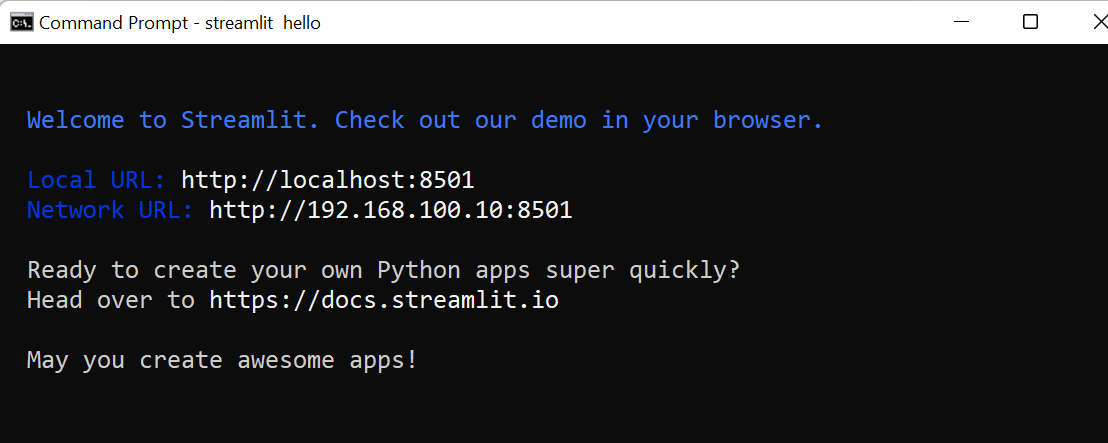
Step 2: Run Streamlit Interface on Browser
Now, execute the streamlit default user interface on the browser using the “streamlit hello” command:
The below output shows that the Streamlit user interface is accessible on the “localhost:8501” URL:
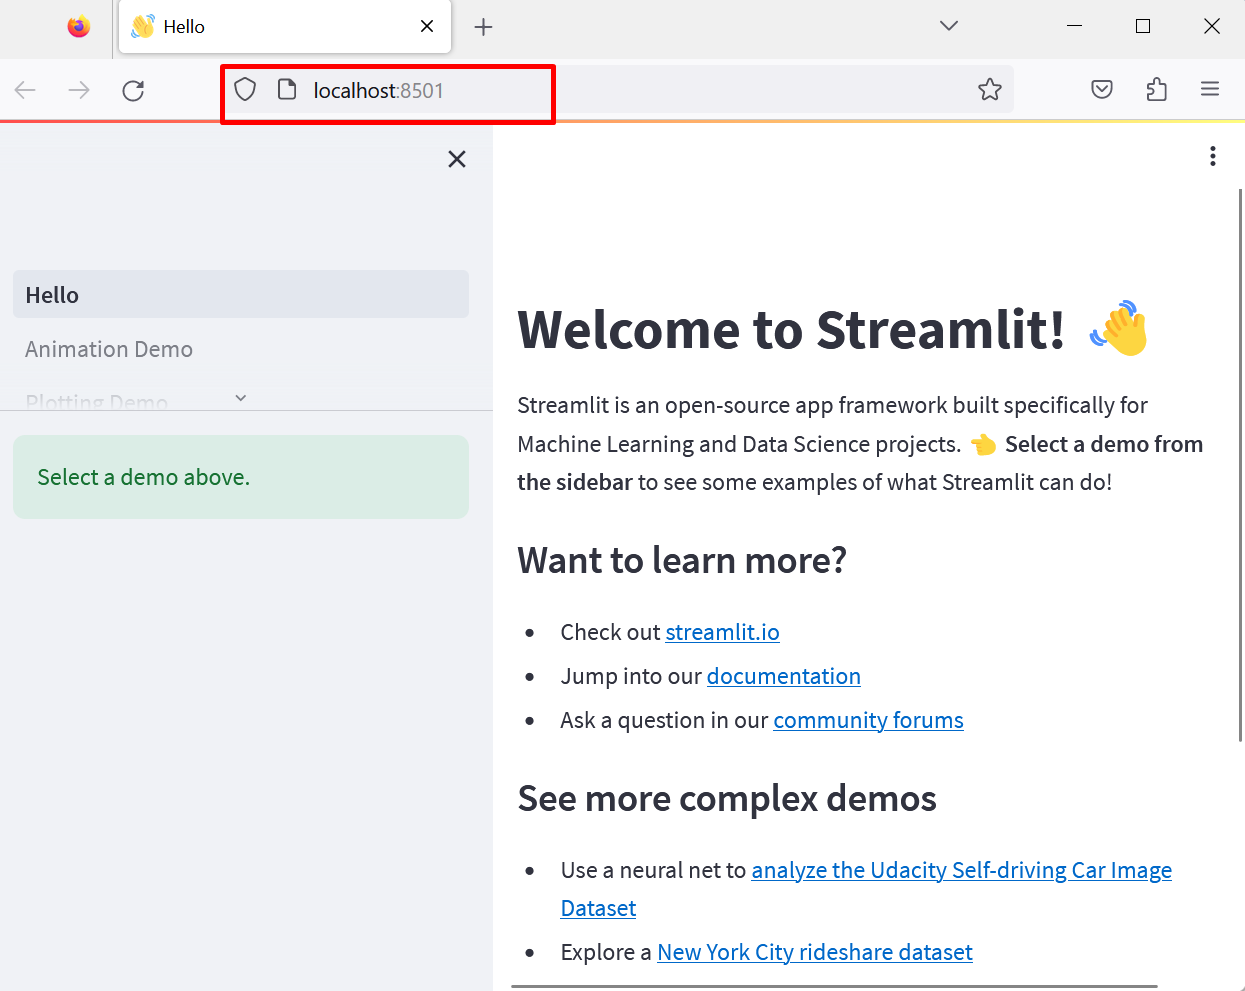
For verification, navigate to the “localhost:8501” URL. Here, you can see we have successfully accessed the Streamlit user interface on the browser:
Bonus Tip: Access Python Script on Streamlit
To access the Python script on streamlit to design web applications or to show results in presentable form, go through the following instructions.
Step 1: Create Program File
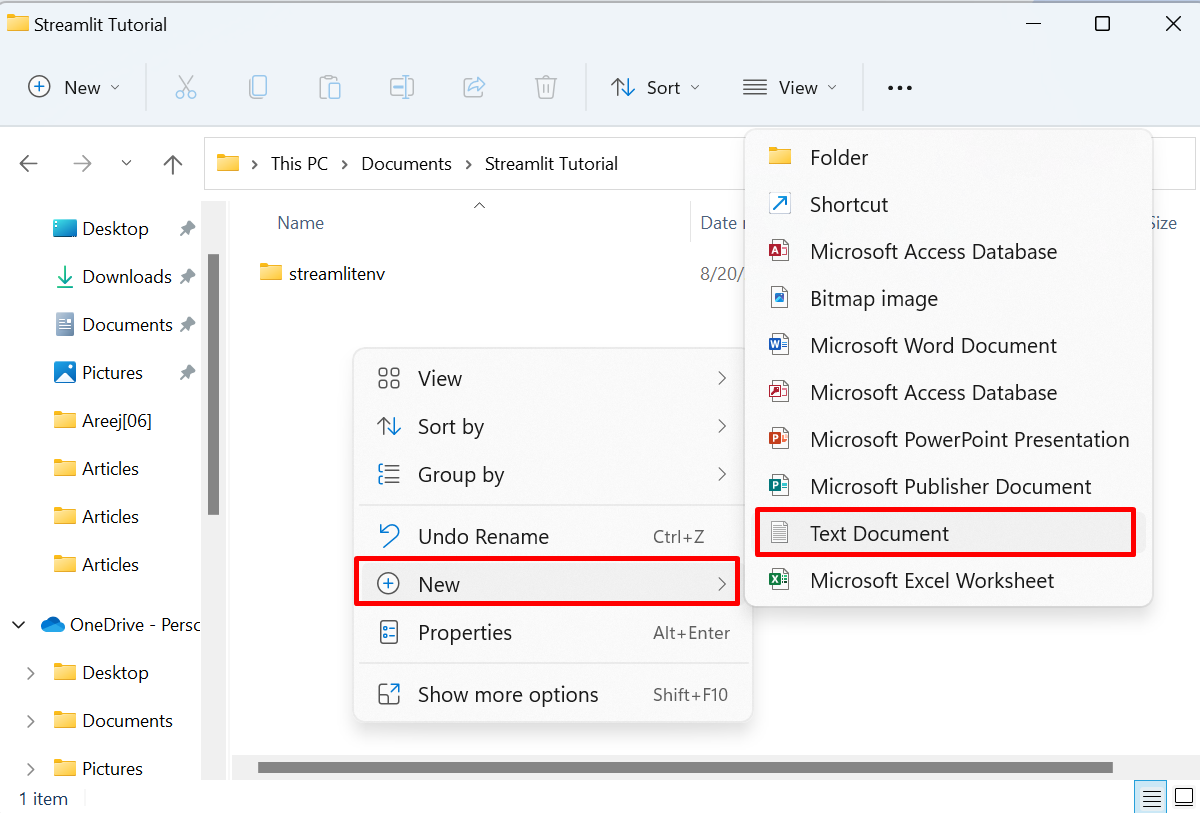
Open the project directory, right-click anywhere on the screen, and choose the “New” option from the appeared context menu. Now, select the “Text Document” option from the appeared sub-context menu:
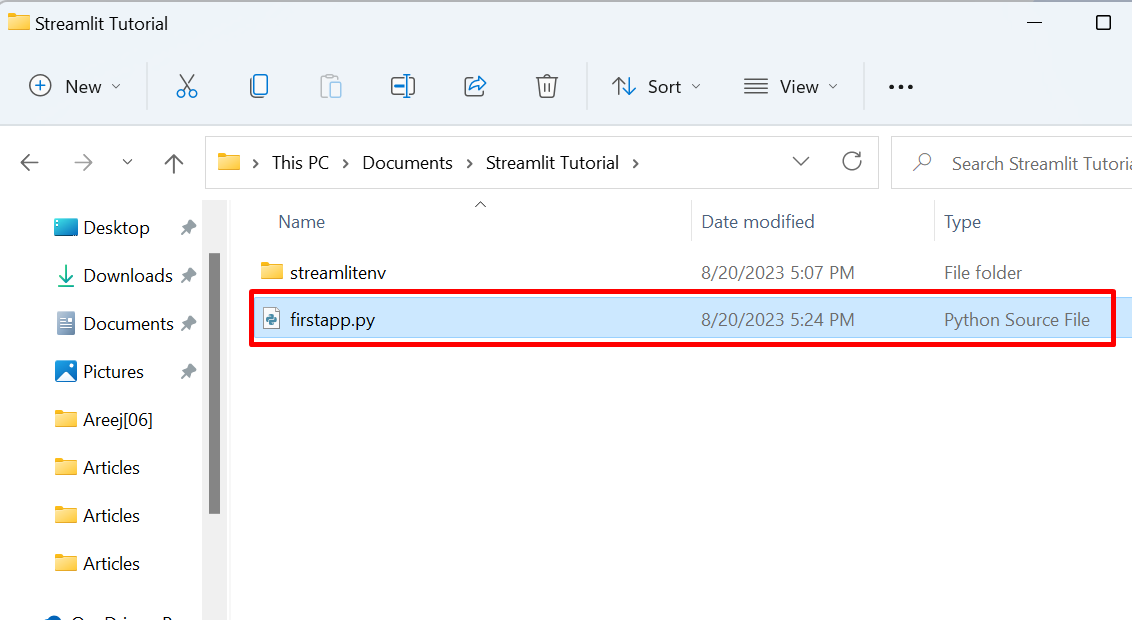
Name the file as “firstapp.py” and change the extension of the file from “.txt” to “.py”:
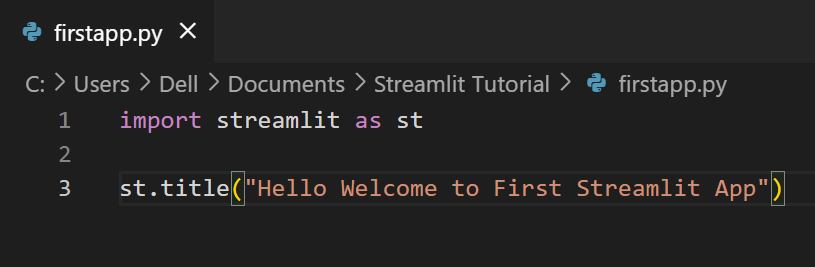
Now, paste the following code into the file:
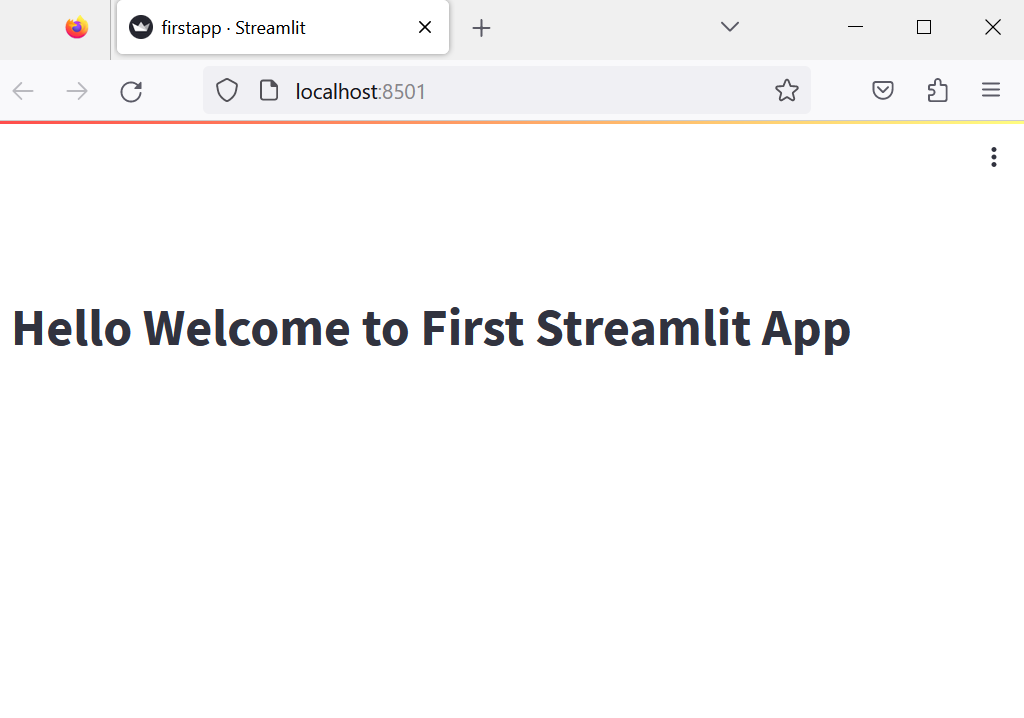
st.title("Hello Welcome to First Streamlit App")
In the above code, the “import” is used to import the streamlit library, and the “st.title” will set the title of the page:
Step 2: Run Python Script
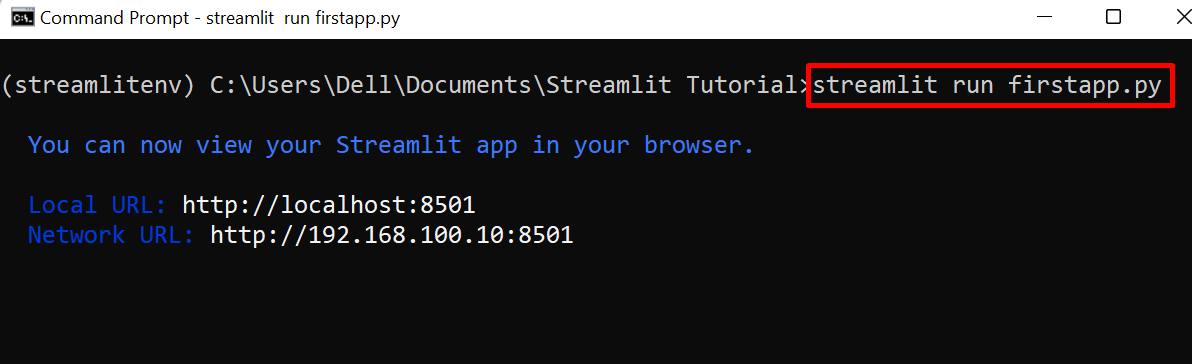
Next, execute the python script using Streamlit with the help of below command:
The below output shows that python script is start executing on “localhost:8501”:
Now, open the browser, navigate to the “localhost:8501” URL and verify that if the python script is executing or not. The output shows that we have successfully executed the Python script on streamlit:
That is all about getting started with Streamlit.
Conclusion
To get started with Streamlit, first install the Python and pip package manager. After that, install and activate the new virtualenv (virtual environment). After that, install the Streamlit library using the “pip install streamlit” command. In order to execute the Streamlit default UI, utilize the “streamlit hello” command. We have demonstrated how to get started with streamlit.
Source: linuxhint.com