How to Get Started with AWS Elastic Beanstalk?
Quick Outline
This article illustrates the following aspects:
- What is AWS Elastic BeanStalk?
- What are the Features of Elastic Beanstalk?
- How to Get Started with Elastic Beanstalk?
- What are the Benefits of Using Elastic Beanstalk?
- Bonus Tip: Elastic Beanstalk Pricing
- Conclusion
What is AWS Elastic BeanStalk?
AWS Elastic Beanstalk is a quick solution for application deployment and management issues. It supports multiple languages such as .NET, Java, Node JS, Python, etc. Elastic Beanstalk minimizes the complexity of the Application. It is classified as a platform as a service (PaaS). It takes the application’s code and deploys it with all the required dependencies installed.
Similarly, the Elastic Beanstalk service intelligently scales and manages the deployed applications. Furthermore, it also helps users in Load balancing and health monitoring. Elastic Beanstalk allows the users to gain control of the AWS resources that are powering the application.
What are the Features of Elastic Beanstalk?
Elastic Beanstalk is the simplest platform for the deployment of applications based on its features. The following are its features enlisted:
No Extra Configuration: With Elastic Beanstalk, no additional dependencies or servers for code execution are required. Elastic Beanstalk manages the administration of the computing resources. Hence, enabling the user to focus on efficient code writing.
Auto Scaling: The resources are automatically scaled to grow or shrink in size depending upon the demand of the application.
Instance Type: The users can select the type of instances that are best suited for the application deployment.
How to Get Started with Elastic Beanstalk?
Developers can upload the current version of the application designed on any platform to Beanstalk. Once the version is uploaded, the user is required to Launch the Environment. The user can view the application through the public URL generated by the AWS Elastic Beanstalk:

The EC2 instance is automatically created by Elastic Beanstalk when an application is launched. This EC2 instance will act as a container on which the application is deployed and executed. Hence, configuring the security groups or creating the load balancers, etc. will be managed by the Elastic Beanstalk.
Below are the steps to Get Started with Elastic Beanstalk:
- Step 1: Create an IAM Role
- Step 2: Create an Application
- Step 3: Create the Environment
- Step 4: Verification
Step 1: Create an IAM Role
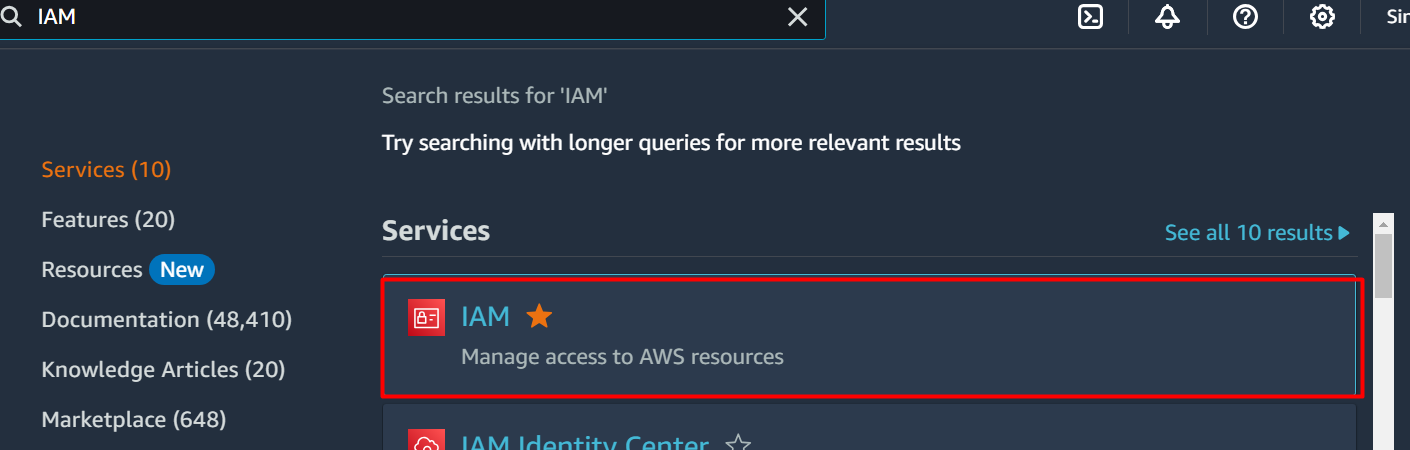
Before setting up Elastic Beanstalk, first create an IAM role with specific permissions. For this purpose, access the “IAM” service from the AWS Management Console:
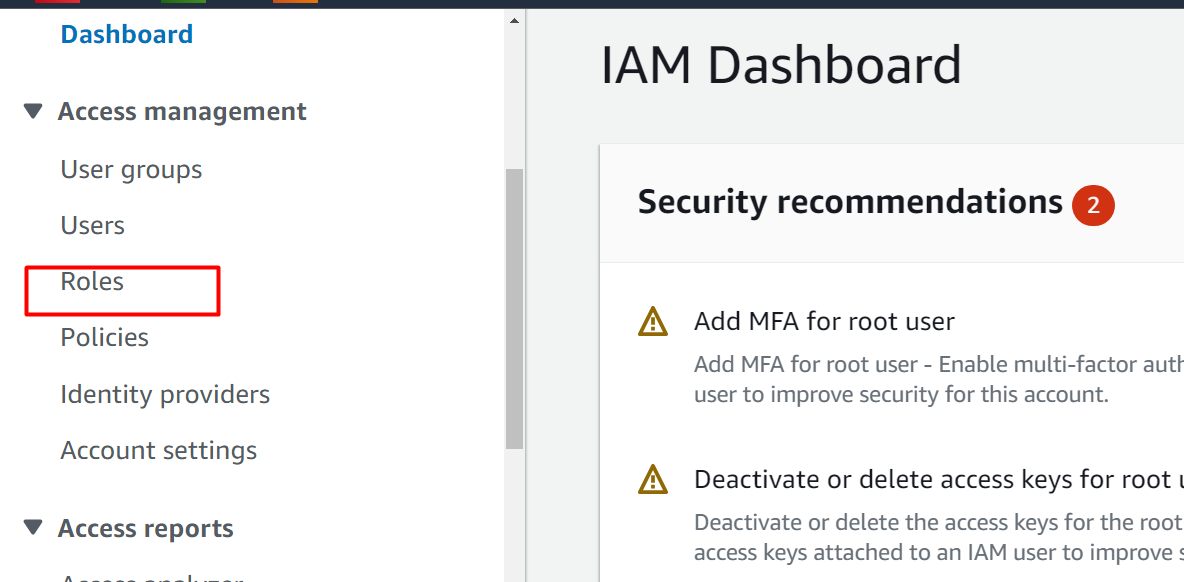
Click on the “Roles” option from the sidebar of the IAM Dashboard:
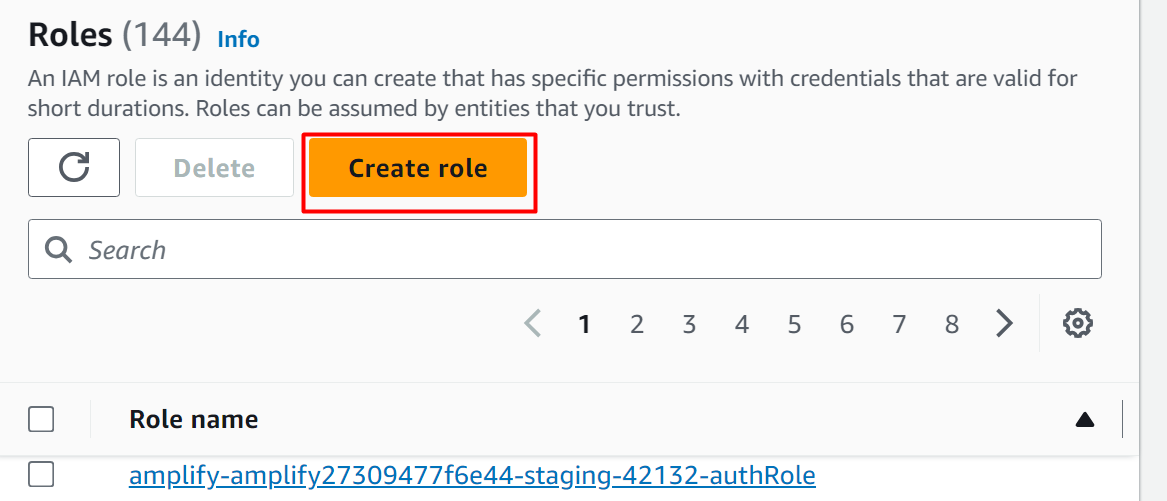
From the “Roles” interface, click the “Create role” button to create an IAM role:
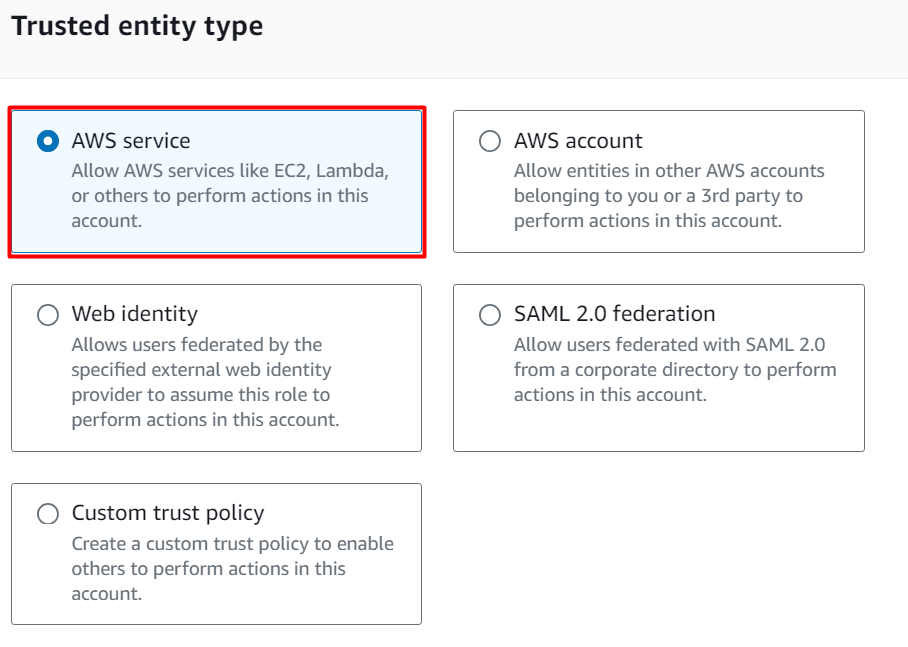
In the “Trusted entity type” section, select the “AWS service” option from the various options displayed:
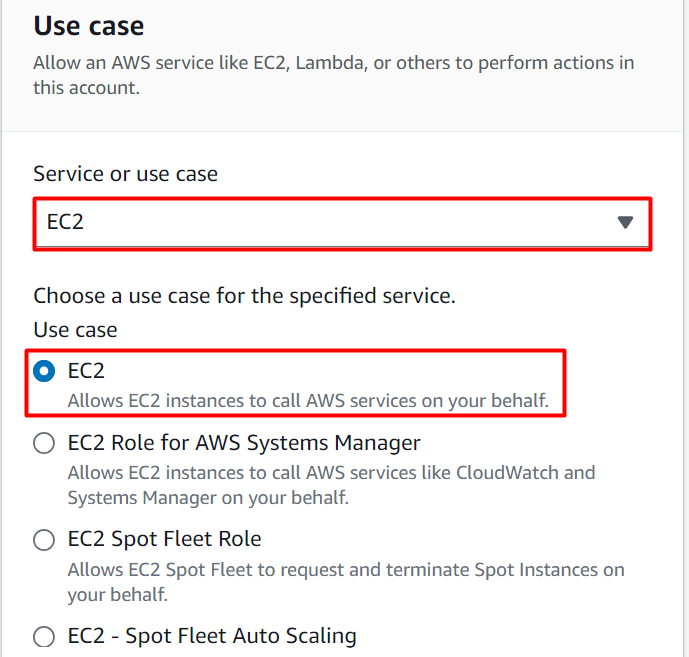
Next comes the “Use case” section. Search and select the “EC2” service:
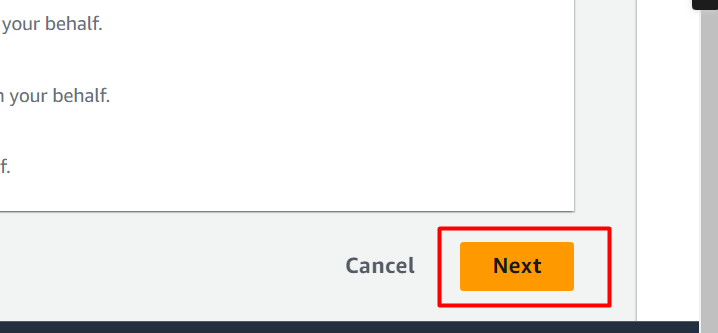
Tap the “Next” button which is located at the bottom of the interface:
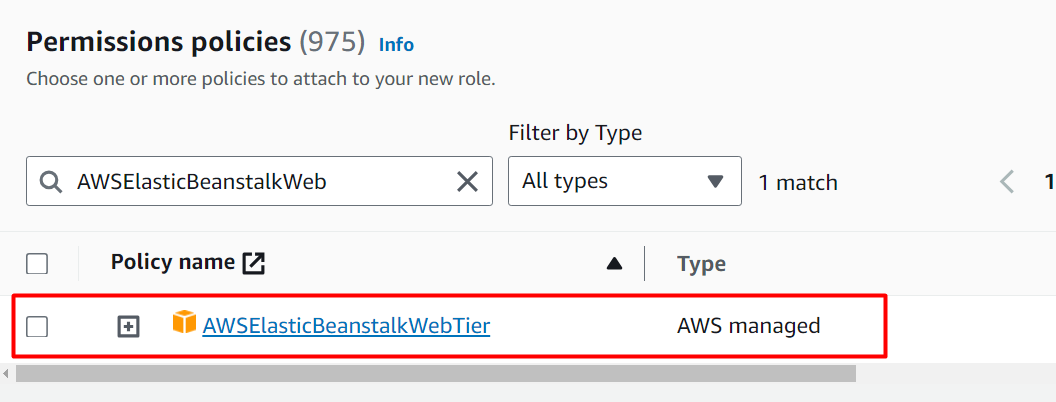
In the “Permissions policies” section, we will assign specific permission to this role. Search and select the “AWSElasticBeanstalkWebTier” permission:
To proceed further, click on the “Next” button:
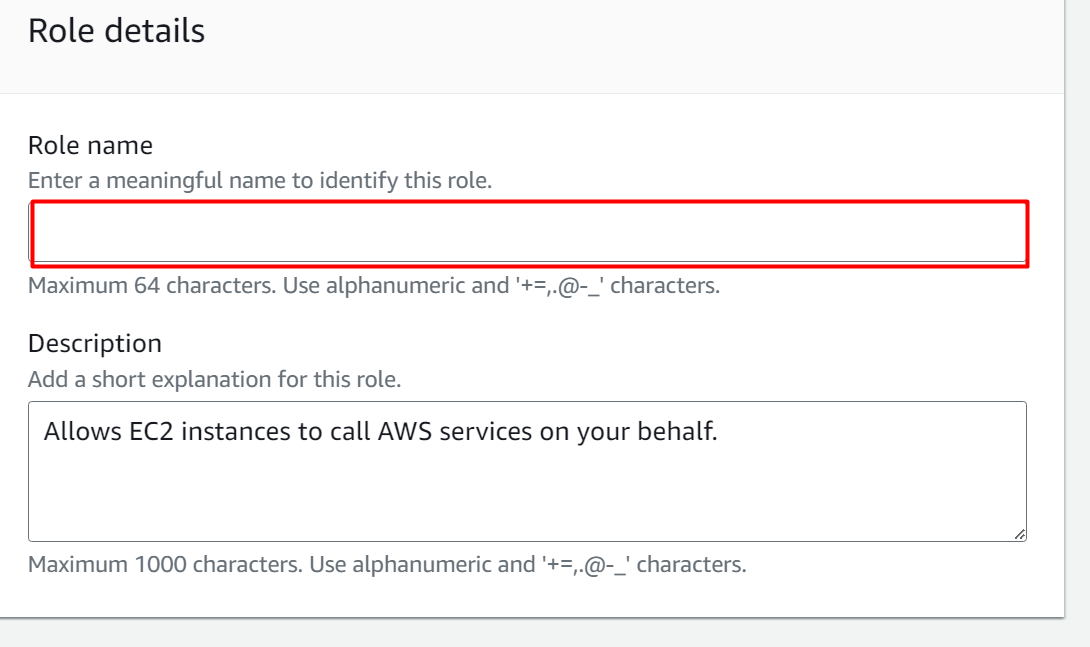
Next comes the “Role details” section. Provide the “Role name” in the highlighted field:
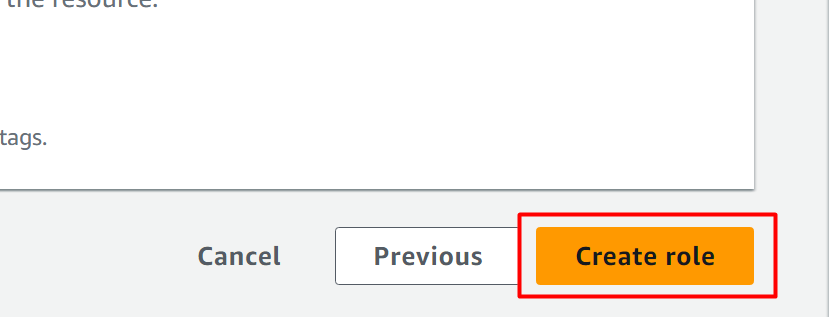
After providing details for the Role, hit the “Create role” button at the bottom of the interface:
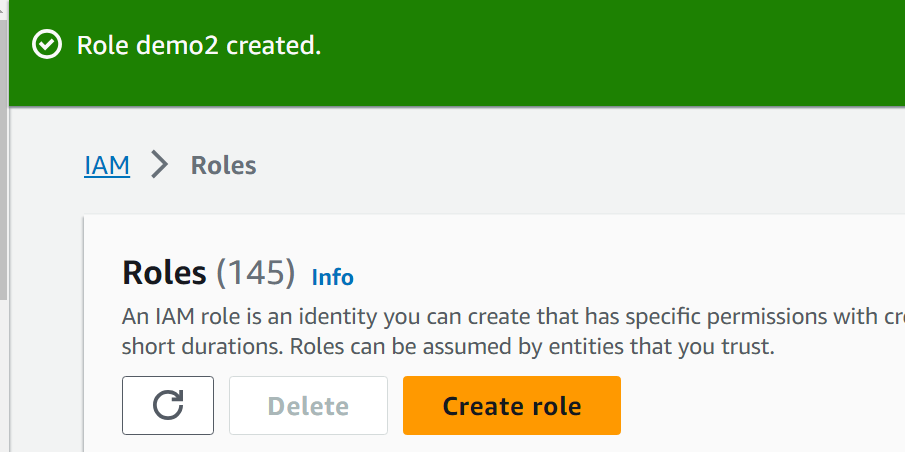
The role has been created successfully:
Step 2: Create an Application
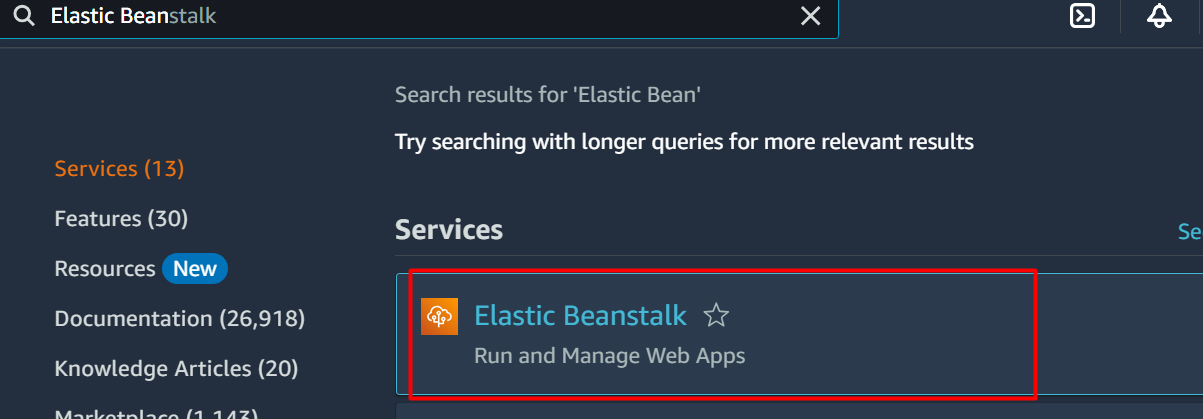
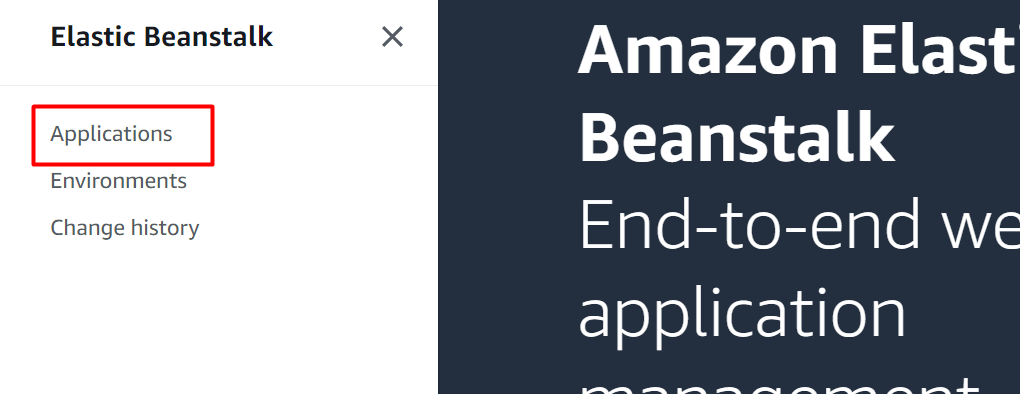
Search the “Elastic Beanstalk” service in the search bar of AWS. Click on it from the results displayed:
The topmost layer of the Elastic Beanstalk is the “Application” layer and then comes the “Environment” layer. Click on the “Create application” option from the navigation pane:
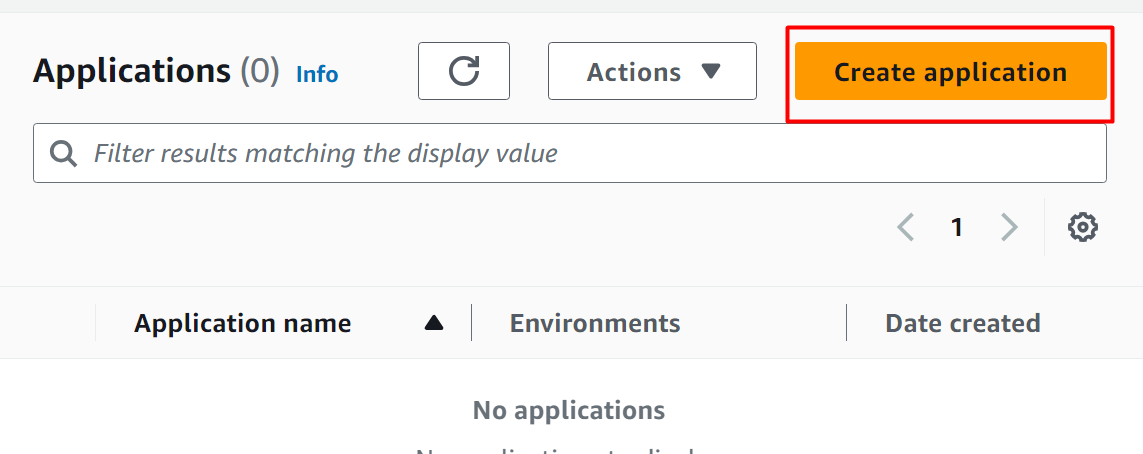
The Create Application interface is displayed. On this interface, click on the “Create application” button:
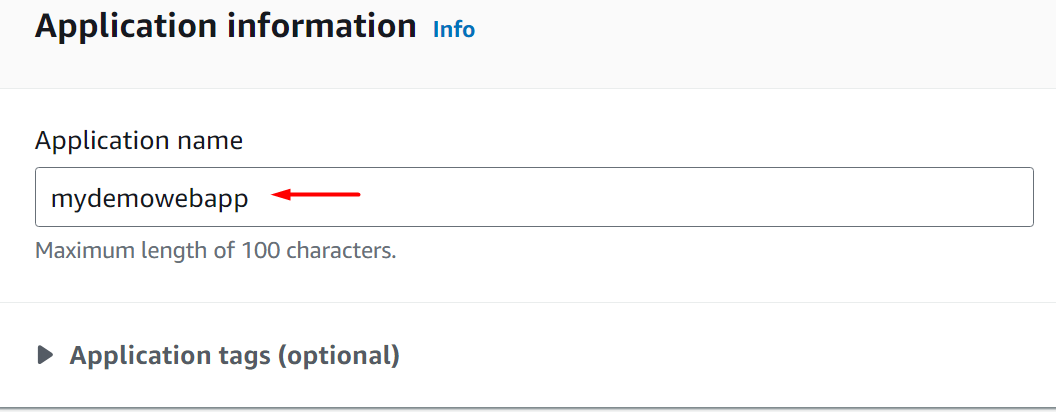
From the interface displayed, provide a name and a brief description for your application:
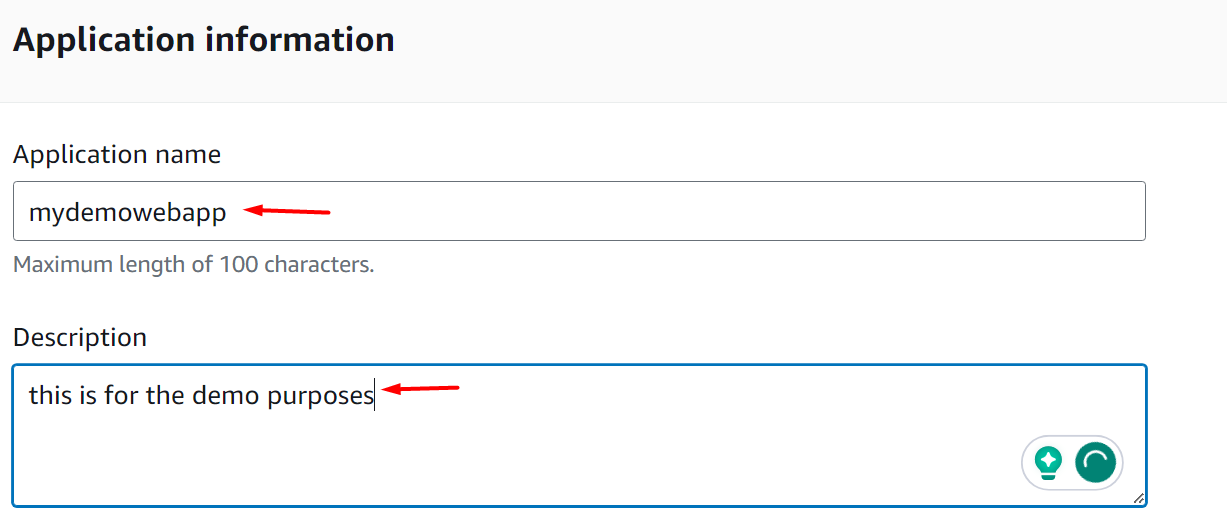
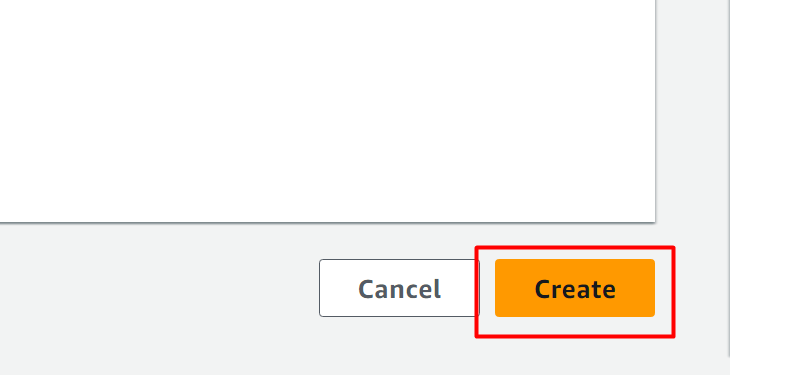
Tags are an optional field but can be added to the application based on the user preferences. After providing the details of the application, click on the “Create” button at the bottom of the interface:
Step 3: Create Environment
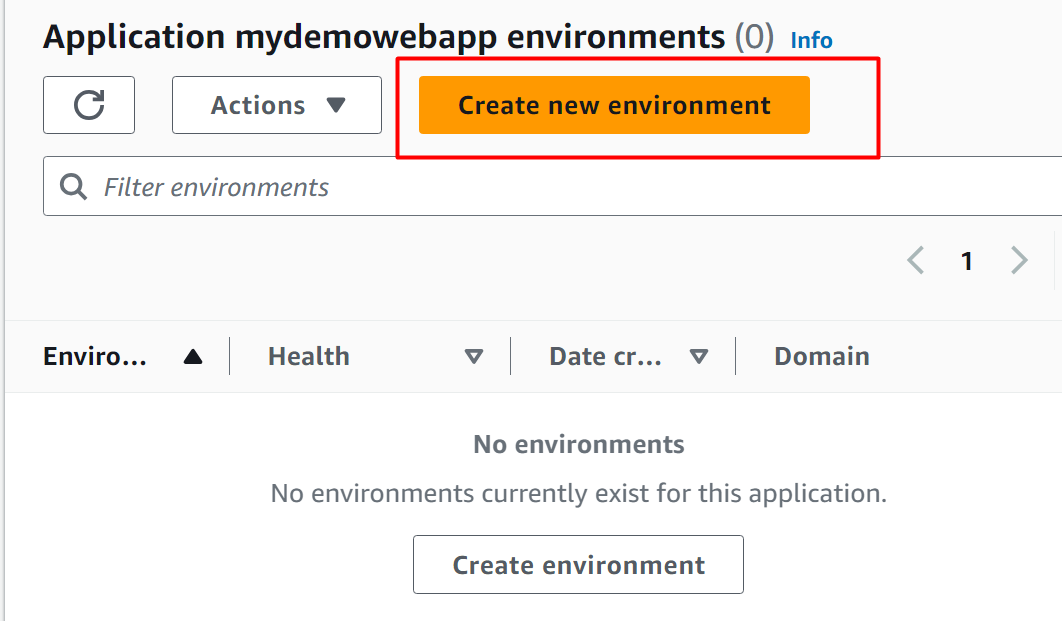
After creating the application, the next step is to configure the Environment for it. From the following interface displayed, click on the “Create new environment” button:
AWS offers two different kinds of configurations for the environment:
Web Server Environment: This type of environment is used for web applications deployment using HTTP requests.
Worker Environment: Such environments are best suited for the process with extensive workloads and listen for a message by using Amaz SQS.
For this demo, we have selected the “Web server environment” option:

In the “Application information” section, provide a name of your choice for your application in the “Application name” field:
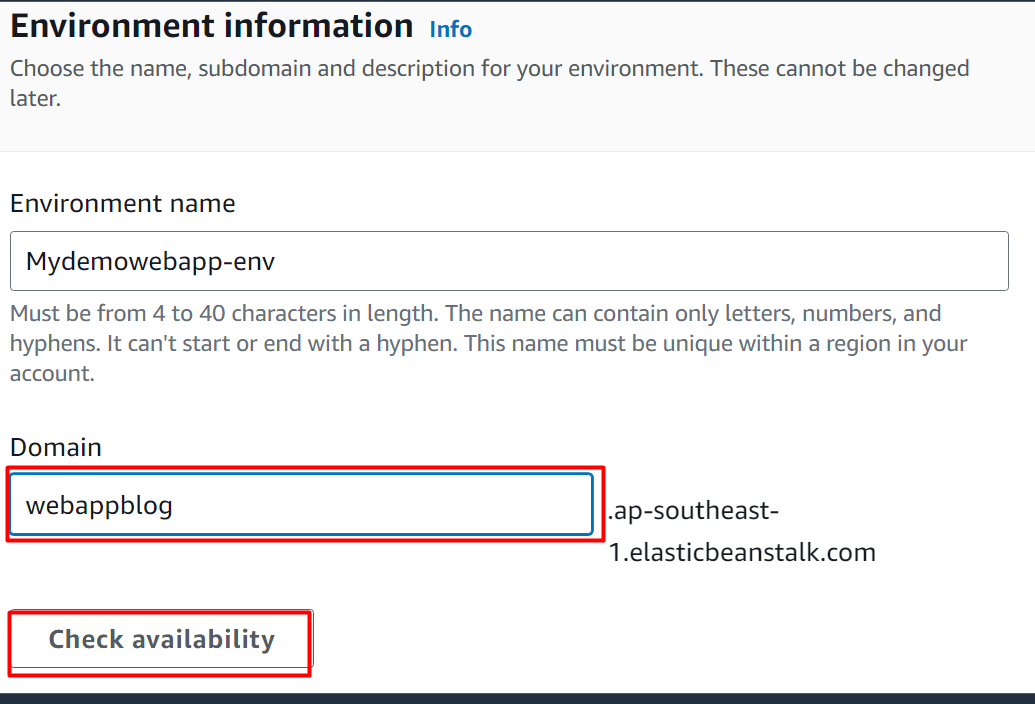
In the Environment name, the name is provided by default from the AWS. Similarly, in the Domain, the user can provide any name that will be associated with the region in which the application is to be deployed. To check the availability, click on the “Check availability” button:
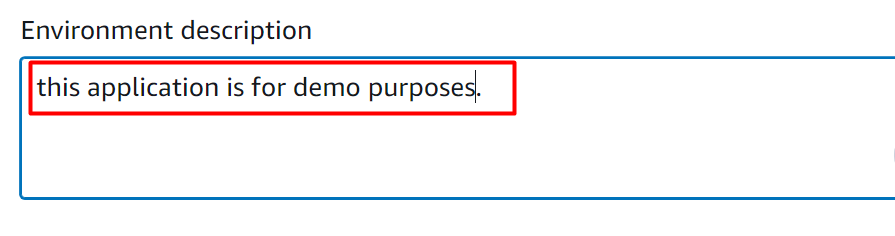
In the Environment description, provide a brief description of the application:
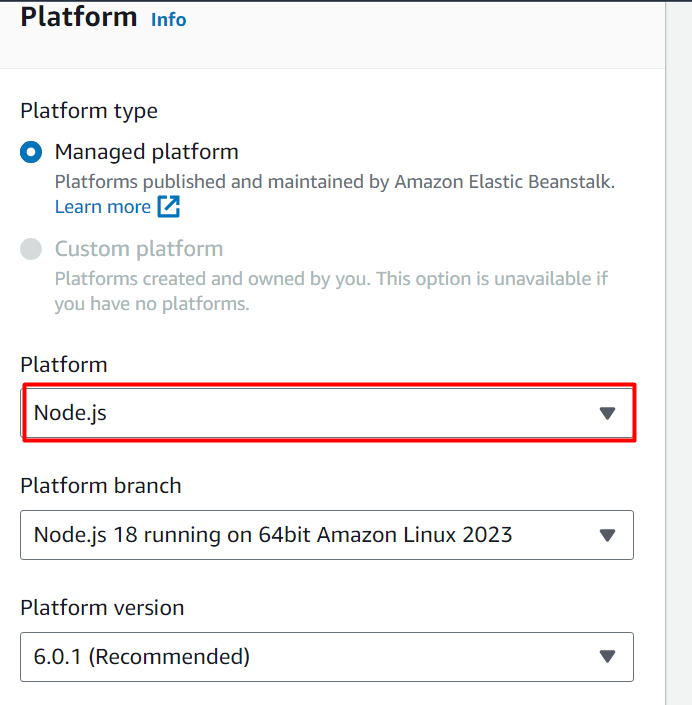
In the “Platform type” block, select the Runtime environment for your application. For this tutorial, we have selected the Node.js in the Platform field. Elastic Beanstalk provides by default the latest versions of the selected Runtime Environment:
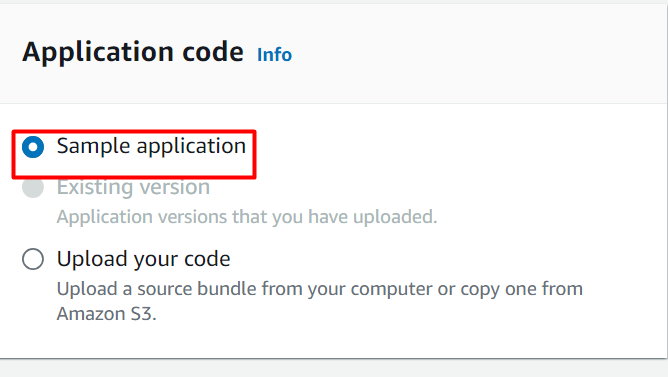
Next is the “Application code” section. A sample code is provided by Elastic Beanstalk for testing purposes. However, user can upload their code for deployment too. For this purpose, click on the “Upload your code” option and then select the files/folders. The files/folders should be in Zip format. Here, we have selected the “Sample application” option:
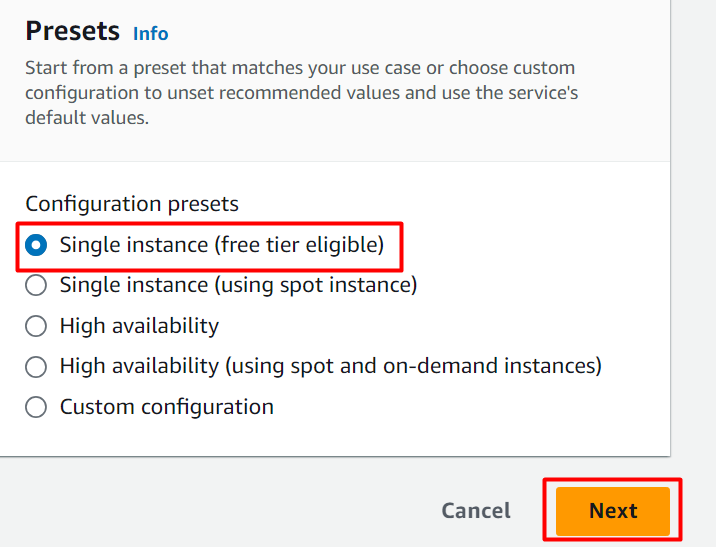
In the “Presets” section, select the “Free tier” version and hit the “Next” button:
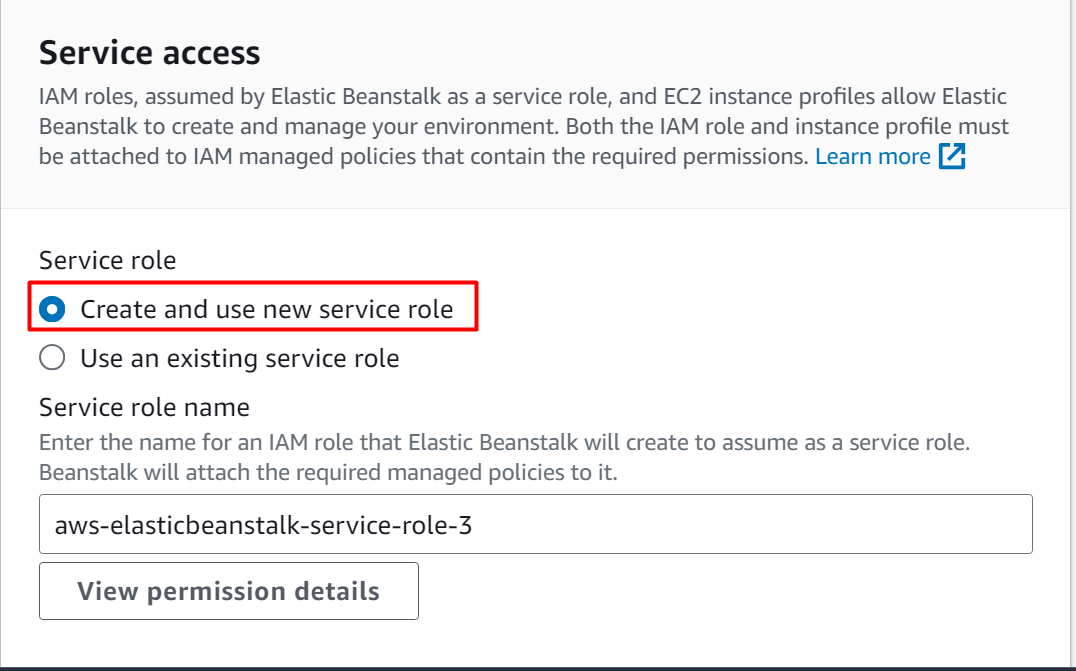
The user can configure the Service access either by using an existing one or creating a new one from scratch. At the moment, we have selected the “Create and use new service role” option. In the Service role name field, the user can also customize the name of the service provided by AWS:
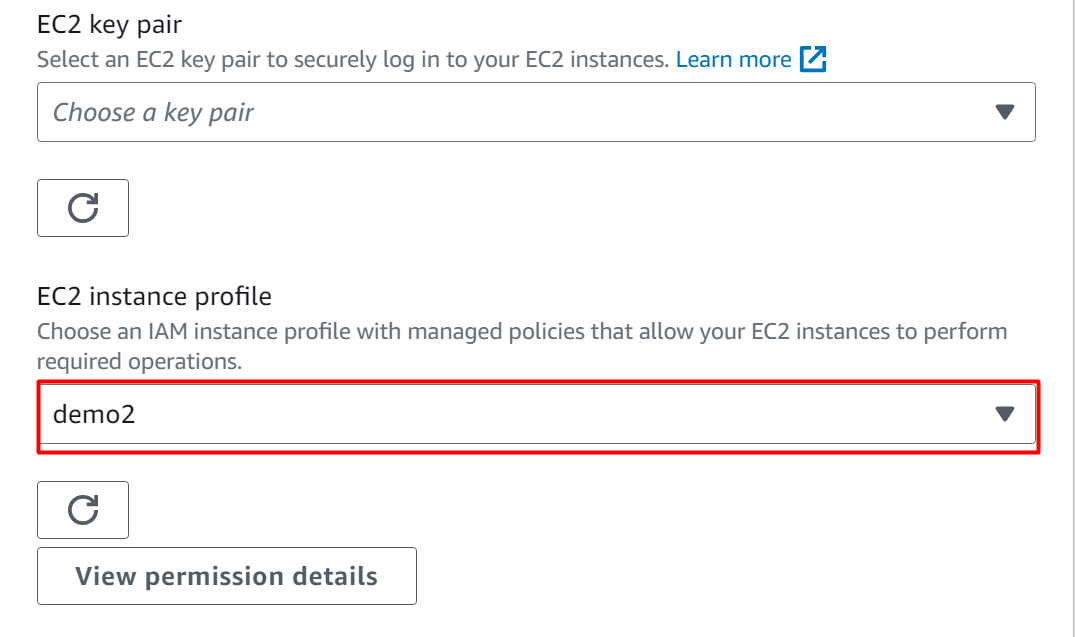
Next, we will attach the IAM role we have configured earlier. For this purpose, on the “Service Access” interface, search and select the IAM role in the EC2 instance profile field:
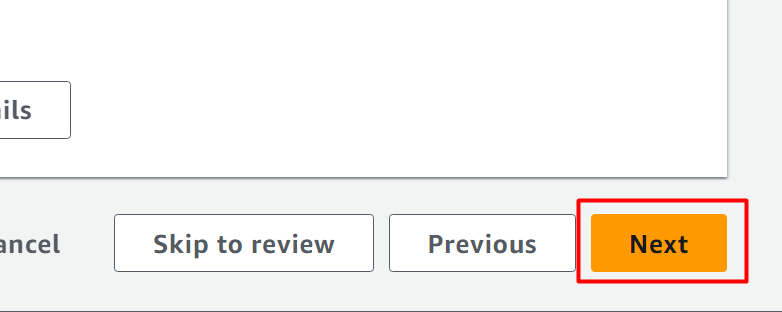
Then hit the “Next” button at the bottom of the interface to move to Step 3:
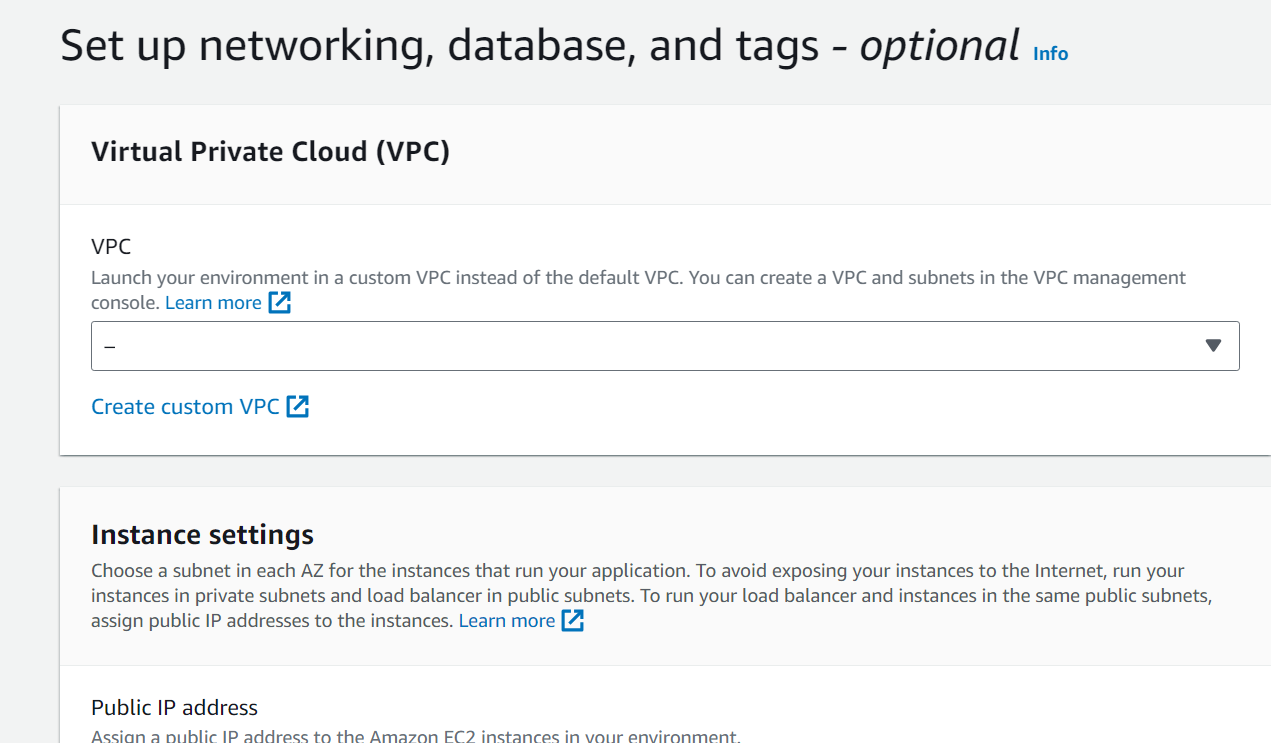
Moving towards Step 3, the user can configure the “VPC”. Furthermore, users can provide the details for the database by specifying the database engine, username and password, etc:
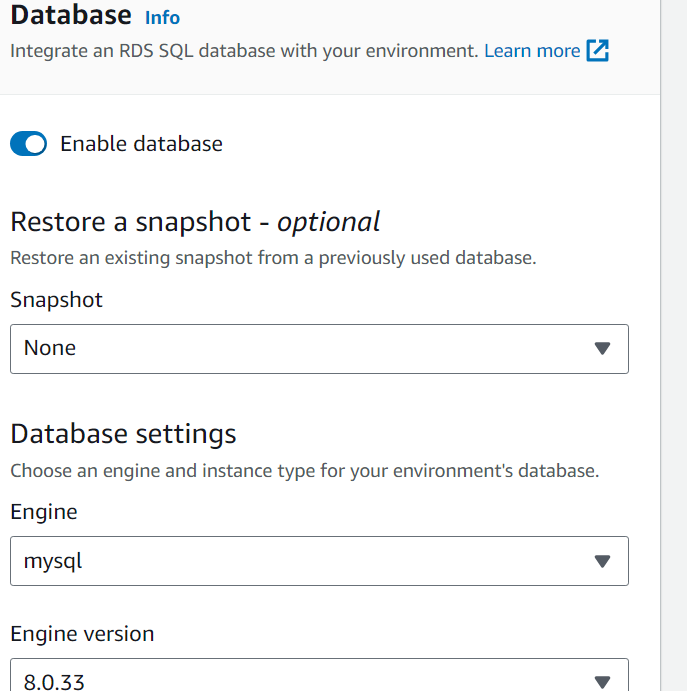
To provide the Database details, toggle the “Enable Database” button. This will enable all the fields for the information to be entered. Provide your database details and hit the “Next” button to proceed further:
After that, click on the “Next” button to proceed further:
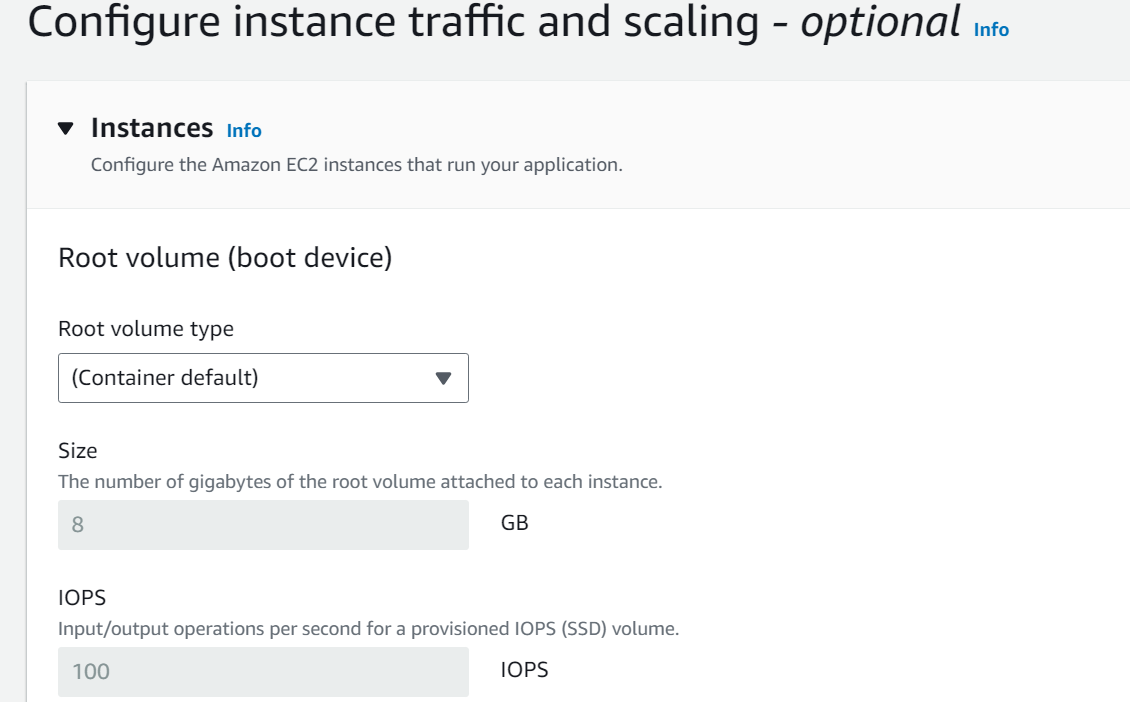
In Step 5, a user can select the security groups for traffic. Moreover, different containers for storing applications with storage capacity, auto-scaling groups, and architecture preferences can also be selected.:
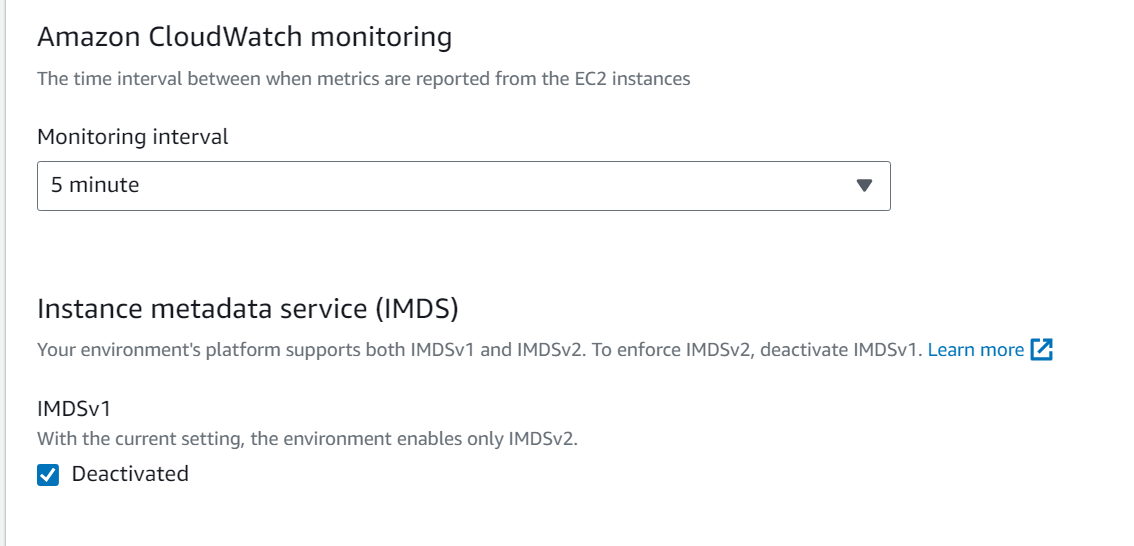
In the CloudWatch Monitoring section, the user can select the time interval. The CloudWatch will start monitoring the activity of the Elastic BeanStalk after the specified interval:
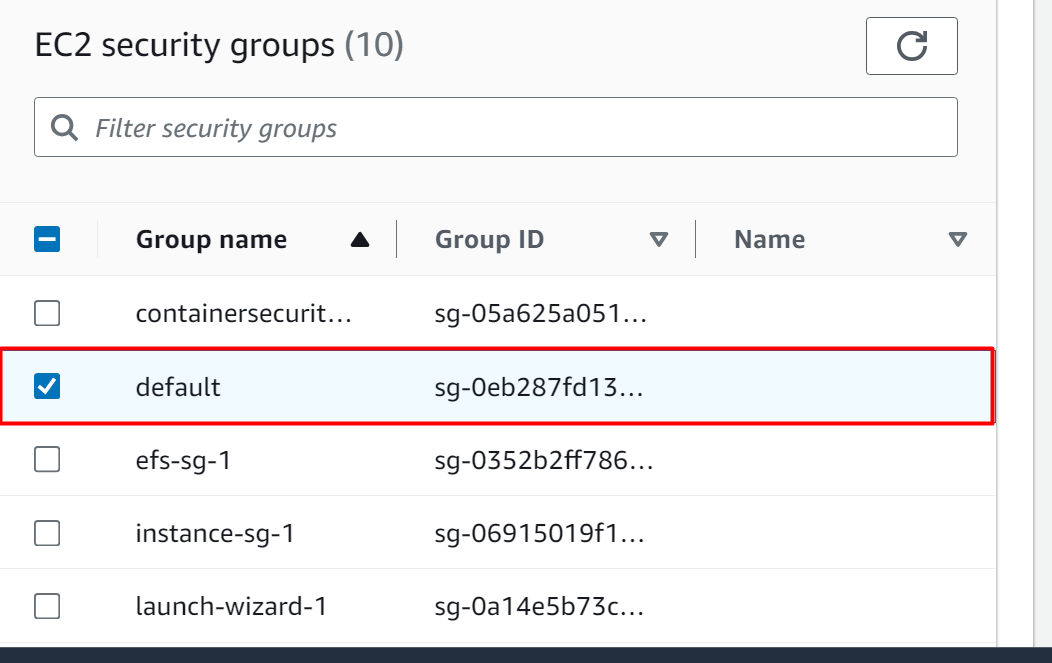
On the same interface, the user can select from different Security Groups options available. Here, we have selected the “default” security group:
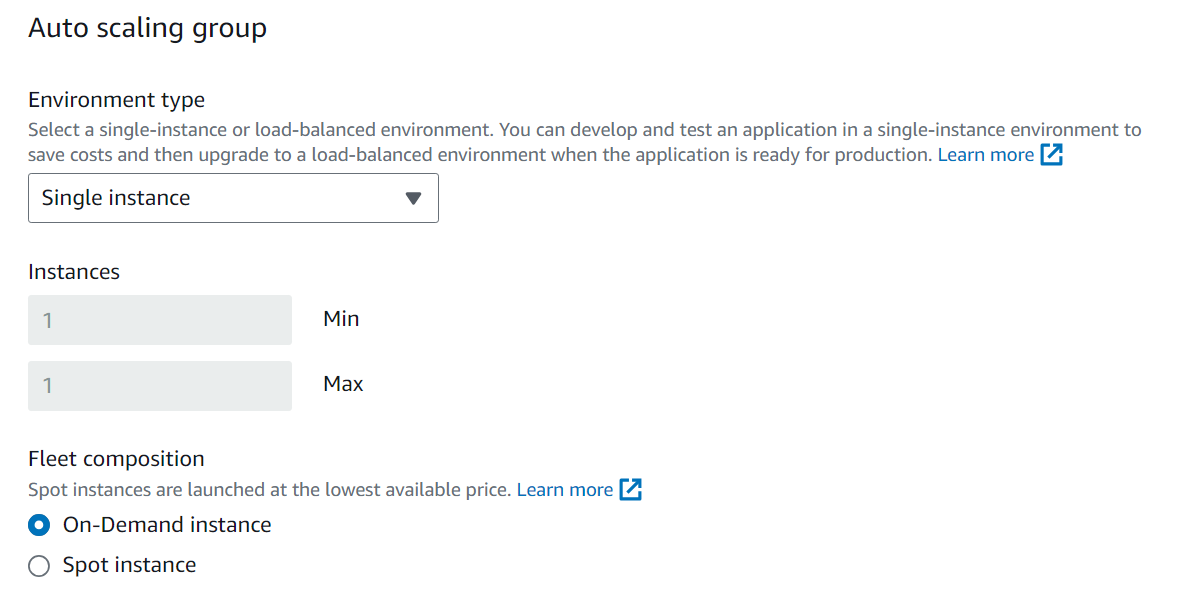
In the Auto scaling group section, the user can specify the instances for which the auto-scaling should be configured. For the moment, we have selected a “Single instance” option:
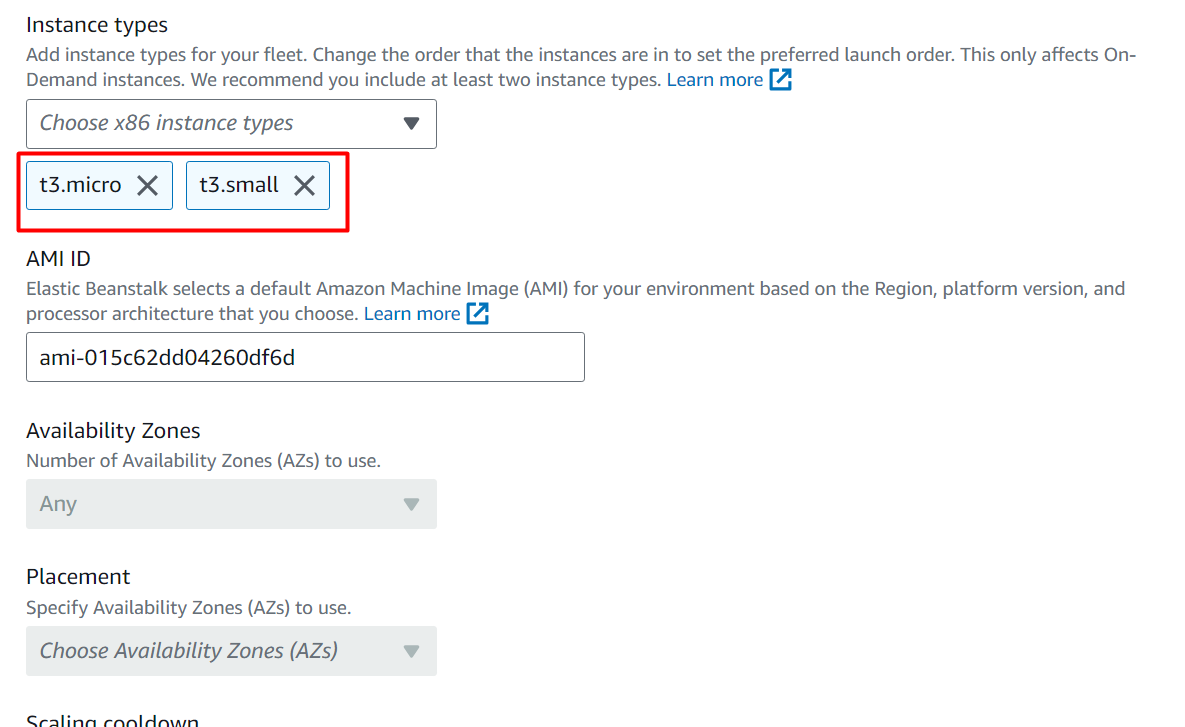
In the Instance types, the user can select from the different types of instances available. The “AMI ID” is provided by default. However, the user can also customize it:
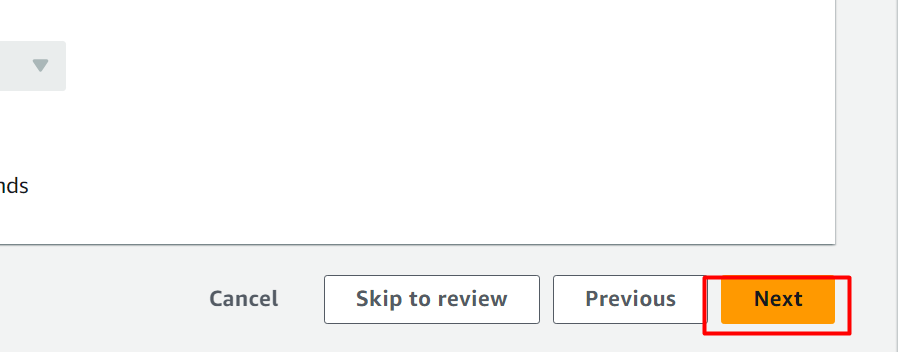
By keeping the rest of the settings as default, we click on the “Next” button to proceed further:
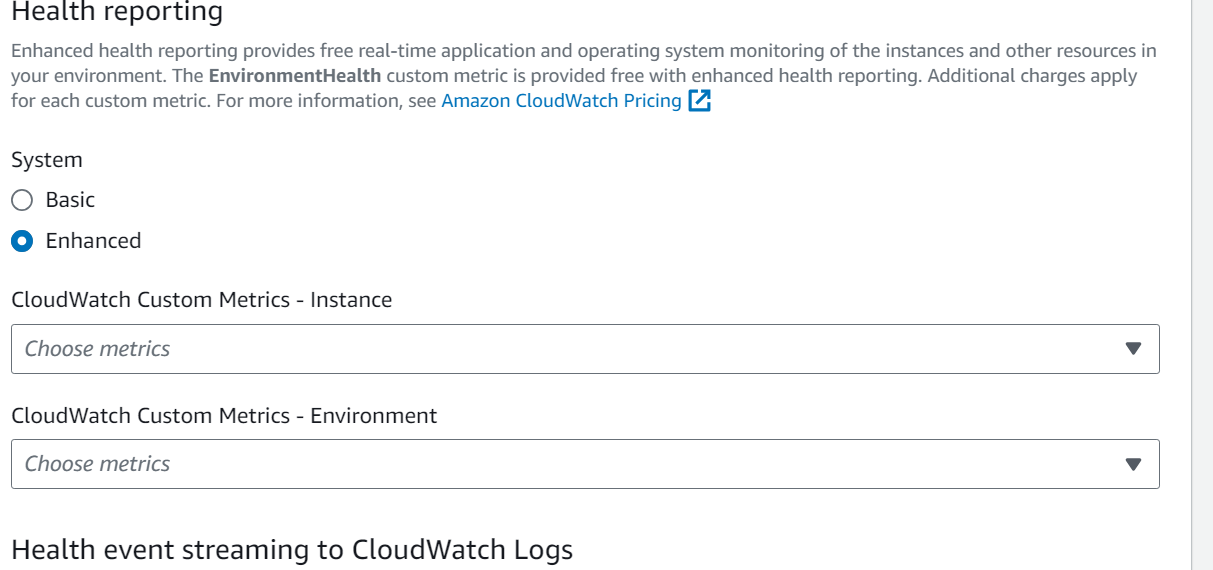
The next section of Elastic Beanstalk deals with “Health Monitoring”. In this section, the user can select between the two different options i.e., Basic or Enhanced. Furthermore, the user can also select the CloudWatch Metrics and configure the instance and environment:
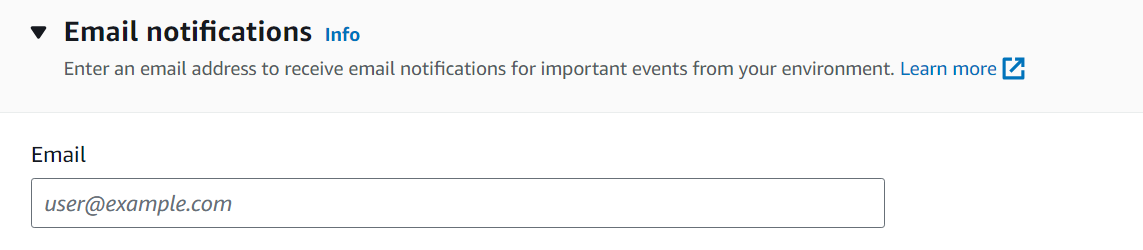
To configure notifications, provide your email address in the following section:
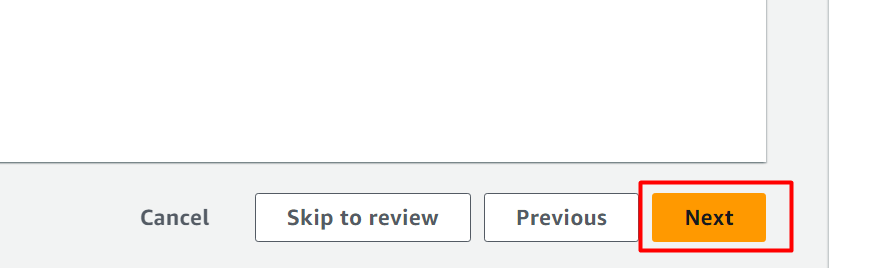
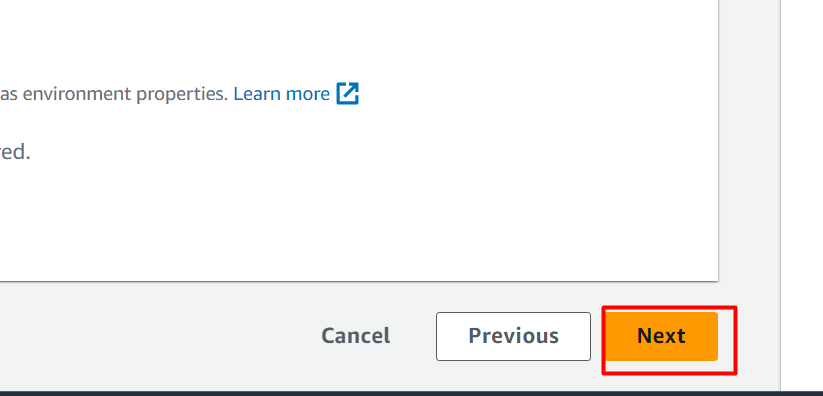
To proceed further, click on the “Next” button:
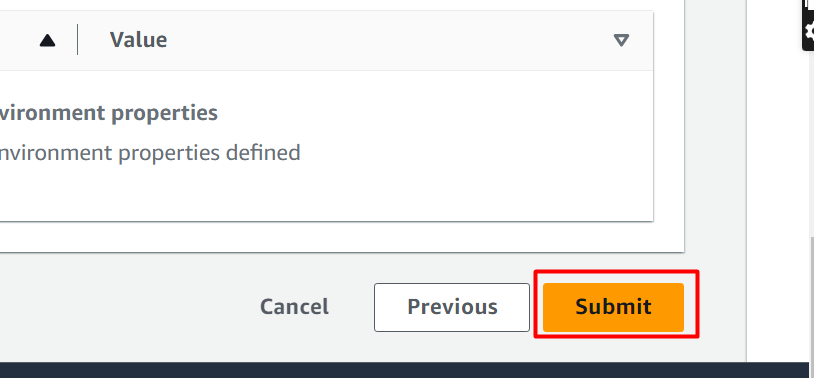
In the last step, all the information provided and configuration made by the user will be displayed for review along with the Edit button. After reviewing the information, click on the “Submit” button:
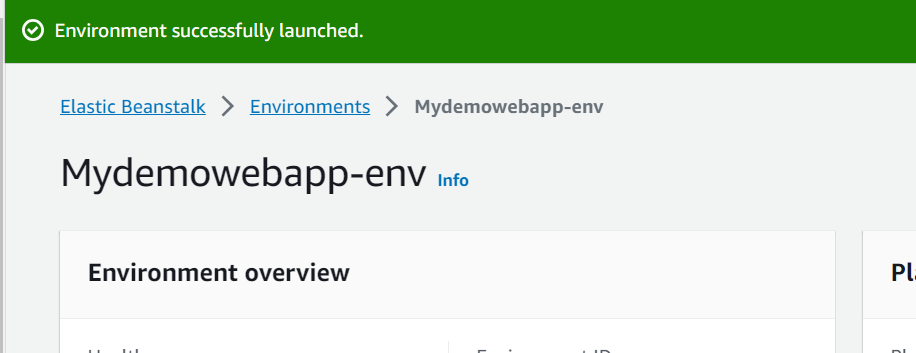
This will take a few minutes to create the Elastic Beanstalk:
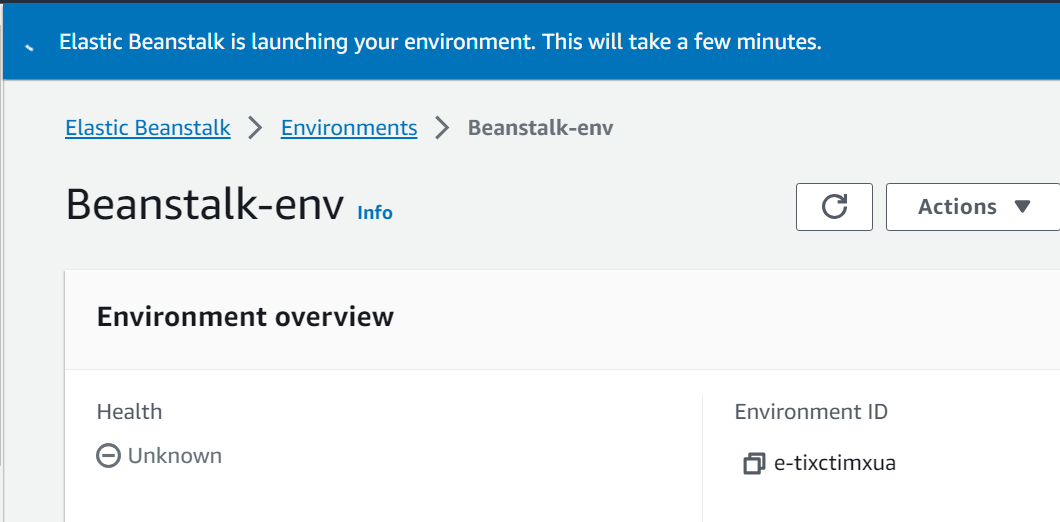
The environment has been created successfully:
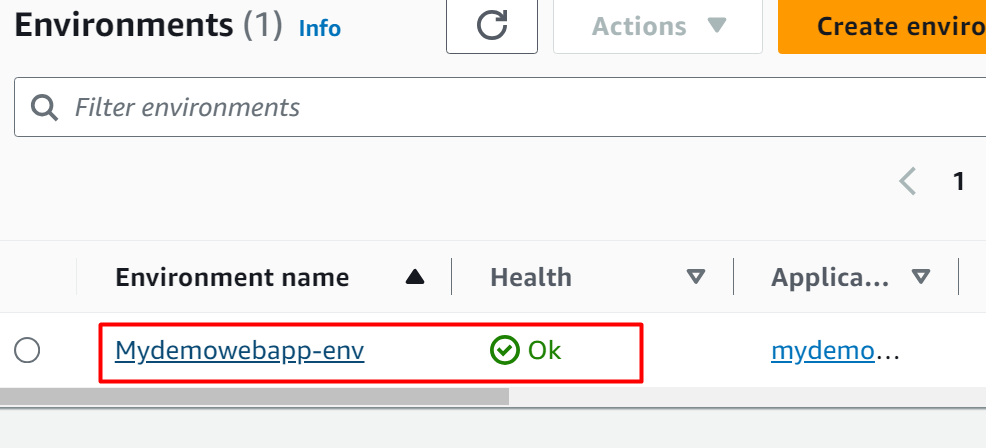
Step 4: Verification
On the Environment Dashboard, click on the “Environment” name:
This will display the following interface. From the “Environment overview” section, click on the “Link” under the “Domain” section:
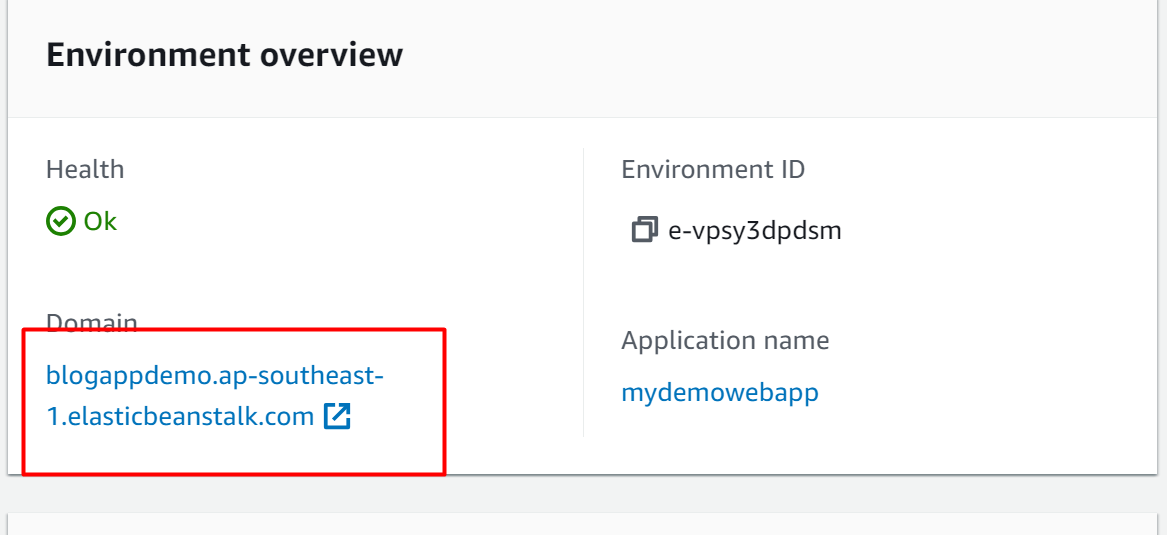
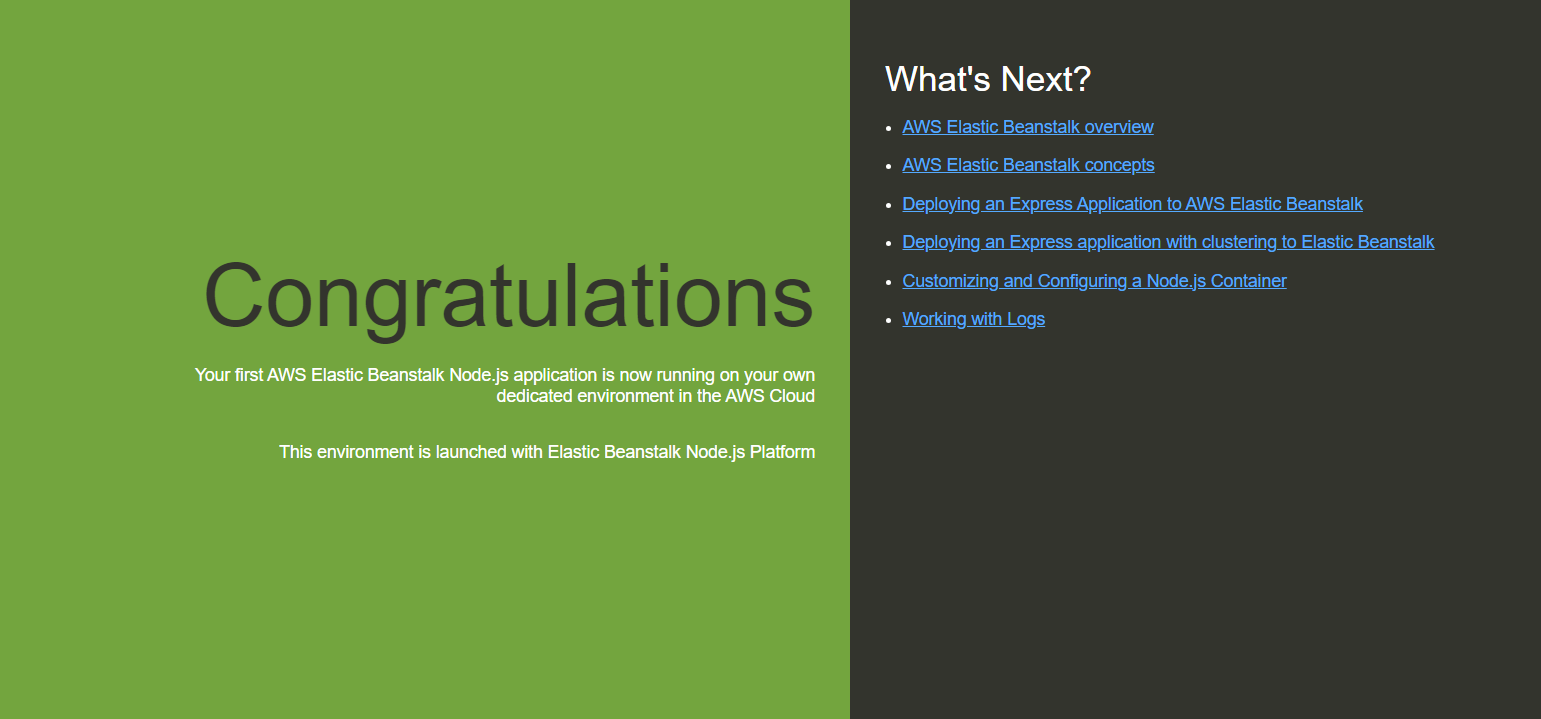
Here, the Beanstalk is actively and accurately running:
That is all from this guide.
What are the Benefits of Using Elastic Beanstalk?
Multiple well-known companies are actively using Elastic Beanstalk such as Ebury, Zillow, Ranchio, Jelly Button Games, etc. Following are some of the advantages listed of using the Elastic Beanstalk:
- Highly scalable
- Flexible
- Fast and easy to use.
- Support multi-tenant architecture
- Highly flexible
- Cost-effective
Bonus Tip: Elastic Beanstalk Pricing
Elastic Beanstalk incurs charges for the resources that are created to support the deployment of the application. The principal cost depends on multiple factors. These factors include the instance type, database services, bandwidth management, etc. Learn more about Elastic Beanstalk pricing through the AWS Documentation.
Conclusion
To get started with Elastic Beanstalk, create an IAM role with the required permission, attach it to the profile of Beanstalk, and then hit the Submit button. When the application is successfully deployed, Elastic Beanstalk will display the health checks. Furthermore, a public URL is generated when the application is up and running. This article illustrates the step-by-step guide for getting started with AWS Elastic Beanstalk.
Source: linuxhint.com