How to Get Started With Amazon Pinpoint Email Service?
From providing ease to developers, IT experts, or data scientists, AWS has now introduced another exciting service known as Pinpoint Email Service. This service is capable of improving, enhancing, and analyzing the marketing techniques which in turn allow the businesses to grow to considerable heights of growth.
Quick Outline
This article covers the following aspects:
- What is Amazon Pinpoint Email Service?
- What are the Major Features of Amazon Pinpoint Email Service?
- How Does Amazon Pinpoint Email Service Work?
- How to Get Started with Amazon Pinpoint Email Service?
- Bonus Tip: Benefits of Amazon Pinpoint Email Service
- Pricing
- Conclusion
What is Amazon Pinpoint Email Service?
Amazon Pinpoint is a flexible and scalable marketing communication service which is introduced by AWS. It allows users to connect with customers over 6 different channels. With AWS Pinpoint service, users can engage with their customers and can send them emails, notifications, text messages, or voice messages for effective marketing of the product.
What are the Major Features of Amazon Pinpoint Email Service?
Amazon Pinpoint Email service is widely used for successful Marketing campaigns. It offers enormous benefits such as increase profits, enhanced reach of a company and individual for the marketing of their products,etc. Below listed are some of its key features:
Audience Segments
Identifying, targeting, and reaching the right audience for your messages are the key components of a successful marketing campaign. With AWS Pinpoint Email Service, user can define their audience segments. An audience segment defines the type of customers that will receive the messages.
With this feature, users can define multiple audience segments to target a broad category of audience. These multiple audience segments are based on the data that is reported by the system or applications.
Messaging Campaign
The user can engage with their customers by creating a messaging campaign. In this campaign, messages can be tailored and scheduled by the user. Furthermore, within this campaign, we can send mobile push notifications, emails, SMS, etc. The results of this campaign can also be analyzed via Amazon Pinpoint analytics.
Transactional Messages
A good practice is to keep the customers updated about their current activity observed in the account. For this purpose, the user can notify the customers by sending transactional messages such as account activation, confirmation of orders or payments, account deletion, password reset, etc. This functionality is also provided through the Amazon Pinpoint REST API.
Analyze Behaviour
One of the factors that guarantee the success of the marketing campaigns is the understanding of user behavior. Users can gain insights into their audience behavior by using the analytics features that Amazon Pinpoint provides. With this feature, the user can analyze the current trends, purchase activity, demographics, preferences of the audience, and much more. Additionally, the users can also monitor the message traffic via the metrics in Amazon Pinpoint.
How Does Amazon Pinpoint Email Service Work?
Starting from left to right, the Amazon Pinpoint service accepts two types of data i.e., Customer demographics or events generated at the application. Customer demographics include the customer’s name, email address, mobile number, etc. This demographic data is then used in the email or message that is to be sent to the customer or to the customer segments. These customer segments will be then used to send personalized messages to the customers.
The second type of data is events generated at the application. Such data is used to study and understand the customers’ behaviors and preferences. AWS Pinpoint supports transactional messages and promotional messages. The transactional messages can be integrated into the application using REST API or SDK. For transactional messages, no customer data is required to be imported. Similarly, for promotional messages, users can import the customer’s data and define the customer segment. These customer segments will be utilized in the campaigns and are referred to as the group of customers that share the same attribute value.
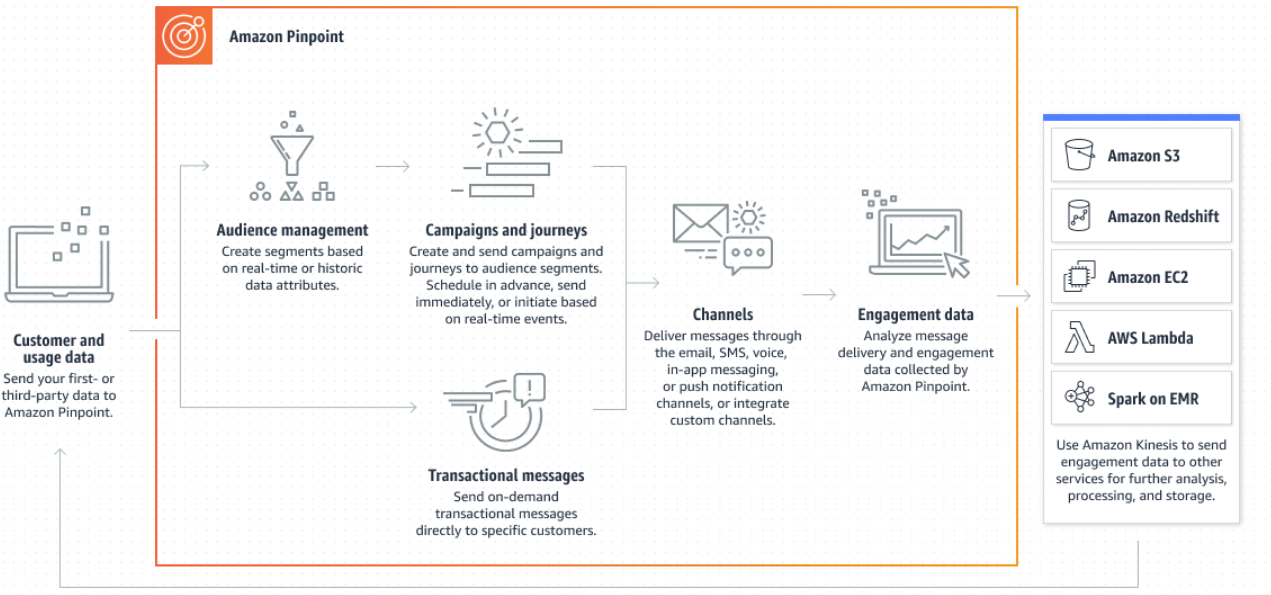
In campaigns, users can select different message templates, communication channels, and targeted audiences, and can define the schedule for sending messages, etc. With AWS Pinpoint, user can reach their audience via 6 different channels such as emails, SMS, push notifications, etc.
In terms of Analytics, Amazon Pinpoint captures and monitors the message traffic such as clicks on the email sent, the number of emails sent, etc. Such information is displayed to the user on the Dashboard to gain an in-depth understanding of the current trends and preferences.
How to Get Started With Amazon Pinpoint Email Service?
This section of the blog discusses the practical implementation of the Amazon Pinpoint Email Service. Following are the steps for getting started with Amazon Pinpoint Email Service:
- Step 1: Create an Amazon Pinpoint Email Project
- Step 2: Create Segments
- Step 3: Create Message Templates
- Step 4: Create Journey
- Step 5: Verification
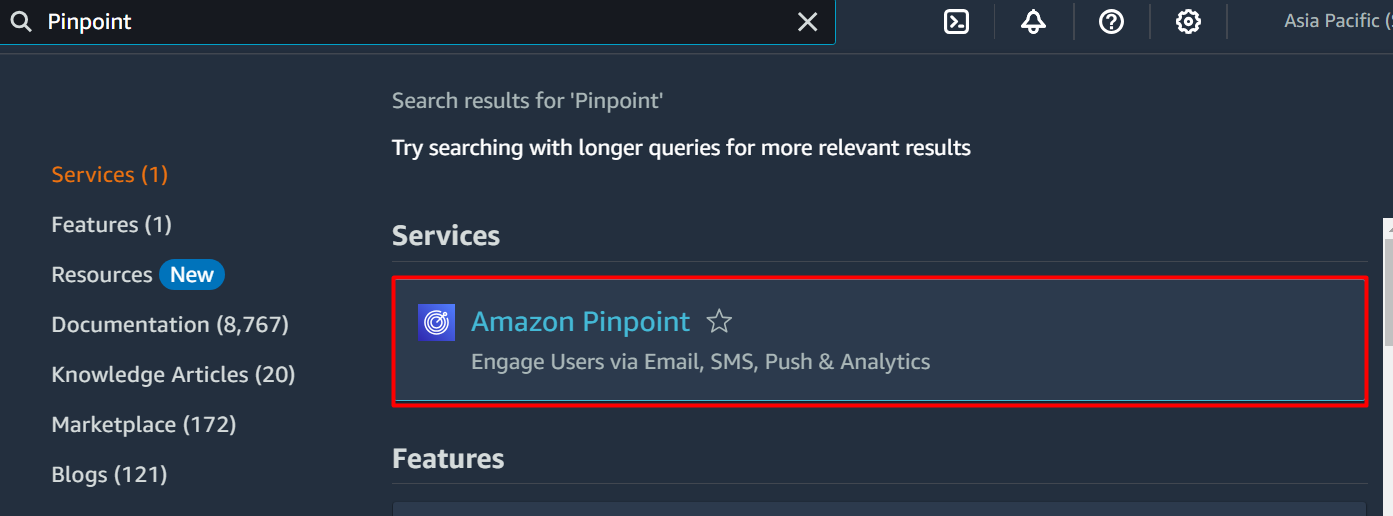
Step 1: Create an Amazon Pinpoint Email Project
To get started with Amazon Pinpoint, search the “Pinpoint” service in the Amazon Management Console. Click on the service’s name to visit the console from the displayed results:
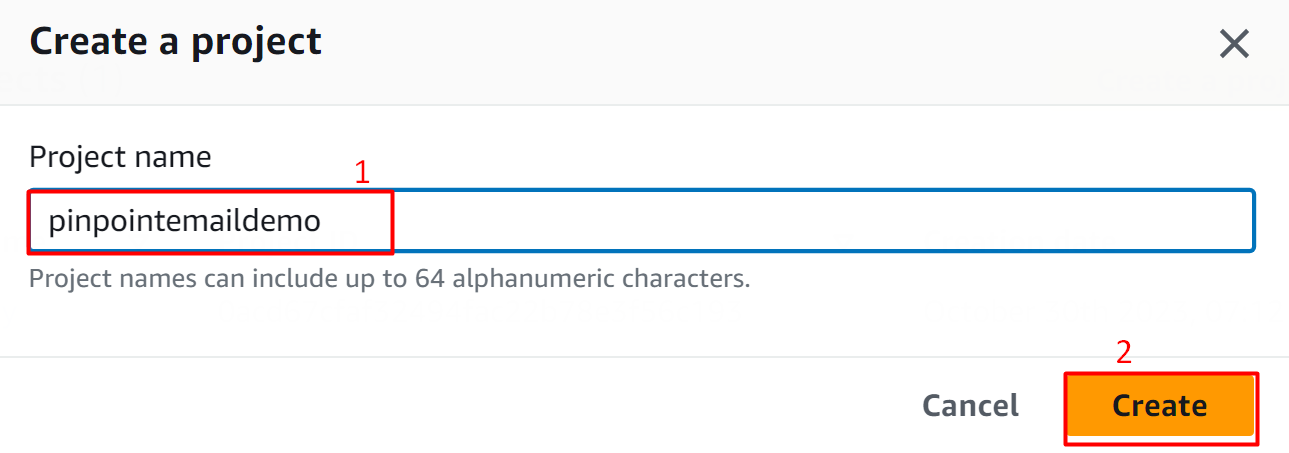
Within the displayed window, provide the name for the project in the “Project name” text field. Click the “Create” button:
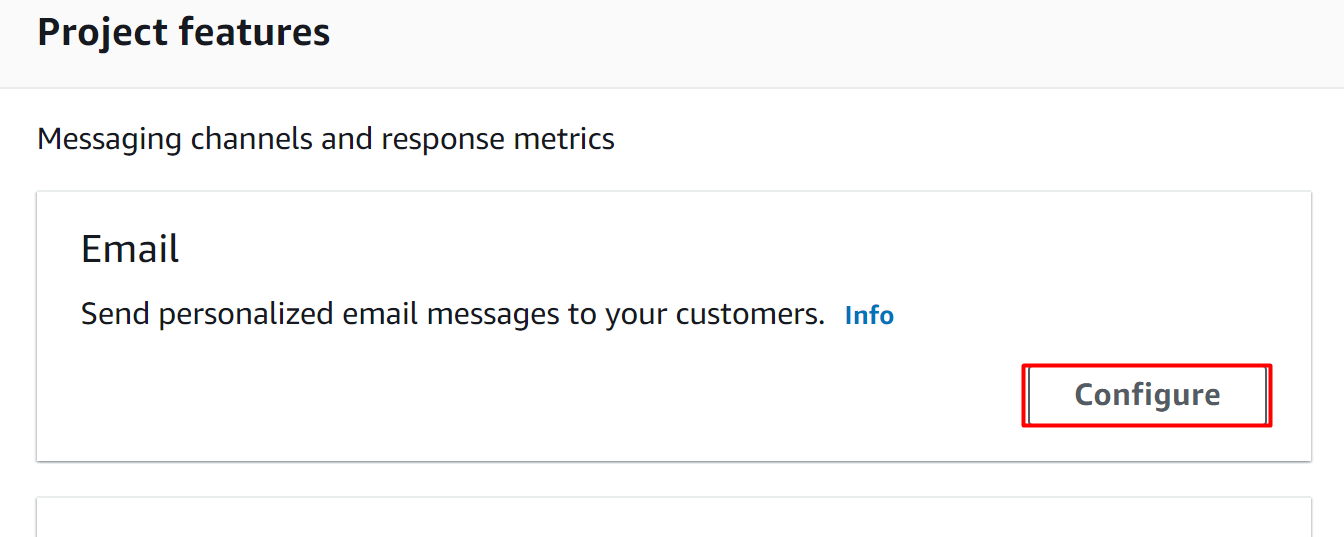
In the “Project features” section, pick the “Email” option from the displayed options and tap the “Configure” button:
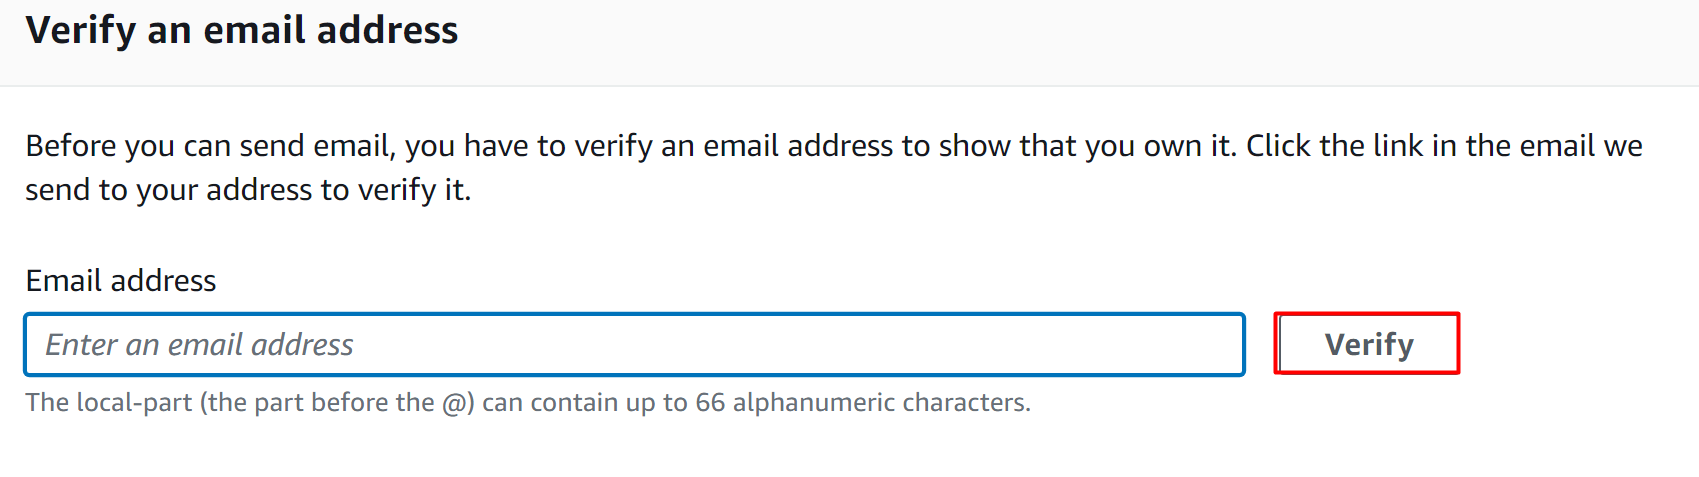
On the next interface, provide the email address in the “Email address” text field and then tap the “Verify” button:
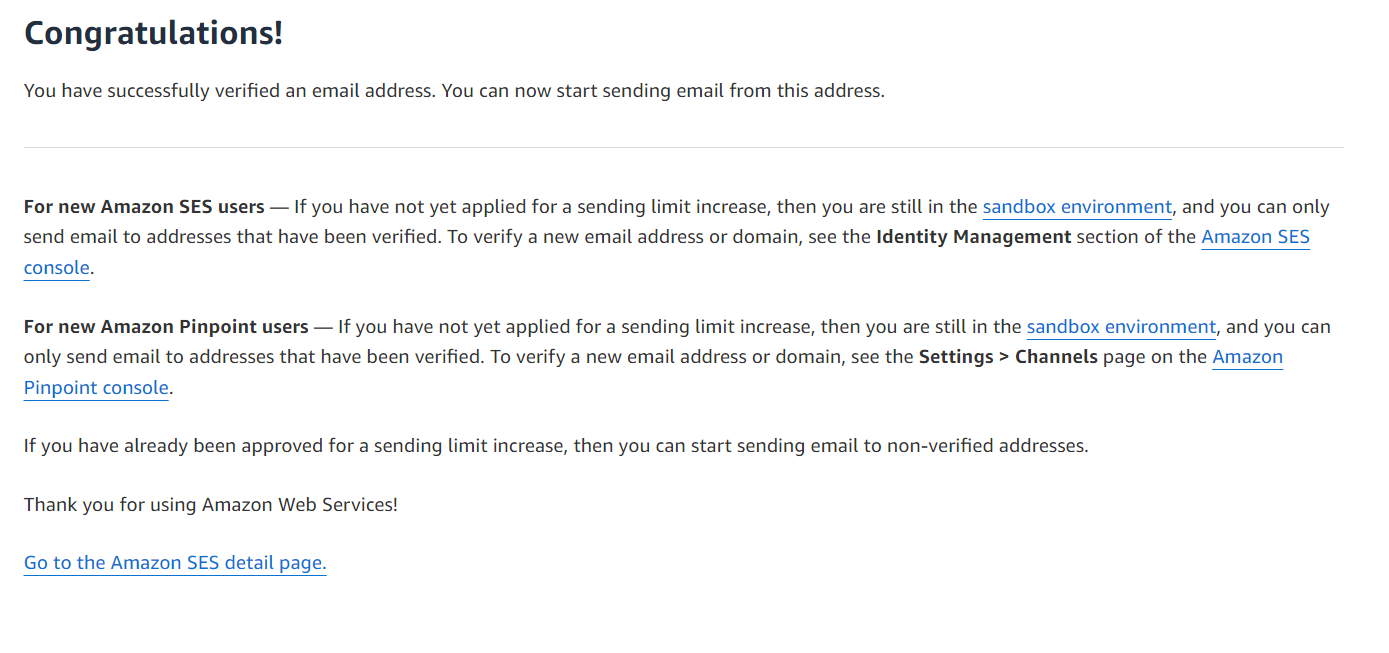
A confirmation email will be sent to the provided email. Open the email account and click on the link provided by the AWS to verify the email:
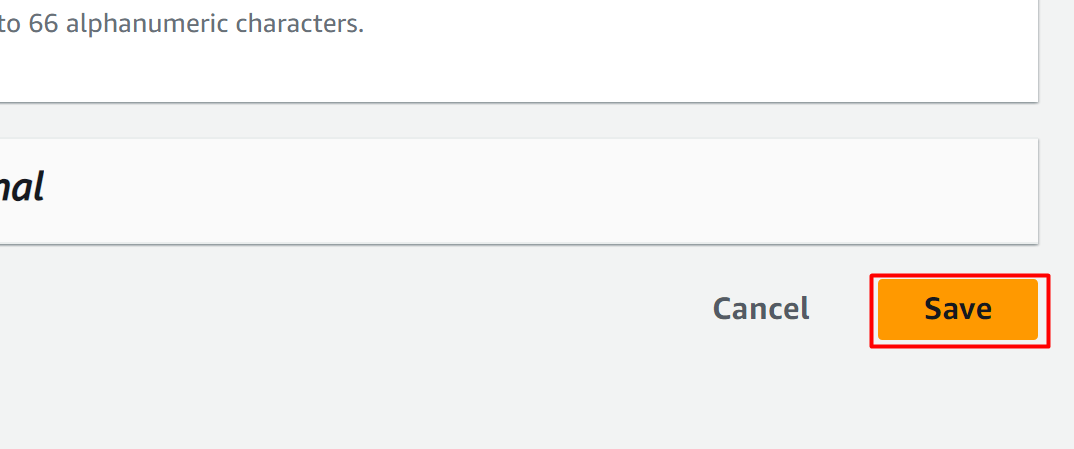
Once the email has been verified, navigate back to the Pinpoint console and click the “Save” button:
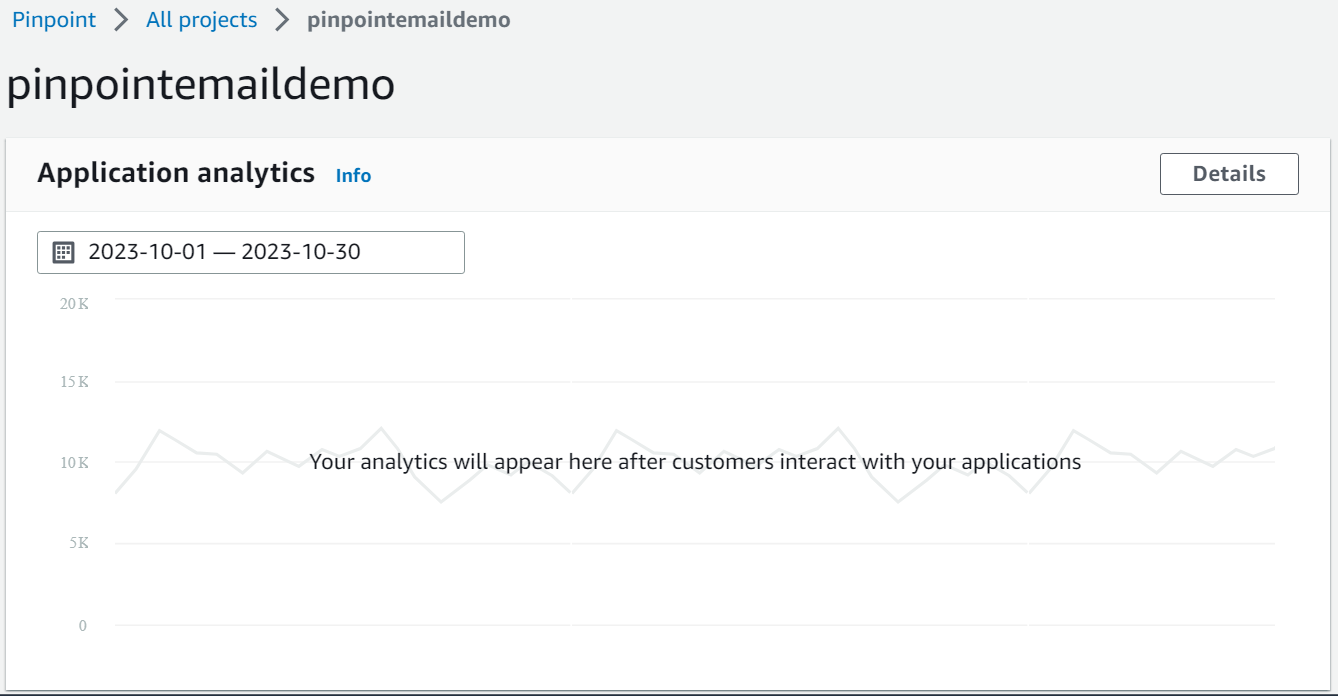
Here, the pinpoint project has been created successfully:
Step 2: Create Segments
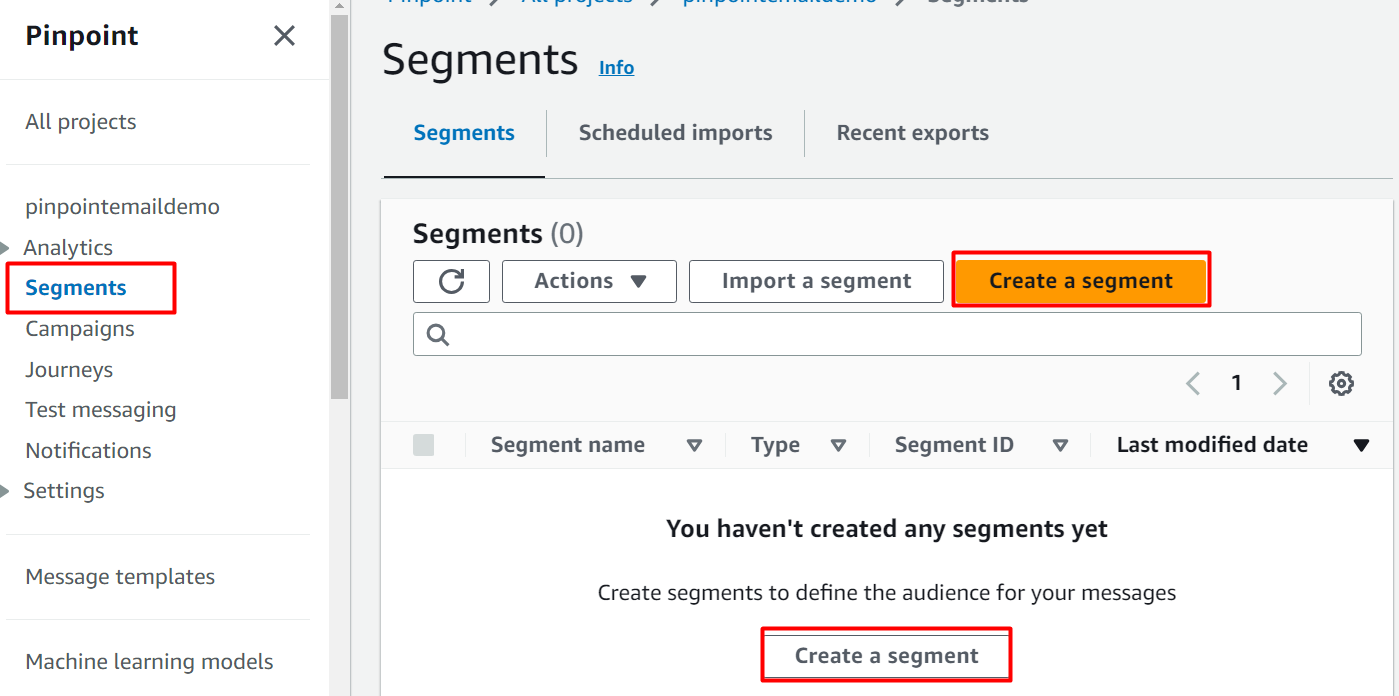
The next step in implementing the Amazon Pinpoint Email service is to create the “Segments”. For this purpose, click on the “Segments” option from the left navigation pane. On the Segments dashboard, tap the “Create a segment” button:
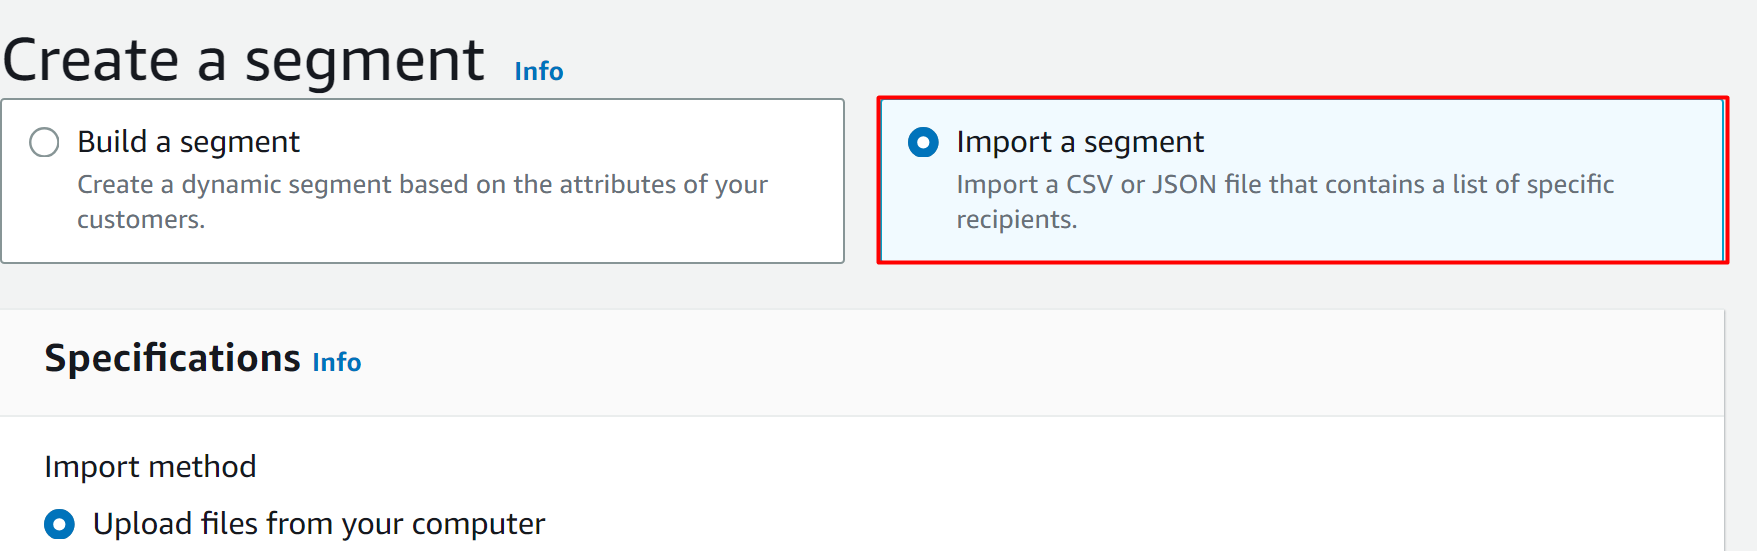
On the Create a Segment interface, the user is presented with two options i.e., Build a segment and Import a segment.
Build a segment
This option is for the dynamic segments. Dynamic segments are created on the data that is provided by the application or system.
Import a segment
This option is for creating the segments for the data that lies outside the Amazon Pinpoint.
For this demo, pick the “Import a segment” option:
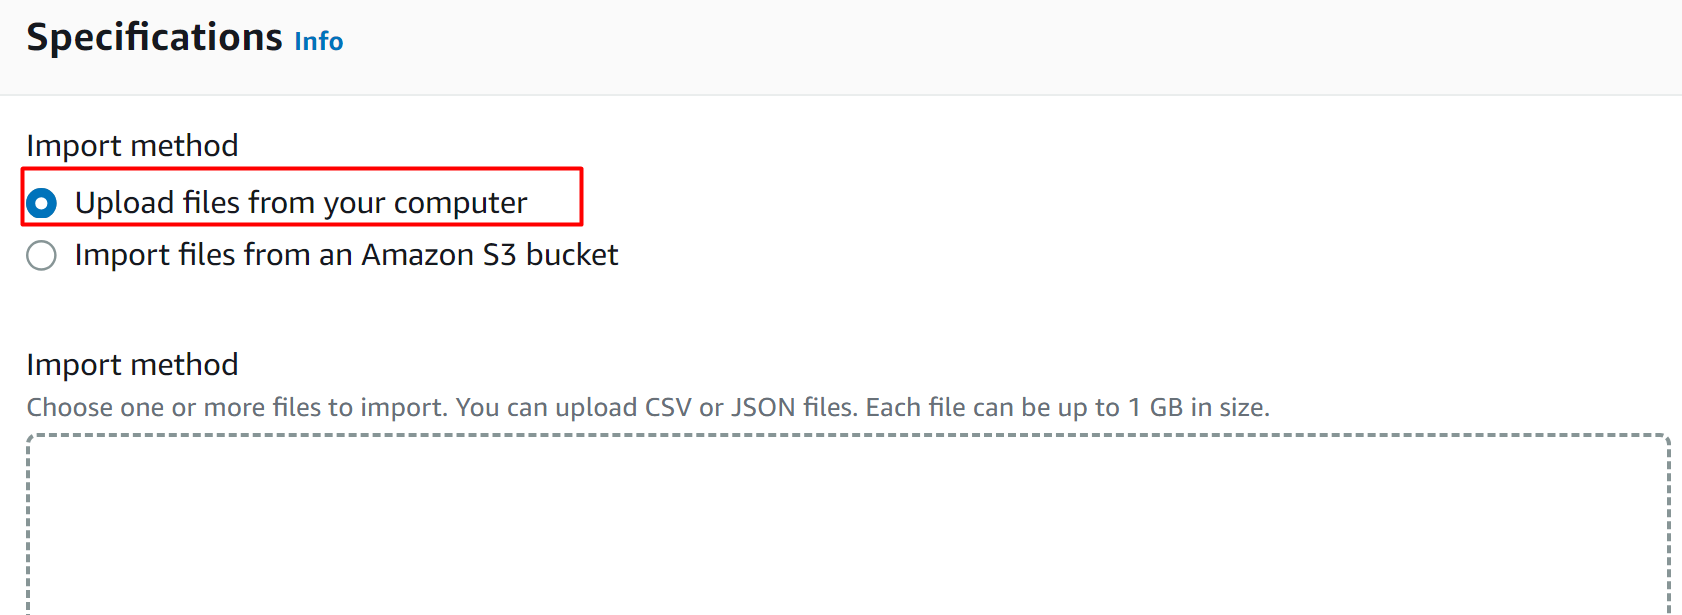
Scroll down to the “Specifications” section. In this section, there are two options for the user. The user can either select the files from the device or import them from the S3 bucket
For this demo, pick the “Upload files from your computer” option:
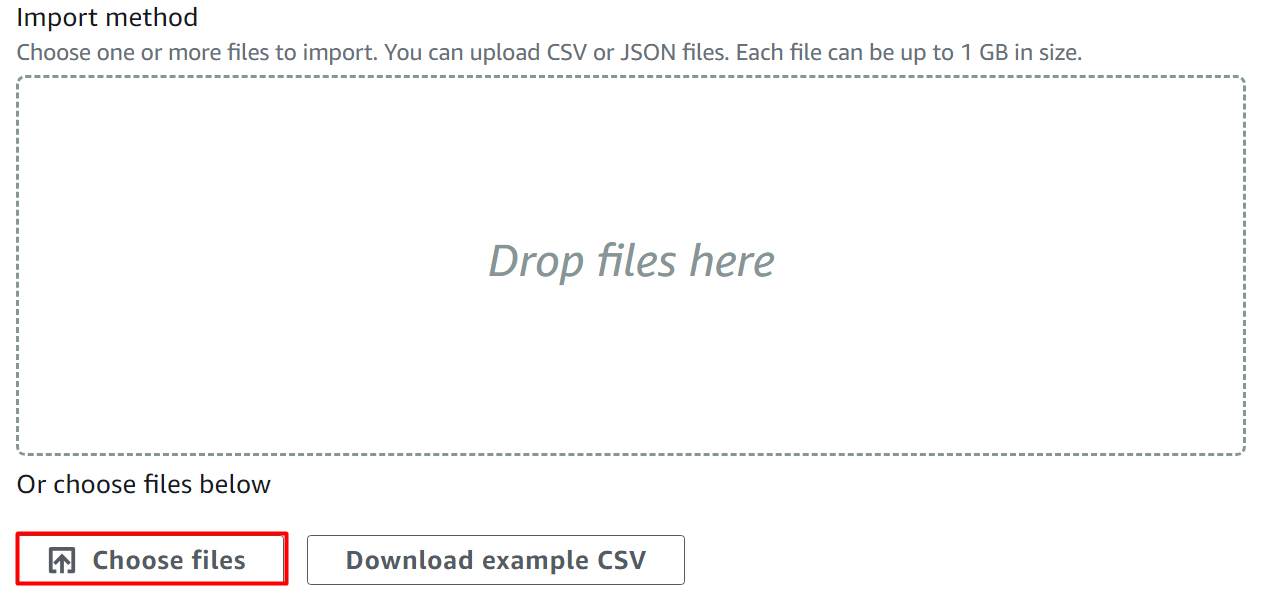
To choose a file from the device, click the “Choose files” option and select any CSV or JSON file. For this demo, we have created a sample CSV file. Pinpoint service follows a specific format which can be downloaded by clicking the “Download example CSV” button:
The file has been uploaded successfully:
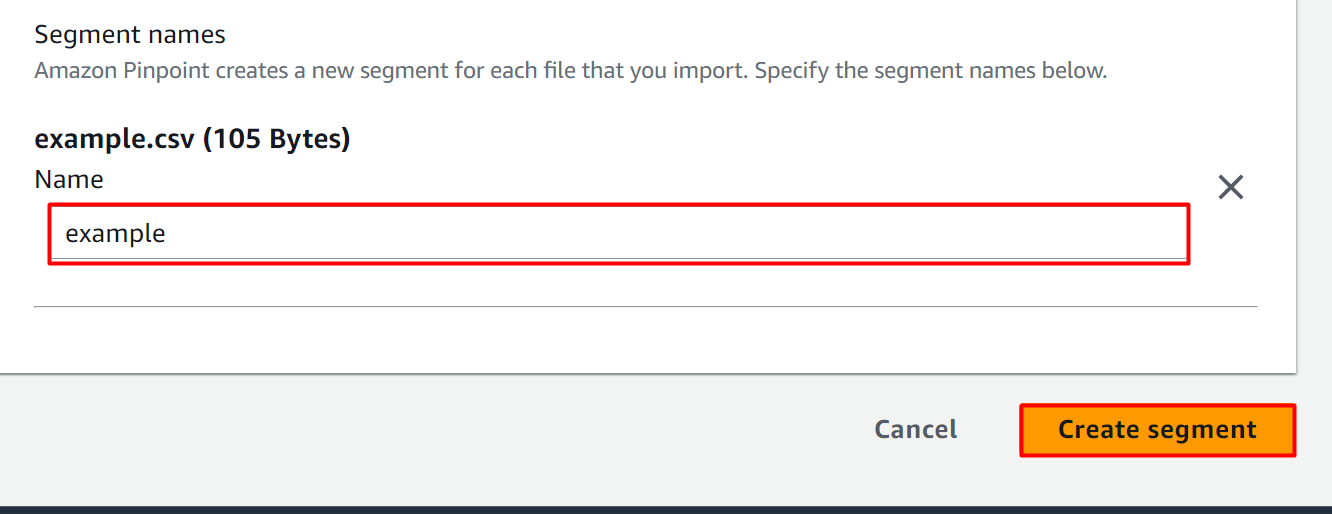
For sample purposes, we have uploaded this CSV file for creating the segment:

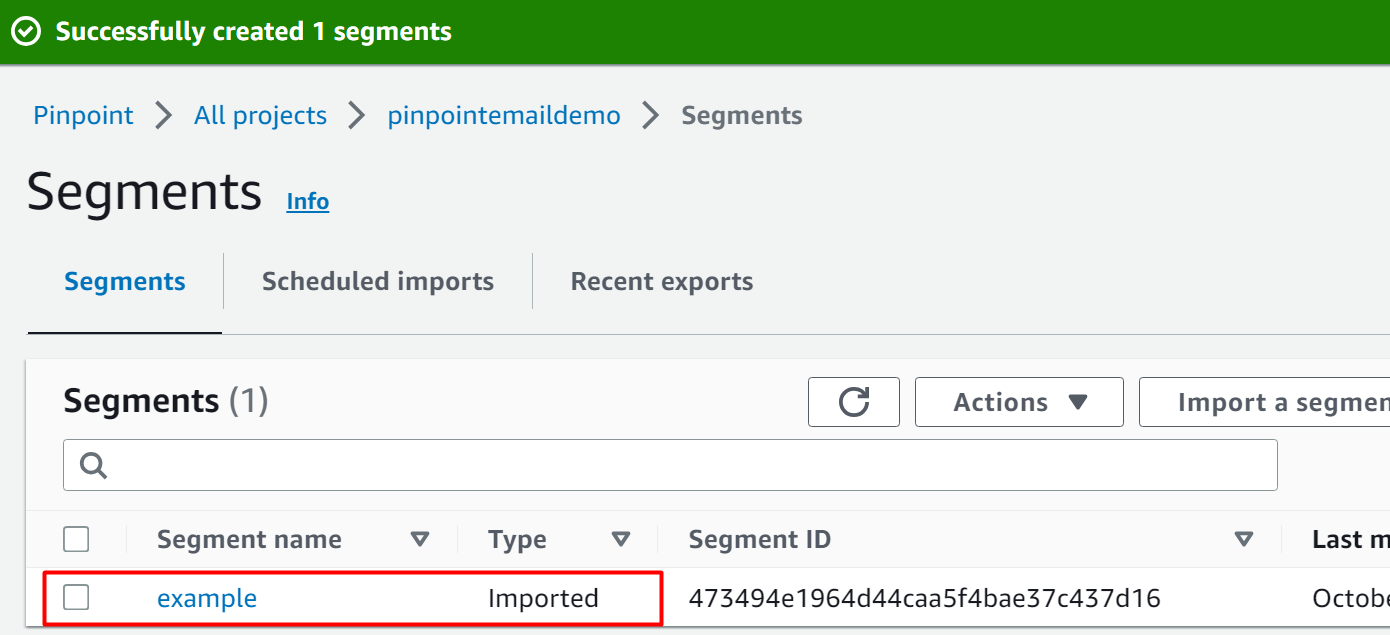
Here, the segment has been created successfully:
Step 3: Create Message Templates
In this section of the blog, create a Message template. These message templates will contain the personalized messages that are to be sent to the customers.
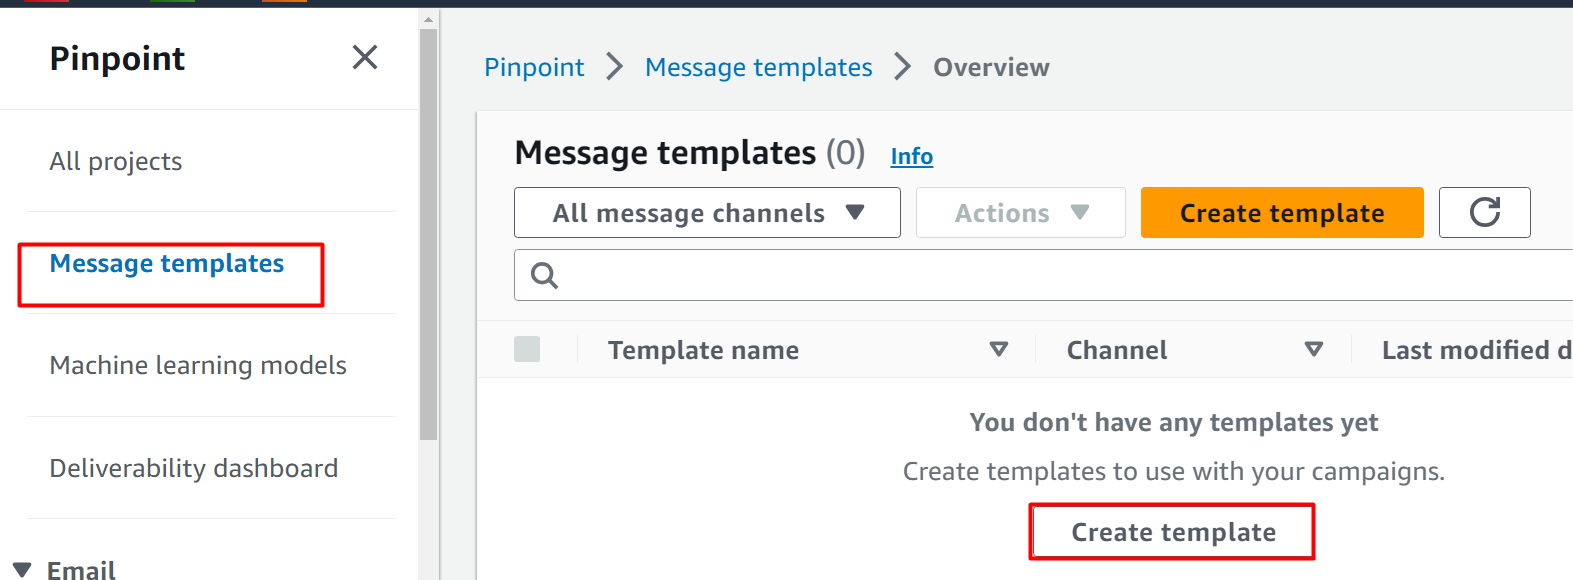
For this purpose, click on the “Message Template” option from the left sidebar. On the Message template interface, click the “Create a template” button:
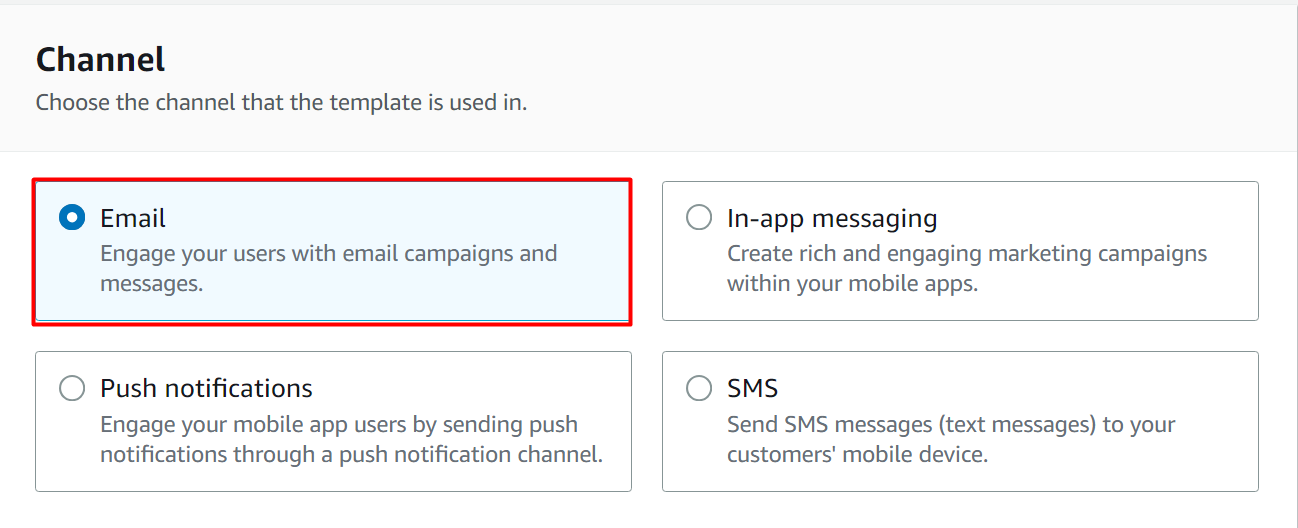
On the next interface, click the “Email” option from the “Channel” section:
In the Template details section, provide the name of the template in the “Template name” text field:

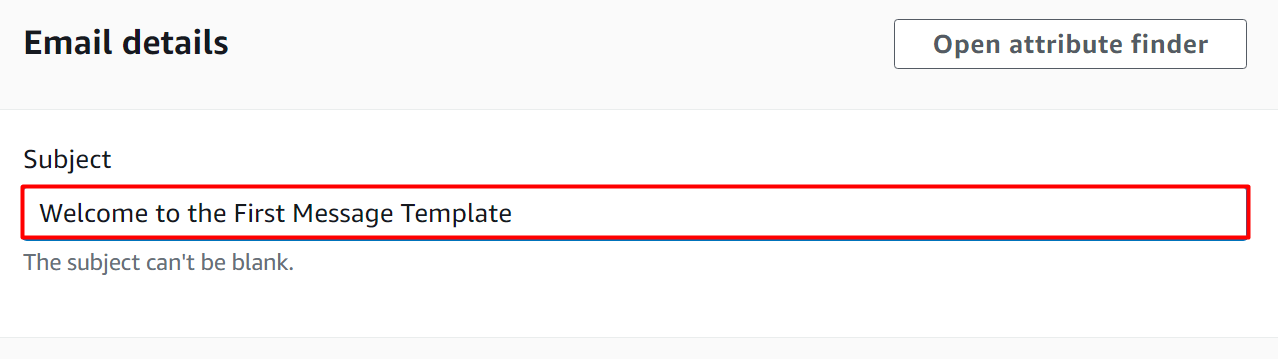
Scroll down to the “Email details” section and provide a subject line in the “Subject” text field:
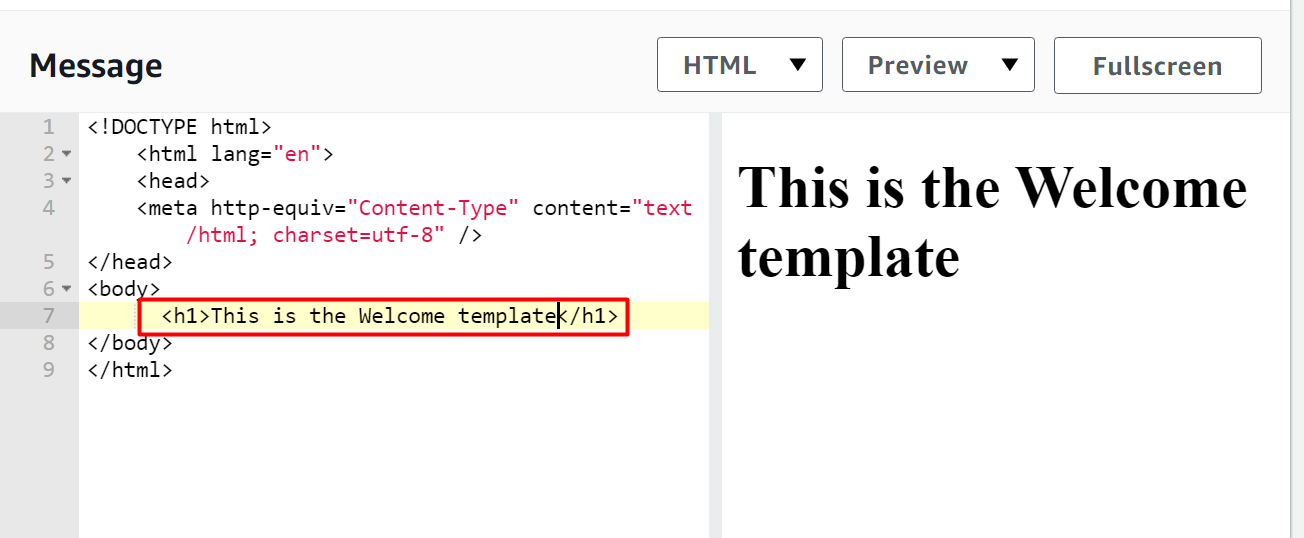
Within the Message section, type the message by using the standard tags of the HTML language. For this demo, add the following line of code within the “<body>” code:
After customizing the message, scroll down to the bottom of the interface. Click the “Create” button:
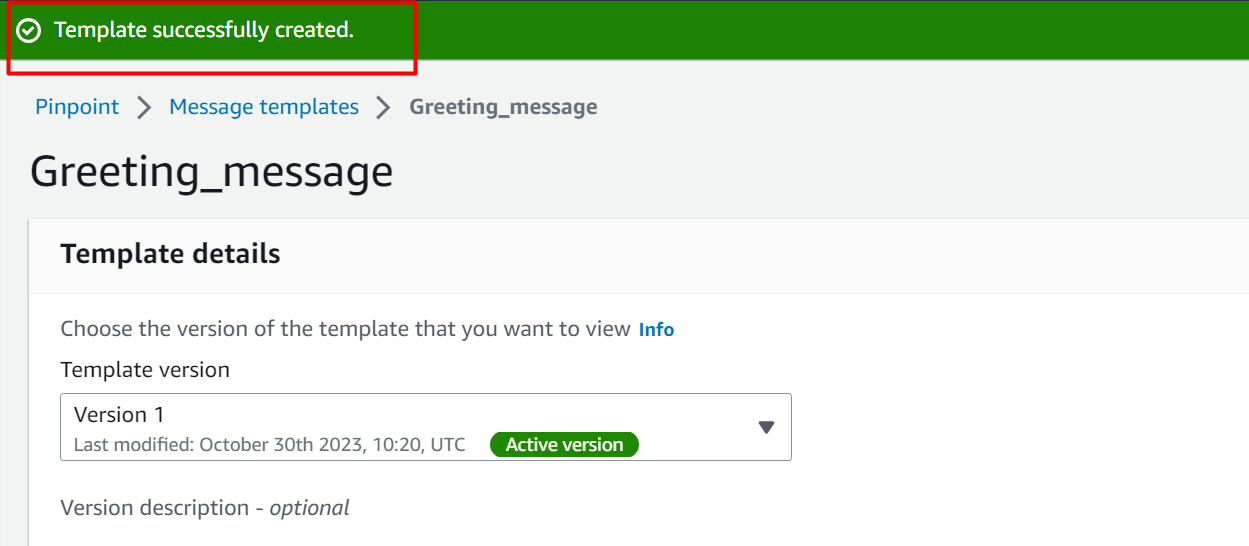
Here, the template has been created successfully:
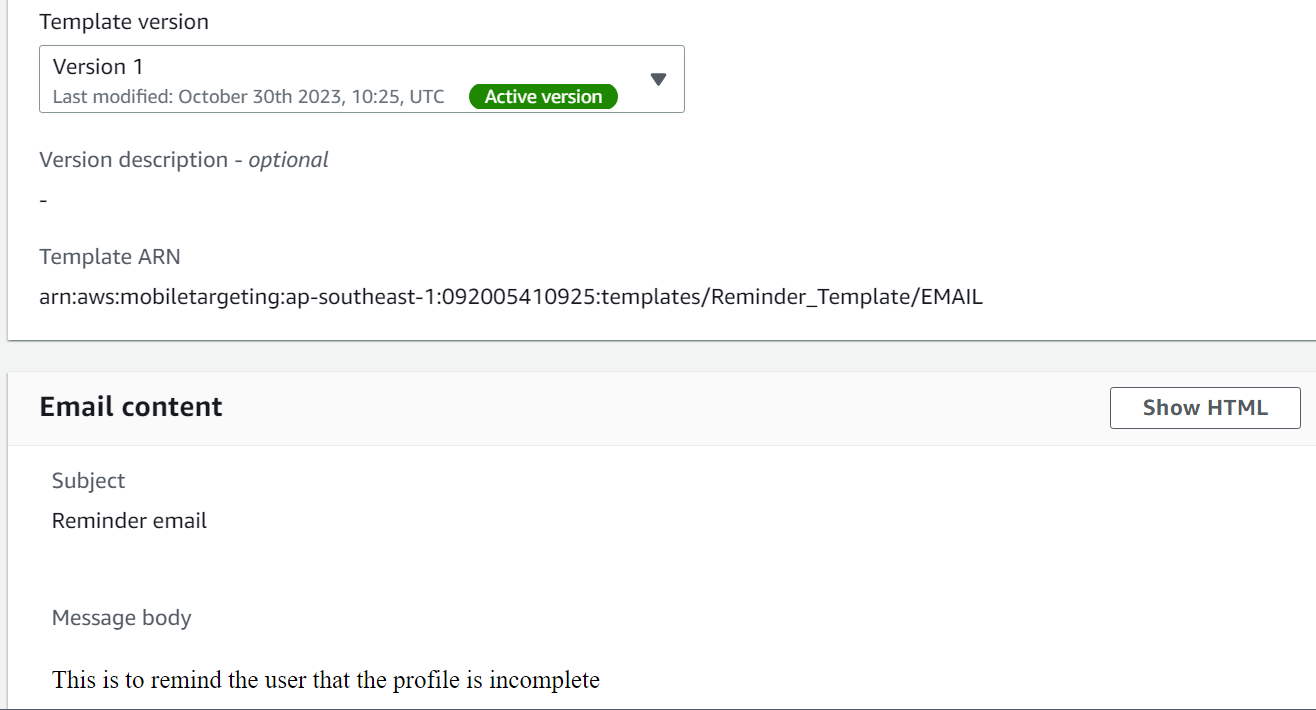
Users can create multiple templates depending on the application’s requirements. For this demo, we will be creating two message templates i.e., Reminder and Set up Profile.
Below is the Reminder Template:
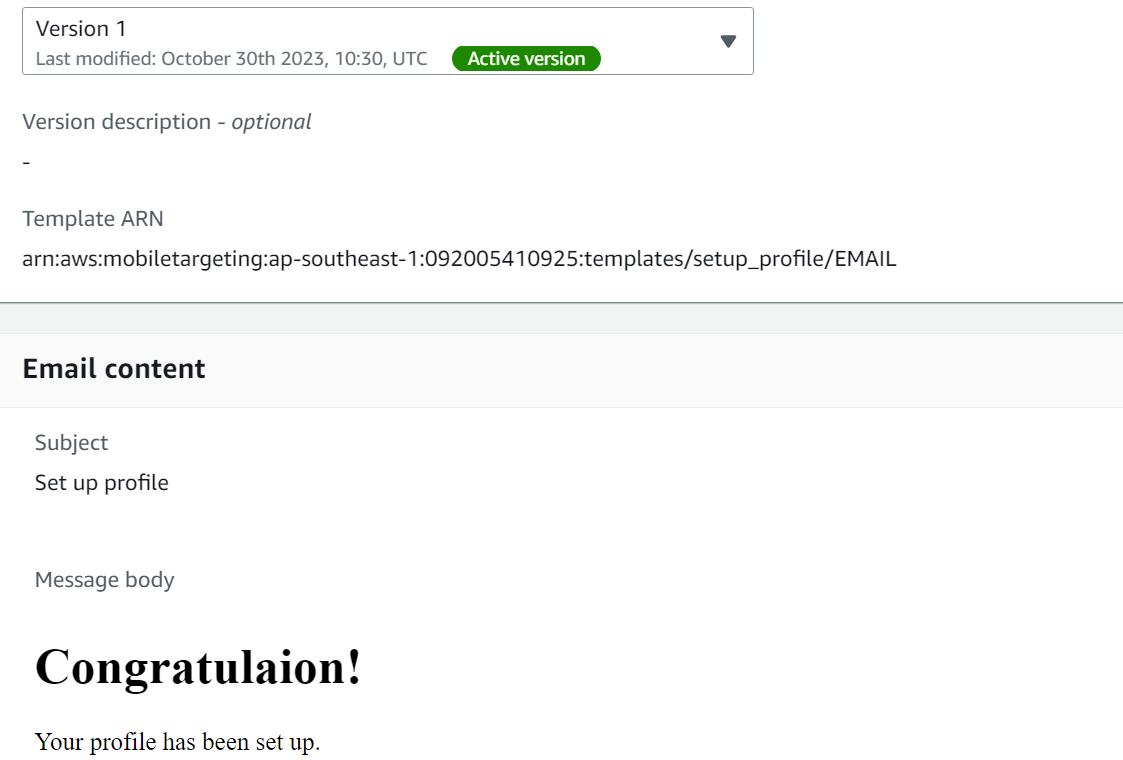
Following is the Profile Setup Template:
Step 4: Create Journey
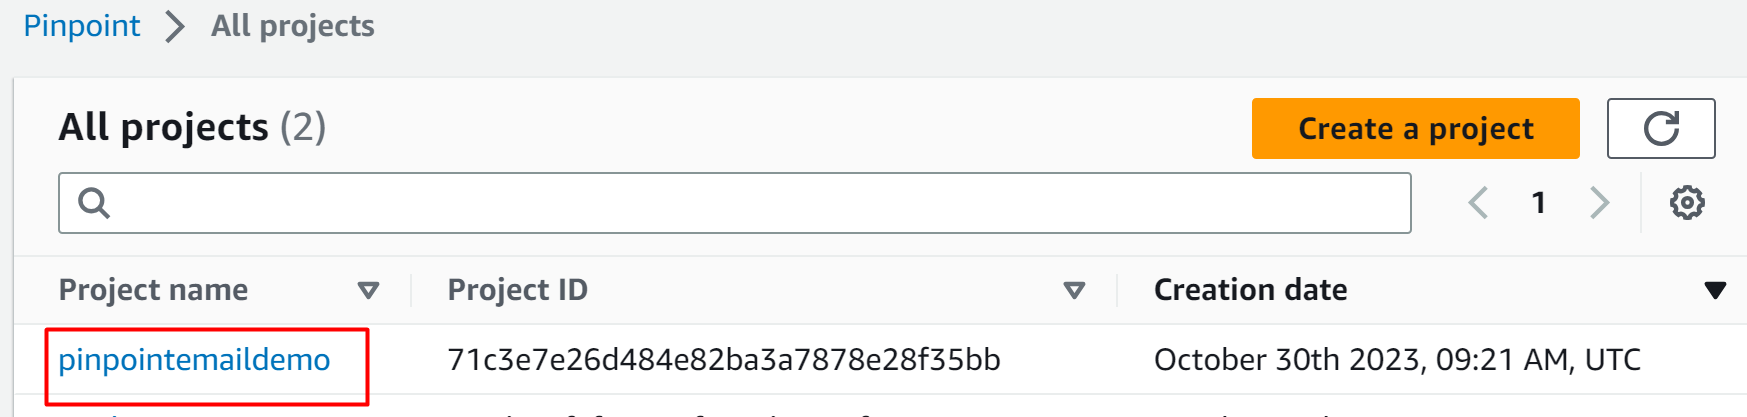
To create the journey in the Pinpoint email service, tap the project’s name from the Pinpoint project dashboard:
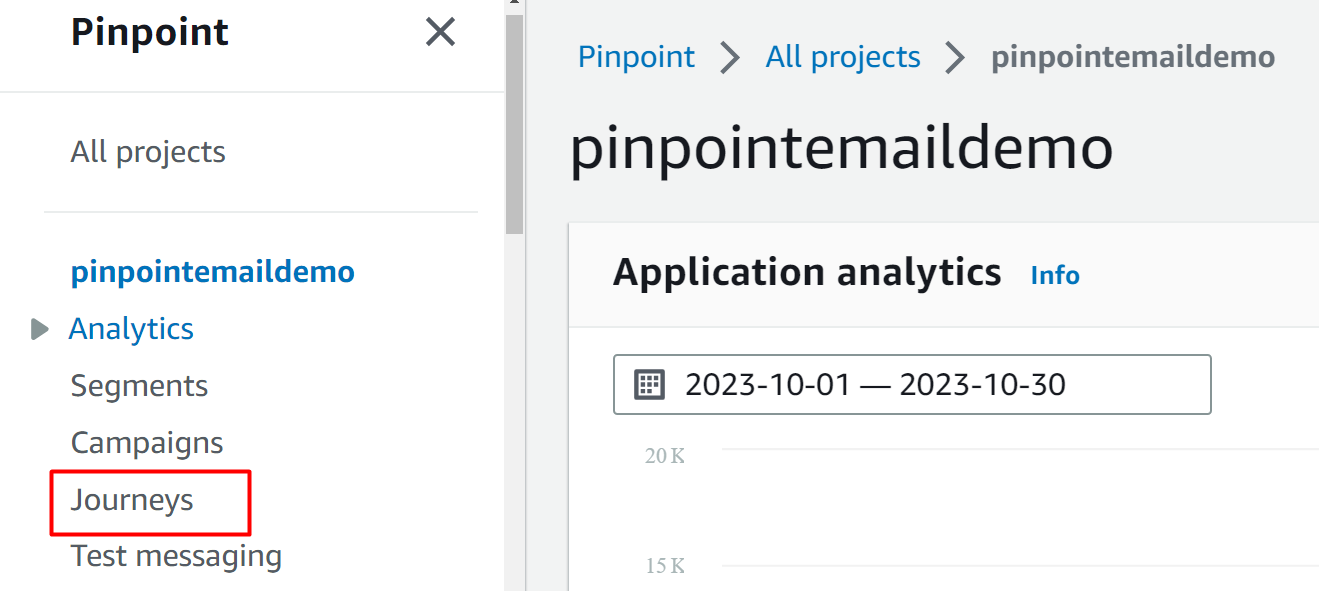
From the left navigation pane of Pinpoint service, click the Journey option under the project’s name:

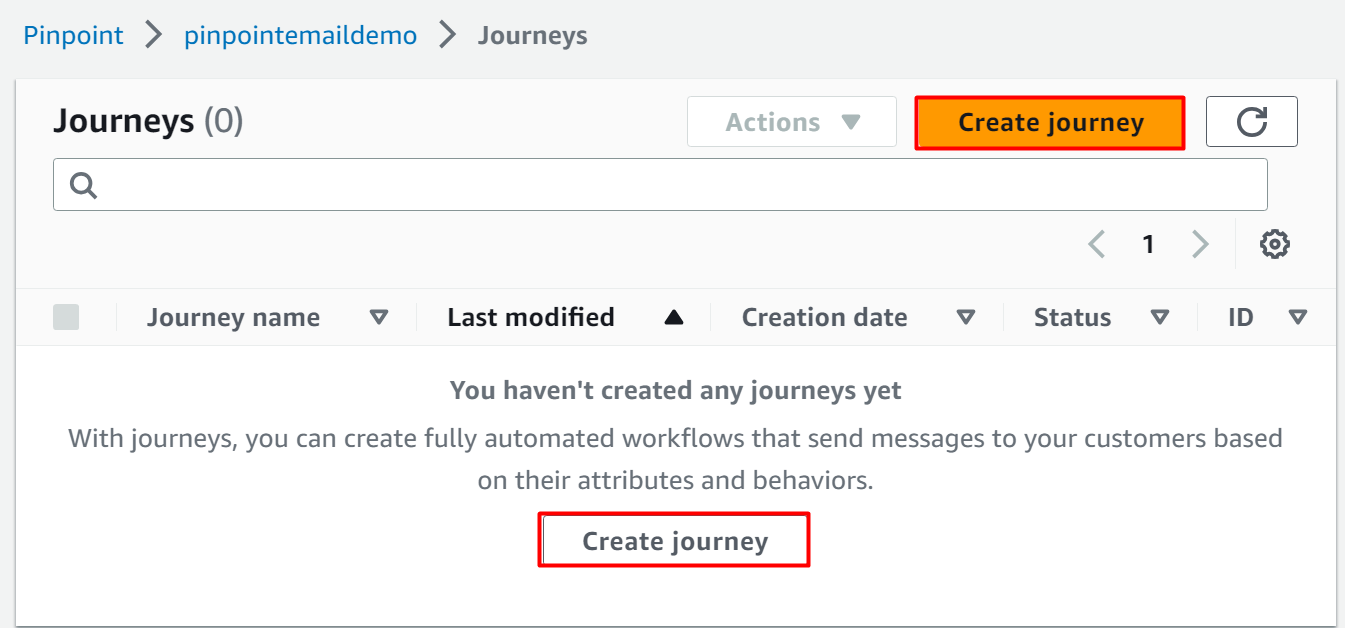
From the Journey’s dashboard, click the “Create journey” button:
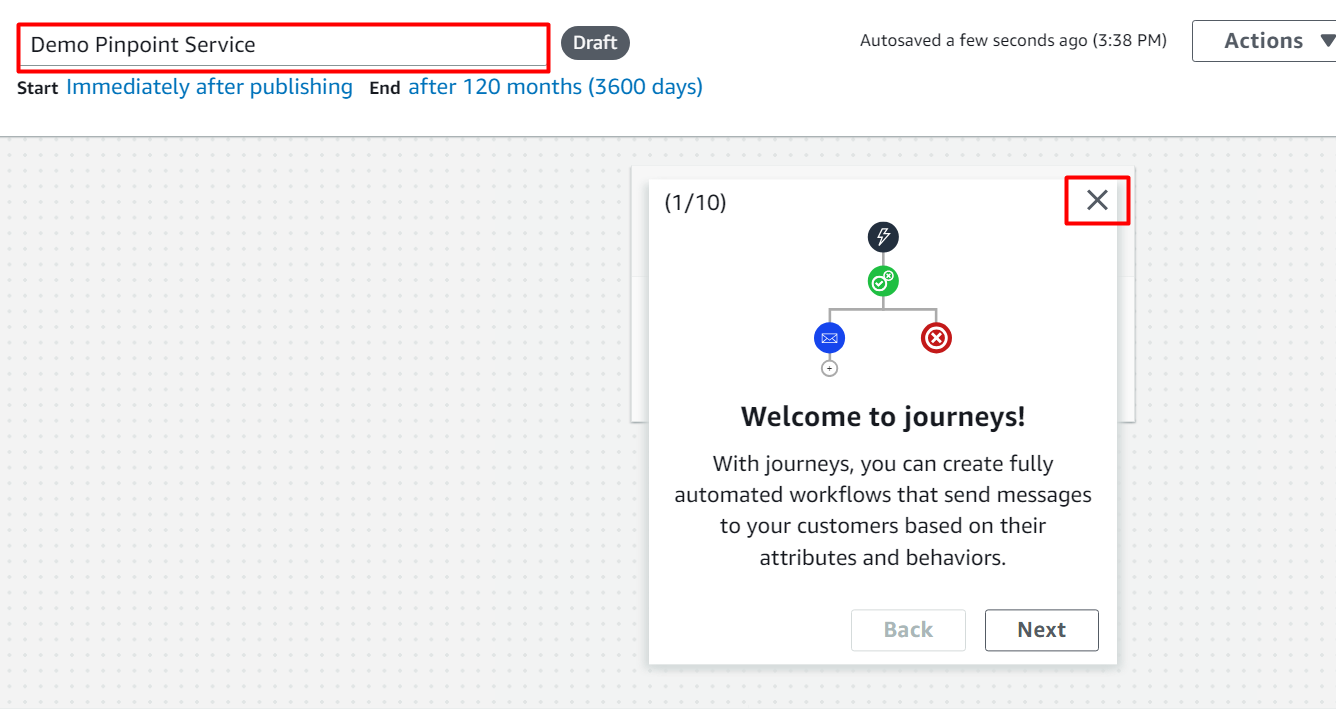
Click the “x” option to close all the introductory cards. Provide the name for the journey in the highlighted field:
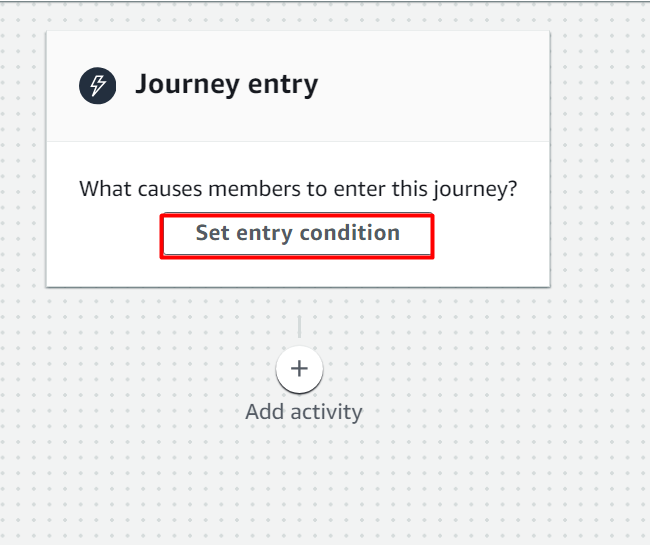
First, we will create the Entry condition. For this purpose, click the “Set entry condition” button in the “Journey entry” section:
In the Journey entry section, pick the “Add participant from a segment” option as we have already created a segment. In the Segments field, select the name of the CSV or JSON file that was imported from the device:
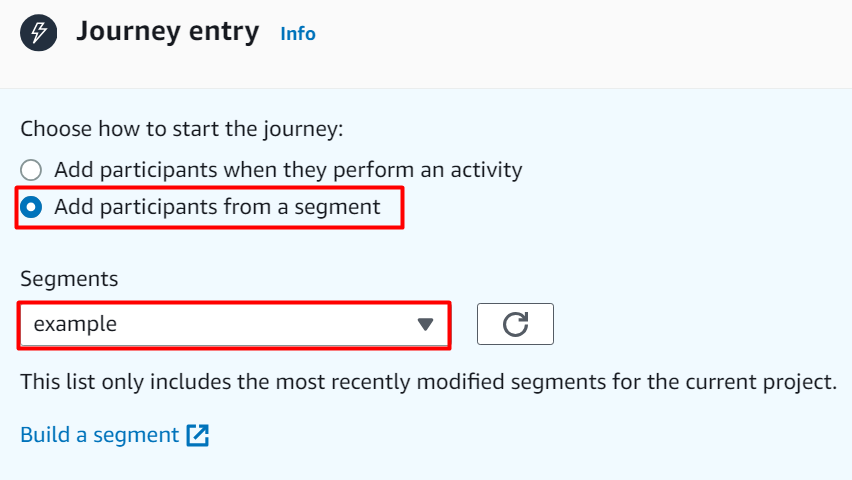
Here, in the “Rate” section, we have specified that the membership of the journey will be updated after looking through the journey periodically. This means that if there is a new customer added to the segments then this will be included in the next journey. After specifying the entry conditions, click on the “Save” button:

Next, click on the “+” option to define the logical workflow of pinpoint email service:
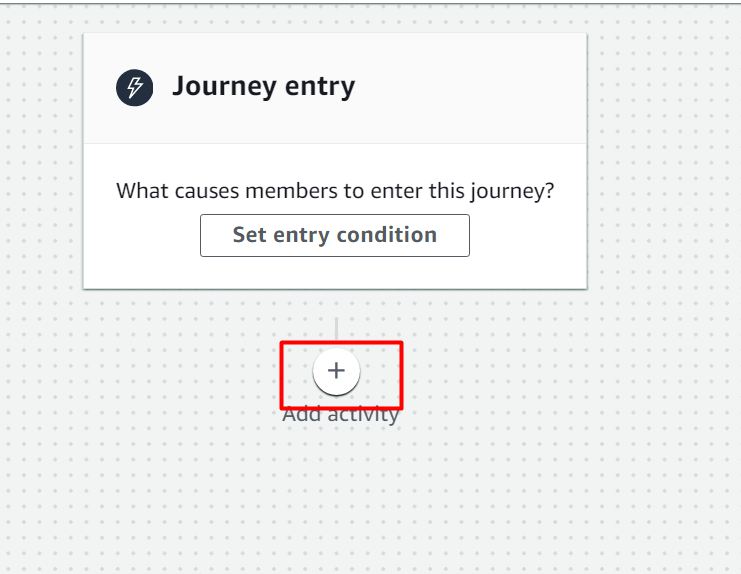
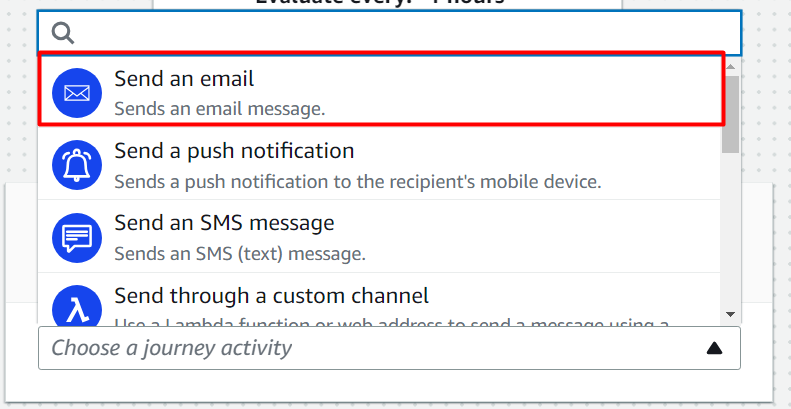
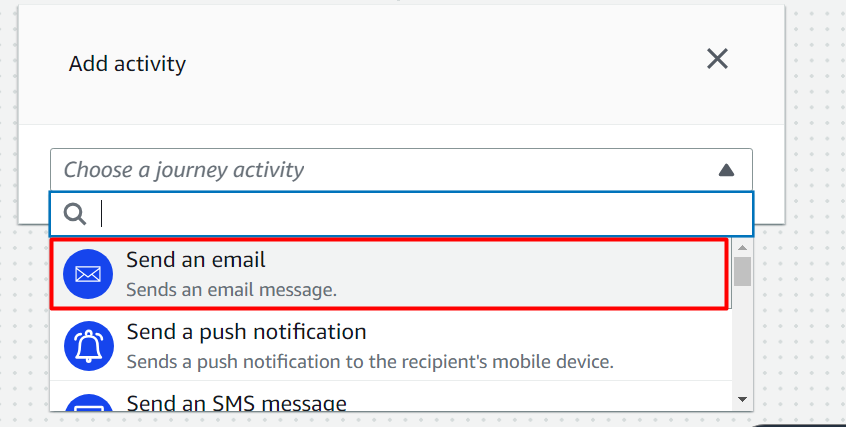
In the “Add activity” section, select the “Send an email” option from the list:
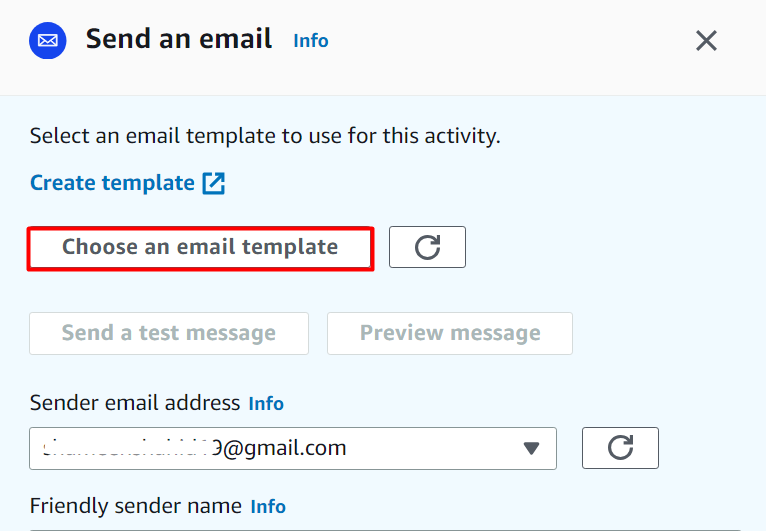
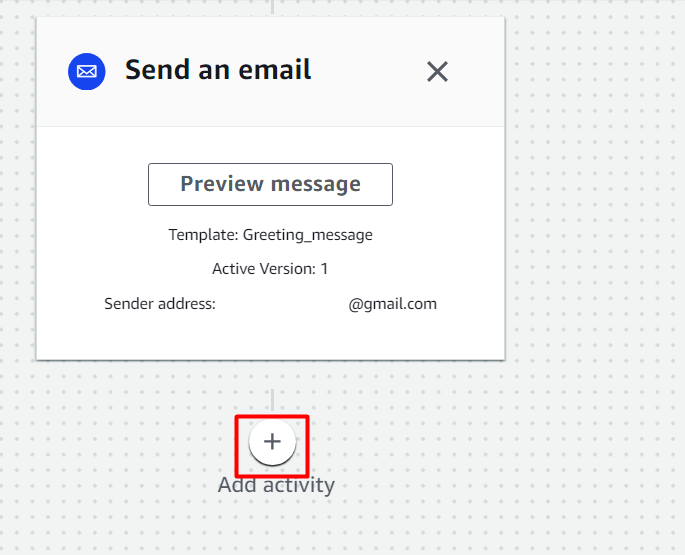
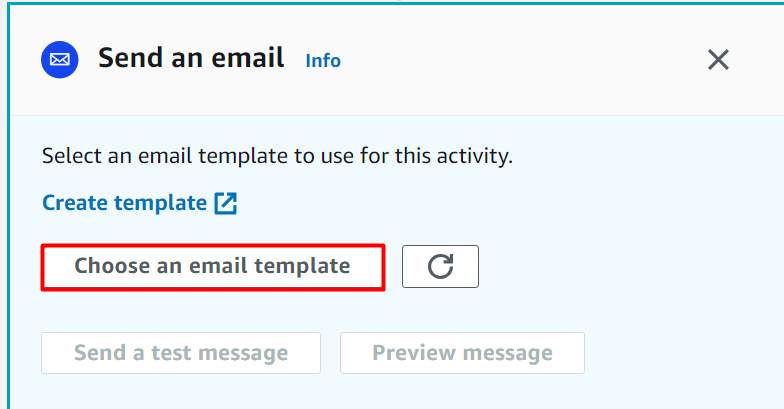
From the “Send an email” interface, click the “Choose an email template” to send personalized messages to the customers. Note that these templates are those message templates that we have created earlier:
Choose the template from the displayed option and click the “Choose template” button:

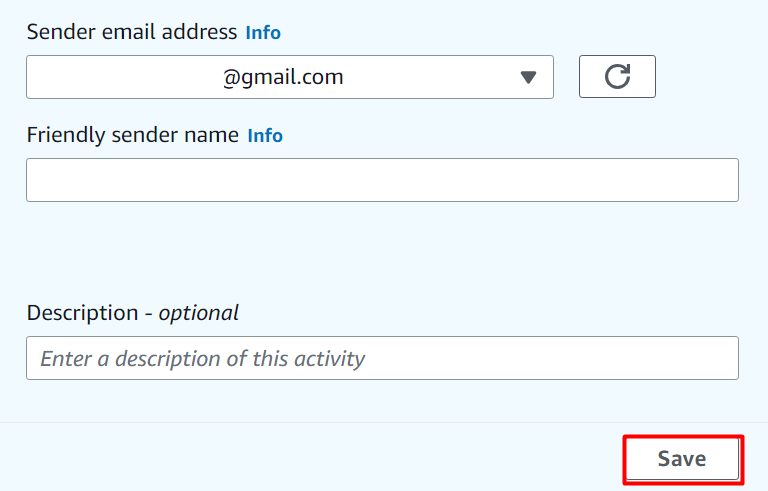
Click the “Save” button to complete the “Add activity” operation:
Next, we will implement a condition check. This is because we want to determine who opened the email and who did not. For this purpose, we will now use the Split condition. Click the “+” option under the Activity section:
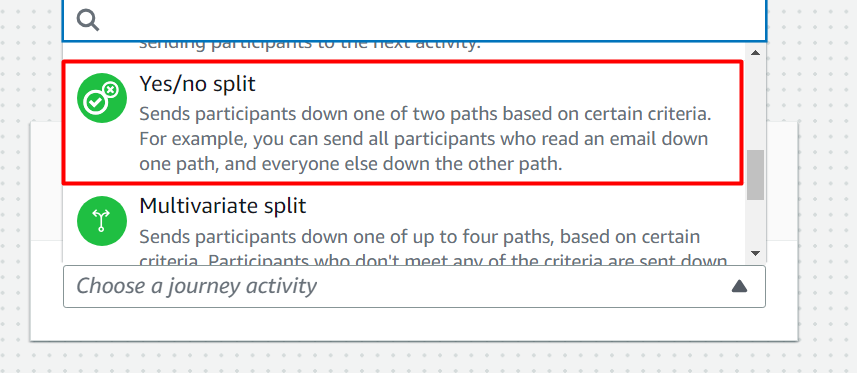
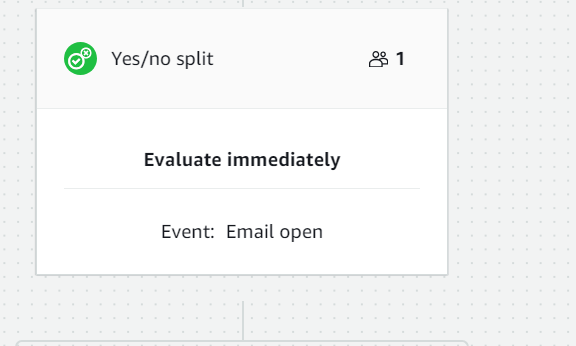
Within the Add activity section, choose the “Yes/no split” option from the list:
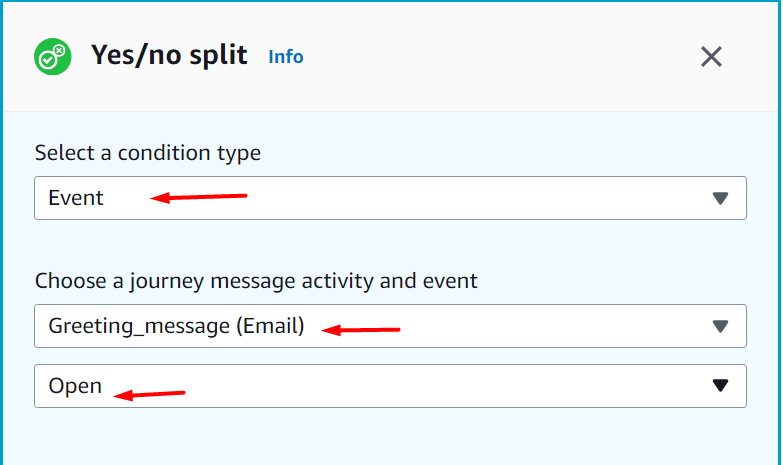
In the “Yes/no split” section, select “Event” as the condition type. In the “Choose a journey message activity and event”, pick the “Welcome” email message template. Choose the “Open” option in the next field as we want to determine if the user has opened the email or not:
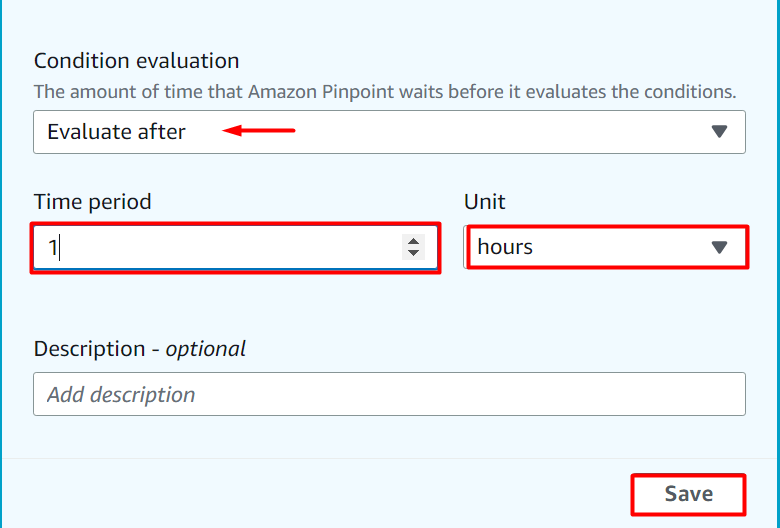
Similarly, select the “Evaluate after” option in the “Condition evaluation” section. The “Condition evaluation” section defines the criteria of Amazon Pinpoint evaluation. Users can schedule the Time period of Amazon Pinpoint evaluation too. After specifying the time and condition evaluation, click the “Save” button to apply changes:
After specifying the Conditions, we will now define the “Yes” and “No” conditions. Click the “+” button under the “Yes” button:
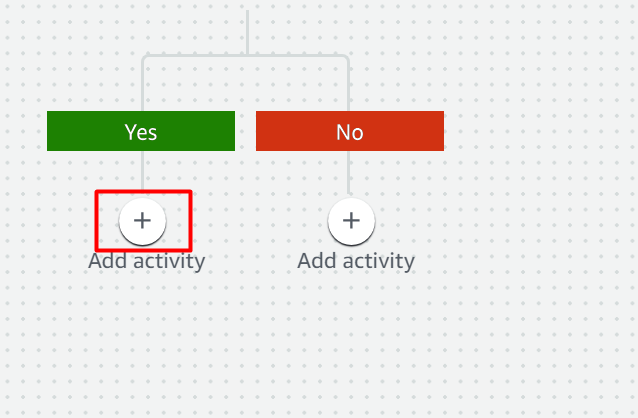
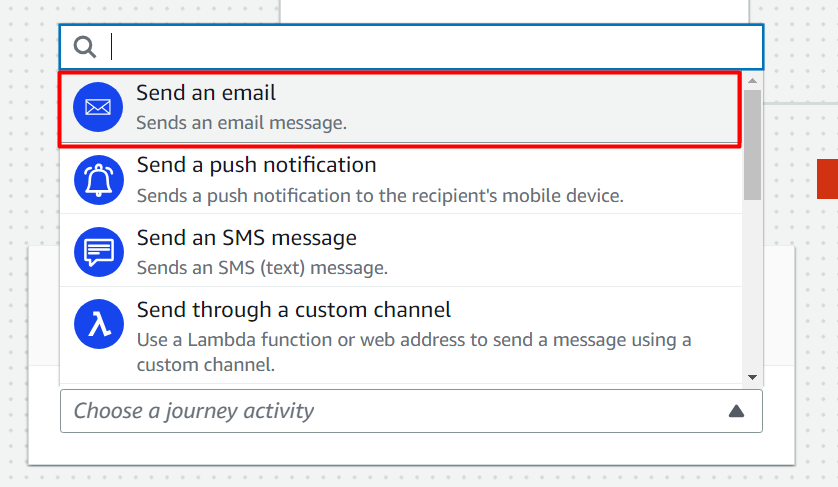
In the “Add activity” section of the “Yes” block, choose the “Send an email” option from the list:
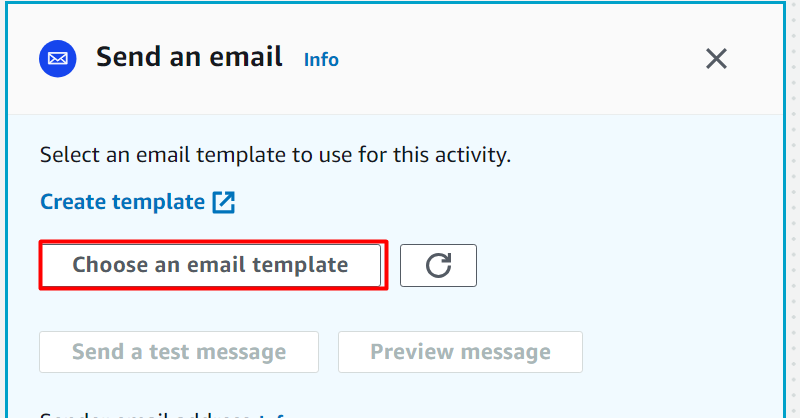
Tap the “Choose an email template” button in order to select the message template that should be sent to the user if the email was opened:
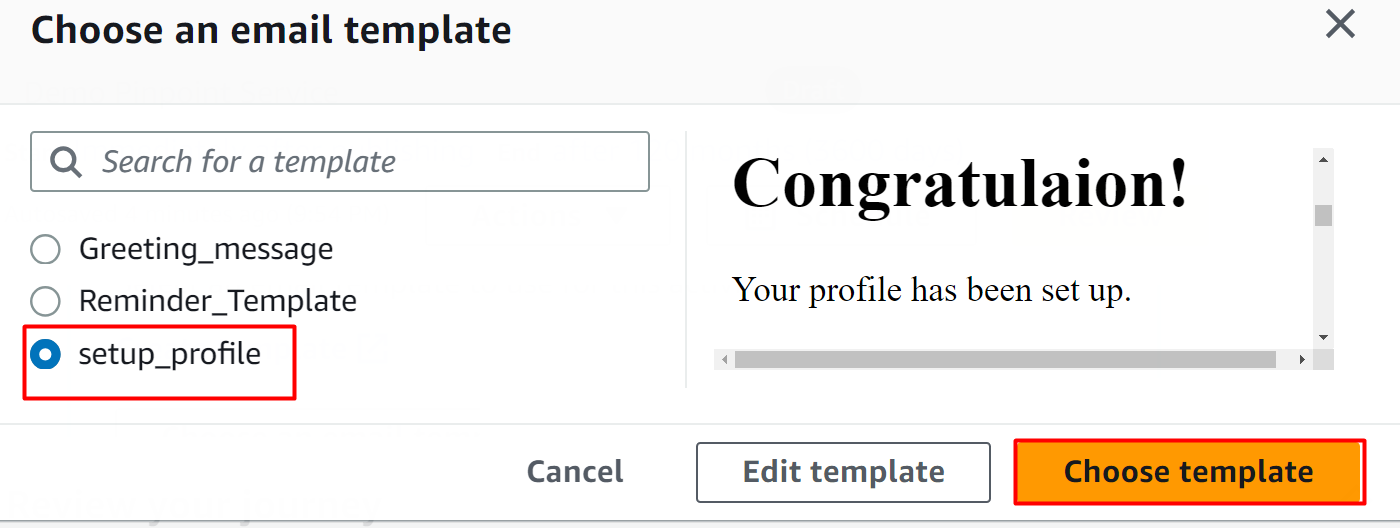
From the prompt window, select the message template that you want to send to the user next if the email is opened. For this demo, we have selected that “setup_profile” option and click the “Choose template” button:
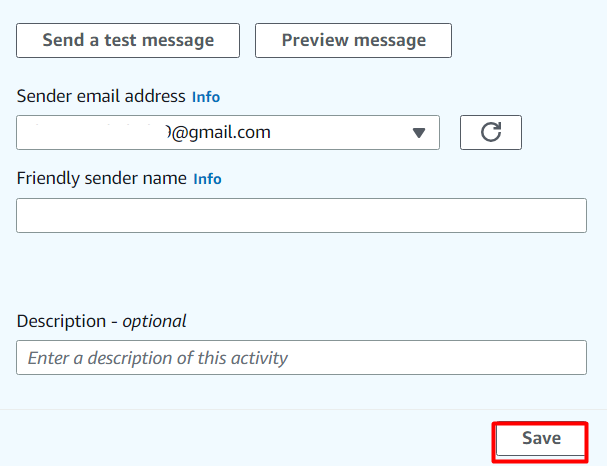
Keeping the default settings, click the “Save” button:
Similarly, now we will define the condition if the user has not opened the email. For this purpose, click the “+” button under the “No” block:
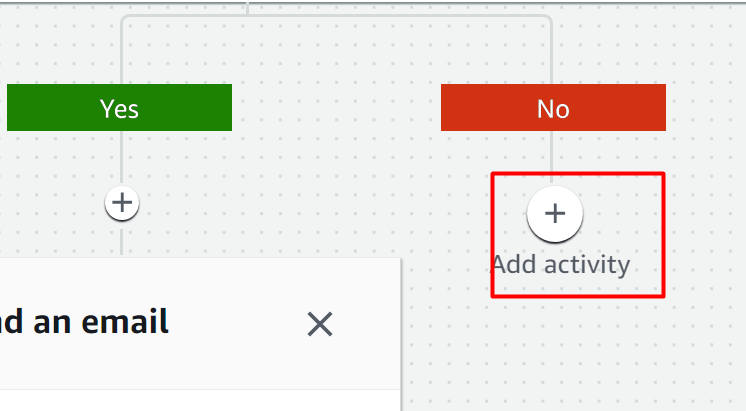
If the email has not been opened by the user then the application will also send a “Reminder” email. Hence, select the “Send an email” option in the Add activity section:
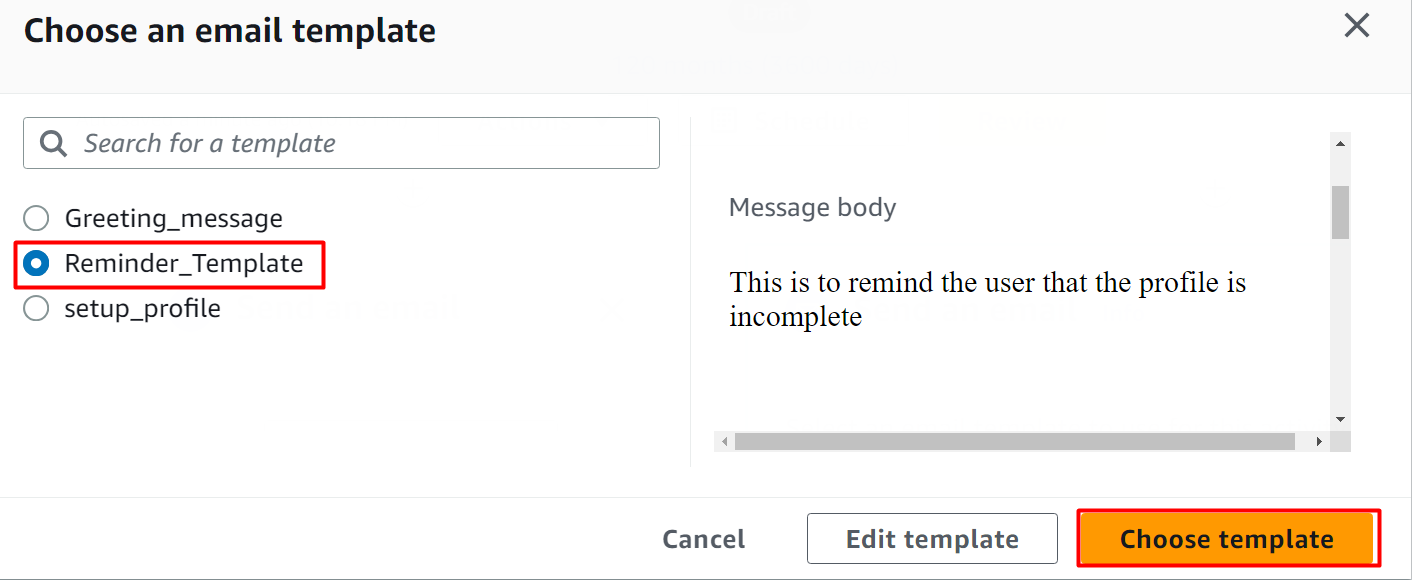
Tap the “Choose an email template” button to choose the email that is to be sent as a reminder:
From the prompt window, choose the “Reminder” email template. For this demo, click the “Reminder_Template” option and then tap the “Choose template” button:
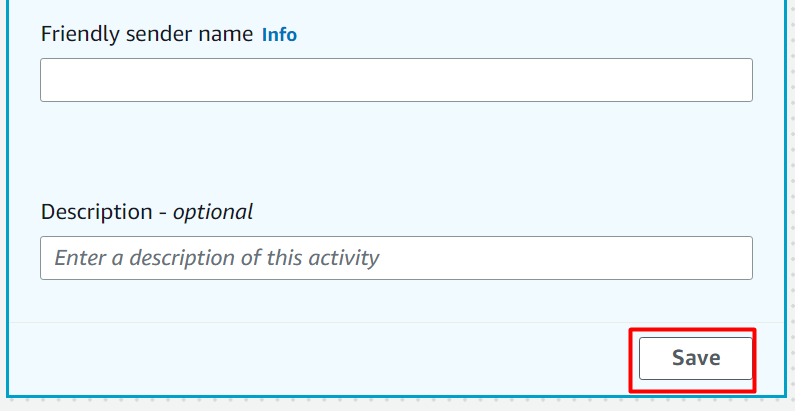
By keeping the rest of the settings as default, click the “Save” button:
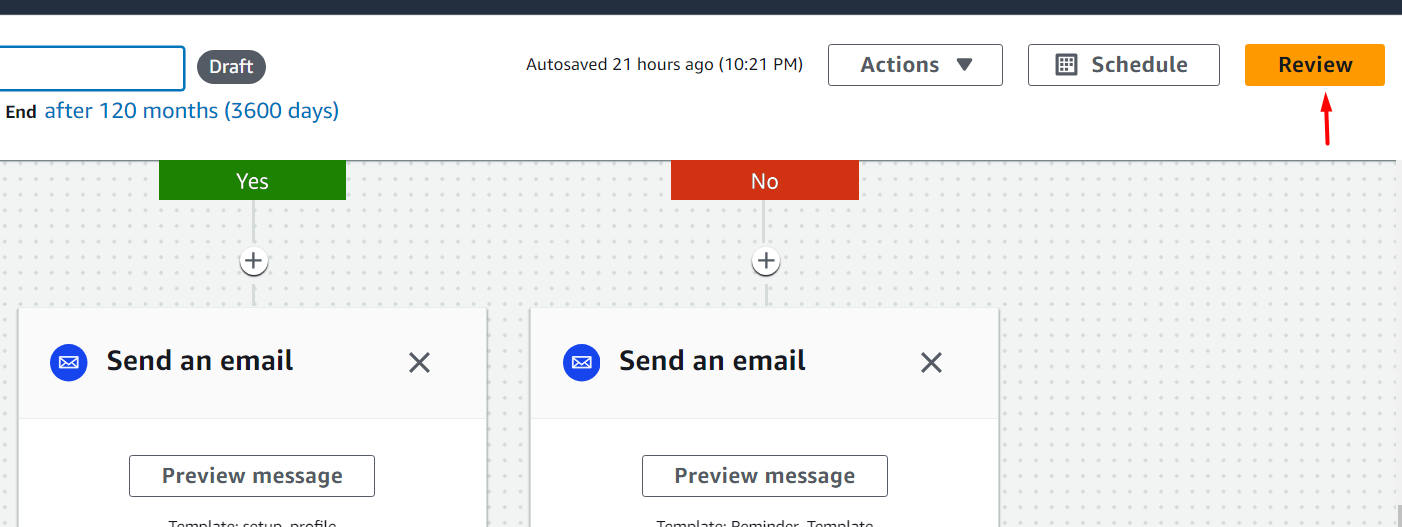
To determine if the changes applied are correct or not, tap the “Review” button located in the top-right corner of the interface:
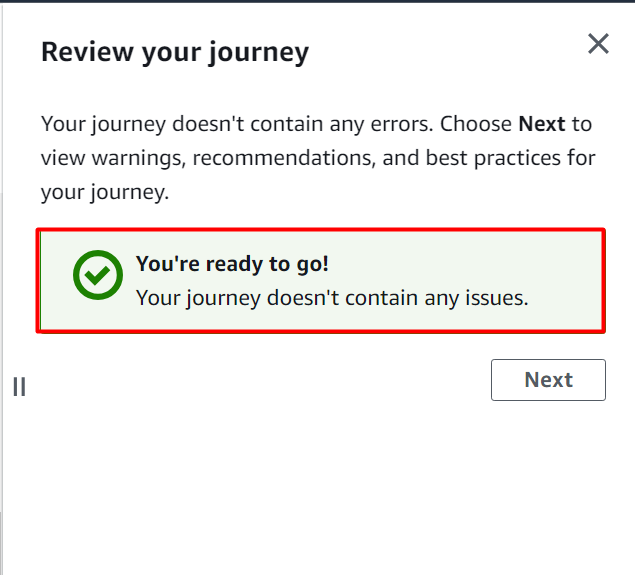
From the Review section, we can see that all the changes are correct:
Step 5: Verification
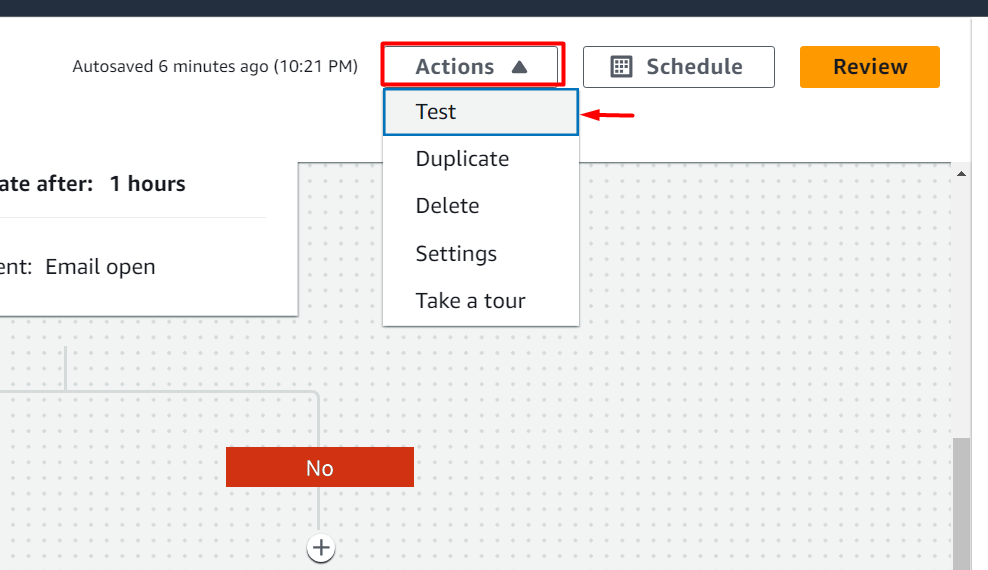
Similarly, click the “Actions” button on the top of the interface. Click the “Test” button from the drop-down list to test the functionality:
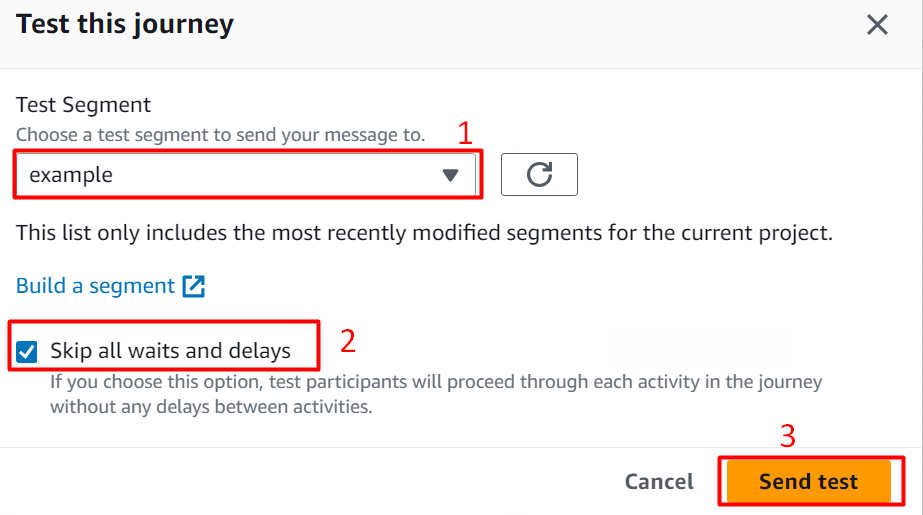
Select the CSV or JSON file that we imported earlier in the article. Next, check the “Skip all waits and delays” option. Click the “Send test” option to run the testing stage:
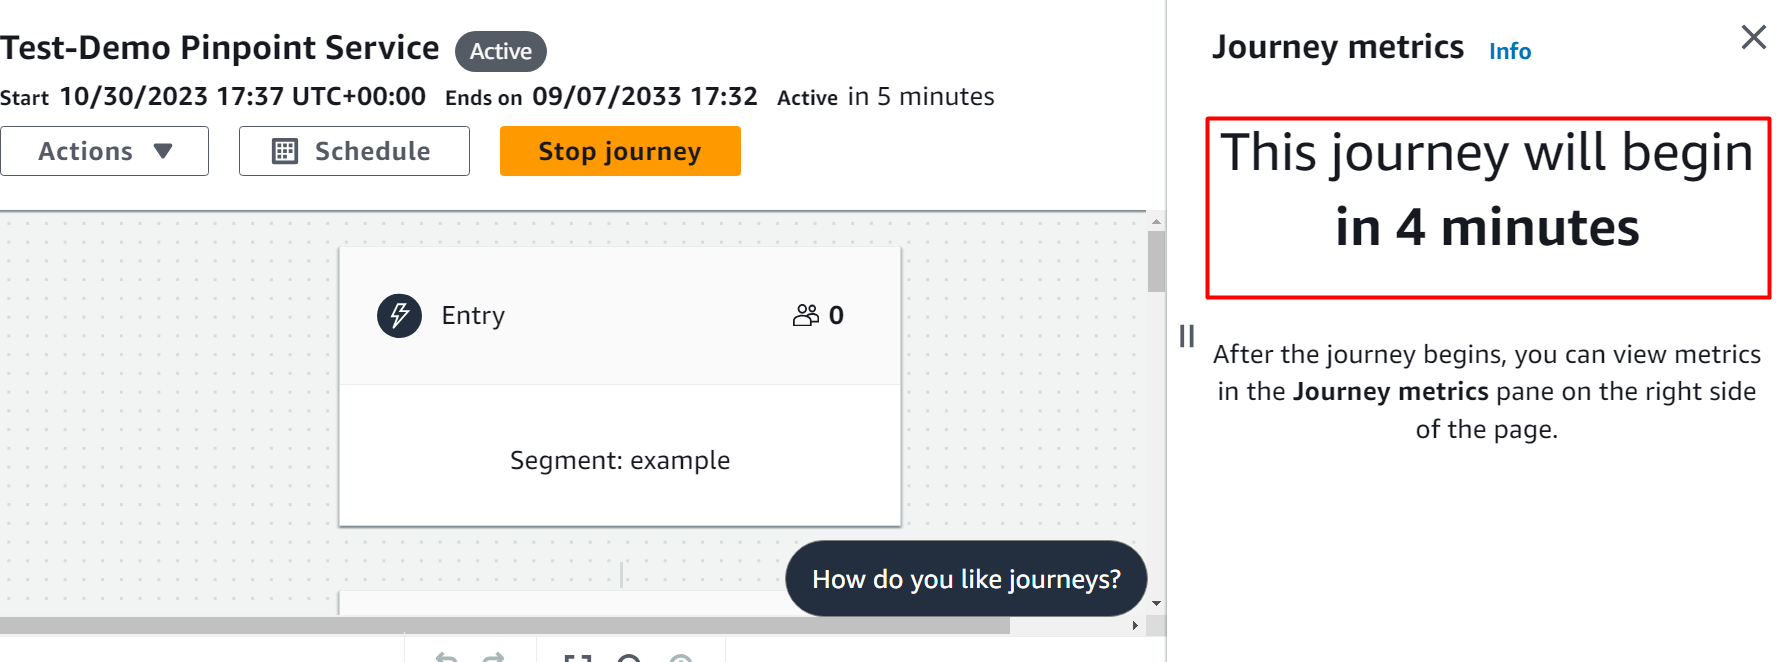
This will open the dashboard of this workflow in a new tab. After the specified time, the results will be displayed to the user:
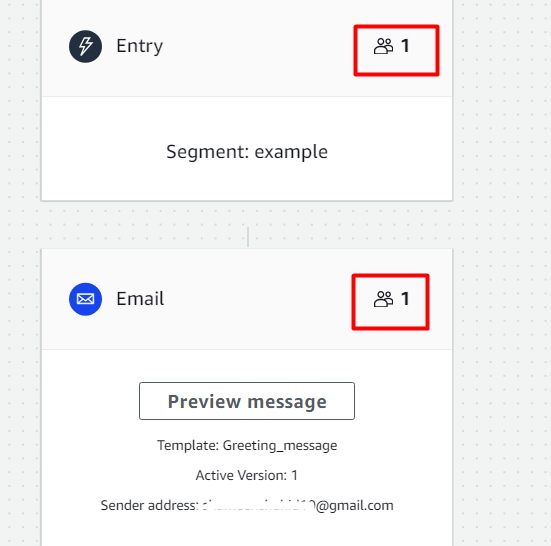
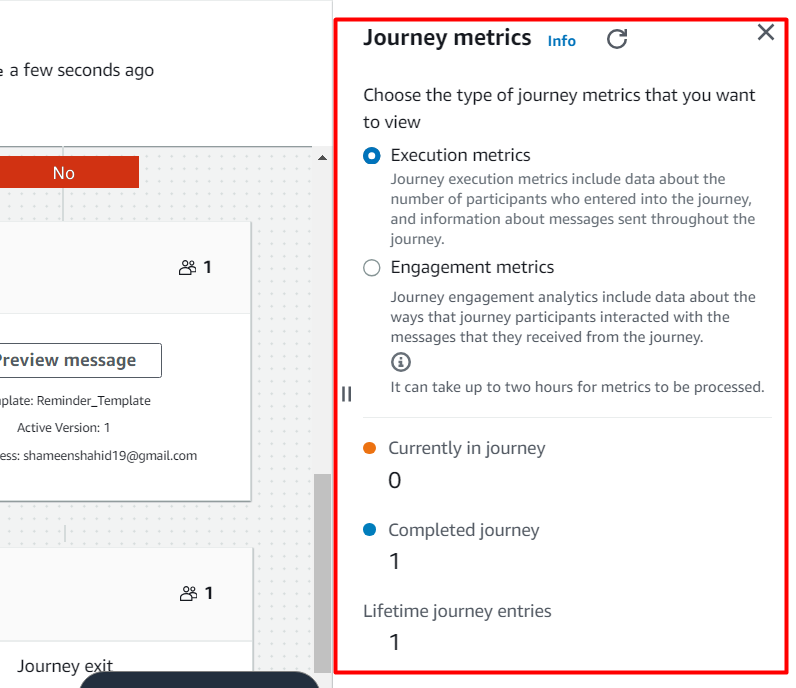
In the Journey metrics, we can see that one email has been sent to the user whose email address was provided in the file:
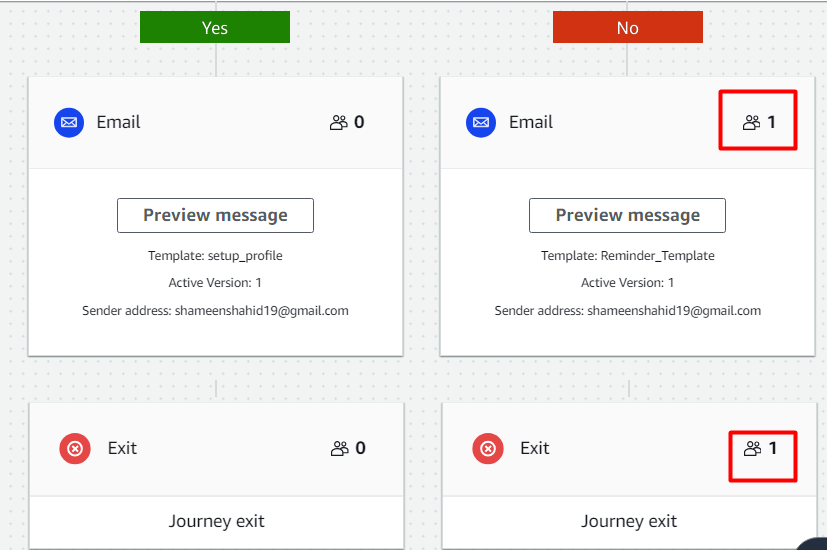
The evaluation of the one customer has been completed by Amazon Pinpoint email service and the “No” block is executed:
In the “No” block, we can see that the user has currently not opened the email and therefore, this “No” block is executed:
Similarly, on the right-hand side, the “Journey metrics” are given for analyzing the user behavior:
That is all from this guide.
Bonus Tip: Benefits of Amazon Pinpoint Email Service
Following are some of the benefits of Amazon Pinpoint Email Service:
Single Platform Communications
Oftentimes, businesses include one vendor per Communication Channel. This increases the communication and technical complexity of the system. AWS Pinpoint allows users to have one user interface and one set of API operations for sending messages, scheduling communicating, and analyzing customer engagement data, etc.,
Reliable Communication
AWS Pinpoint is a key service for use cases such as OTP passwords, payment confirmations appointment reminders, etc. Furthermore, this service allows users to reach a throughput of thousands of emails per second either by shared or dedicated channels. Similarly, the Pinpoint email service supports more than 240 countries and territories.
Target the Right Customers
The Pinpoint email service allows users to target the right customers with the right message. To improve and enhance the businesses, it allows users to gain insights into customer data and create Dynamic segments. Additionally, users can also integrate Pinpoint Email service with AWS personalized which is a machine learning fully managed service.
Communication Capability
This service can also be integrated with the user’s applications. AWS Pinpoint is a useful and efficient service for applications where a user is required to send bulk emails to its user. With this service integrated into the application, it will import the customers’ data and send them tailored messages for enhanced customer engagement.
Pricing
AWS Pinpoint email service follows the pay-as-you-use model. Pinpoint email service charges $0.0001 for each email that you send. Pinpoint incurs different changes for different features such as in-app messaging, push messages, email, etc. You can learn more about AWS Pinpoint pricing by referring to the AWS Pinpoint pricing document.
Conclusion
To use the AWS Pinpoint service, create a project, input data to the Segments, create message templates, and then create the journey to define the workflow. After creating the project, we can define the Segments for the Pinpoint service in order to define and reach the specific audience. Then the user can define the message body that is to be sent to the customers. Lastly, we will create a journey in which we will apply certain conditions to the sent email in order to track and analyze the traffic patterns and customer behavior. This article provides a comprehensive guide for getting started with the AWS Pinpoint Email service.
Source: linuxhint.com