How to Generate SSH Key in Windows 11
The SSH is a “cryptographic network protocol” that is helpful for the transferring of the data along the network also which is encrypted. In this article, we will be discussing all of the possible methods for the knowledge of generating the SSH key in Windows 11.
Ways to generate the Windows 11 “SSH key”:
The following are the methods which we will be covering for the generation of SSH keys in Windows 11. Both of the methods are convenient for the generation of the SSH key. Choose the method to generate the key which is more comprehensible to you.
Let’s discuss step by step the ways with a detailed description for a better understanding of the generating SSH key in Windows 11:
Method # 01: The command line SSH key generation in Windows 11
Let’s generate the SSH key in Windows 11 with the help of the command line. Windows has come up with the built-in feature of the open SSH client. The Windows terminal is also, by default, installed in Windows 11 for using the command line on and off anytime which runs the Powershell, cmd, and Windows subsystem performance better than ever. Let us follow the steps for the command line SSH generation of the key.
Step # 01:
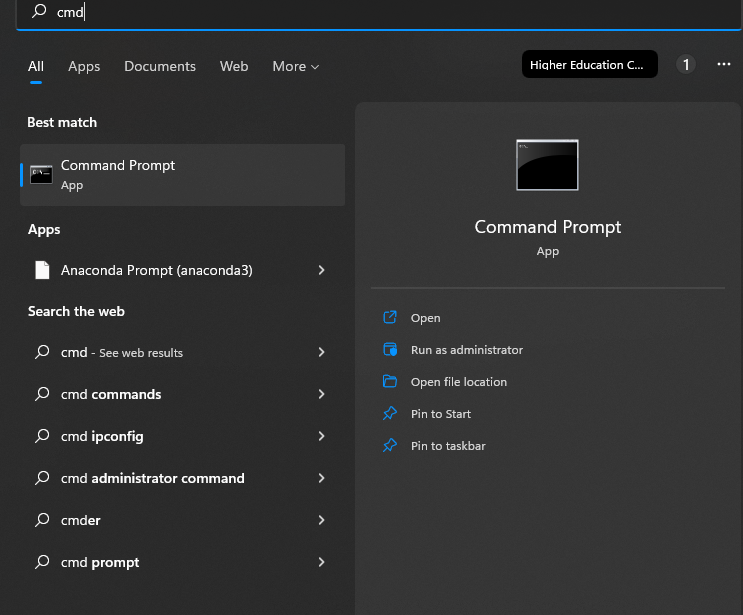
Open the command prompt first by searching in the start menu or the search bar icon right next to the start menu. Select cmd and click it.
Step # 02:
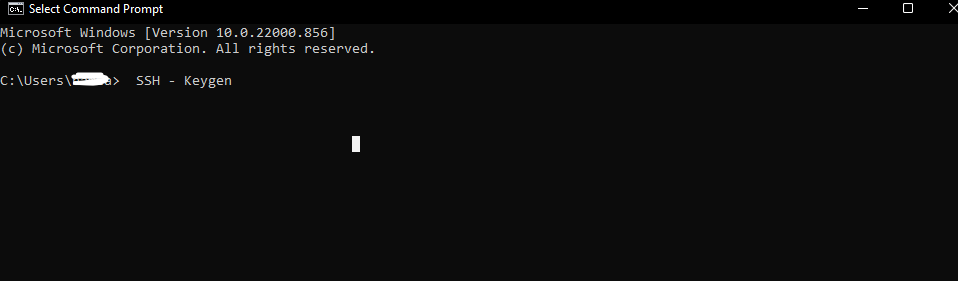
In the command prompt write “SSH – Keygen” and press the “enter” key.
Step # 03:
The command above will generate the key already. Now, we have to name the key and also have to select a specific location to save the key. If we don’t save the key in a specific area in our system then, the key by default will be saved in the “c” drive on the desktop as “C: User[ enter user name] . ssh”. And if the user account is stored in some other folder so it will be assuming that instead of “c”.
![]()
Step # 04:
Then, we will be asked to set and enter some passphrase that is a password. Or if we don’t want that, just press enter. Now, we have our key generated and saved. We can use it now. We will have the files as “.ssh” in the folder “id name” without any extension file and another file will be as “id_rsa.pub”. If we have a private key, do not ever share it with anyone. We can similarly generate various keys for every site we want to. Follow the same process individually as many times as we want a new key to generate. The one-time process will take time to proceed and also clarity will be done by generating the other times.
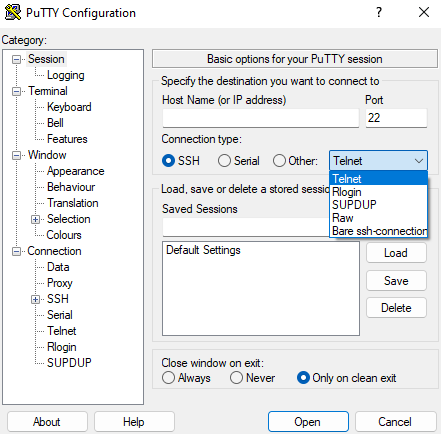
Method # 02: The puTTY SSH key generation in Windows 11
Here is another method of generating the SSH key in Windows 11 by using the puTTY. It is an old popular way which is a complete method. This works as a program that was supposed to be a specific method in Windows to communicate with the server. If we have it in your system, it will allow us to build SSH keys. It comes with a maximum count of programs that are helpers. From those helpers, one is termed the puTTY key generator.
Step # 01:
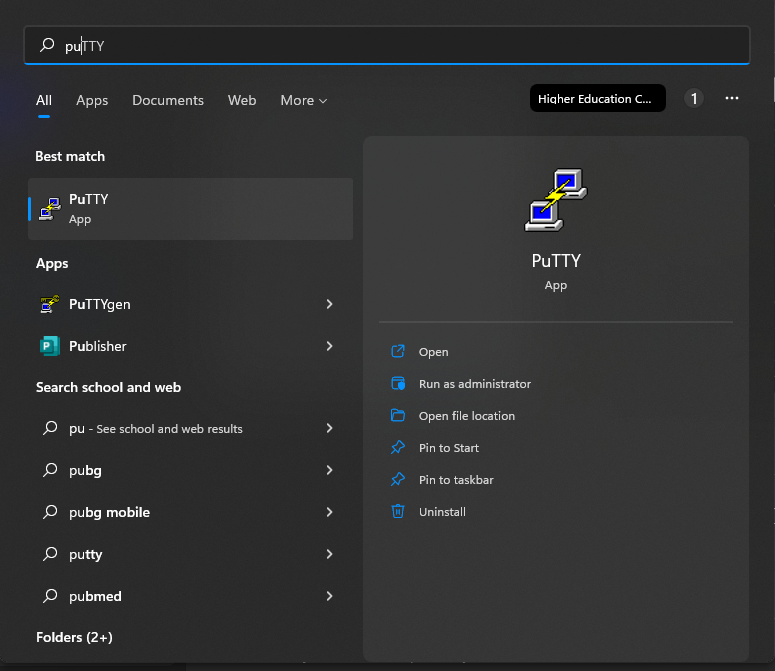
Search for the “puttygen” in Windows 11. Click on the magnifier search icon or just click on the start menu and search there once it shows select and opens it. If we don’t have the puTTY download, simply download it from the browser or the Microsoft app.
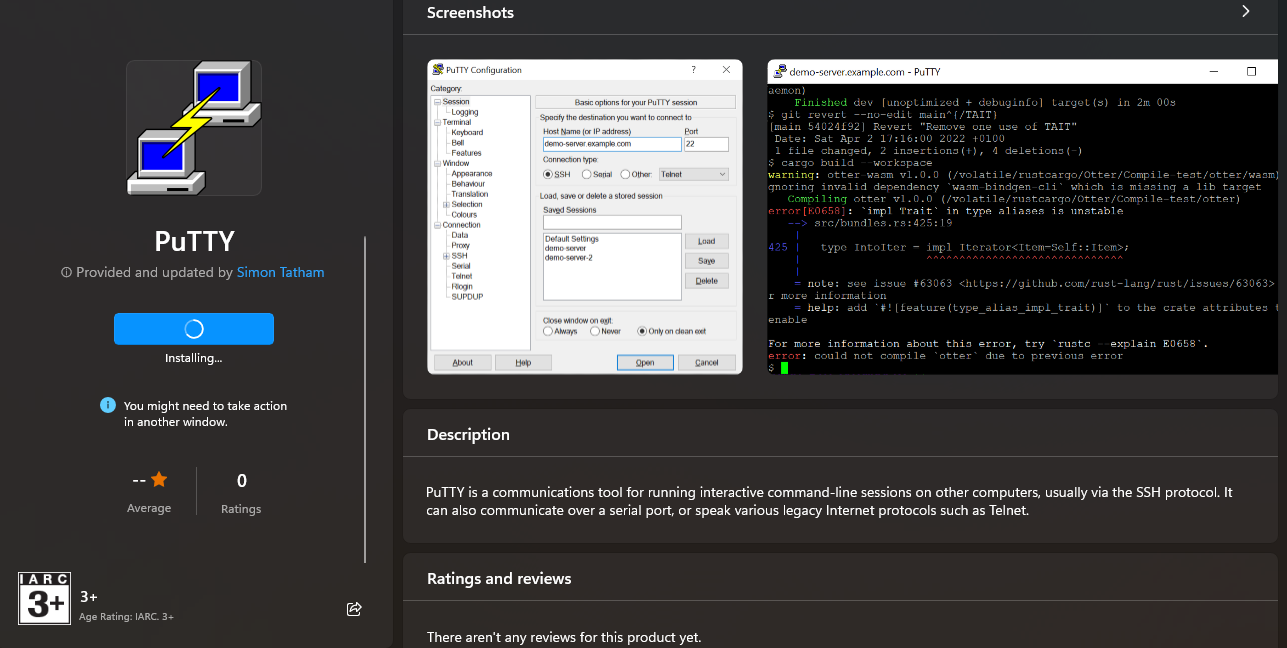
The installation in the Microsoft app will look like this:
Step # 02:
As we open the Puttygen, we will see various keys on the window at the bottom. If we are confused or do not know which key to use with the “RSA”, select and click it. A box will appear giving the message: type “4060” with the number of bits in the generated key. There is another option that is “ EdDSA”. By clicking it, a drop-down will pop up for making sure that we have selected the “Ed25519” which is 255 bits.
Step # 03:
We have to press the generate key now and the method of puTTY will appear to start working. The time should depend on our system speed; otherwise, it does not take a long time and then it will send a message to move the mouse from its place so that the cursor moves on the Windows screen. This will create a random generation of the key.
Step # 04:
Now, save the key as a “public key” for the public key saving and we can name it and locate it on the positions in the system wherever we want them to store. Also, we can store the name and id depending on the selected keys in step 2 above in the same method.
Step # 05:
If we want a private key, a question will be appearing in some minds. So, for the private key generation saving, we have to go a little further to proceed with that. The puTTYgenerates the PPK keys as default to use. We have to select conversation at the top of the window which should be greater than open SSH key exporting. Then, we have to save it as by our choice or by the same “id _ user name” or the “id _ ed25519” ending with the null file.
![]()
Conclusion
The SSH is an “access credential”. They are the modern world that developed the foundation for the platform of “infrastructure as a service” examples are “google cloud”, azure” and so on. The generation of the SSH keys is not as difficult as it seems; just follow the steps of any of the methods we want to implement for generating the key in SSH and then follow. It is super easy to do so. We have performed the two methods of the generation of the SSH key in Windows 11 the one with the command prompt and the other one with the help of puTTY which is an old technical method.
Source: linuxhint.com