How to Generate LetsEncrypt SSL Certificate using CloudFlare DNS-01 Challenge and Use it on Synology NAS
Disk Station Manager v7 (DSM 7) is the operating system of Synology NAS devices. You can configure the Let’s Encrypt SSL certificates for your Synology NAS from the DSM 7 web interface. By default, Synology DSM 7 uses the HTTP-01 challenge to verify the ownership of the domain (that you want to use for your Synology NAS) and issue an SSL certificate for the domain. But the HTTP-01 challenge won’t work unless you have a public IP address and your computer is accessible from the internet. So, if you want to use the Let’s Encrypt SSL certificates for your home network or private network, you have to use the DNS-01 challenge instead. When the DNS-01 challenge is used, Let’s Encrypt verifies the ownership of the domain using the DNS server of the domain. So, it works for private networks as well. Sadly, the Synology DSM 7 web interface does not provide any way of obtaining the Let’s Encrypt SSL certificates using the DNS-01 challenge.
Luckily, the “acme.sh” program can be installed on your Synology NAS and is used to generate and renew the Let’s Encrypt SSL certificates using the DNS-01 challenge.
In this article, we will show you the following:
- How to install “sh” on your Synology NAS
- How to use “acme.sh” to generate a Let’s Encrypt SSL certificate (via the DNS-01 challenge) for the domain name that you’re using on your Synology NAS
- How to install the “acme.sh” generated Let’s Encrypt SSL certificate on your Synology NAS
- How to configure the DSM 7 operating system of your Synology NAS to use the generated Let’s Encrypt SSL certificate
- How to configure your Synology NAS to automatically renew the generated Let’s Encrypt SSL certificates using “acme.sh”
NOTE: In this article, we will use the CloudFlare DNS server for demonstration. You can use other DNS services that are supported by acme.sh as well. All you have to do is make the necessary adjustments.
Topic of Contents:
- Creating a Certadmin User on Synology NAS
- Configuring the CloudFlare DNS Server for LetsEncrypt DNS-01 Challenge
- Configuring Other DNS Services for LetsEncrypt DNS-01 Challenge
- Accessing the Synology NAS Terminal via SSH
- Downloading Acme.sh on Your Synology NAS
- Installing Acme.sh on Your Synology NAS
- Generating a Let’s Encrypt SSL Certificate Using Acme.sh for Your Synology NAS
- Installing the Let’s Encrypt SSL Certificate on Your Synology NAS Using Acme.sh
- Setting the Let’s Encrypt SSL Certificate as Default on Your Synology NAS
- Configure Synology NAS to Auto Renew a Let’s Encrypt SSL Certificate Using Acme.sh
- Conclusion
- References
Creating a Certadmin User on Synology NAS
First, you should create a new admin user on your Synology NAS to generate and renew the Let’s Encrypt SSL certificates.
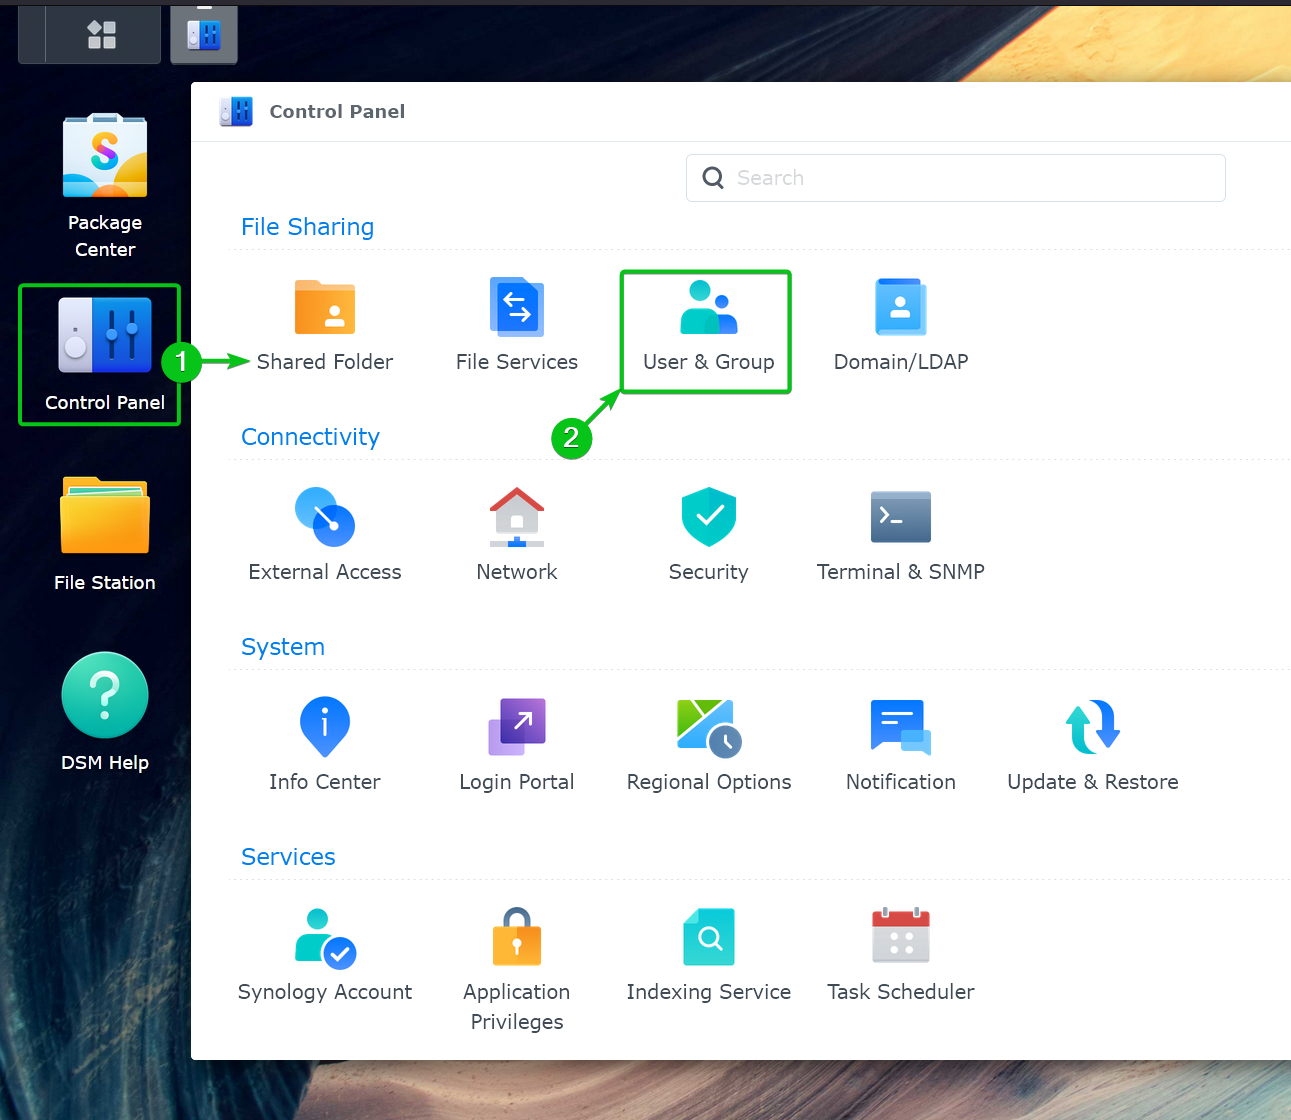
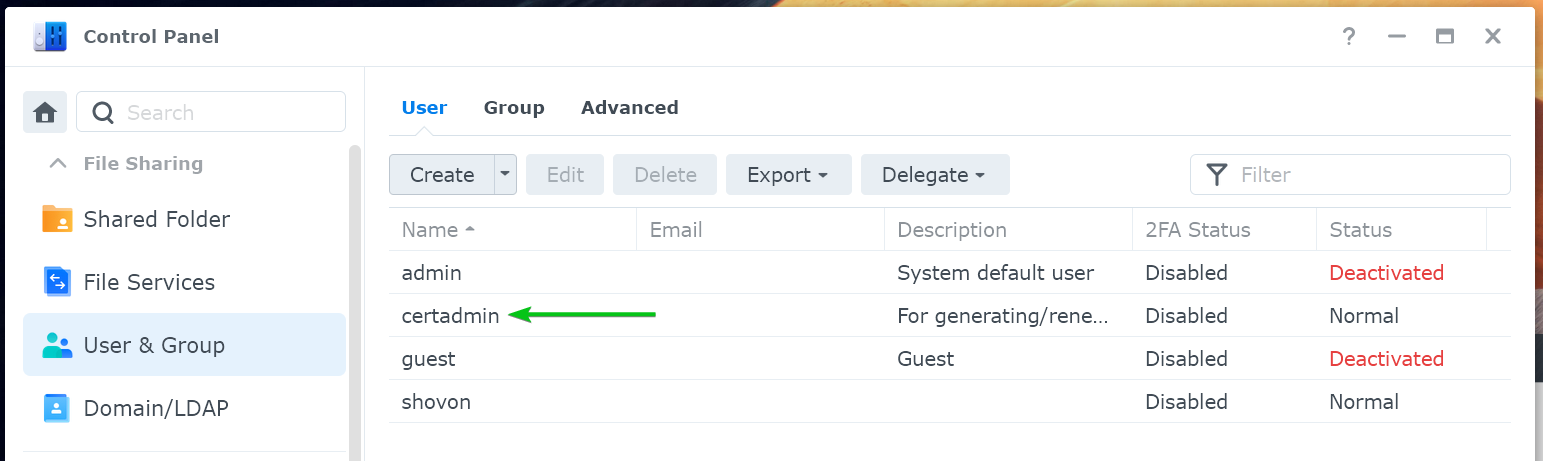
To create a new admin user on Synology NAS, click on Control Panel[1] > User & Group[2] from the DSM 7 web interface.
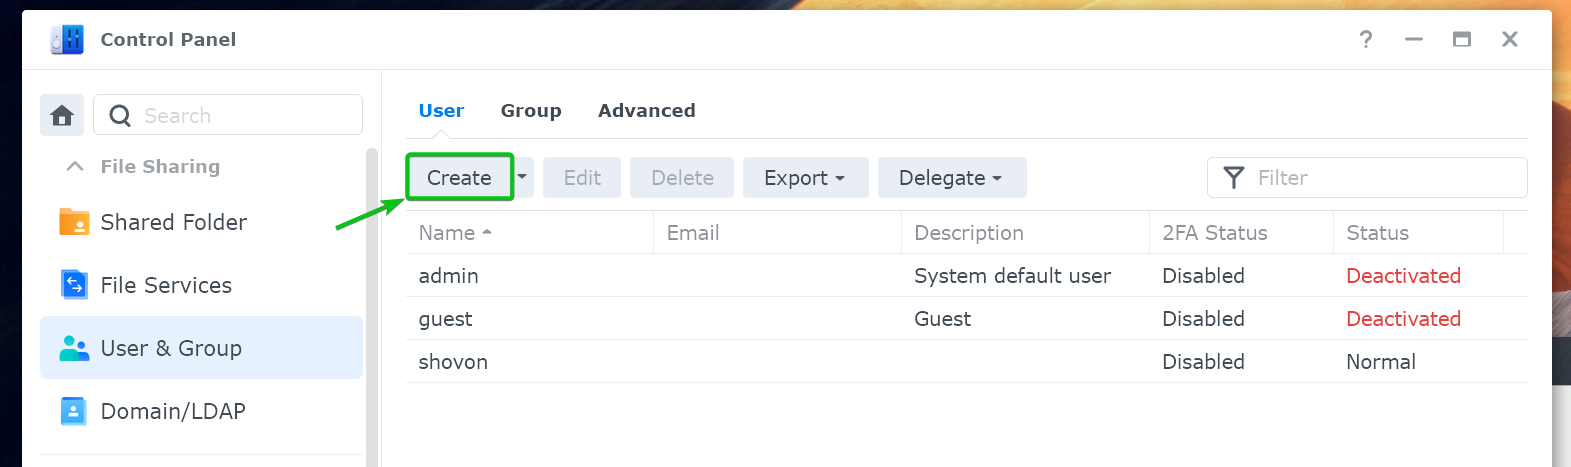
Click on “Create” from the “User” tab.
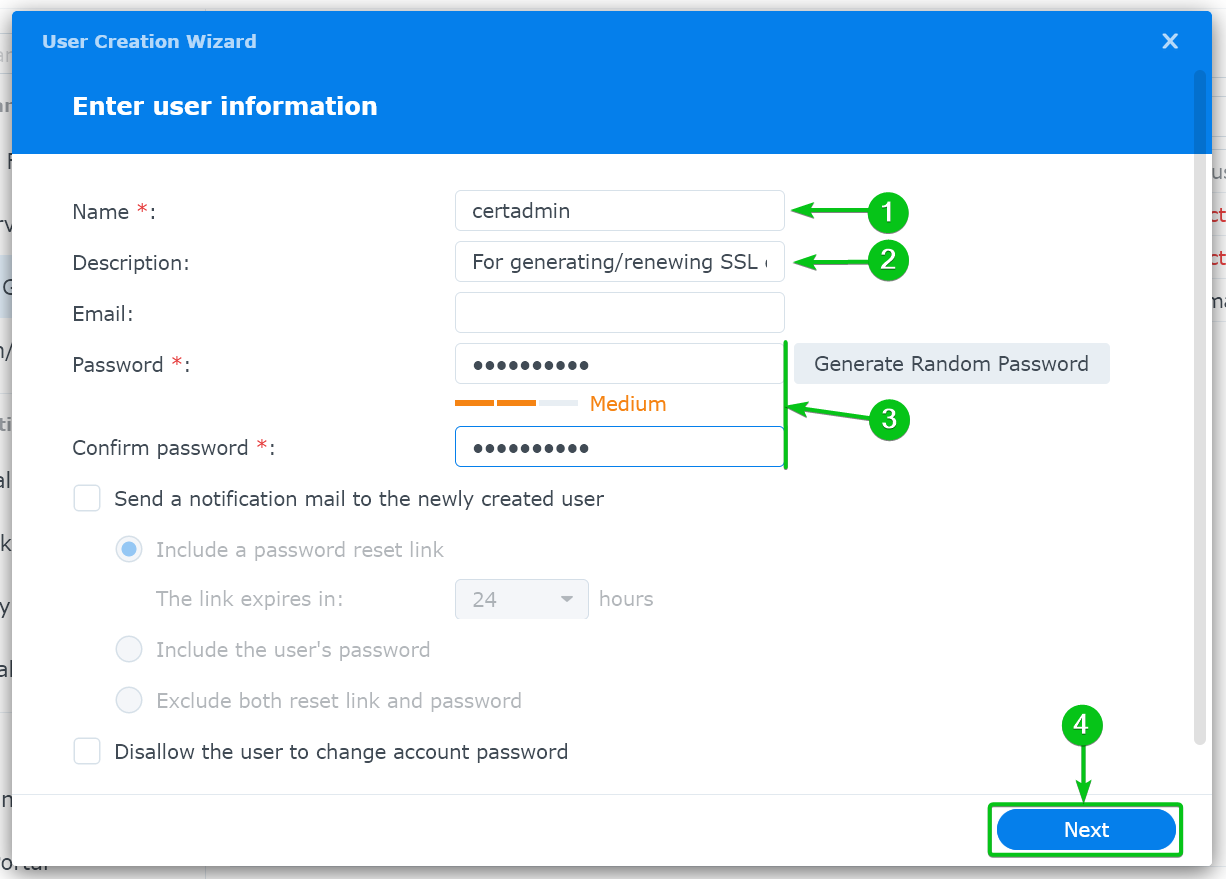
Type in “certadmin” as the user name[1], an optional short description for the user[2], the user login password[3], and click on “Next”[4].
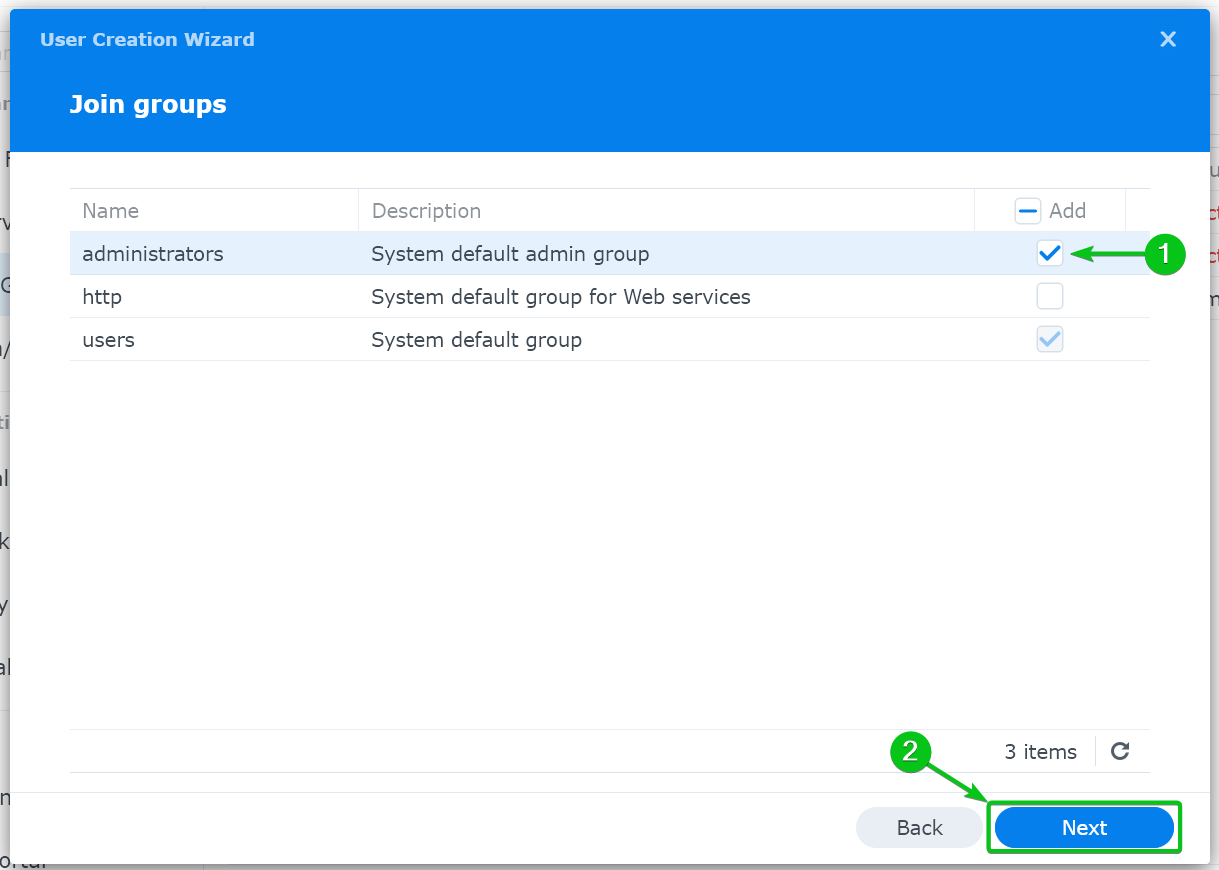
To create an admin user, tick the “administrators” group from the list[1] and click on “Next”[2].
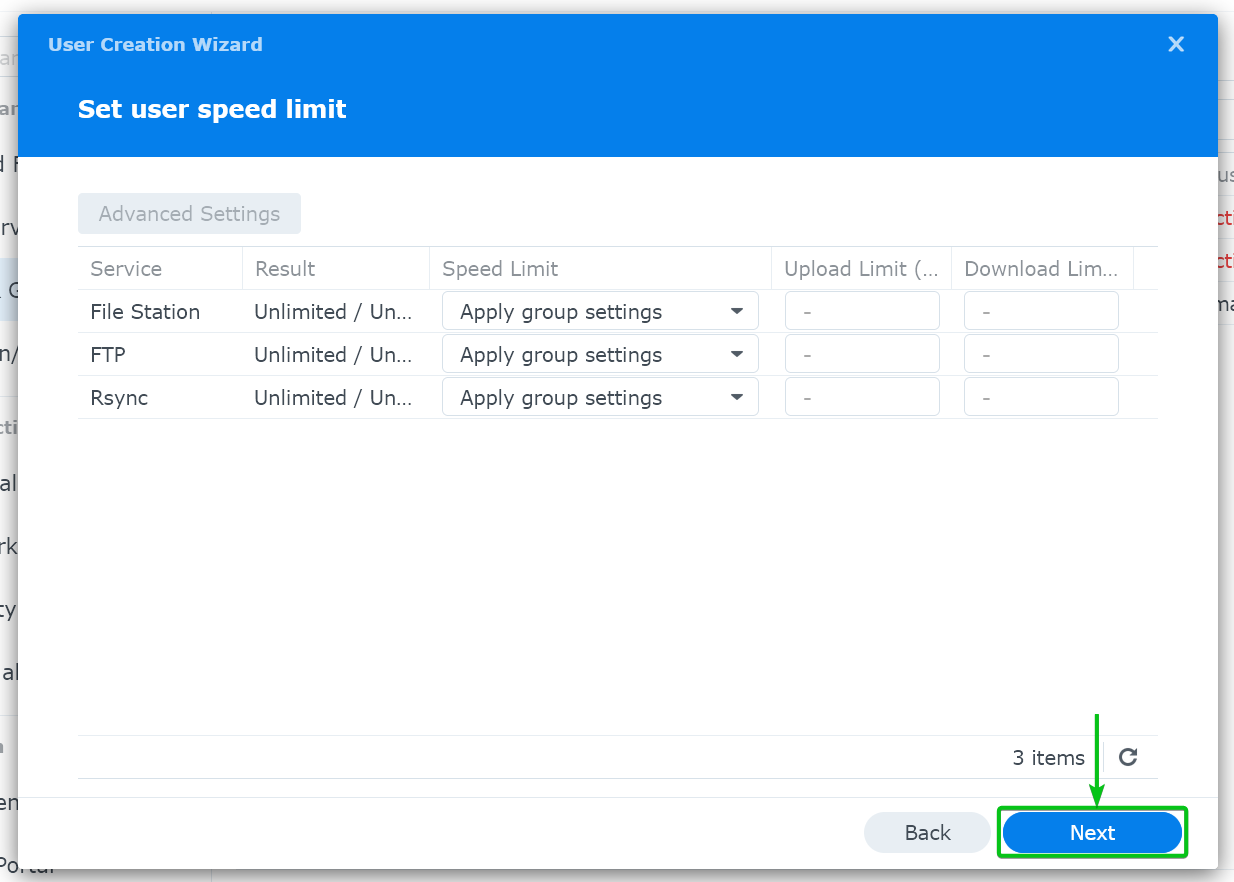
Click on “Next”.

Click on “Next”.
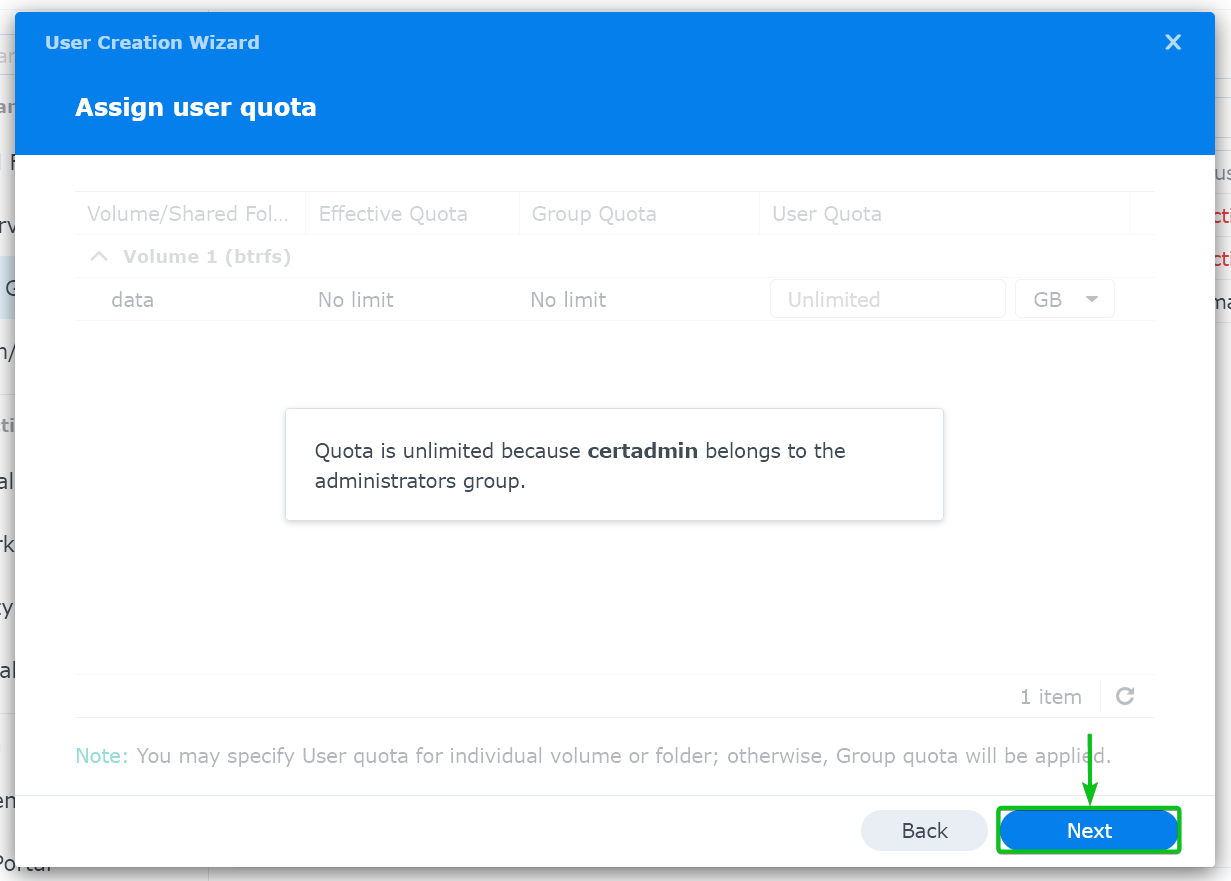
Click on “Next”.
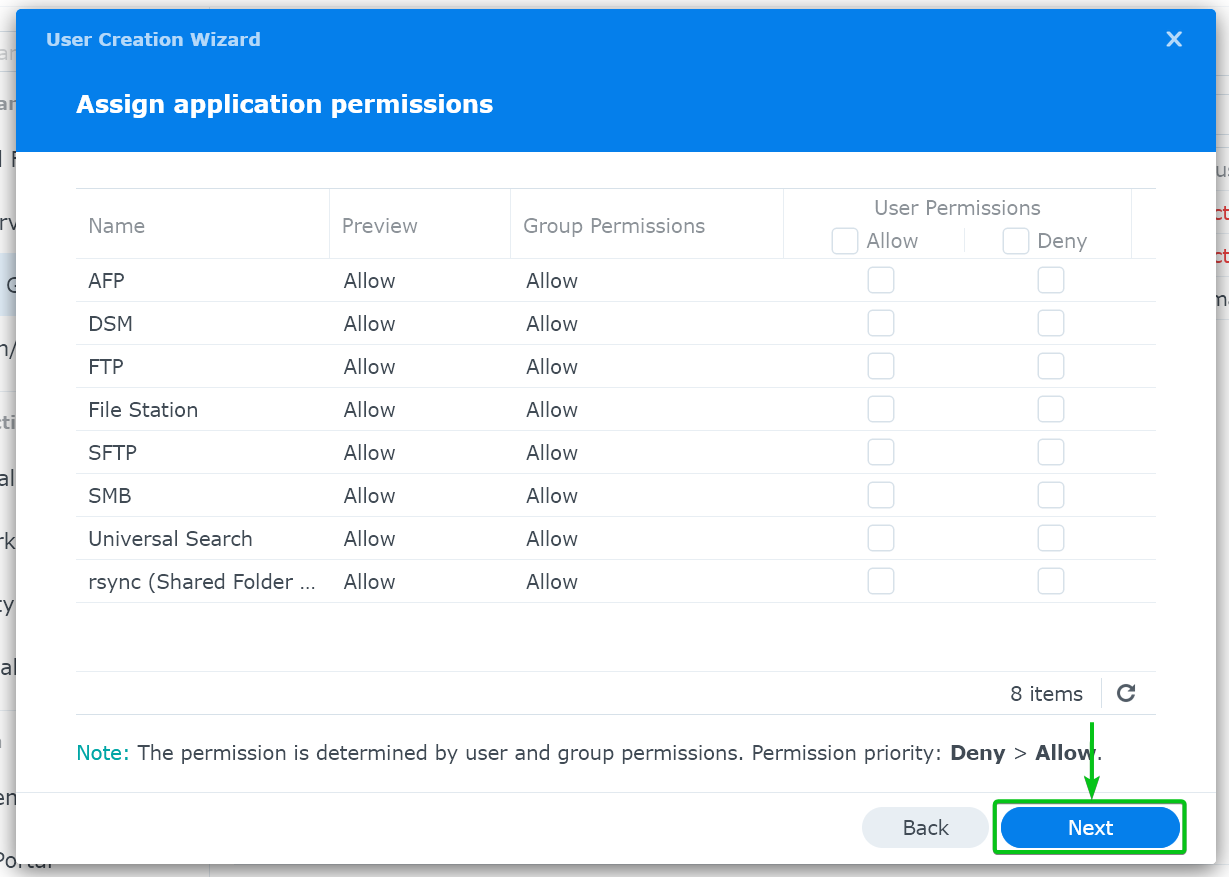
Click on “Next”.
Click on “Done”.
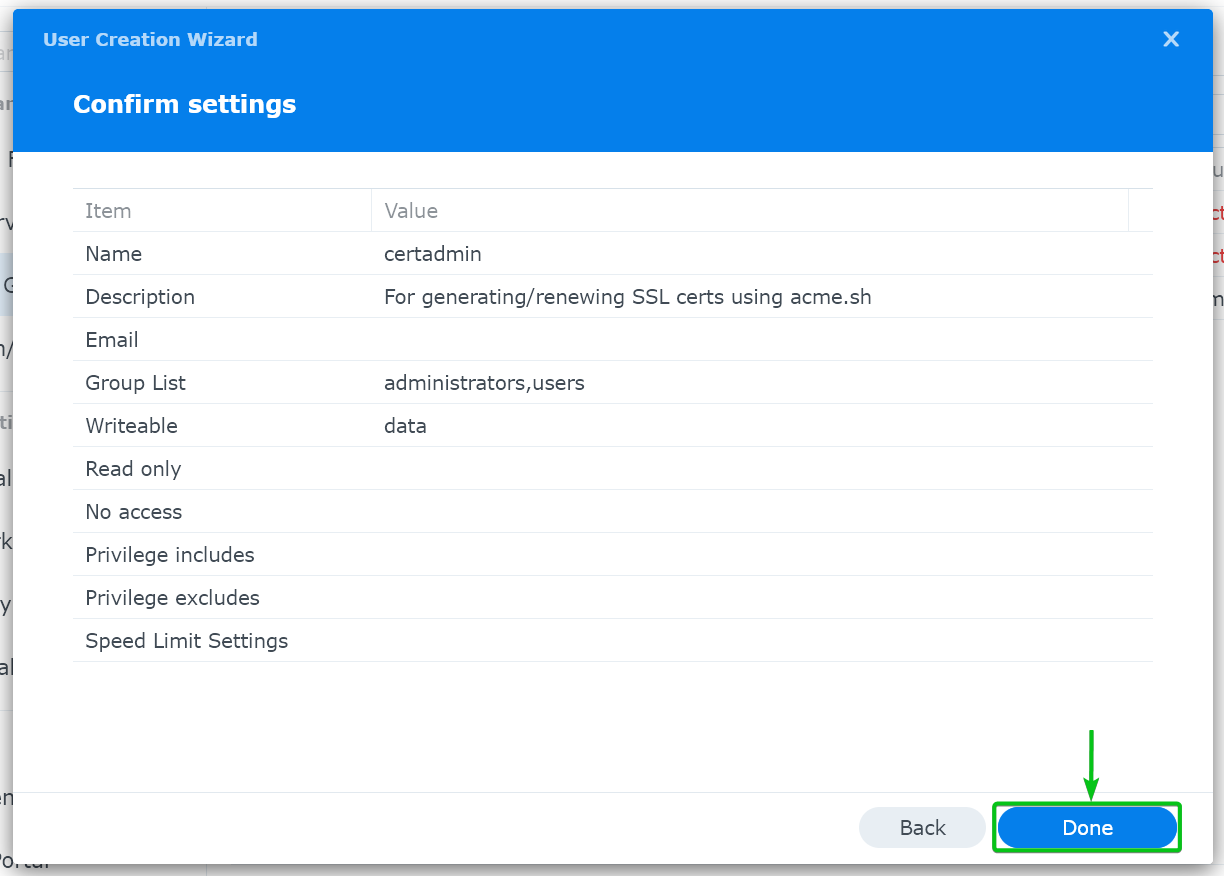
The certadmin user should now be created on your Synology NAS.
Configuring the CloudFlare DNS Server for Let’s Encrypt DNS-01 Challenge
To use the CloudFlare DNS server for the Let’s Encrypt DNS-01 challenge, you need to generate a CloudFlare DNS token. You can generate a CloudFlare DNS server token from the CloudFlare dashboard. For more information, read this article.
Configuring Other DNS Services for Let’s Encrypt DNS-01 Challenge
“Acme.sh” supports other DNS services. If you don’t want to use the CloudFlare DNS, you can use any one of the “acme.sh” supported DNS services. The configuration is a little bit different for different DNS services. For more information, check the “acme.sh” DNS API guide.
Accessing the Synology NAS Terminal via SSH
To install “acme.sh” and generate and install a Let’s Encrypt SSL certificate on your Synology NAS, you need to access the Terminal of your Synology NAS. For more information on enabling the SSH access on your Synology NAS and accessing the Terminal of your Synology NAS, read this article.
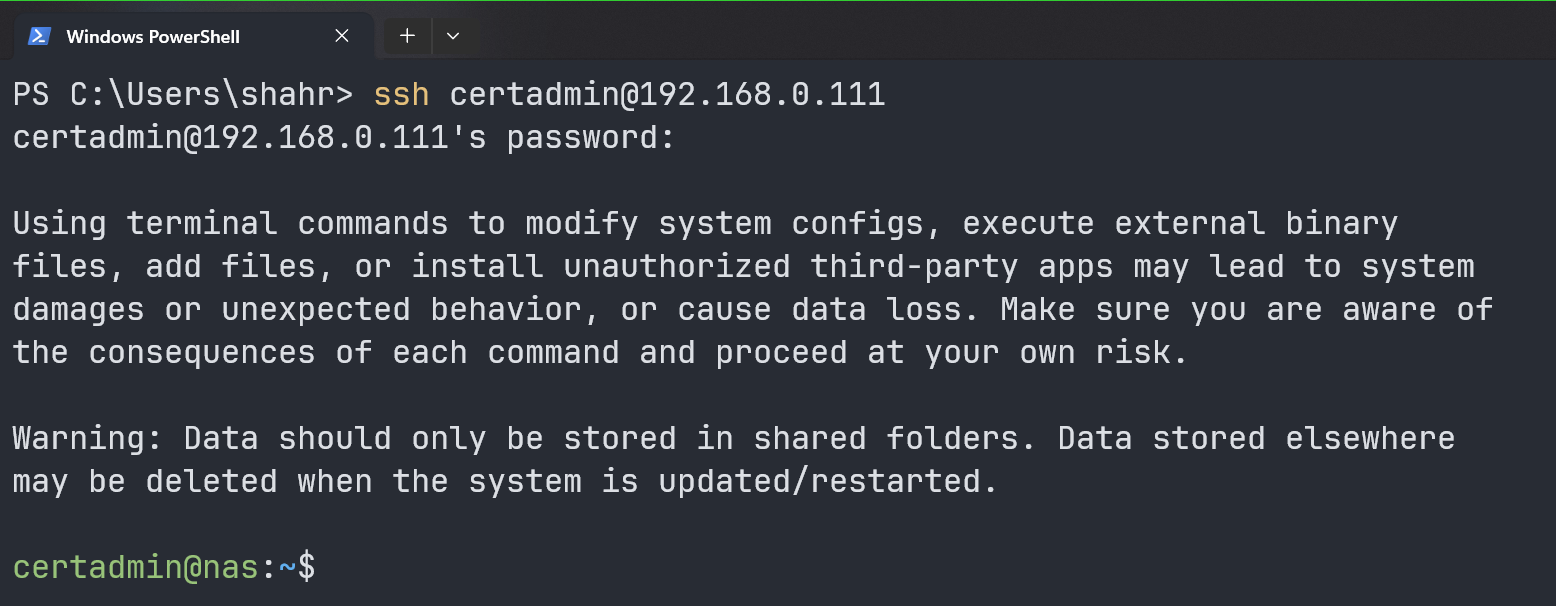
Once you enabled the SSH access on your Synology NAS, open a terminal app on your computer and run the following command:
You will be asked to type in the login password of the certadmin user. Type in the login password of the certadmin user of your Synology NAS and press on <Enter>. You should be logged in to your Synology NAS as the certadmin user.
Downloading Acme.sh on Your Synology NAS
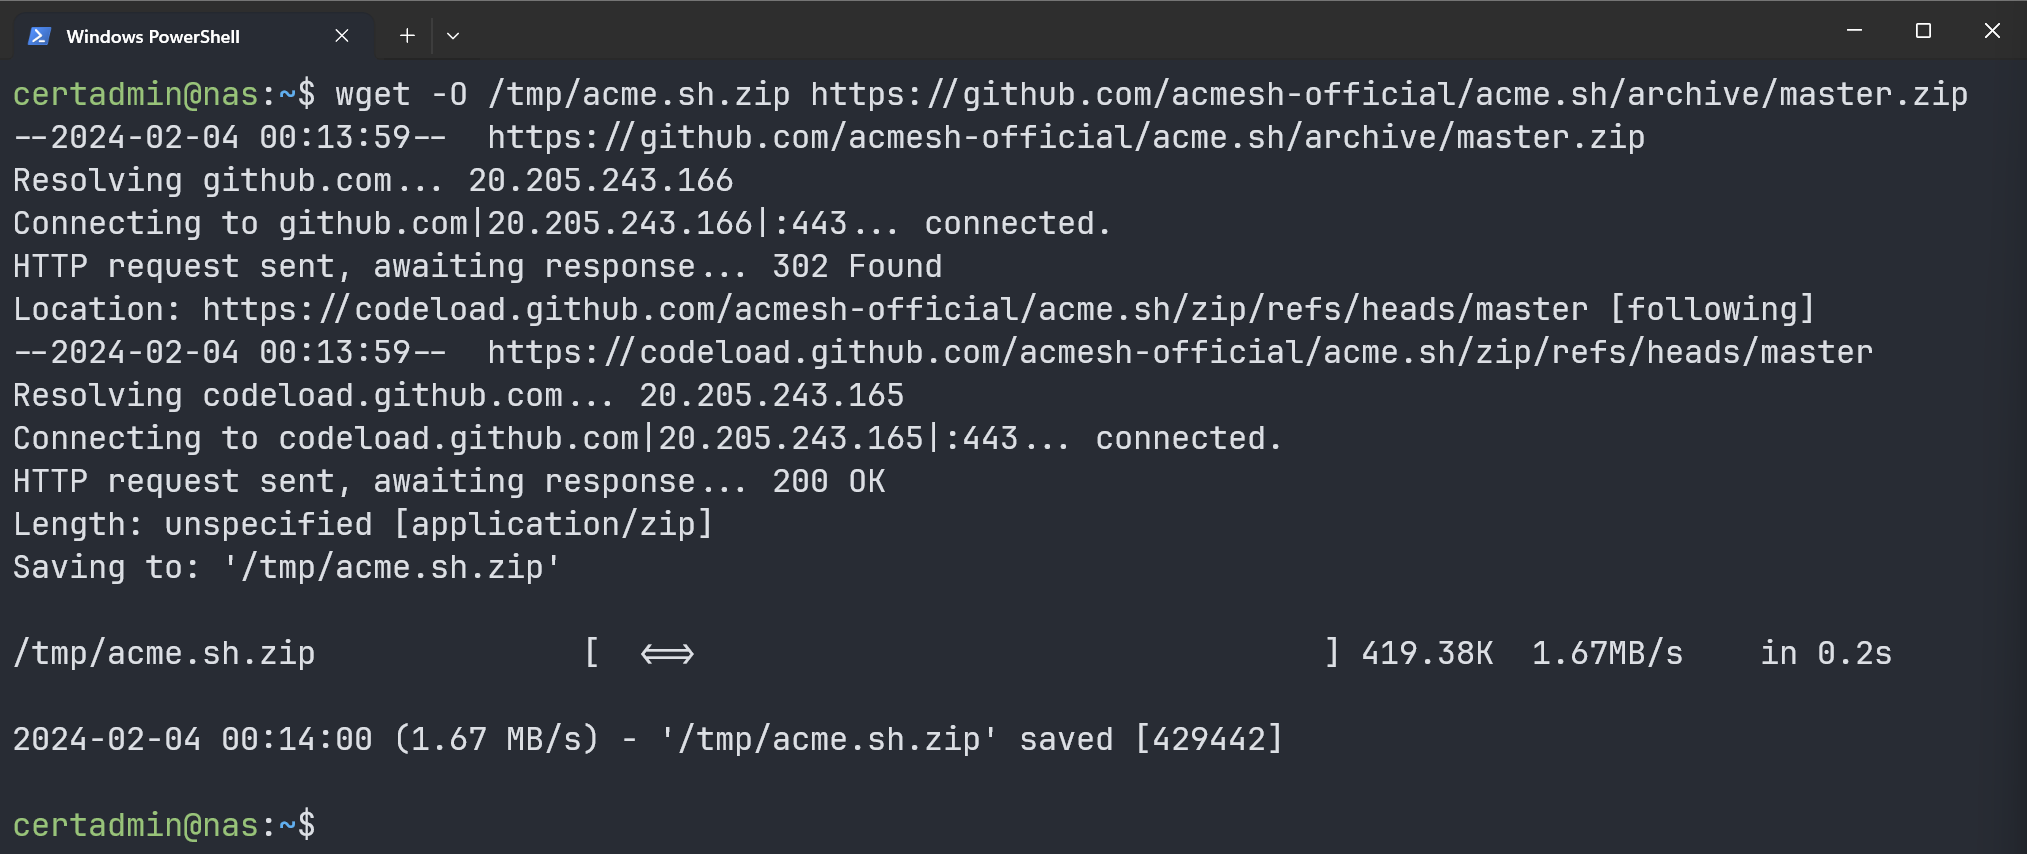
To download the latest version of the “acme.sh” client, run the following command:
The latest version of the “acme.sh” client archive “acme.sh.zip” should be downloaded in the “/tmp” directory of your Synology NAS.
Installing Acme.sh on Your Synology NAS
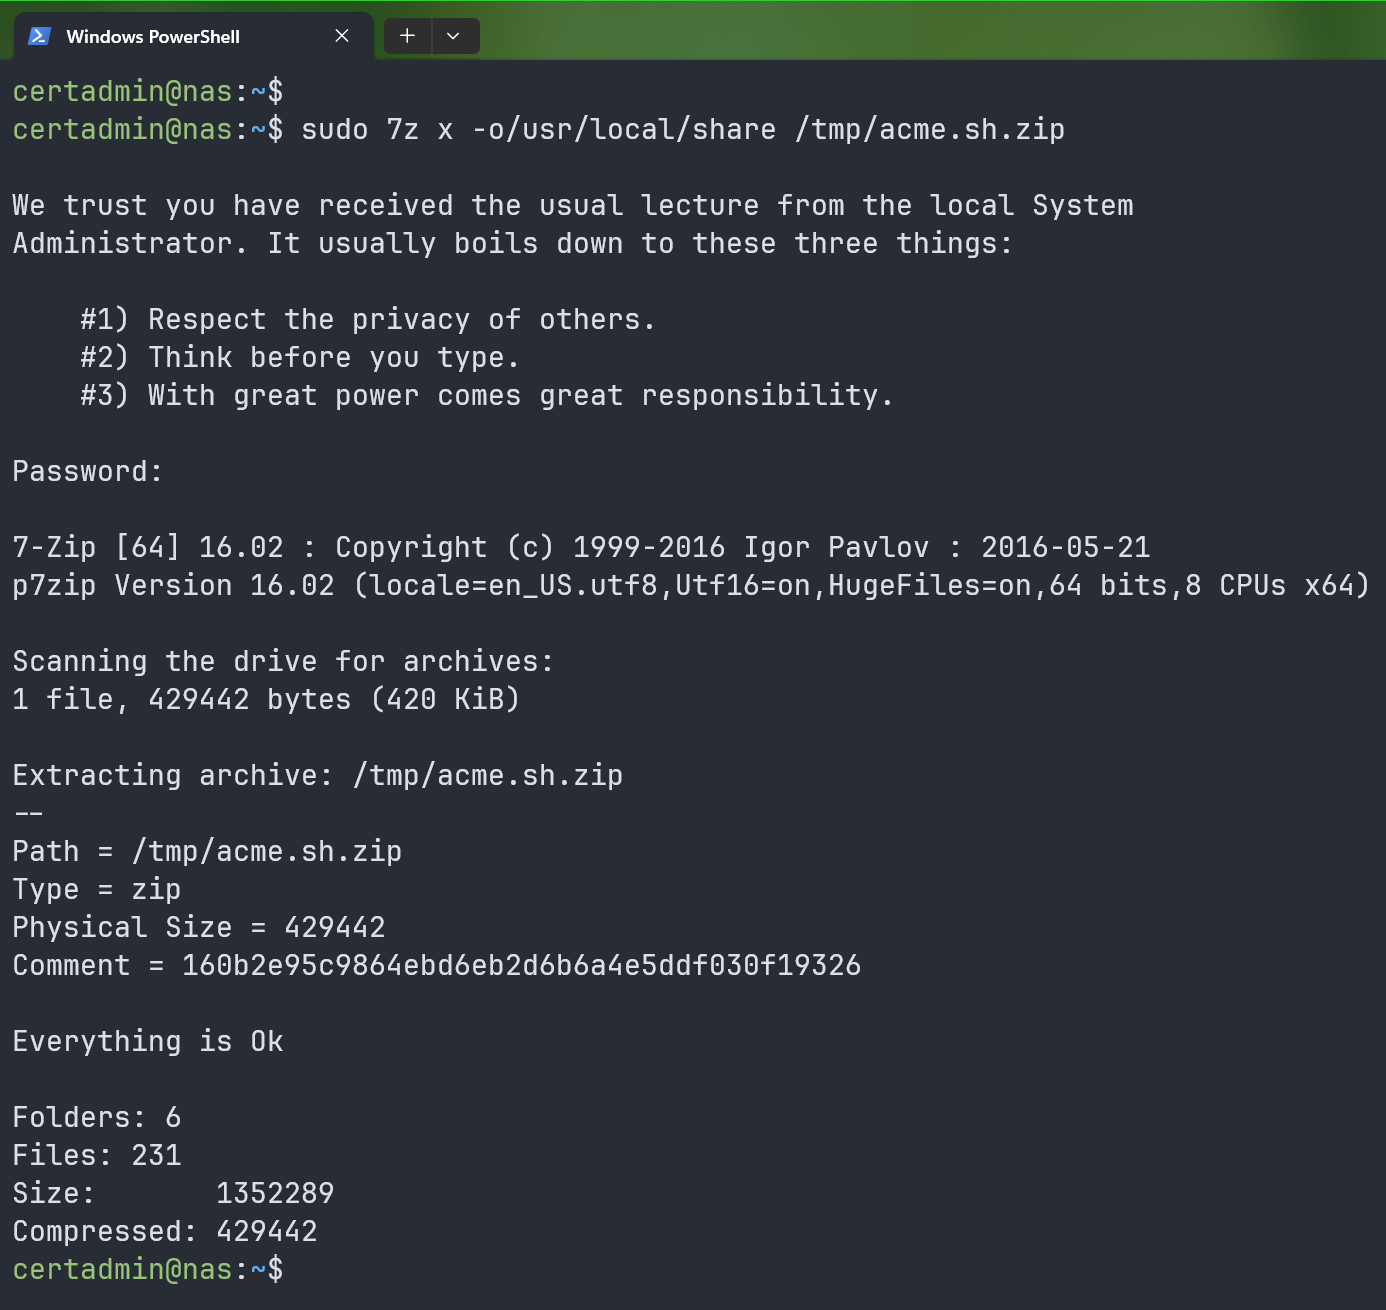
To extract the “/tmp/acme.sh.zip” archive in the “/usr/local/share” directory of your Synology NAS, run the following command and type in the login password of the certadmin user and press <Enter> when prompted for the password. The “/tmp/acme.sh.zip” archive should be extracted in the “/usr/local/share/acme.sh-master” directory.
For simplicity, rename the “acme.sh-master” directory to just “acme.sh” with the following command:

To make the certadmin user owner of the “/usr/local/share/acme.sh” directory and its contents, run the following command:


Generating a Let’s Encrypt SSL Certificate Using Acme.sh for Your Synology NAS
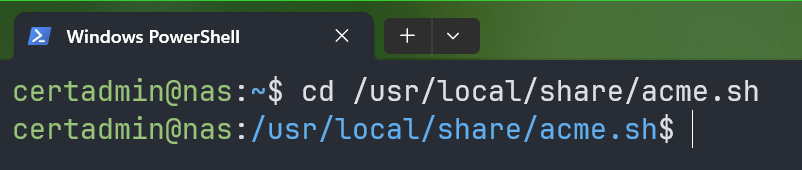
To generate a Let’s Encrypt SSL certificate for the domain name that you’re using on your Synology NAS, navigate to the “/usr/local/share/acme.sh” directory as follows:
Now, you need to export the required DNS API token environment variables. We use the CloudFlare DNS to manage the domain name that we are using on our Synology NAS. So, for us, all we have to do is export the CF_Token environment variable with the value of the CloudFlare DNS API token. If you’re using some other DNS service, check the “acme.sh” DNS API documentation for the variables that you need to export for “acme.sh” to work with your DNS service.
Also, export the required Synology environment variables so that “acme.sh” can install the generated SSL certificates on your Synology NAS.
$ export SYNO_Password="Your_certadmin_login_Password"
$ export SYNO_Certificate="Let’s Encrypt"
$ export SYNO_Create=1

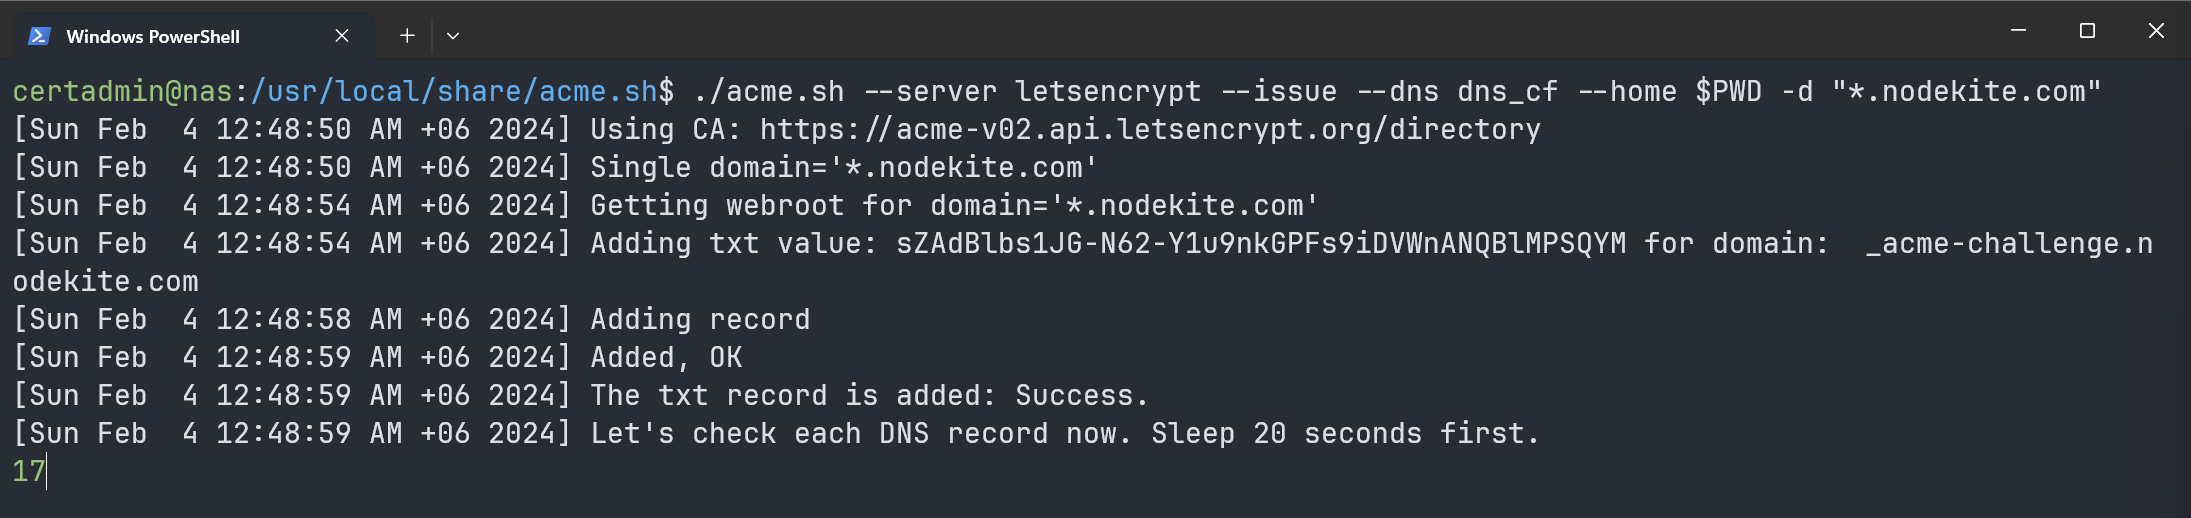
To generate a Let’s Encrypt SSL certificate for the “*.nodekite.com” (wildcard) domain name using the CloudFlare DNS plugin (–dns dns_cf), run the following command:
NOTE: If you’re using other DNS services, you need to change the DNS plugin (–dns <dns-plugin-name>) in the previous command accordingly. For more information, check the “acme.sh” DNS API documentation.
A Let’s Encrypt SSL certificate is being generated. It takes a while to complete.
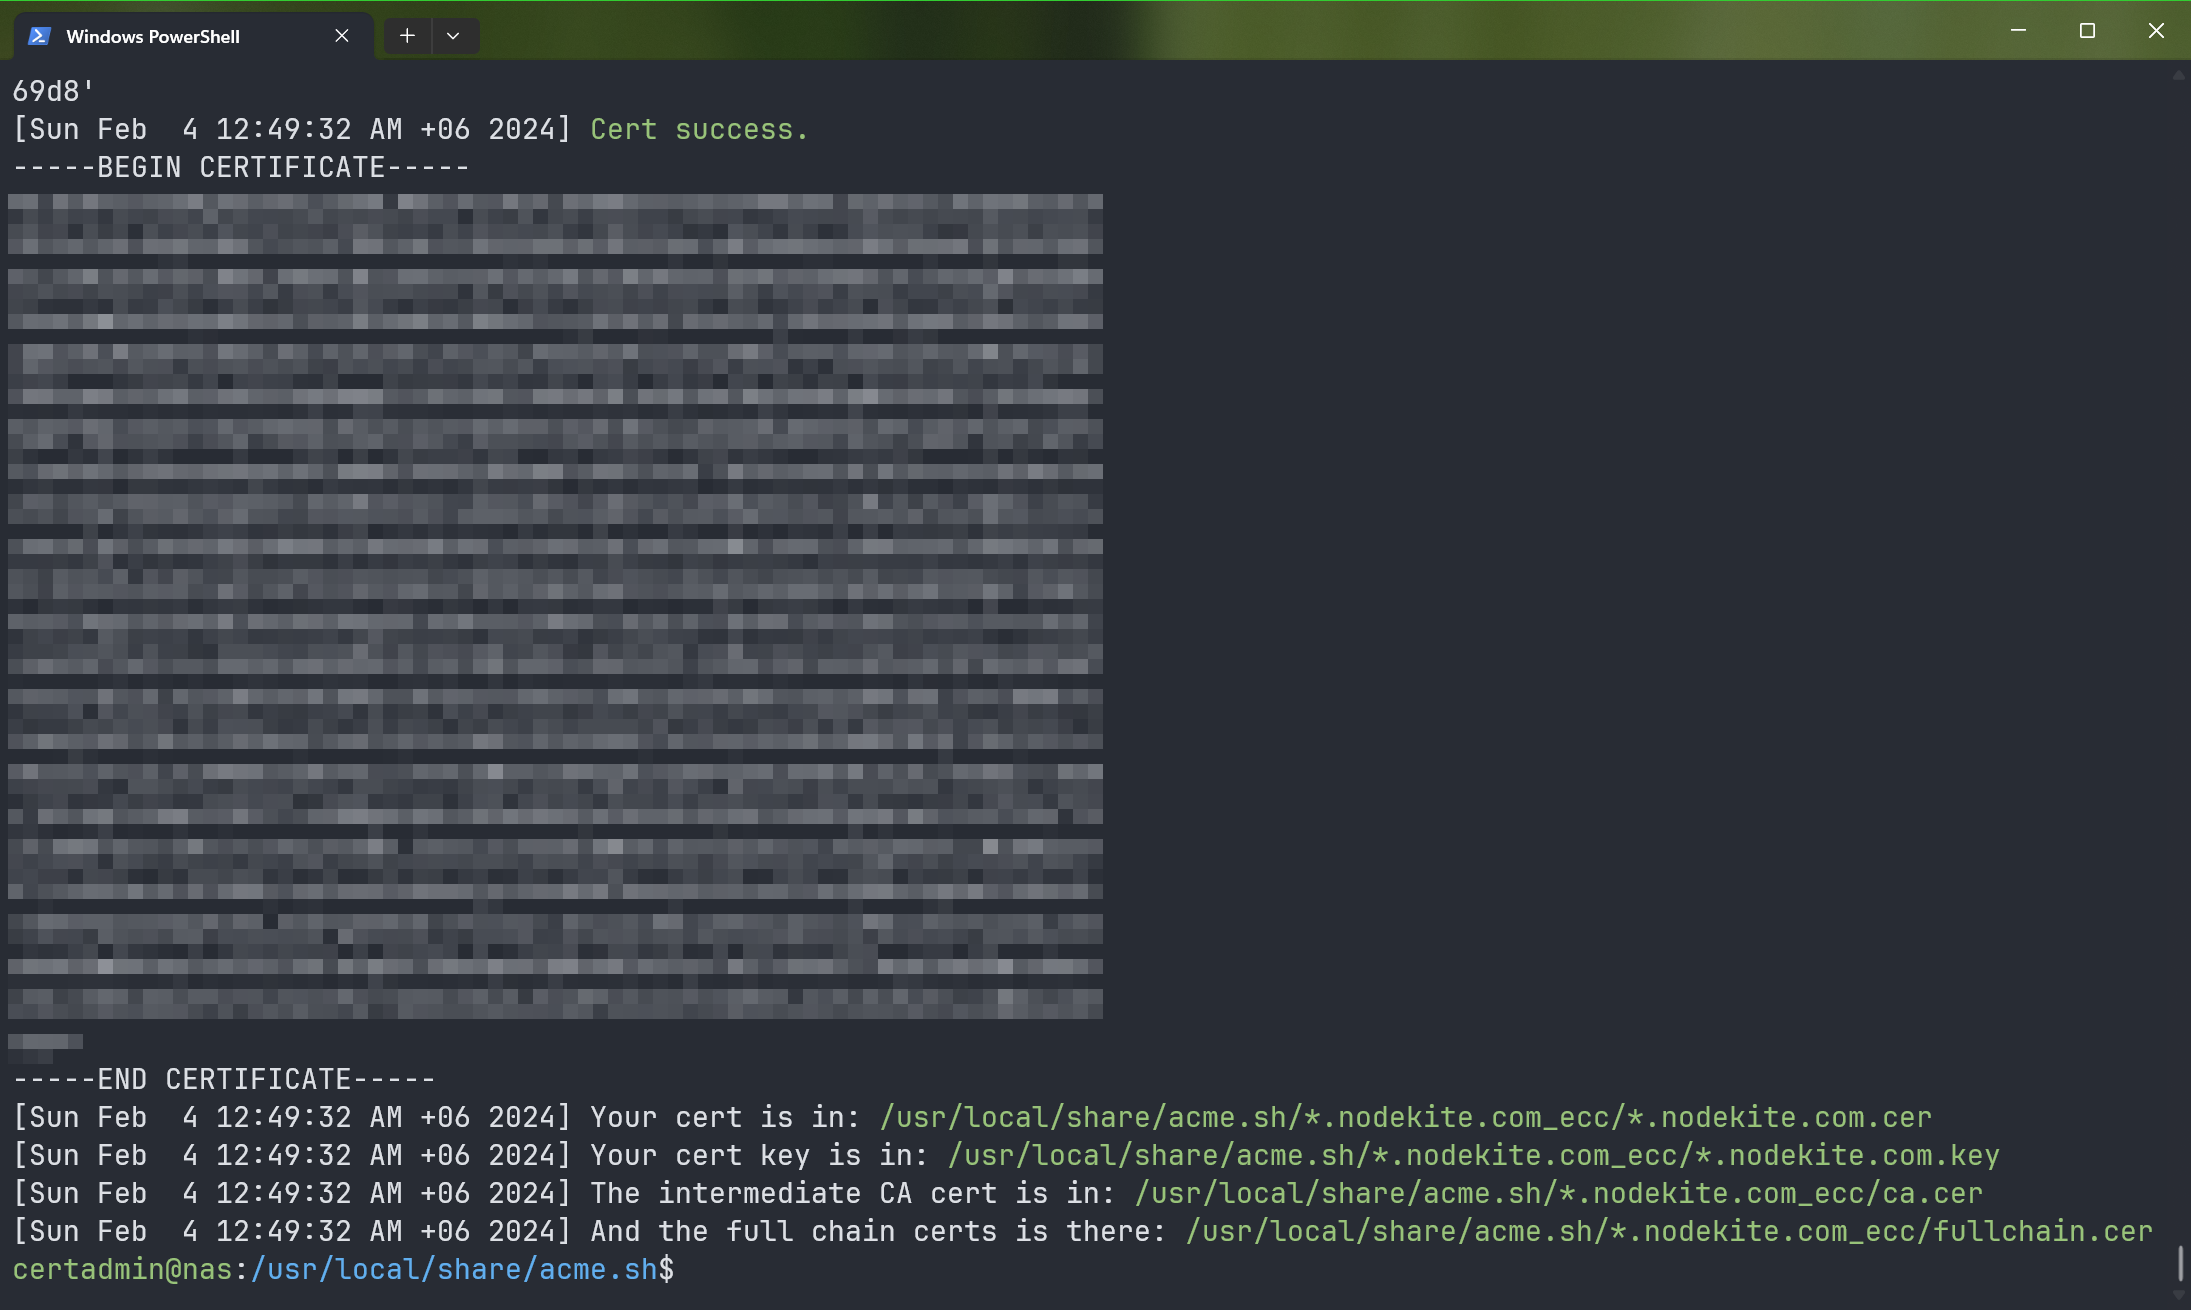
At this point, the Let’s Encrypt SSL certificate should be generated.
Installing the Let’s Encrypt SSL Certificate on Your Synology NAS Using Acme.sh
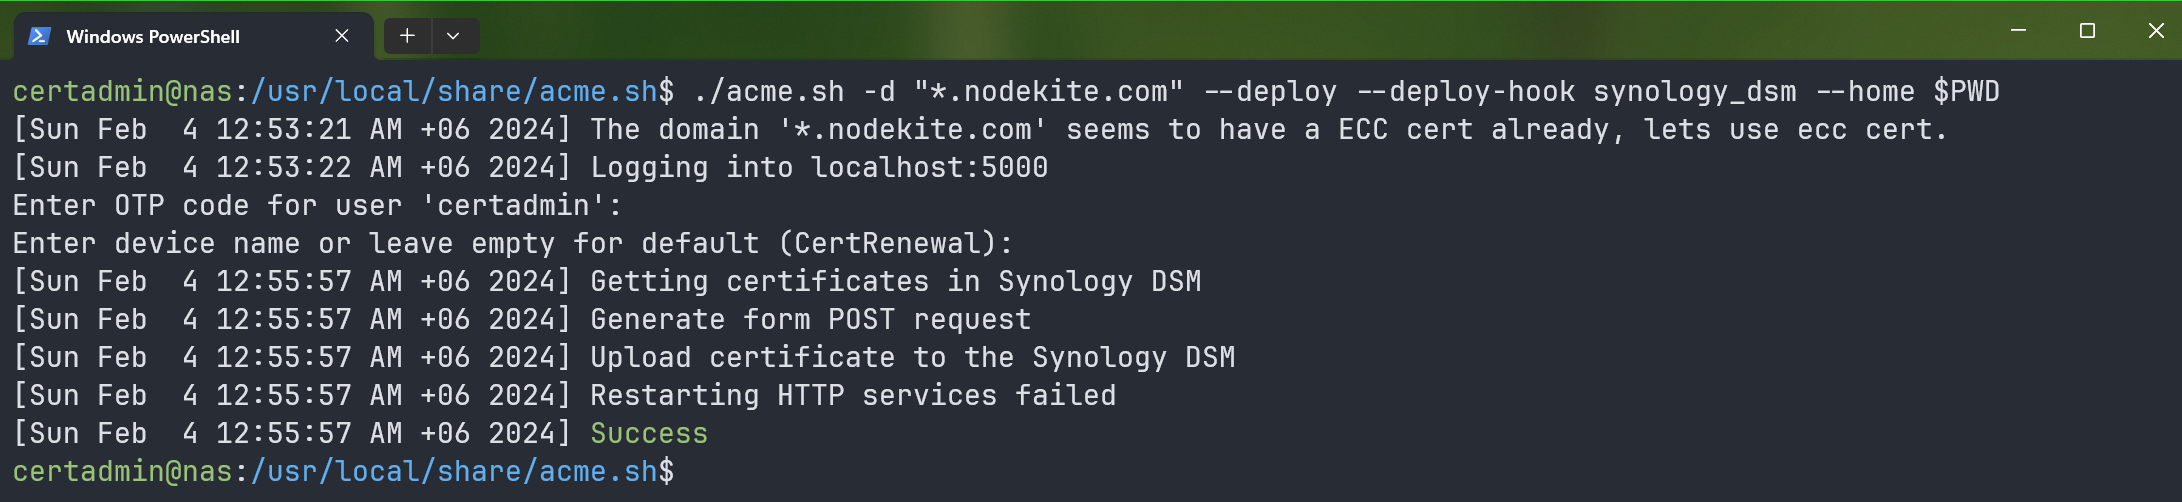
Once the Let’s Encrypt SSL certificate is generated for the domain name (*.nodekite.com in this case) of your Synology NAS, you can install it on your Synology NAS with the following command:
If you have a two-factor authentication enabled for the certadmin user, you will receive an OTP code. You have to type in the OTP code and press <Enter>.
If you don’t have the two-factor authentication enabled for the certadmin user, leave it empty and press <Enter>.

Press <Enter>.

The generated Let’s Encrypt SSL certificate should be installed on your Synology NAS.
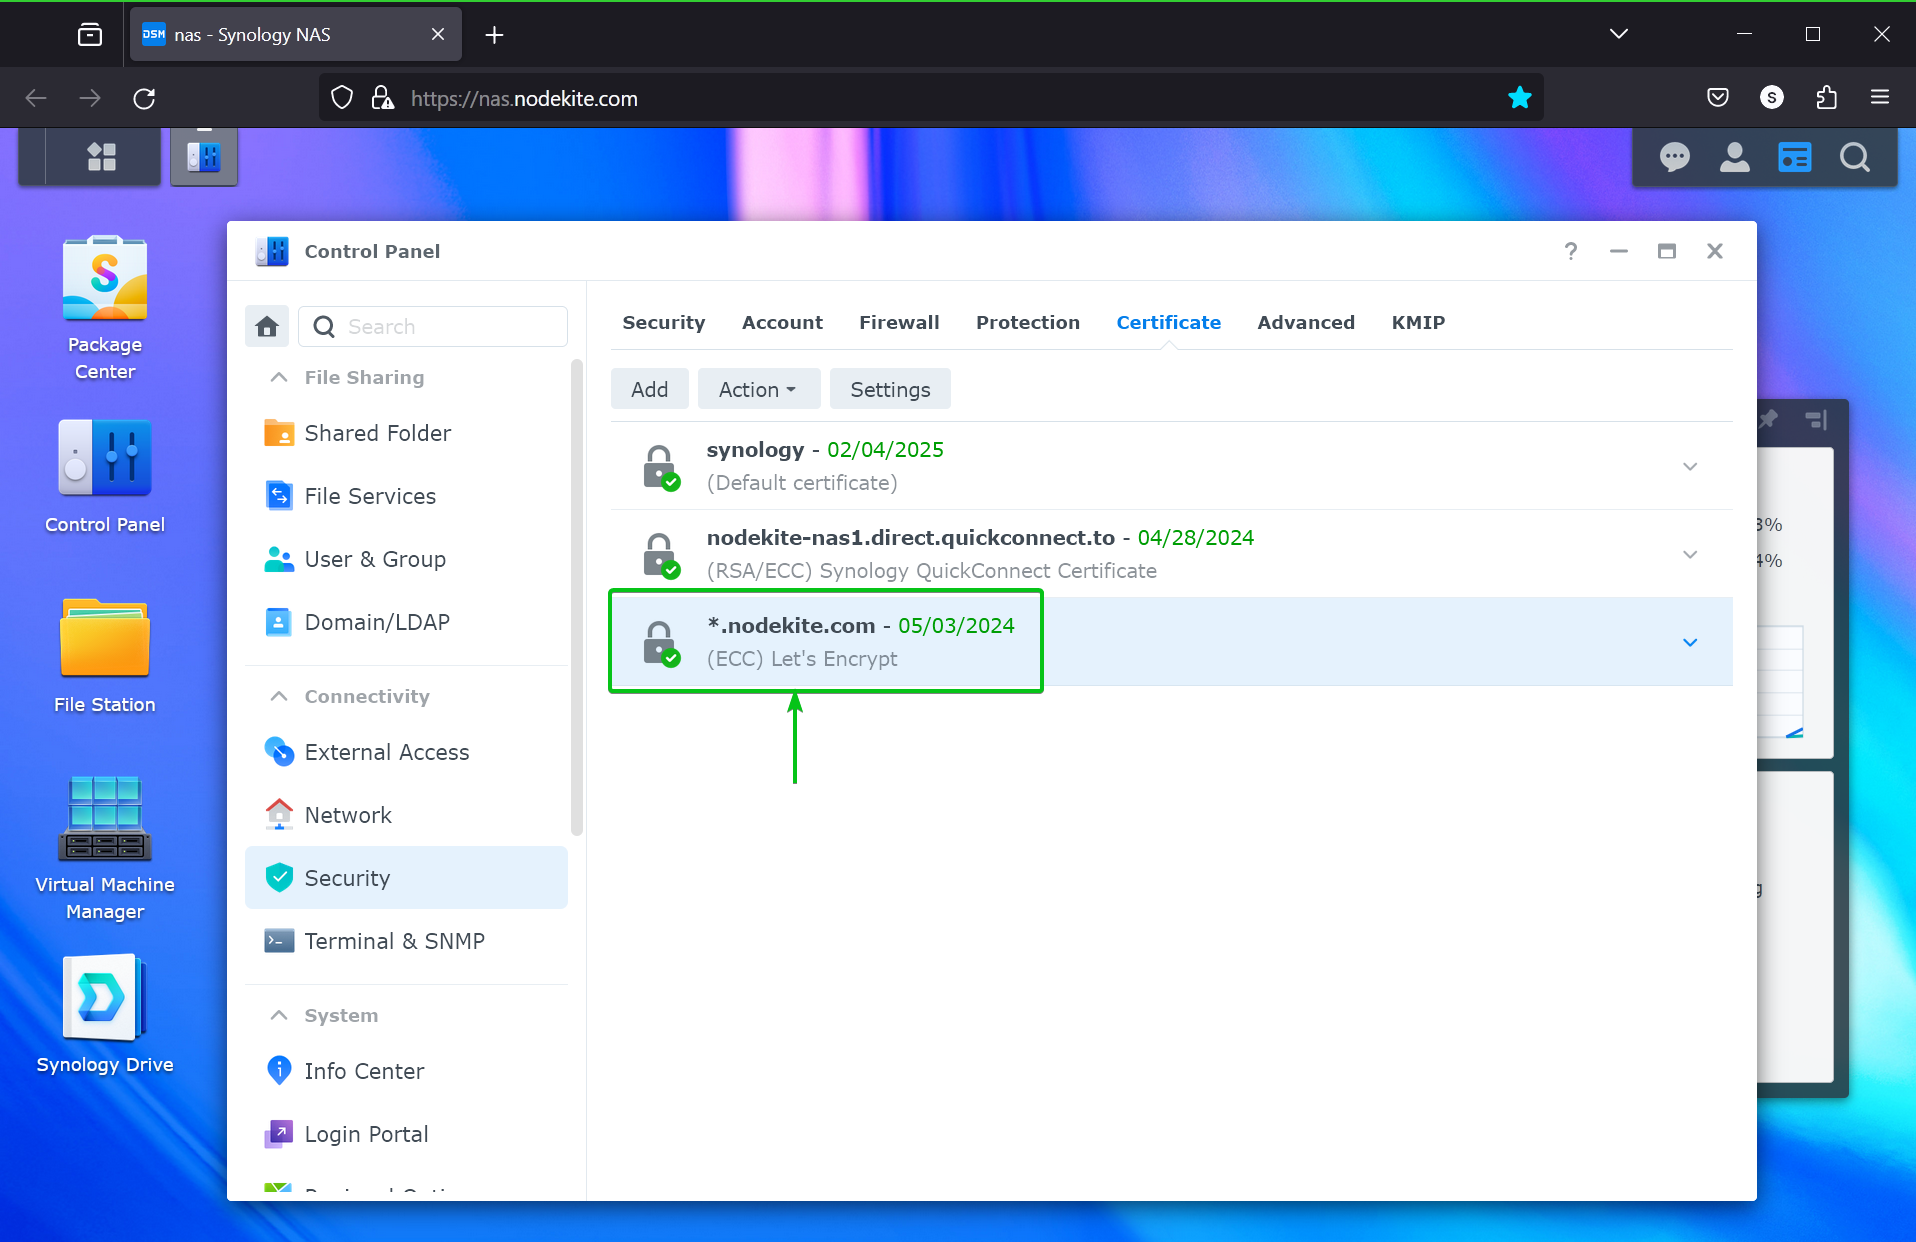
Once the Let’s Encrypt SSL certificate is installed on your Synology NAS, it will be displayed on the Control Panel > Security > Certificate section of the DSM 7 web interface of your Synology NAS.
Setting the Let’s Encrypt SSL Certificate as Default on Your Synology NAS
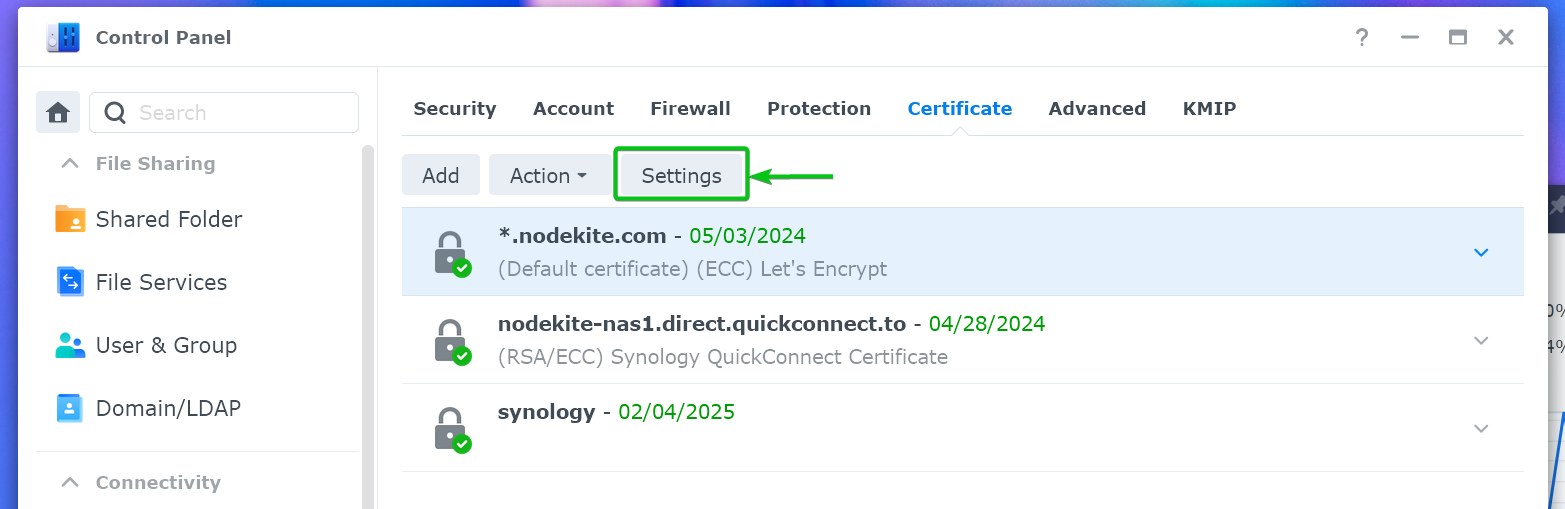
To manage the SSL certificates of your Synology NAS, navigate to the Control Panel > Security > Certificate section from the DSM 7 web interface of your Synology NAS.
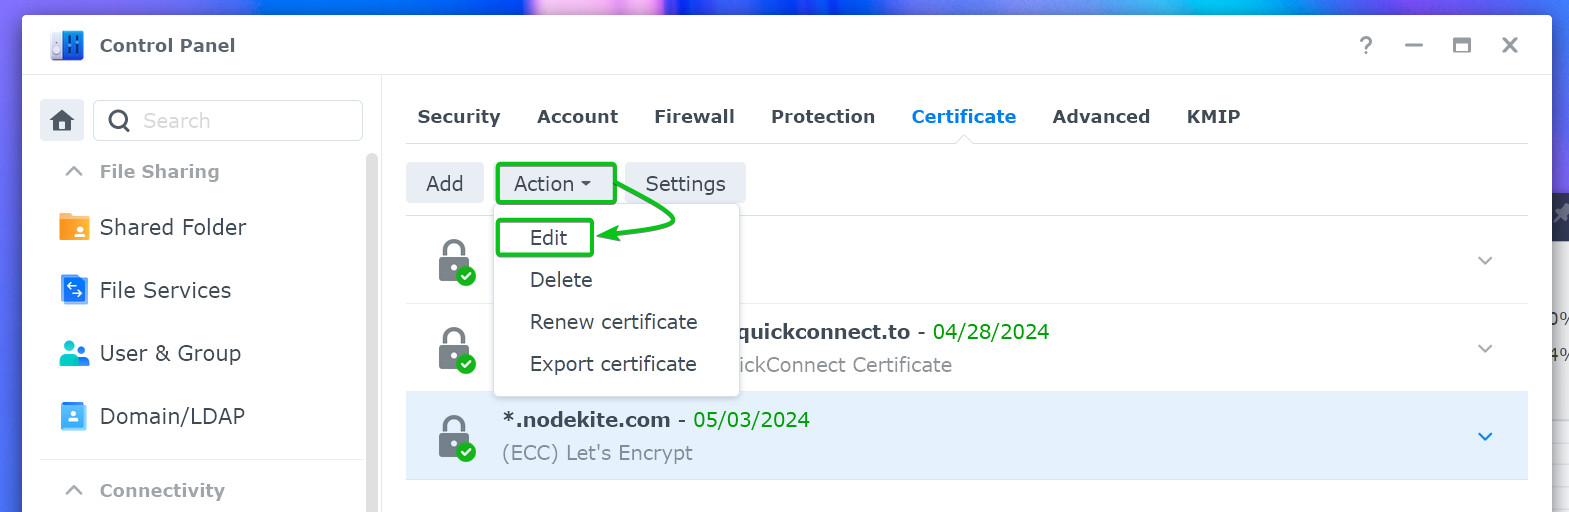
To set the newly installed Let’s Encrypt SSL certificate as the default so that the newly installed web services on your Synology NAS will use it by default, select the Let’s Encrypt SSL certificate and click on Action > Edit.
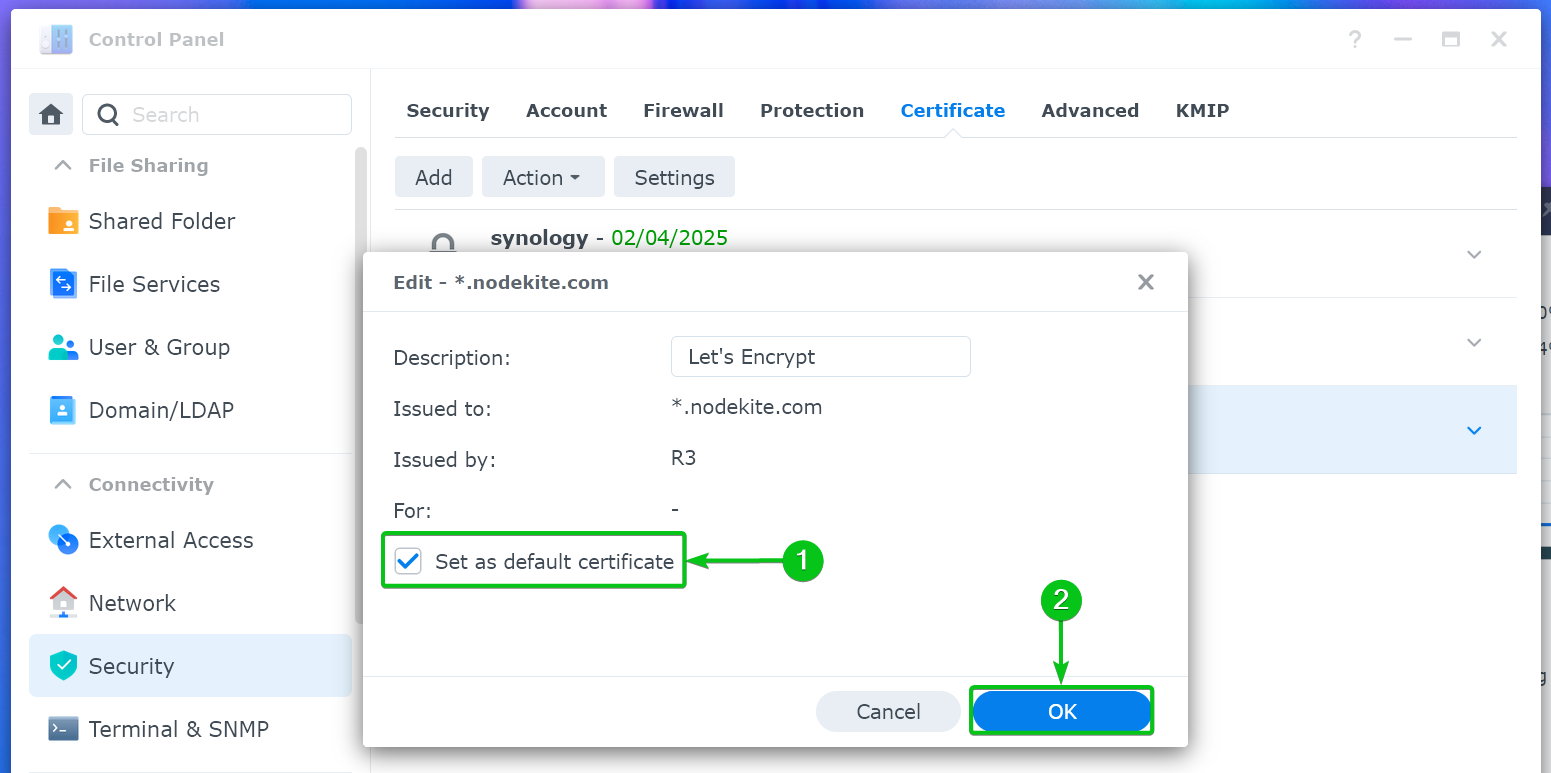
Tick on “Set as default certificate”[1] and click on “OK”[2].
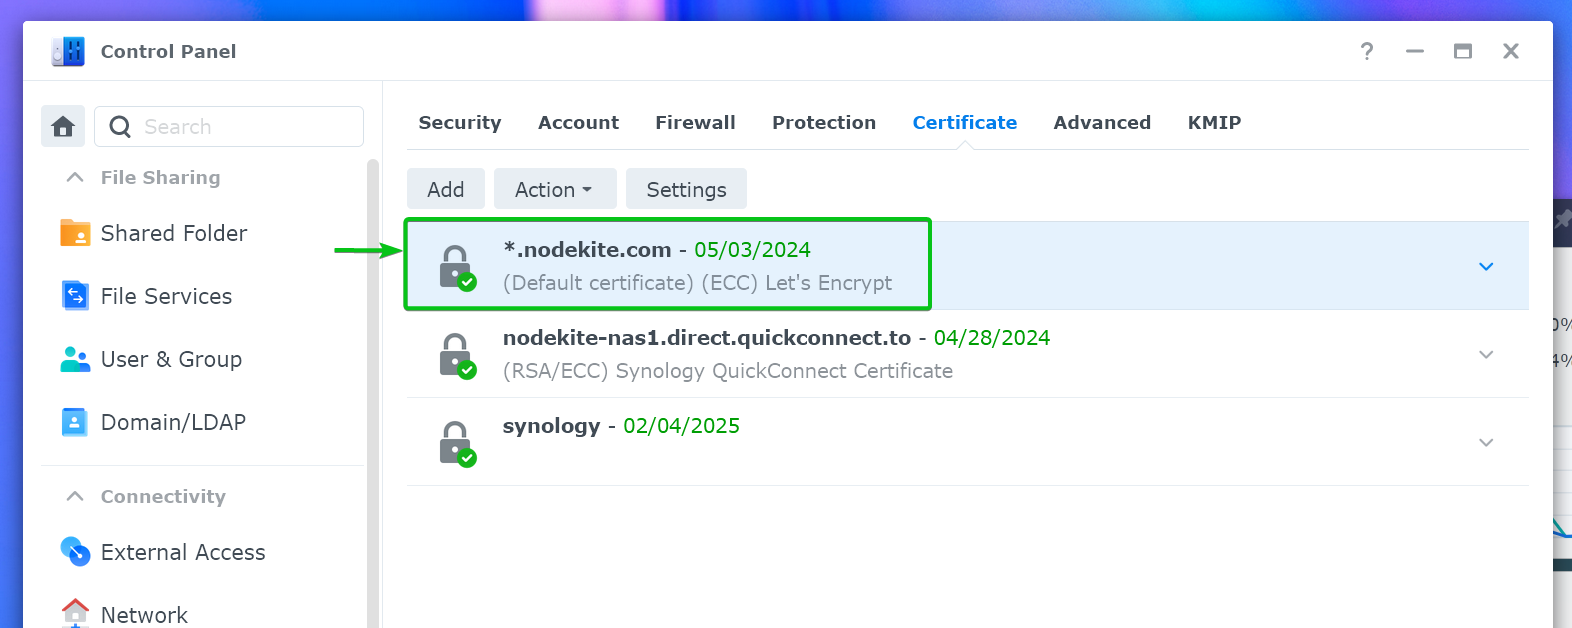
The Let’s Encrypt SSL certificate should be set as the default certificate for your Synology NAS.
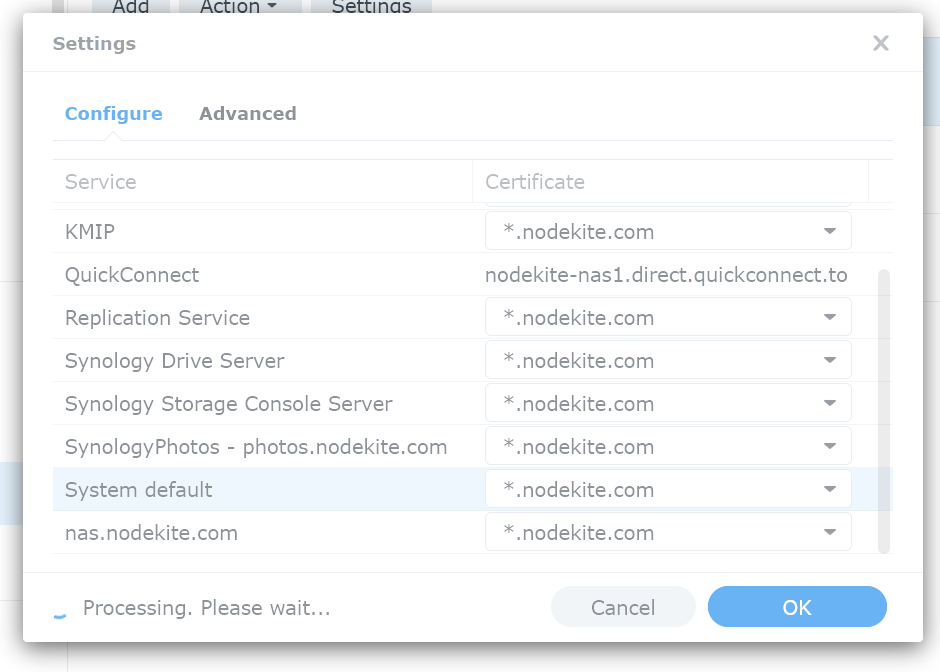
To configure the existing web services of your Synology NAS to use the Let’s Encrypt SSL certificate, click on “Settings”.
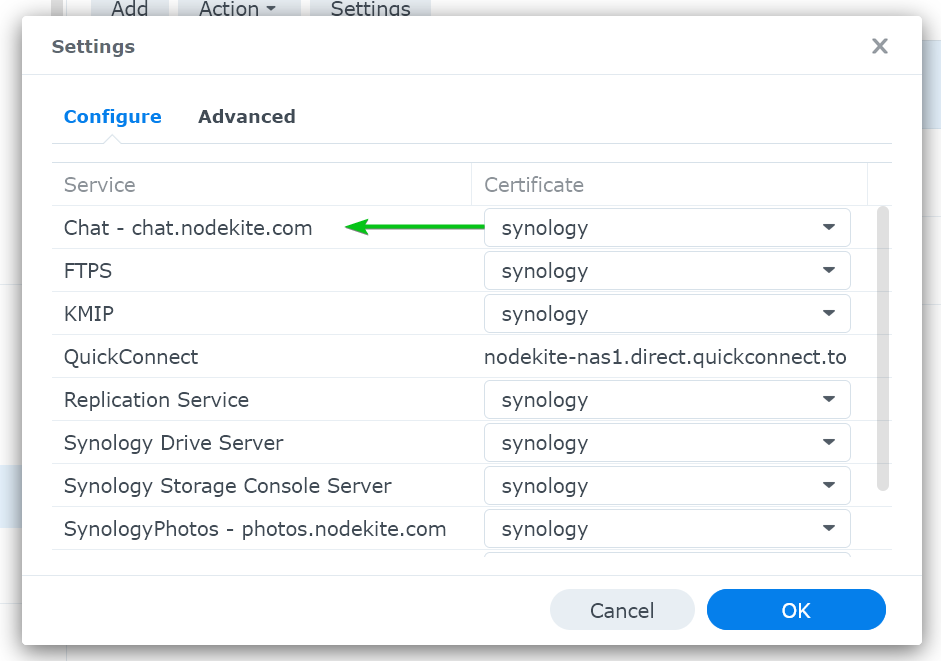
As you can see, all the web services are using the Synology self-signed SSL certificate.
To change the SSL certificate for a web service, click on the respective drop-down menu from the right.
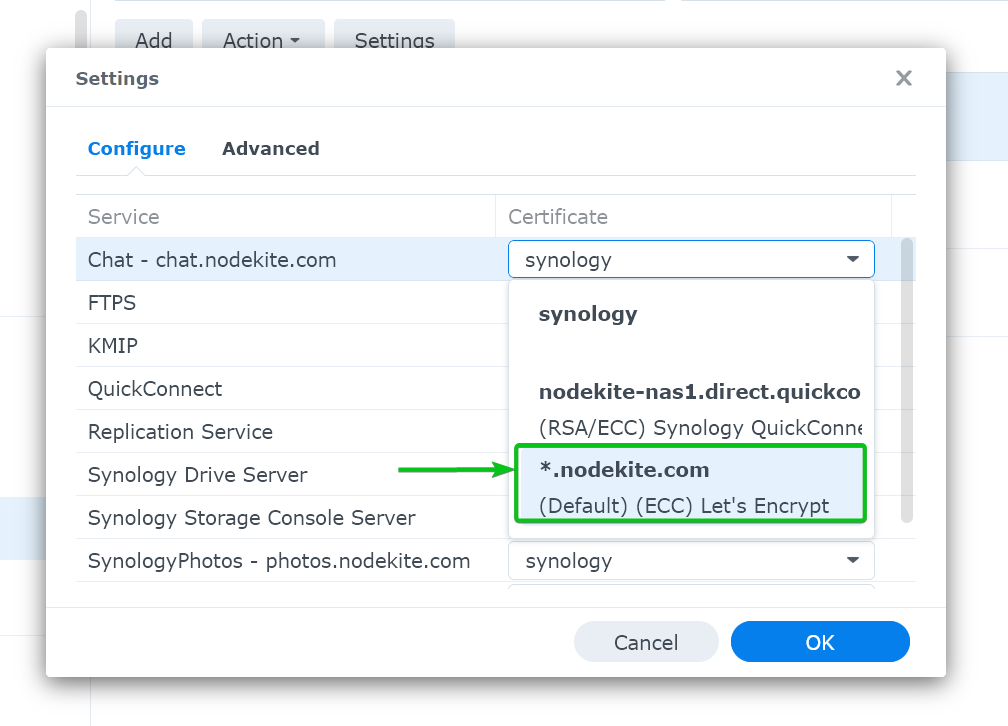
Then, select the Let’s Encrypt SSL certificate that you want to use for the web service from the drop-down menu.
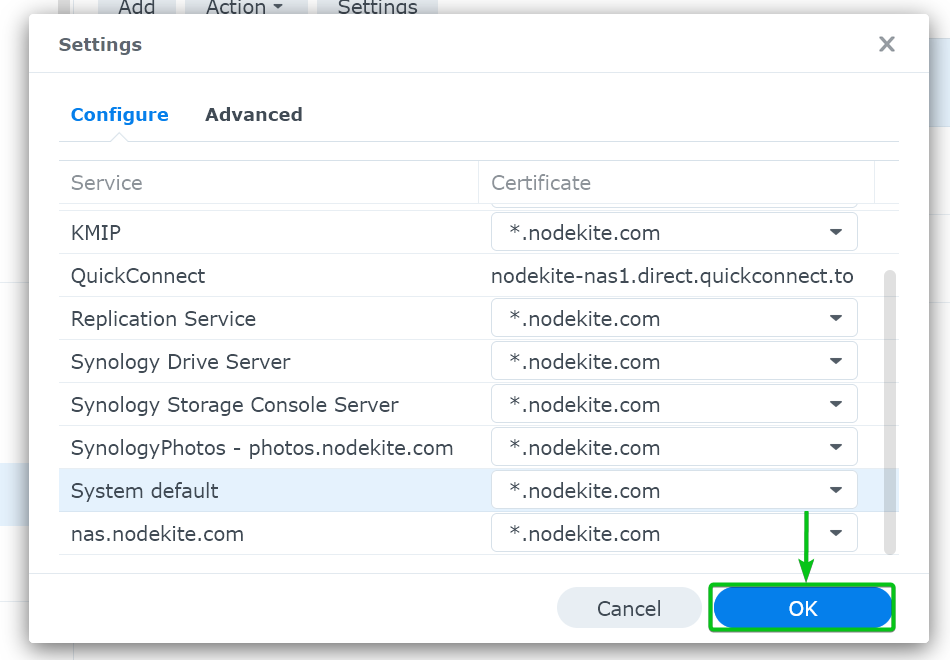
In the same way, select the Let’s Encrypt SSL certificate for all the installed web services of your Synology NAS and click on “OK”.
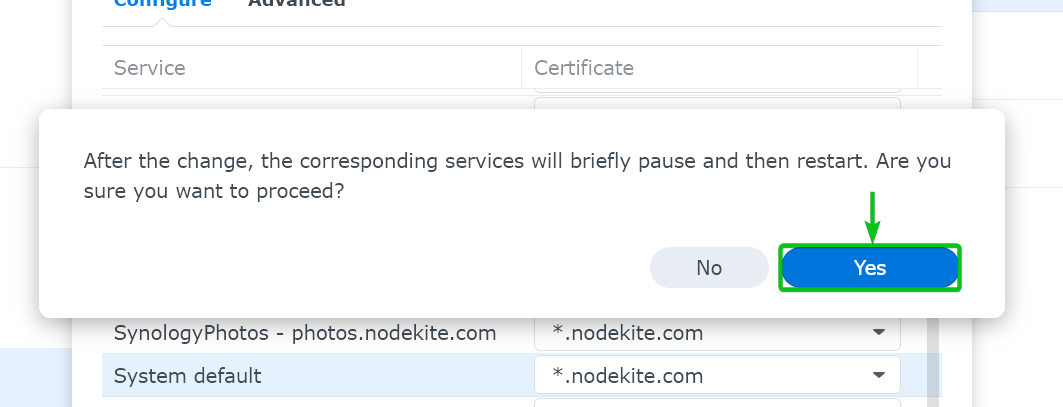
Click on “Yes”.
The changes are being applied. It takes a few seconds to complete.
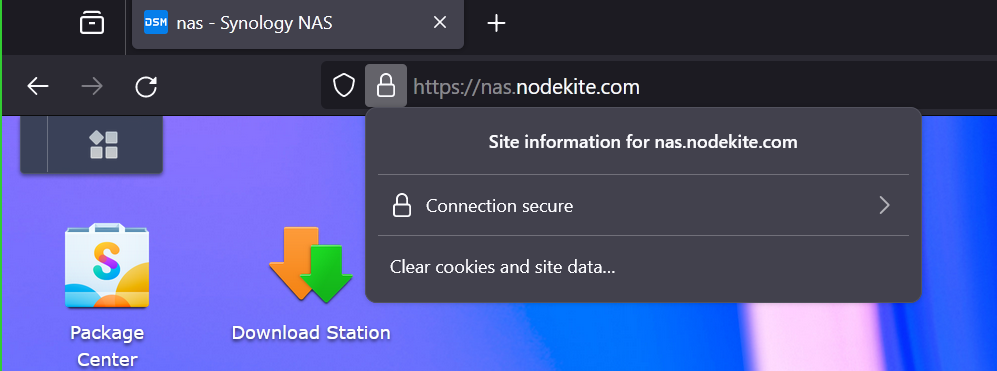
Once the Let’s Encrypt SSL certificate is applied to all the web services of your Synology NAS, refresh the web page and your DSM 7 web interface should use the Let’s Encrypt SSL certificate.
Configuring Synology NAS to Auto Renew the Let’s Encrypt SSL Certificate Using Acme.sh
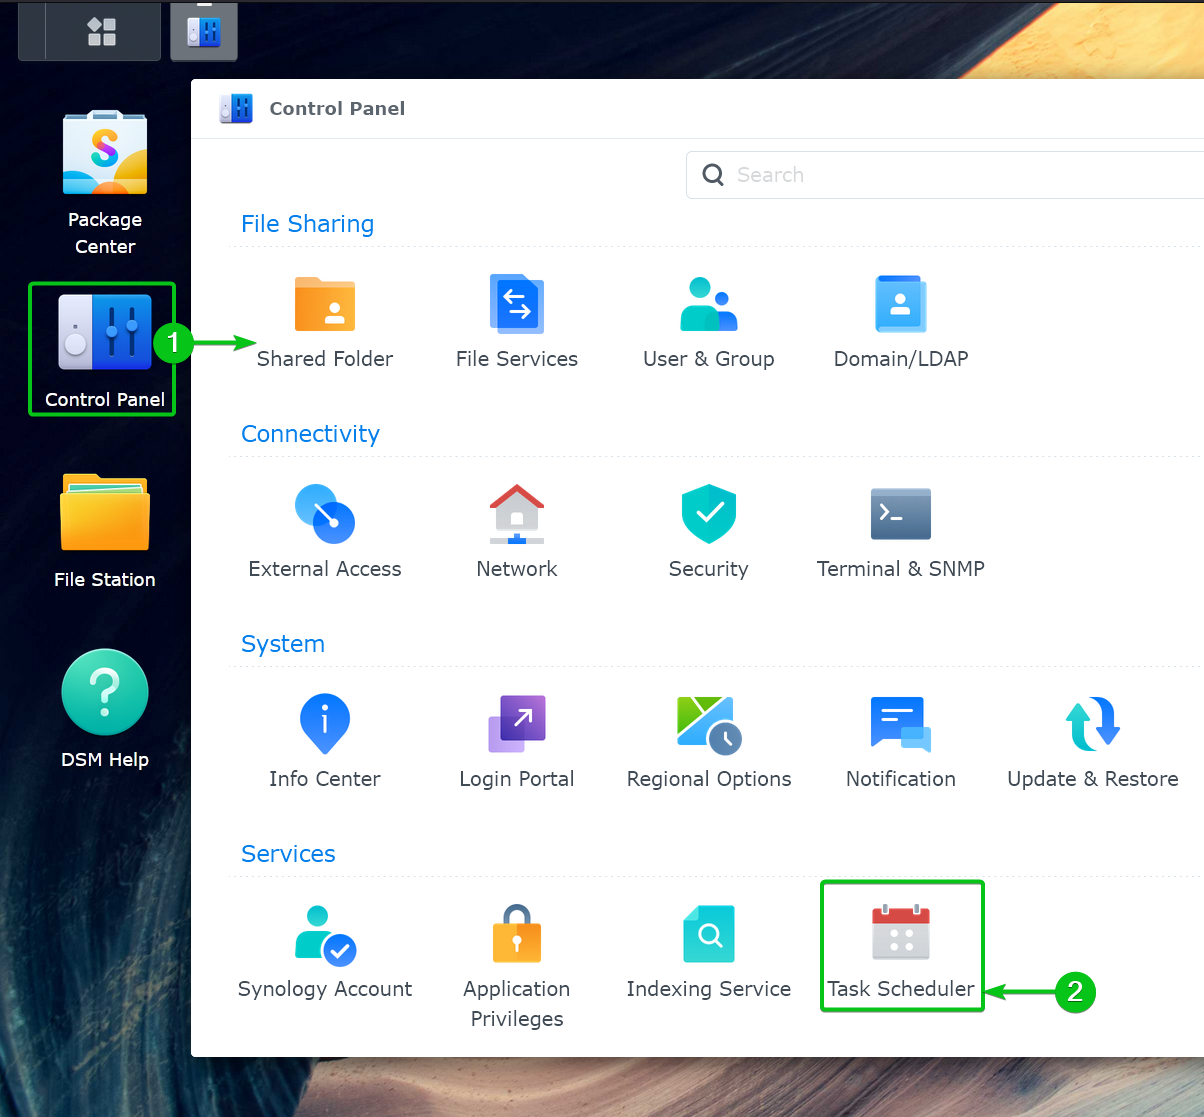
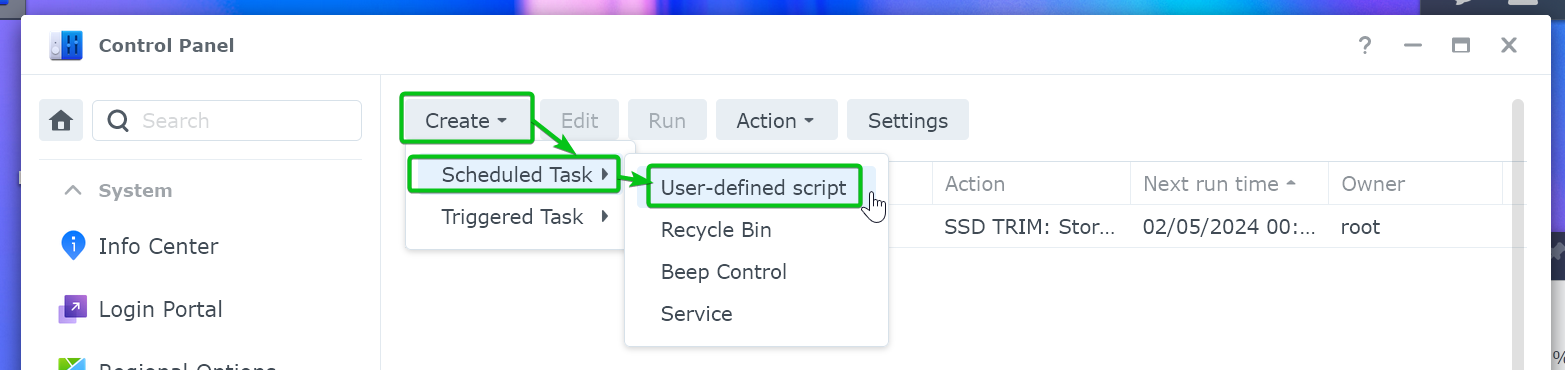
To configure your Synology NAS to automatically renew the Let’s Encrypt SSL certificate, navigate to Control Panel > Task Scheduler from the DSM 7 web interface.
From the Task Scheduler, click on Create > Scheduled Task > User-defined script.
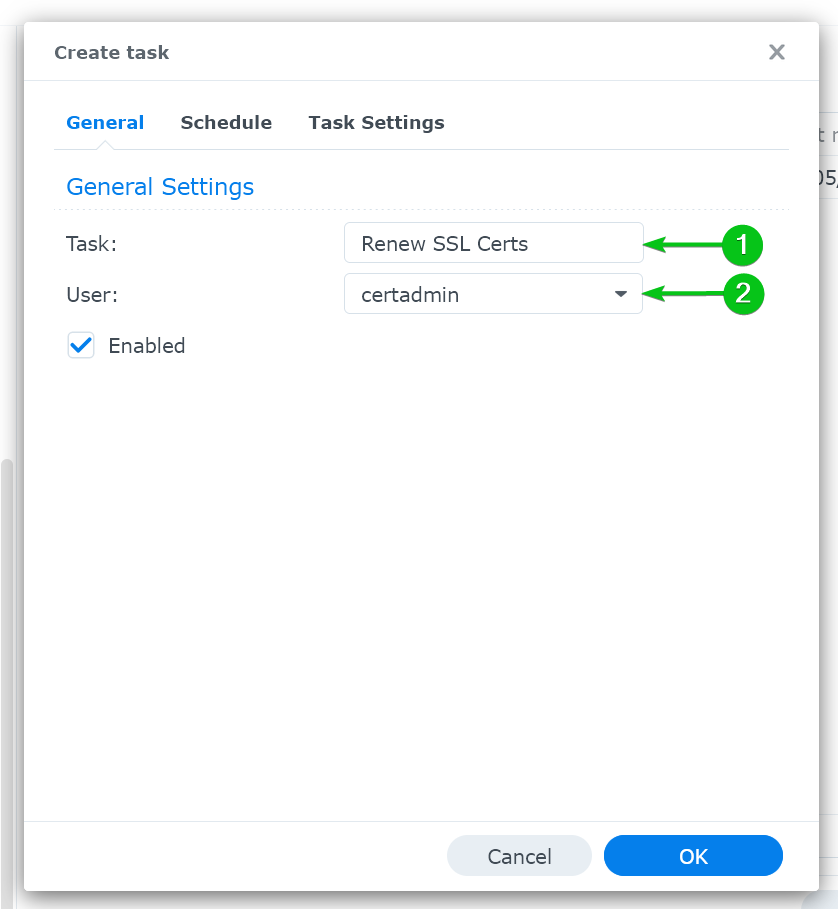
From the “General” tab, type in “Renew SSL Certs” in the “Task” section[1] and select “certadmin” from the “User” dropdown menu[2].
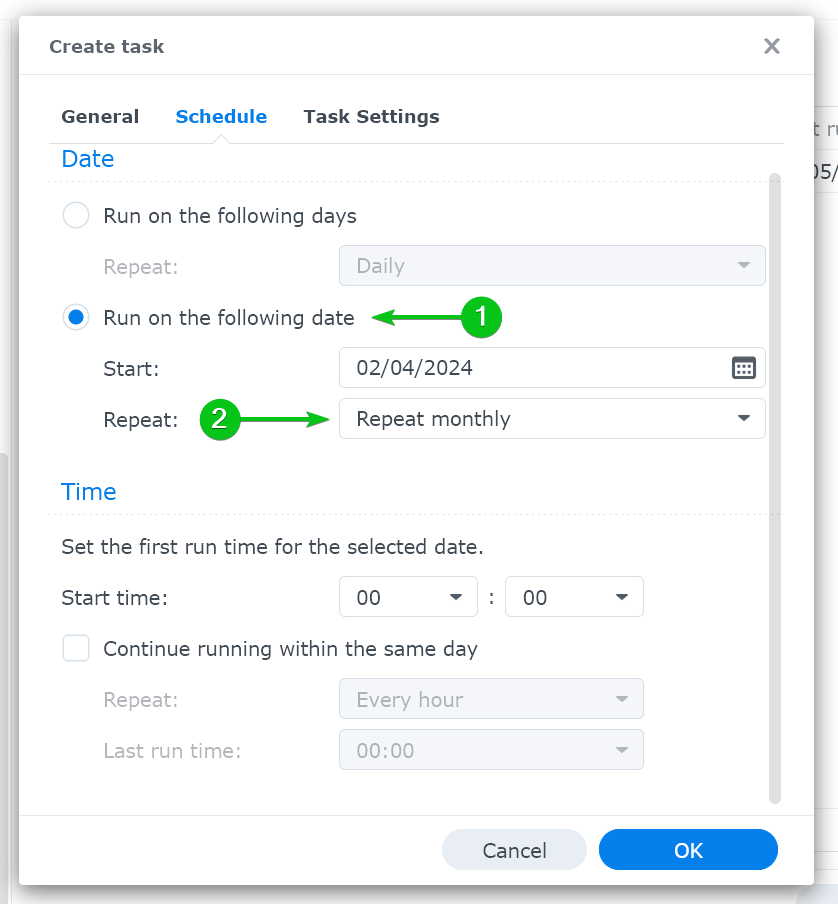
From the “Schedule” tab, select “Run on the following date”[1] and select “Repeat monthly” from the “Repeat” dropdown menu[2].
Navigate to the “Task Settings” tab, type in the following command in the “User-defined script” section [1], and click on “OK”[2].
/usr/local/share/acme.sh/acme.sh –renew –server letsencrypt -d “*.nodekite.com” –home /usr/local/share/acme.sh
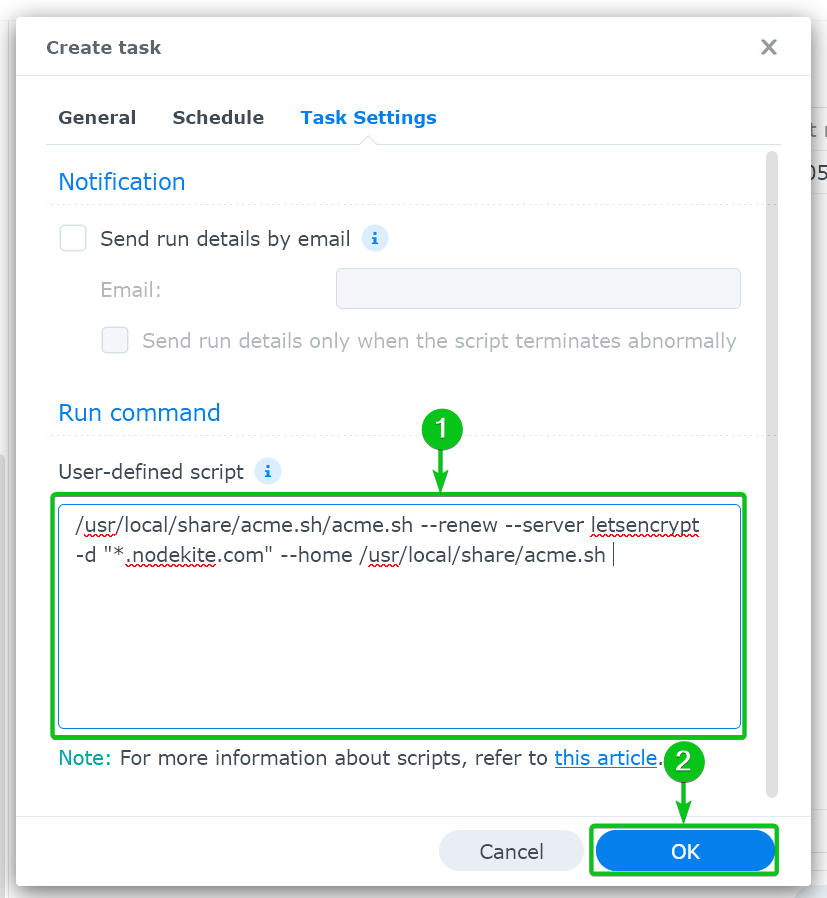
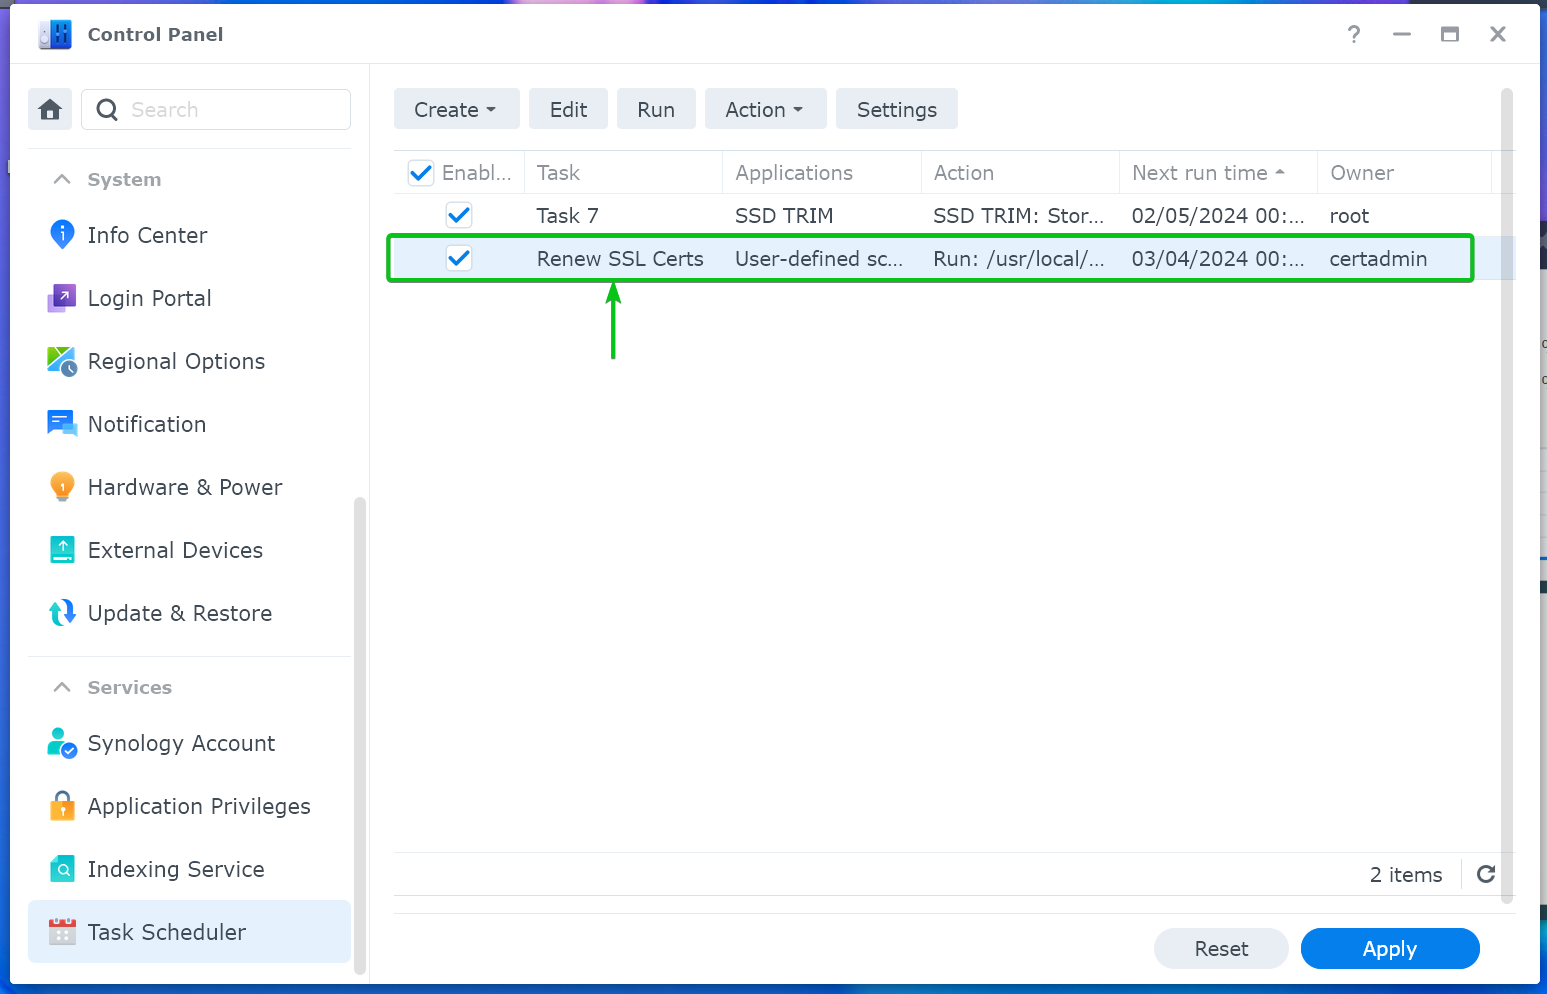
A new task should be created. The “Renew SSL Certs” task will run every month and make sure that the Let’s Encrypt SSL certificate is renewed before it expires.
Conclusion
In this article, we showed you how to install and use the “acme.sh” ACME client to generate a Let’s Encrypt SSL certificate via the DNS-01 challenge on your Synology NAS. We also showed you how to install the generated Let’s Encrypt SSL certificate on your Synology NAS and configure the web services of your Synology NAS to use it. Finally, we showed you how to configure a scheduled task on your Synology NAS to automatically renew the Let’s Encrypt SSL certificate before it expires.
References:
Source: linuxhint.com